This post may contain affiliate links. Please read our disclosure policy.
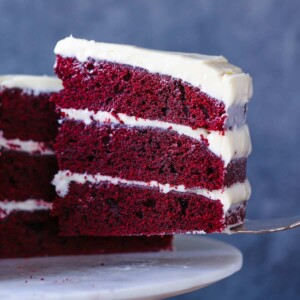
You’ve found the Best Red Velvet Cake Recipe! Tender, moist layer cake with a lightly chocolatey crumb and paired with a smooth whiskey cream cheese buttercream frosting. Classic, rich, and tangy, this easy, elegant recipe will have you cutting a second slice in no time!
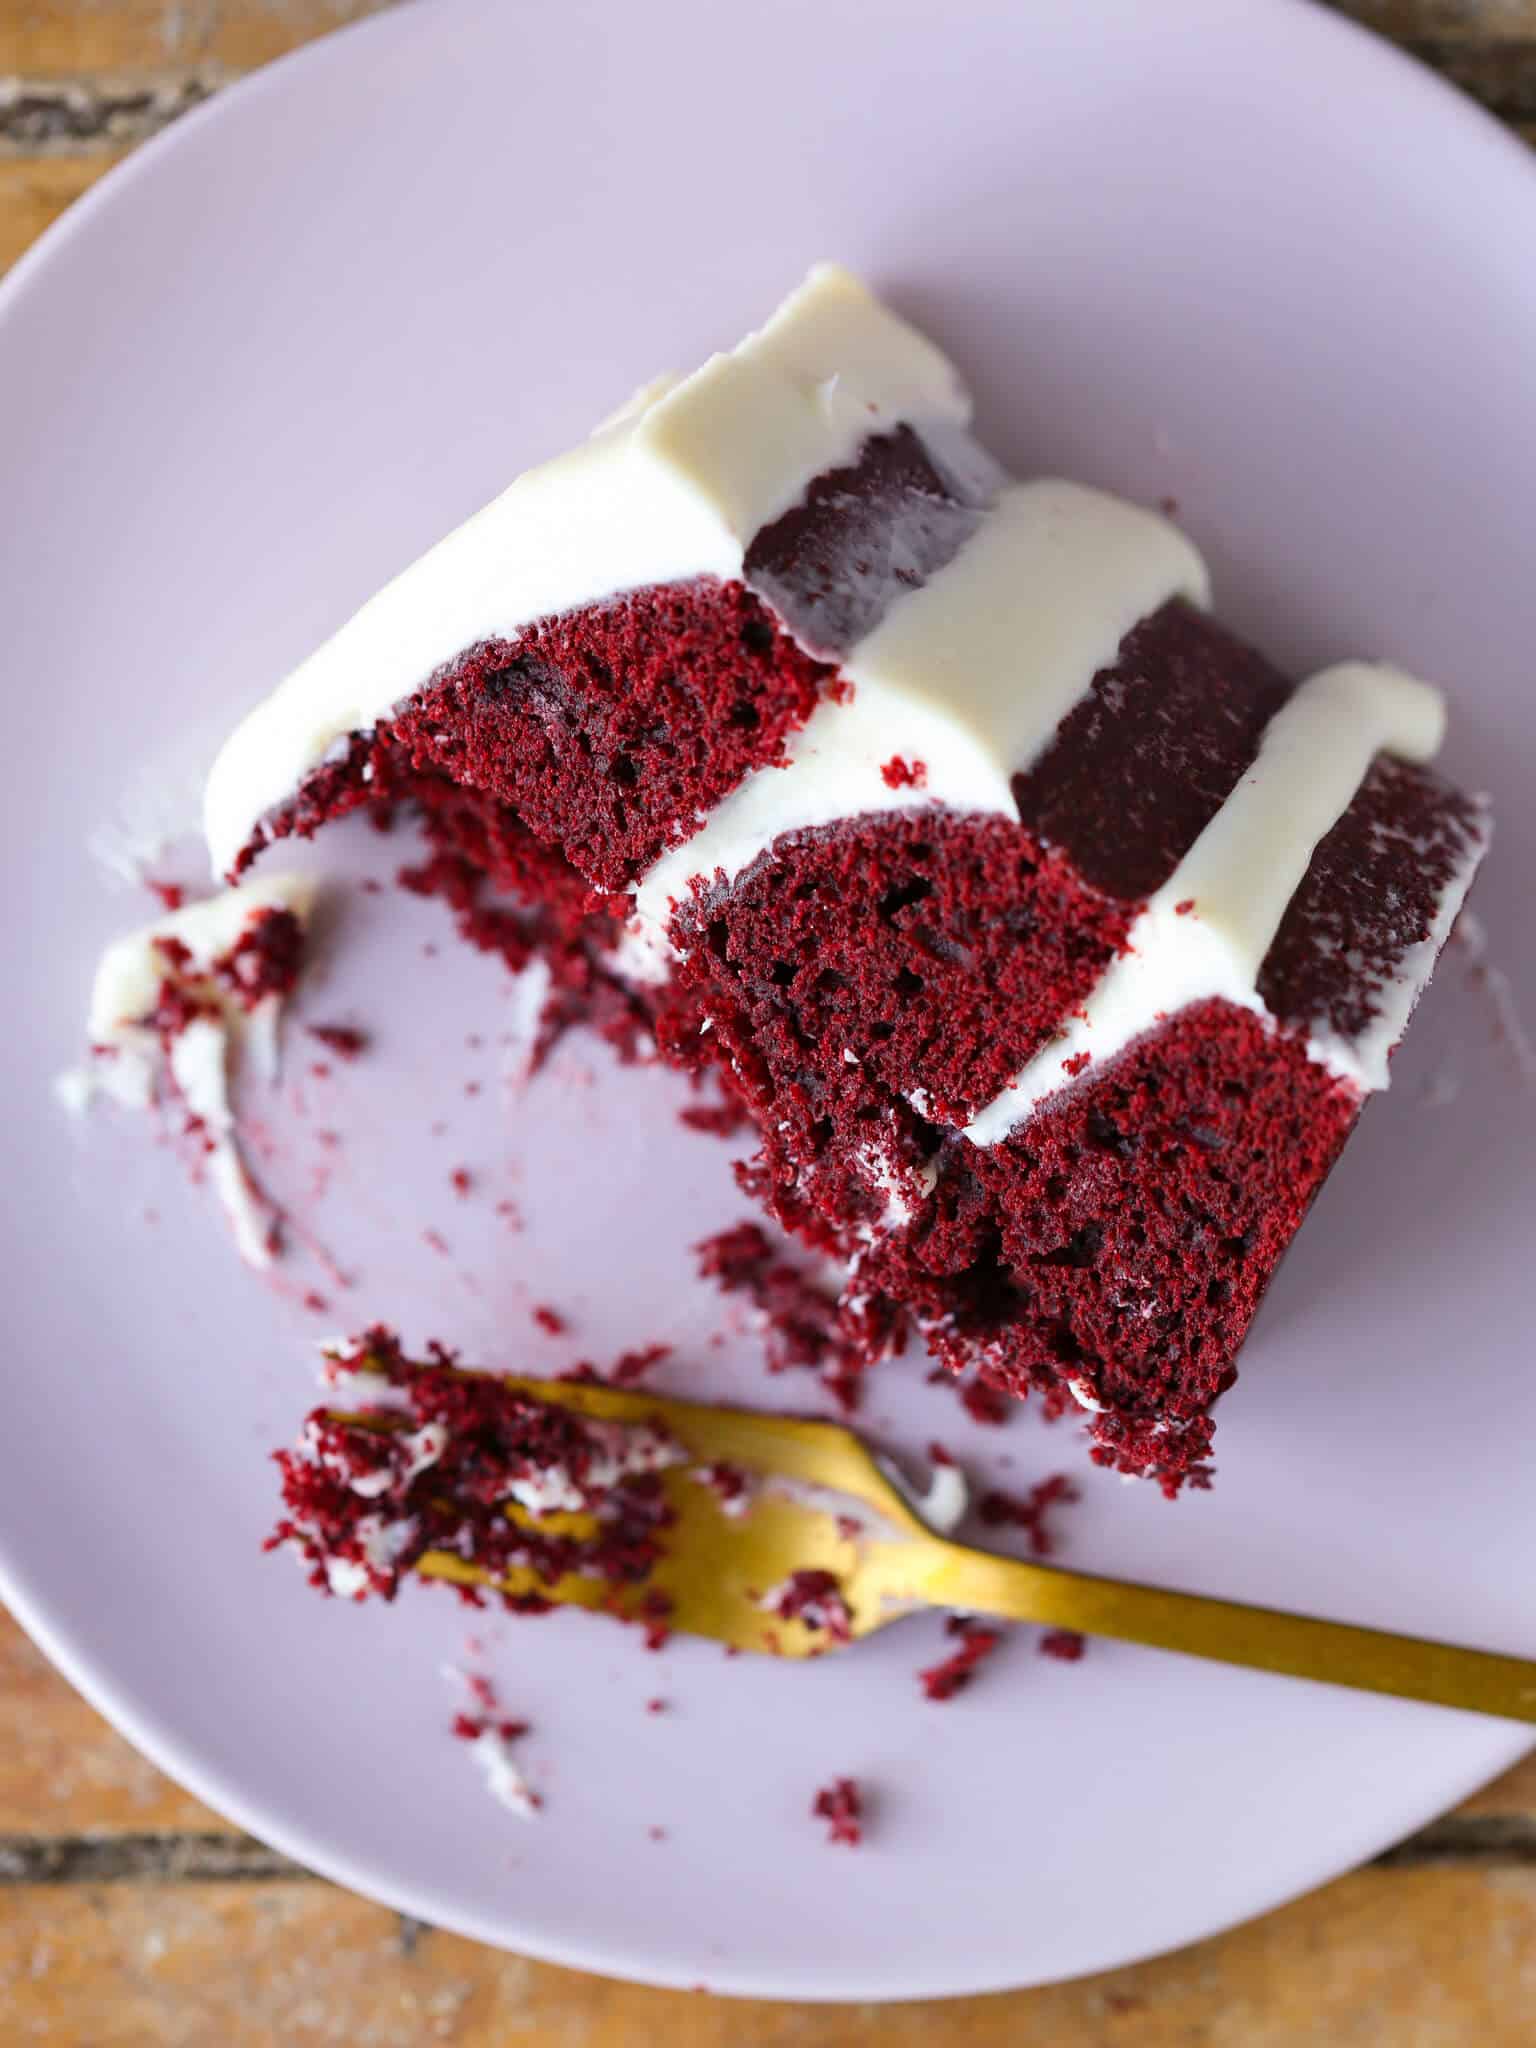
Imagine savoring bites of the lightest, most moist 3-tier cake possible. The taste starts with a delicate cocoa flavor and ends with a tiny tangy moment. You’re here! Not only does this red velvet cake have the traditional subtle chocolate, vanilla, and caramel notes complete with tanginess, the bourbon cream cheese buttercream takes it to the next level of sophistication.
The cake is a flavor powerhouse that I make for special occasions all year round! She’s right up there with my Angel Food Cake and Devil’s Food Cake when I want to serve something glamorous, and she’s just about as easy to make as my one-bowl Pumpkin Cake or easy carrot cake to boot!
Why you will love this recipe from scratch:
- Perfectly moist and tender. Sour cream, cake flour, and light brown sugar each play a crucial role in how light and moist this cake is. Birthdays, Valentine’s, Christmas, anniversaries, this cake is ready for anything!
- Signature red velvet flavor: This cake uses sour cream for an incredibly moist crumb, Dutch-processed cocoa powder for a superior cocoa flavor, and a drop of red food dye for the best presentation.
- Perfected by a pro pastry chef. Transparent step-by-step process with the perfect ratio of ingredients, by weight and by volume. Bake confidently knowing that I’ve even made it into a 4 tiered wedding cake!
Professional Tips
- Sift your dry ingredients. Since we are using cake flour, this is one of those rare times when sifting is absolutely essential. Cake flour and cocoa powder are fine and will clump easily otherwise.
- Temp your wet ingredients: Bringing your eggs, butter, sour cream and cream cheese to room temperature before use will help them combine easier. This will produce the cake with the best crumb and a lump-free buttercream.
- Use a bench scraper for a rustic finish. Lock in your smooth finish like I do in the photos by making a ‘naked cake’. ‘Naked cakes’ go in and out of trend, but sometimes they are the best ratio of buttercream to cake!
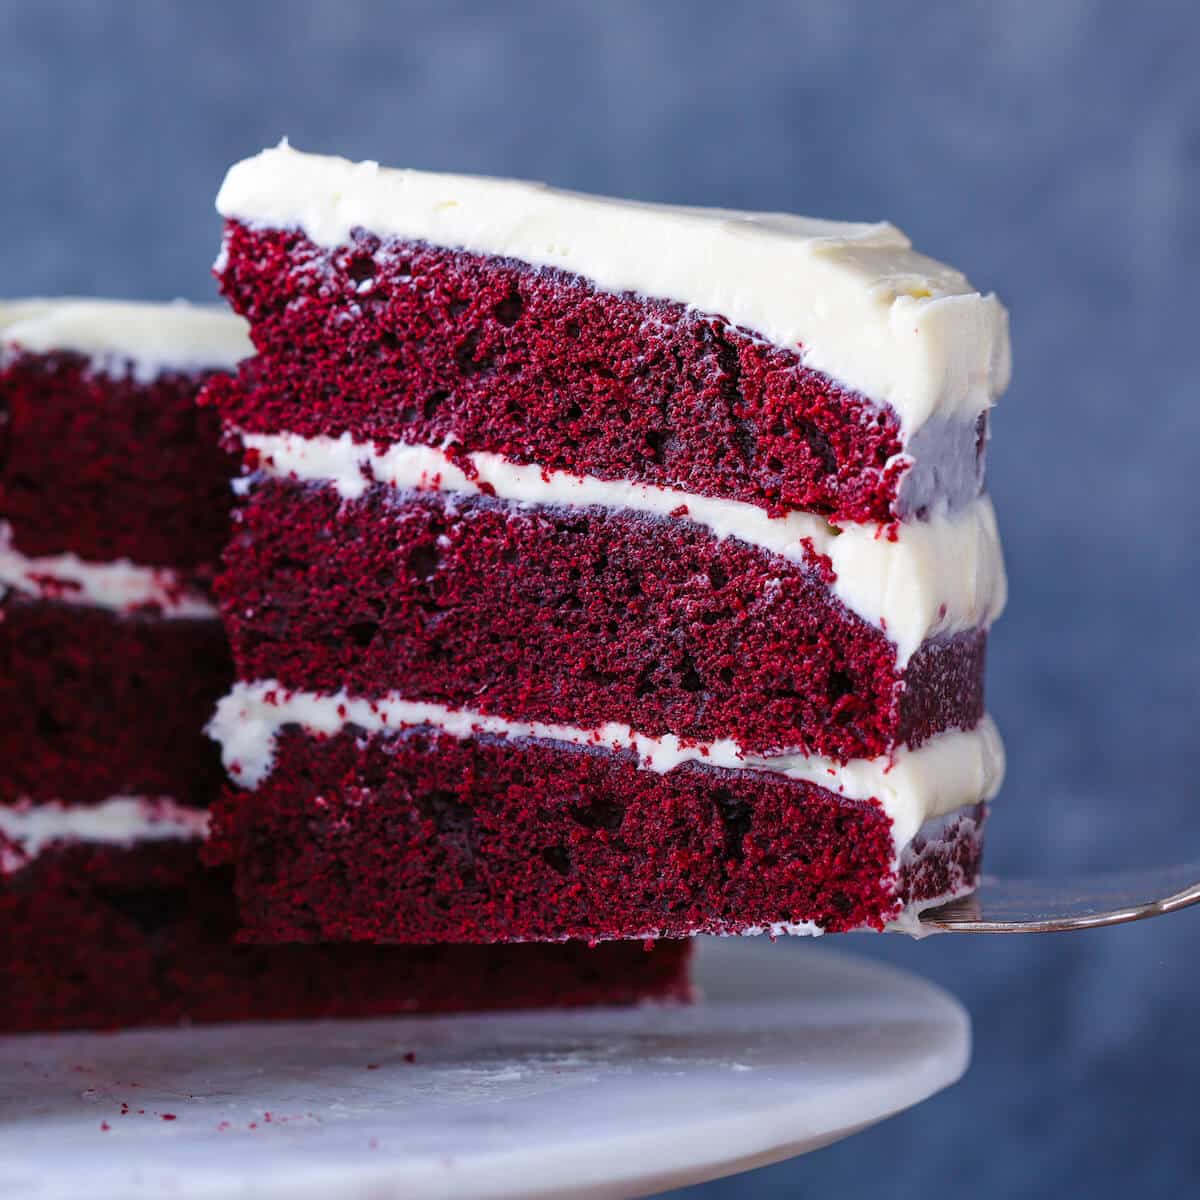
What does red velvet taste like?
The classic red velvet flavor can be recognized by a combination of notes of chocolate, subtle sweetness, a hint of vanilla, and a small tangy flavor. The tang usually present is in an acid like buttermilk, vinegar, or sour cream–each of which interacts with cocoa powder to create the hallmark red velvet hue we know so well. Since none of the flavors are overwhelming, the most predominant flavor is often the buttercream. Cream cheese buttercream is the most common choice. This buttercream is sweet simultaneously with a slight tang from the cream cheese.
Cake & Cream Cheese Frosting Ingredients
- Unsalted Butter
- Sugar: I use granulated sugar in this cake which aids in leavening, moisture, texture and stability.
- Light Brown Sugar: Using light brown sugar adds sweetness along with a little moisture.
- Eggs: Whole eggs emulsify the batter. This results in a moist, tender cake. The richness of egg yolks is also my secret weapon in a variation on this French Hot Chocolate.
- Cake Flour: I use cake flour because the lower gluten content and finer texture make a light, airy cake. If you don’t have cake flour, then substitute all purpose flour.
- Cocoa Powder: I use Dutch processed cocoa powder, which means it has been treated with an alkaline solution. This neutralizes the acidity, which means it will not react with baking soda or baking powder. Cocoa powder is an important flavor of red velvet cake, so I use the best quality I can find!
- Sour Cream: The extra fat and the low liquid content in sour cream help add flavor, lock in moisture, and lower gluten.
- Baking Soda & Kosher Salt
- Vanilla Extract
- Liquid food coloring: Just as in my Red Velvet Pound Cake, you could replace the red food dye with water if you’d like, but the resulting cake will not have that beautiful bright red color. And we love that gorgeous red, especially for Valentine’s Day Desserts!
- Confectioners’ Sugar
- Whiskey: Adding whiskey or alcohol to a cake is for moisture and flavor. I even soak my carrot cake roll with it. So don’t be shy, and add a good tablespoon or two!
- Water
- Cream Cheese: I use original Philadelphia Cream Cheese for all my baked goods, and the best cream cheese frosting is no exception! Cream cheese has a surprisingly perfect balance of tanginess for chocolate flavors, like my chocolate chip cookies with cream cheese!
See the recipe card for full information on ingredients and quantities.
Variations:
- Bite-sized: Bake this same homemade red velvet cake into especially adorable cookies with my Red Velvet Cookie Recipe! Or go down the cupcakes road with the Best Red Velvet Cupcake Recipe. If you head that way, now you have the perfect excuse to fill them with salted caramel sauce.
- Buttercream: If you aren’t down with a boozy cake, that’s cool, and this would be comparatively just as epic with a vanilla Swiss meringue buttercream. Or you could go rogue and use the Best Chocolate Buttercream or even a Salted Caramel Swiss Meringue Buttercream.
- Decorations: Cover her in sprinkles, chocolate curls or even get really fancy and use this tutorial on how to temper dark chocolate using the ice bath method!
How to Make Red Velvet Cake
Further details and measurements can be found in the recipe card below.
Make the cake:
Step 1: Preheat the oven to 350°F (standard) or 325°F (convection). Grease 3, 8 or 9-inch cake pans and line with parchment paper.
Step 2: In a medium bowl, whisk together dry ingredients: cake flour, cocoa powder, baking soda, and salt. Sift & set aside.
If you’re using all-purpose flour instead of cake flour, you can probably skip sifting.
Step 3: In a small bowl, whisk together the sour cream and water until no lumps remain.
Step 4: In the bowl of a stand mixer fitted with the paddle attachment, beat the butter and sugars together until the mixture is light in color and fluffy.
Step 5: Add the eggs one at a time, beating well after each addition. Add the vanilla and food dye in with the last egg.
Step 6: Reduce the mixer to low speed, and alternately add the flour mixture and sour cream mixture. I find that it is best to begin and end with the flour mixture. Scrape down the sides of the bowl as needed. I did this in three additions. Stop mixing as soon as the last of the flour has incorporated.
Step 7: Portion the cake batter between the three prepared pans. Bake in the preheated oven for 18-20 minutes, or until a cake tester or toothpick comes out with a few clinging crumbs. The center of the cake should spring back to the touch, and the edges will look set.
Keep an eye on your cake! If you over bake it, it will turn out dry.
Step 8: After 10 minutes in the pans, remove to a cooling rack and let cool completely before frosting.
Make the buttercream & assemble:
For a thicker layer of buttercream, make 1.5x this recipe.
Step 9: Using a stand mixer or an electric mixer, cream together cream cheese, butter and powdered sugar until smooth. Add whiskey and vanilla extract. Mix to incorporate.
If the buttercream gets too warm, chill it. Just pop the whole bowl and attachments in the fridge and give it an hour. To refresh it, beat with a paddle. Breathe. It’s just buttercream
Step 10: Place the first layer of the cake on your favorite cake stand. Mound about ½ cup of buttercream on top, spread smoothly with an offset spatula. Repeat with the second layer. Refrigerate before proceeding so your layers stay even. Place the remaining buttercream on top and spread evenly over the top and down the sides.
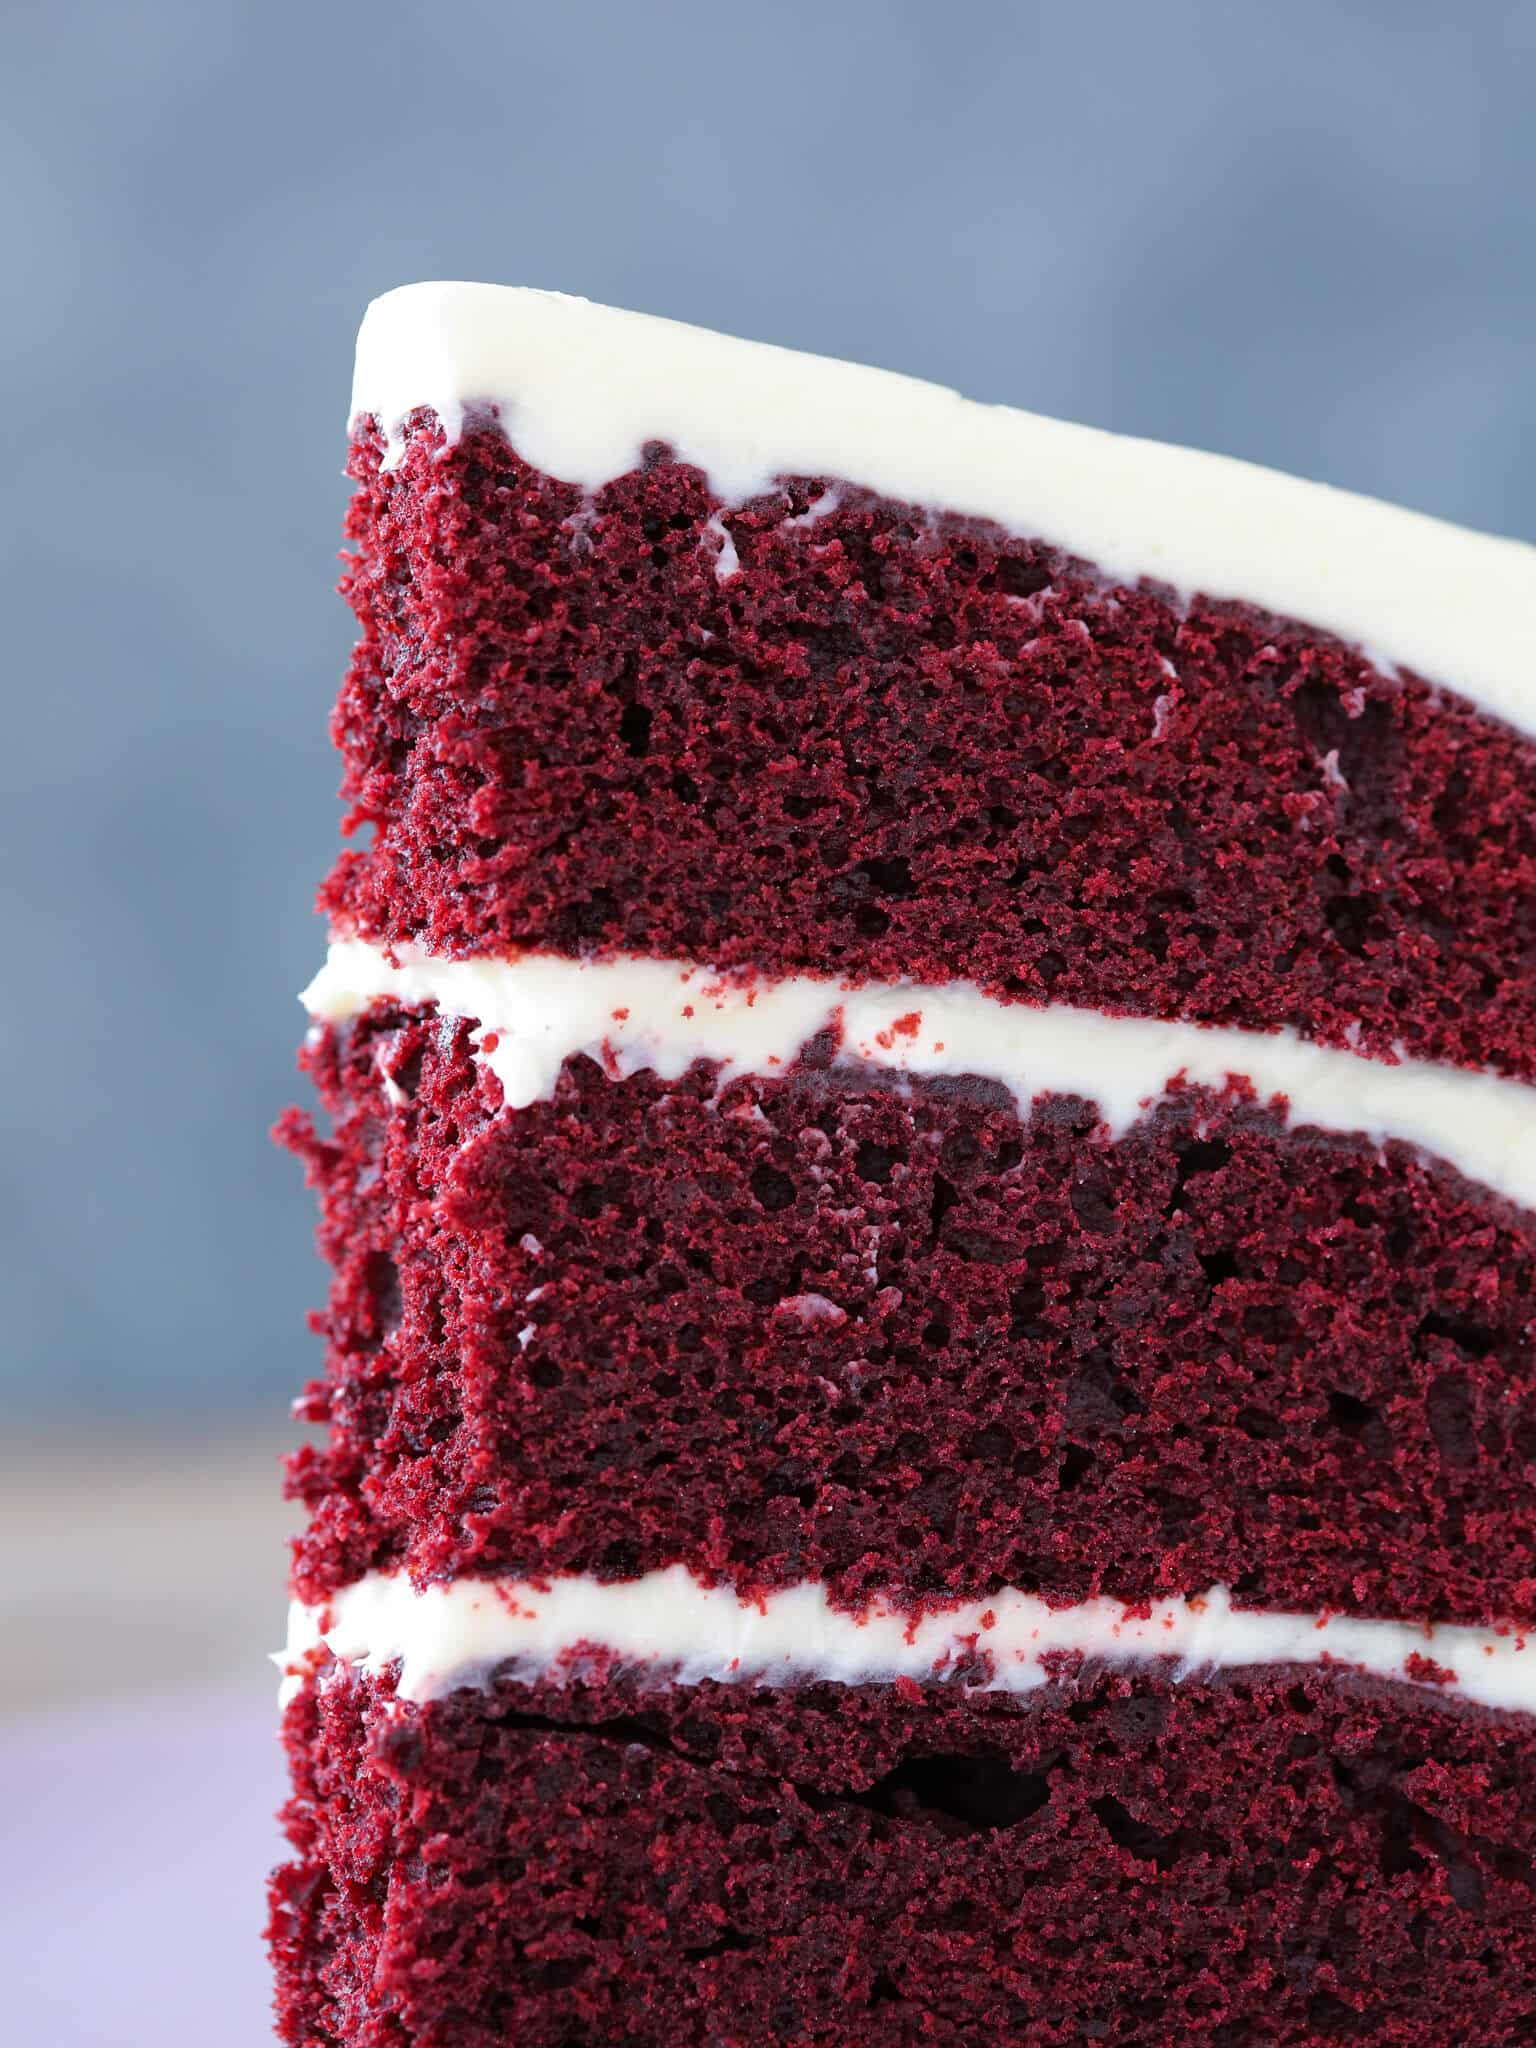
If you would like a naked cake, like my photos, run a bench scraper around the outside of the cake to reveal the layers underneath.
Chef Lindsey’s Recipe Tip
Be sure to allow the cakes to cool for at least 10 minutes in their pans before turning out to cool completely, otherwise (even with properly prepared pans) the layers might not come out in one beautiful piece. I like to cool my layers upside down from the way that they were baked.
Frequently Asked Questions
Store unfrosted red velvet cake well-wrapped at room temperature or in the freezer. Unfrosted cake will keep at room temperature for 3 days, in the fridge for a week or frozen for up to two months! Store unused frosting in airtight containers in the refrigerator for up to 2 weeks. Once frosted, the cake can be kept at room temperature for up to three days.
Red velvet cake does have cocoa powder in it but it has far less than a typical chocolate cake. The cocoa powder gives the cake a light chocolate flavor but is mainly there to create the dark reddish color when non-alkalized cocoa powder reacts with an acid such as vinegar or buttermilk.
Thaw covered at room temperature or in the fridge. I do not suggest thawing it in the oven as that will dry it out. Frost after thawing!
If you tried this recipe and loved it please leave a 🌟 star rating and let me know how it goes in the comments below. I love hearing from you; your comments make my day!
Best Red Velvet Cake
Ingredients
- 2 ½ cups cake flour
- 1 teaspoon baking soda
- ½ cup cocoa powder
- 1 teaspoon kosher salt
- 8 oz sour cream
- ½ cup water
- 1 cup unsalted butter room temperature
- 1 ½ cups sugar
- ½ cup light brown sugar firmly packed
- 4 eggs room temperature
- 2 tablespoons red food dye
- 1 tablespoon vanilla
For the buttercream:
- 2 ¾ cups cream cheese room temp
- 1 cup unsalted butter room temp
- 2 cups powdered sugar
- 2 tablespoons whiskey
- 1 teaspoon vanilla extract
Instructions
Make the cake:
- Preheat the oven to 350°F (standard) or 325°F (convection). Grease 3, 8 or 9-inch cake pans and line with parchment paper.
- In a medium bowl, whisk together dry ingredients: cake flour, cocoa powder, baking soda, and salt. Sift & set aside.
- In a small bowl, whisk together the sour cream and water until no lumps remain.
- In the bowl of a stand mixer fitted with the paddle attachment, beat the butter and sugars together until the mixture is light in color and fluffy.
- Add the eggs one at a time, beating well after each addition. Add the vanilla and food dye in with the last egg.
- Reduce the mixer to low speed, and alternately add the flour mixture and sour cream mixture. I find that it is best to begin and end with the flour mixture. Scrape down the sides of the bowl as needed. I did this in three additions. Stop mixing as soon as the last of the flour has incorporated.
- Portion the cake batter between the three prepared pans. Bake in the preheated oven for 18-20 minutes, or until a cake tester or toothpick comes out with a few clinging crumbs. The center of the cake should spring back to the touch, and the edges will look set.
- After 10 minutes in the pans, remove to a cooling rack and let cool completely before frosting.
Make the buttercream & assemble:
- Using a stand mixer or an electric mixer, cream together cream cheese, butter and powdered sugar until smooth. Add whiskey and vanilla extract. Mix to incorporate.
- Place the first layer of the cake on your favorite cake stand. Mound about ½ cup of buttercream on top, spread smoothly with an offset spatula. Repeat with the second layer. Refrigerate before proceeding so your layers stay even. Place the remaining buttercream on top and spread evenly over the top and down the sides.
Video
Notes
Nutrition
Before You Go
I hope you enjoyed this professional chef tested recipe. Check out our other delicious, chef-developed Cake Recipes, like the best carrot cake recipe. Or, you could keep up the cocoa-bourbon mixture in these Chocolate Bourbon Truffles!



This really is the best red velvet cake recipe! I omitted the bourbon in the frosting because I am pregnant, but I can’t wait to make it again and try it!