
This post may contain affiliate links. Please read our disclosure policy.
This Crisco Pie Crust Recipe is tender, flakey and easy! A professional pastry chef’s foolproof 3 ingredient pie crust recipe! It won’t shrink or be tough!


A Quick Look At The Recipe
This is a brief summary of the recipe. Jump to the recipe to get the full details.
Jump to RecipePrep Time
15 minutes
Total Time
15 minutes
Servings
12 Slices
Difficulty
Easy
Calories *
85 kcal per serving
Technique
Cut frozen shortening flour, then add cold water, chill, and roll.
Flavor Profile
Neutral, tender, and lightly savory with a flaky open crumb
* Based on nutrition panel
I have made pie crust for years and always struggled with shrinkage and toughness. Freezing the Crisco first made all the difference. The dough came together so quickly and rolled out without a single crack. This is the only recipe I will use from now on. ⭐⭐⭐⭐⭐
Karen
Why This Recipe Works
- Frozen shortening creates maximum flakiness. Cold fat cuts into flour without fully blending, leaving distinct pockets that steam and separate during baking. Frozen Crisco holds its structure longer than cold butter, giving you more time to work before the fat softens.
- Shortening’s higher fat content means more tenderness. Unlike butter, Crisco is 100% fat with no water or milk solids. That ratio produces a crust that is exceptionally tender and less prone to shrinking.
- Resting the dough relaxes the gluten. After mixing, the dough needs time in the refrigerator to let the hydrated gluten strands settle. Rolling immediately leads to shrinkage. Resting leads to a crust that holds its shape in the pan.
Table of Contents
This easy Crisco pie crust recipe first made its appearance in 2013 on this peach pie recipe, and has since become one of my favorite pie crusts. It is tender, crumbly, and flaky. The shortening makes it easy to work with and the perfect crust for a novice baker.
You could use it instead of this all-butter pie crust in this mixed berry pie, or easy pumpkin pie. It would also be delicious in place of the almond flour pie crust in this strawberry rhubarb pie. Make a large batch and store it in the freezer so baking is easy as pie!

Ingredients & Substitutions

- All-Purpose Flour: The base of the crust, providing structure without making it tough. Pastry flour works as a substitute and yields a slightly more tender result, though I always use all-purpose because it is easier to roll without tearing.
- Crisco Vegetable Shortening: This is the most critical ingredient in the recipe. Shortening is 100% fat, which is what gives this crust its distinct tenderness and flakiness. I freeze the Crisco before using it, which is non-negotiable for me, because frozen shortening stays in discrete pieces during mixing rather than blending fully into the flour, and those fat pockets are exactly what creates flaky layers in the finished crust.
See the recipe card for full information on ingredients and quantities.
Variations on This Crisco Pie Crust Recipe
- Spiced Crust. Add warm spices such as cinnamon, ginger, or cardamom directly to the flour mixture before cutting in the shortening. Start with half a teaspoon and adjust from there: spiced crust pairs especially well with apple, pear, or pumpkin pie fillings.
- Citrus Zest Crust. Work finely grated lemon, orange, or lime zest into the flour with your fingertips before adding the shortening, which blooms the oils and distributes the flavor evenly through the dough. One teaspoon of zest is enough to make the flavor noticeable without competing with the filling.
- Add some acid. Some recipes use acid to help prevent gluten development. Like how I use vodka in this vodka pie crust. Apple cider vinegar works the same; substitute a tablespoon or 2 for its weight in water.
Professional Tips
- Keep the Crisco frozen. I store my Crisco shortening in the freezer. It is still soft and pliable when frozen, which makes measuring and mixing easier.
- Measuring Crisco two ways. If you have a tub of Crisco, simply use a silicone spatula to press it into a measuring cup, then scoop it out directly onto your measured flour mixture. The sticks of Crisco make it easy to measure, then cube, but precision is not necessary.
- Avoid overworking & be delicate. Even though shortening crusts are less likely to shrink than all-butter pie crusts, still handle them gently for the most tender, flaky result.
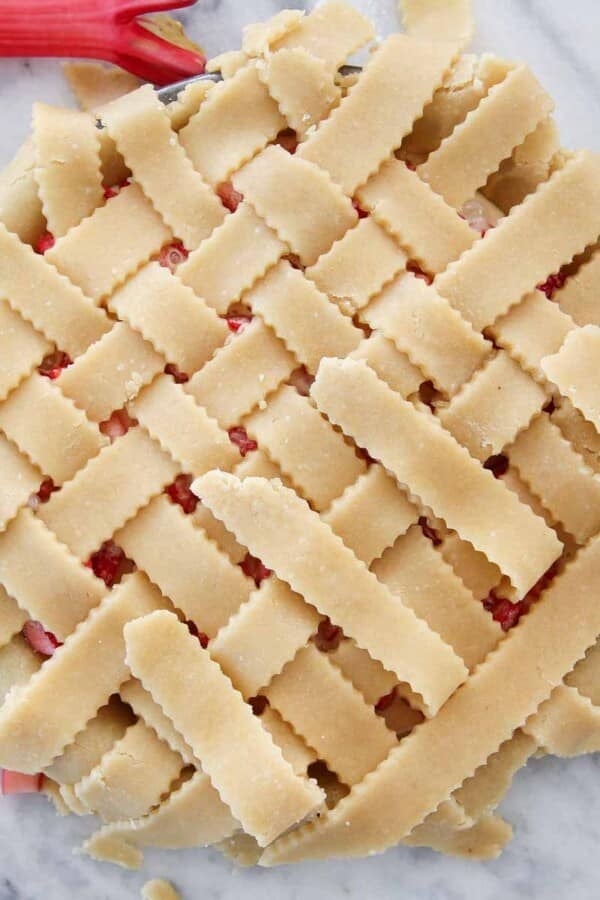
- Use this crust for any double-crust or lattice application. Shortening crust holds decorative edges and woven tops better than an all-butter dough because it stays pliable longer. For a visual guide, my lattice pie crust tutorial walks you through the full technique step by step.
How to Make Crisco Pie Crust Recipe
Use these instructions to make the perfect Crisco Pie Crust every time! Find more details and measurements in the recipe card below.
Step 1: In a medium bowl, mix flour and salt. Cut the shortening into cubes and add it to the flour mixture.
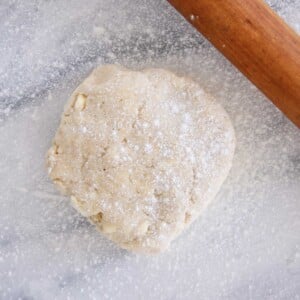
Step 2: Cut the shortening into the flour with a pastry blender, bench scraper or in the bowl of a stand mixer fitted with the paddle attachment until the mixture resembles coarse crumbs. Look for a mixture that resembles rough, uneven crumbs with no visible pieces of shortening remaining. (photo 1 & 2)
Unlike an all-butter crust, you do not need to leave visible fat streaks here. The shortening distributes more evenly than butter, and the crumb stage without visible fat is exactly what you want to see.


Step 3: Add ice water one tablespoon at a time until the dough holds together. Drizzle the water in one tablespoon at a time, blending with a fork after each addition.
Step 4: Stop adding water the moment the dough holds together when you press a pinch of it between your fingers, and it is no longer crumbly — the dough should look shaggy and rough, not smooth or wet, which is completely normal at this stage.
Overworking or overwatering the dough is the main reason Crisco crusts turn out tough rather than tender.


Step 5: Divide and chill the dough. For two single-crust pies, split the dough evenly in half. For a double-crust pie, divide it into two pieces: roughly two-thirds for the bottom crust and one-third for the top. Shape each piece into a flat disk, wrap tightly, and refrigerate for at least 30 minutes before rolling.
The rest period lets the flour hydrate fully and firms the shortening back up so the dough rolls cleanly.
Step 6: Roll the chilled dough to ⅛ inch thickness. On a lightly floured surface, roll the dough from the center outward in all directions, rotating the disk a quarter turn after every few passes to keep it even. Aim for a roughly 12-inch circle for a standard 9-inch pie dish. The dough should feel firm and slightly cool under your hands — if it starts to feel soft or sticky, slide it onto a sheet pan and refrigerate it for 10 minutes before continuing.
Shortening-based dough is more forgiving than butter dough when it comes to cracking. If the edges split as you roll, press them back together with your fingers and keep going much like a pate sablee.
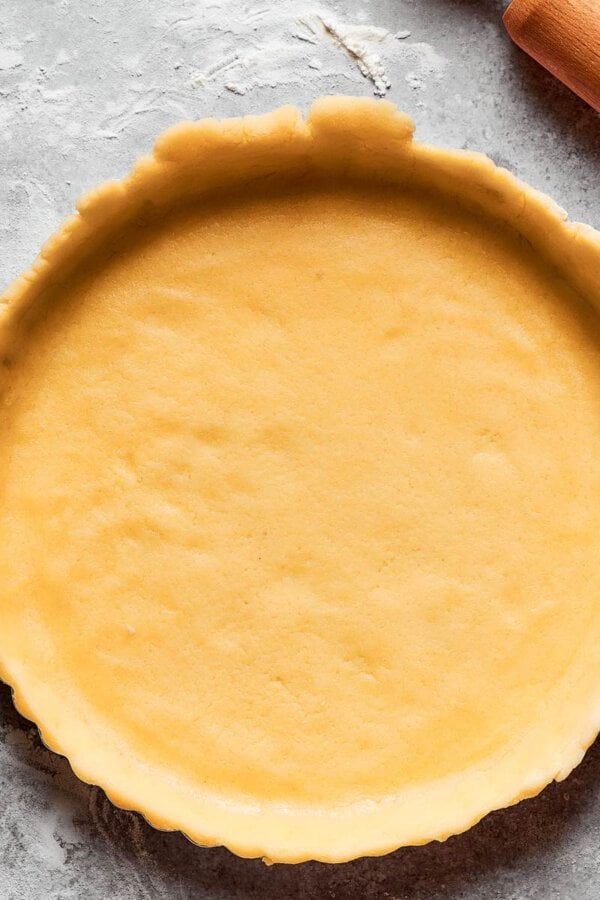
Step 7: Line the pie dish immediately. Fold the rolled dough in half, transfer it to the pie dish, and gently unfold it, easing it into the corners without stretching. I line the dish immediately rather than chilling the rolled dough first, because Crisco dough handles and transfers much more cooperatively at this stage than an all-butter crust does — it does not need that extra cold rest to stay in shape.
Step 8: Finish the edges and chill or fill. If you are making a double-crust pie, leave the bottom crust overhanging the rim and refrigerate the lined dish while you roll the top crust. If you are making a single-crust pie, fold the overhanging dough under itself so it sits flush with the rim, then crimp decoratively. The dough crimps cleanly and holds its shape well, which I love — it is one of the places where shortening crust genuinely has an advantage over butter.
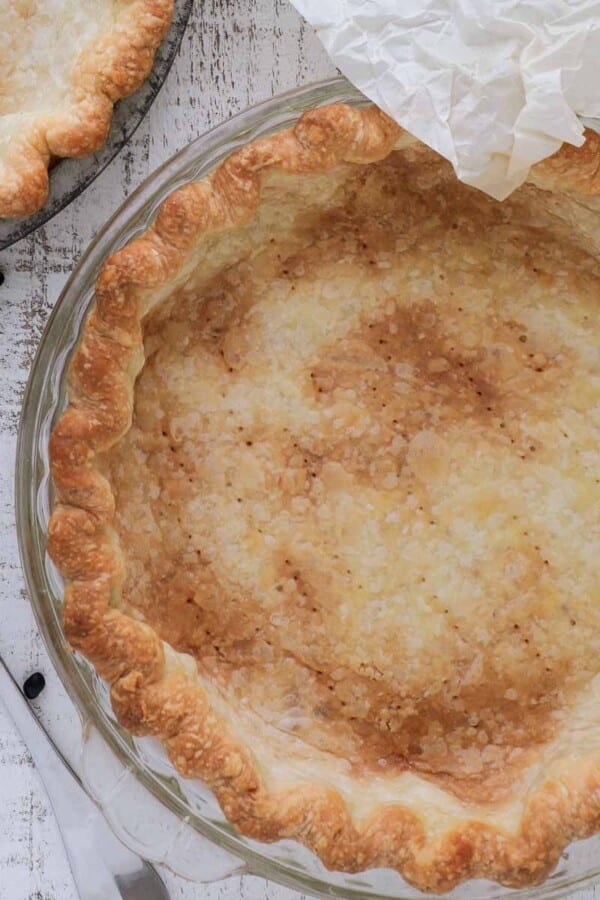
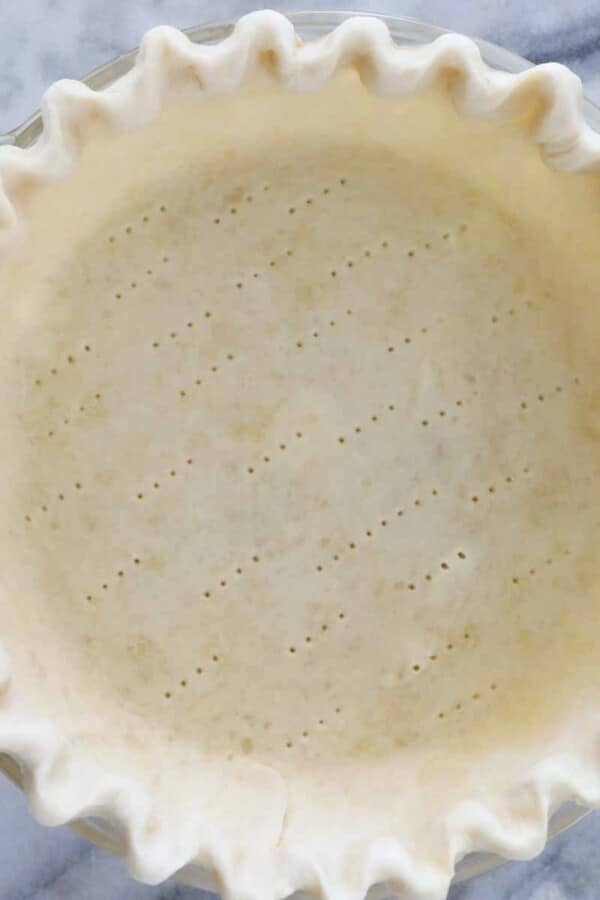
For a blind-baked single crust, dock the bottom all over with a fork, line with parchment, fill with pie weights or dried beans, and bake at 375°F convection or 400°F conventional for 15 to 20 minutes until the edges are set and just starting to color. Remove the weights and parchment and bake for another 5 to 8 minutes until the bottom looks dry and pale golden. Let the crust cool completely before filling.


Chef Lindsey’s Recipe Tip
If your kitchen is particularly warm, chill your mixing bowl and pastry blender in the freezer for 10 minutes before you begin. Cold tools slow how quickly body heat transfers to the shortening during mixing, keeping the fat in discrete pieces longer and giving you a more consistently tender result with no extra effort.

Recipe FAQs
Shortening and butter have different fat and moisture levels. It is not a good idea to simply replace all of the shortening with butter in pie crust. Instead, find a recipe that calls for both or use this all-butter pie crust recipe instead.
This crust works well with virtually any filling, from fruit pies to custard to cream pies. It holds its shape through double-crust and lattice applications, making it a strong choice for a juicy blueberry pie or any other wet filling that needs a crust that will not turn soggy.
Store unbaked dough in the refrigerator for up to 3 days or in the freezer for up to 2 months, tightly wrapped. Store a baked crust at room temperature for up to a week or frozen for up to 2 months.
The two most common causes are overworking the dough after adding water and adding too much water in the first place. Stop mixing as soon as the dough holds together when pressed, and add water one tablespoon at a time until it just comes together.
Pies to Make with Crisco Pie Crust!

Pies and Tart Recipes
Strawberry Rhubarb Pie
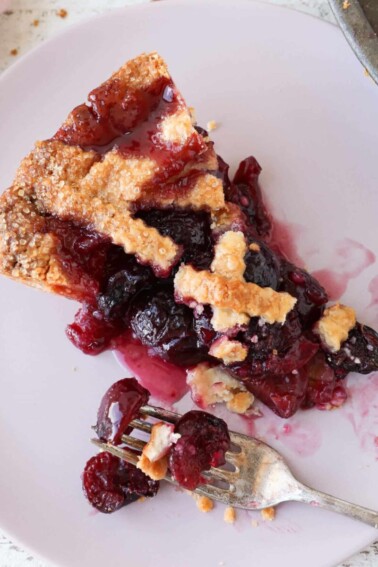
Pies and Tart Recipes
Cherry Pie

Pies and Tart Recipes
Easy Pumpkin Pie

Pies and Tart Recipes
Shoofly Pie Recipe
If you tried this recipe and loved it please leave a 🌟 star rating and let me know how it goes in the comments below. I love hearing from you; your comments make my day!
Crisco Pie Crust
Ingredients
- 2 ¼ cups all-purpose flour — or pastry flour
- 1 teaspoon kosher salt
- 14 tablespoons Crisco vegetable shortening — frozen 14 T = ¾ cup + 2 Tbsp
- ⅓ cup water — ice cold
Instructions
- In a medium bowl, mix flour and salt. Cut frozen shortening into cubes or spoon into chunks and add to the flour mixture.
- Cut the shortening into the flour with a pastry blender, bench scraper, or in the bowl of a stand mixer fitted with the paddle attachment until the mixture resembles coarse crumbs with no visible shortening remaining.
- Add cold water one tablespoon at a time, blending with a fork after each addition, until the dough just holds together when pressed and is no longer crumbly.
- For two single crust pies, split the dough in half. For a double crust pie, split the dough into two-thirds and one-third portions. Wrap tightly and refrigerate for at least 30 minutes before rolling.
- Roll the chilled dough to one-eighth inch thickness and line a pie dish directly. This dough is easier to transfer and line immediately rather than chilling it first after rolling.
- Either chill the lined pie tin if proceeding with a double crust pie, or roll under the edges and crimp decoratively for a single crust.
Notes
Technique: Use frozen Crisco shortening for the most tender crust. Cold fat stays in discrete pieces longer during mixing, which is what produces the tender, open crumb.
Storage: Store prepared, unbaked pie crust in the refrigerator for up to 3 days or in the freezer for up to 2 months, tightly wrapped. Store a baked crust at room temperature for up to a week or frozen for up to 2 months.
Variations: Add spices or citrus zest to the flour mixture for an easy flavor variation.
Nutrition
Want the training behind the recipe?
Thirteen months of pastry, in order, with two working pastry chefs you can actually ask. Every class is filmed start to finish in one continuous take, so you bake when your kitchen is free instead of when a calendar says to.
Before You Go
This shortening-based crust is one of those reliable foundations that makes everything from fruit pies to custard tarts easier to pull off. If you want to keep going, browse my Pie and Tart Recipes or make this banana cream pie!










Hi just a question. When freezing pie crust is there certain steps to take? Should I par bake before or just roll in parchment and freeze in containee?
Hi Yvonne! For this recipe, freeze it unbaked. Roll the dough into a disk (or line the pie dish), wrap tightly in parchment and plastic, then freeze. Par-bake only if your recipe specifically calls for a blind-baked crust. Happy baking!
How long to bake crust(I’m making a cream pie) and what temperature?
Hi Sharon! For a cream pie like my coconut cream pie, fully blind bake the crust at 350°F. Bake 12–20 minutes, remove the weights, then continue baking until the bottom and edges are golden brown. Let cool completely before filling.
How long to bake pie.
When to put filling in.
I’m making apple pie
Hi Phil! For my Easy Apple Pie, add the filling before baking once the bottom crust is lined. Pour all the apples into the lined dish and mound them up slightly in the center. Bake at 425°F for 15 minutes, then reduce to 350°F for 45–60 minutes, until the filling is bubbling in the center and the crust is golden. Happy baking!
Chef Lindsey, I have never used Kosher salt before. My husband bought me some (I wanted it for your pie crust recipe). What he bought was coarse Kosher salt. Will that work for the pastry or other baking? Thank you.
Hi Linda! How sweet of your husband to pick some up for you! Yes, coarse kosher salt will work in this pie crust and in most baking. The only thing to keep in mind is that coarse kosher salt crystals are larger, so they measure a little differently by volume. Happy baking, and I’m so glad you’re making the recipe!
So do you chill it before rolling it out or roll it out then chill it? Your comment “I find it easier to line immediately rather than chilling as I do with all-butter crusts” confused me. Thanks!
Hi Nancy! You’ll want to chill the dough before rolling it out, just like with most pie crusts. The difference with this recipe is what happens after rolling. As I mention in the post, “I find it easier to line immediately rather than chilling as I do with all-butter crusts.” That means once it’s rolled out, you can go straight to lining your pie dish instead of re-chilling first because the shortening makes it easier to handle without shrinking. Hope that clears it up!
You do not specify if you sift the all-purpose flour before measuring & blending.
Hi Linda! No need to sift the flour before measuring for this recipe. You can measure your all-purpose flour as usual, then mix it with the salt before cutting in the shortening.
I only sift when testing recipes that call for very light, aerated textures, but this crust relies more on balance and tenderness from the shortening. Hope that helps, and happy baking!
Thank you Chef Lindsey. With your recipe & tips my apple pie was perfect. I also bought a kitchen scale & weighed my ingredients. Best pie crust I’ve ever made in 60 years. Yay me!
Hi Linda! This makes me so happy to hear, yay you indeed! I love that you tried the recipe with a kitchen scale; it makes all the difference for consistency. Thank you for sharing your success!
I love an all-butter pie crust, but making a pie crust with shortening really makes me think of my grandmother. This pie crust is so tender and flaky, I love it. I think this crust is easier to make and handle.
My son has to use gluten free flour. How do I make cake and pie with the flour.
Hi Rachel! All-butter crusts rely more on gluten for structure, but shortening crusts like this one are more forgiving. That means you can usually swap in a cup-for-cup gluten-free flour blend and still get a tender, crumbly crust. Happy baking!