This post may contain affiliate links. Please read our disclosure policy.
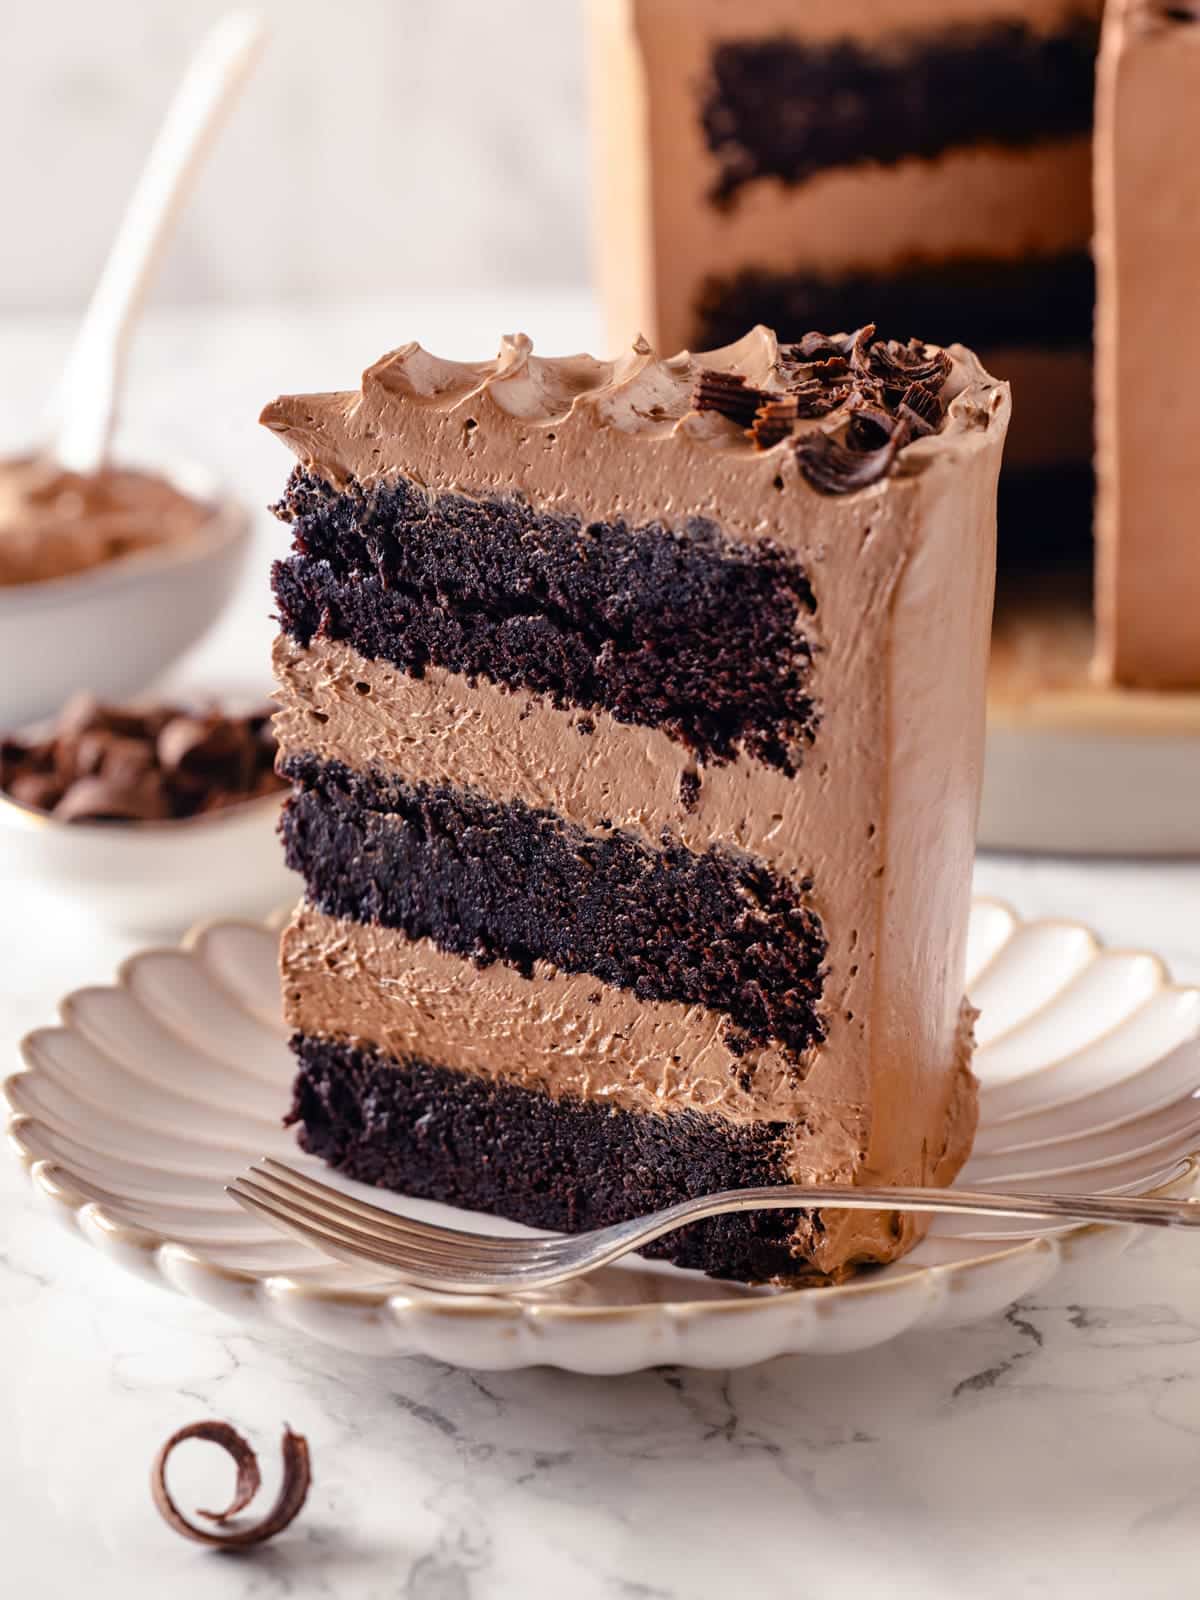
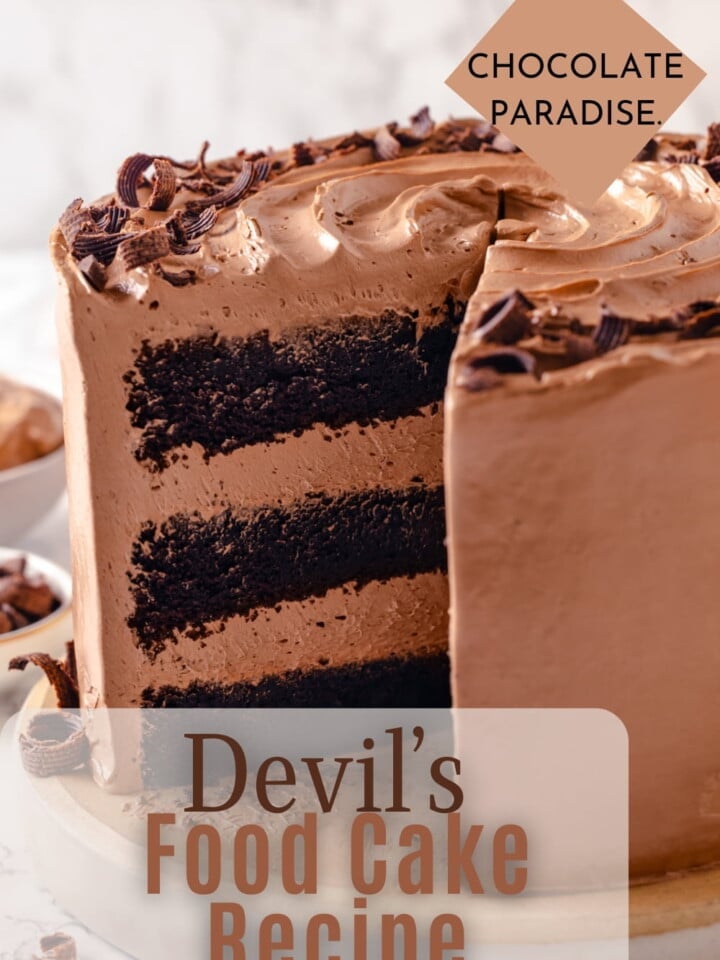
This devil’s food cake is rich, moist, and tender! Layered with a silky and light chocolate Swiss meringue buttercream, this cake is sinfully delicious and every chocolate lover’s dream!

A Quick Look At The Recipe
This is a brief summary of the recipe. Jump to the recipe to get the full details.
Jump to RecipePrep Time
25 minutes
Cook Time
35 minutes
Assembling Time
2 hours
Total Time
3 hours
Servings
20 slices
Difficulty
Medium
Calories *
511 kcal per serving
Technique
Mix cake, bake and cool, trim, make buttercream, layer cake, crumb coat, final coat.
Flavor Profile
Rich, moist chocolate cake, layered with smooth chocolate buttercream, all comes together for a deeply chocolate-flavored cake.
* Based on nutrition panel
This cake is truly a chocoholic’s dream! The coffee adds a great flavor, and that buttercream is so smooth! I love the flavor altogether and I appreciate all the tips and tricks on how to get a smooth finish. My family was really impressed. ⭐⭐⭐⭐⭐
Lauren
Why You Will Love This Cake
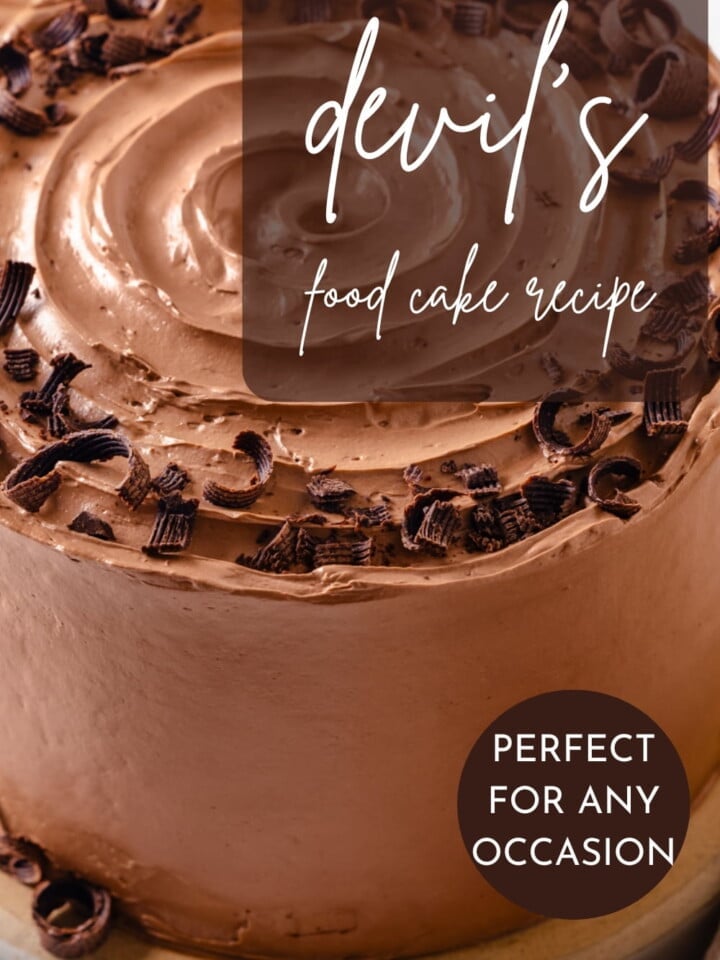
- A cake perfect for any occasion! This chocolate cake is truly worthy of any occasion. The cake is richly chocolate and perfectly moist, and pairs perfectly with the smooth buttercream.
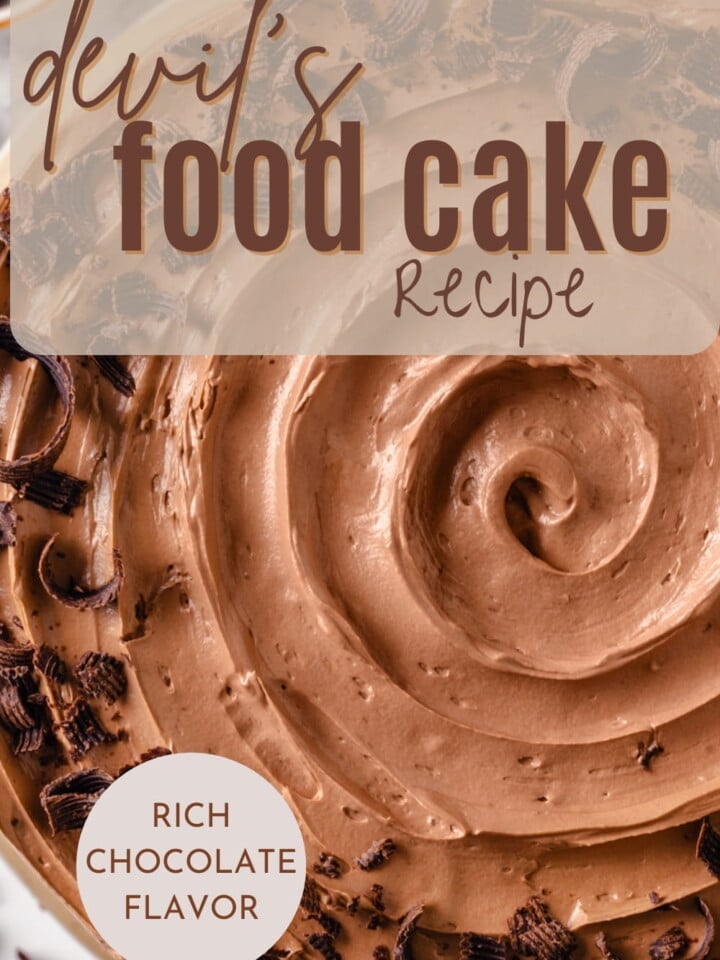
- Rich chocolate flavor. Dutch-processed cocoa powder and coffee give this cake a deeper chocolate flavor, and the unsweetened chocolate in the buttercream keeps it from being too sweet.
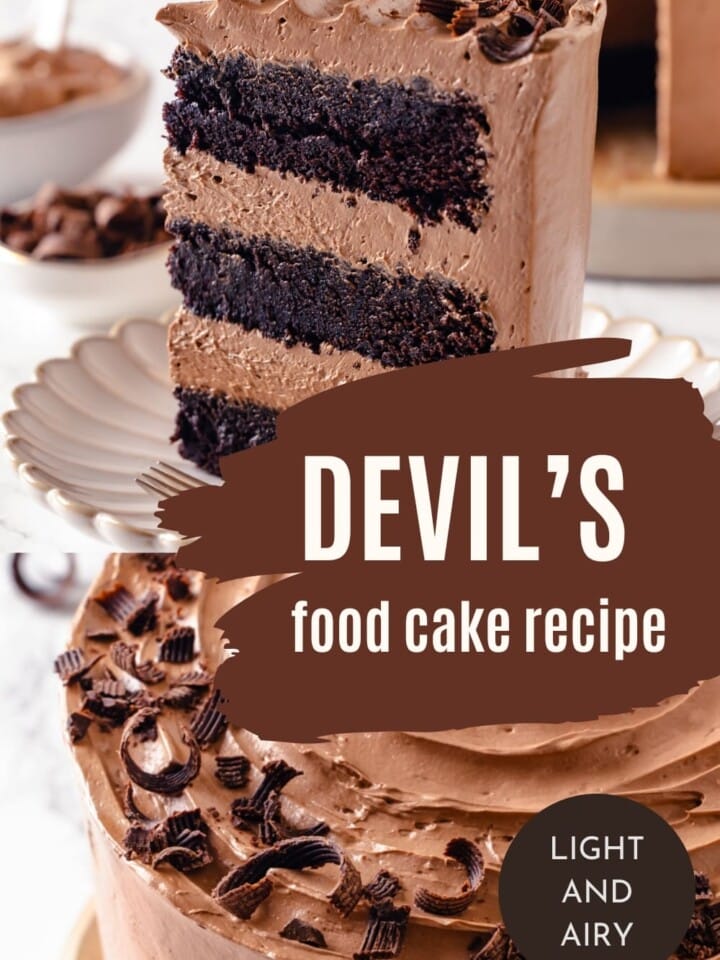
- Light and airy, yet stable, chocolate buttercream. Swiss meringue buttercream is the most stable buttercream, yet it creates a light, airy texture that melts in your mouth.
Table of Contents
This layered Devil’s food cake recipe is intensely chocolate and perfectly light and airy! The cake is perfectly rich so you could have that second slice if you wanted to! The cake and buttercream come together for an indulgent, show-stopping dessert perfect for any occasion!
The chocolate Swiss meringue buttercream is ideal for assembling this cake because it is light, but it is stronger than it looks! Devil’s food cake is sturdy, and it needs an airy, but structural buttercream. For another perfectly balanced dessert, check out this chocolate mayonnaise cake or my mother’s favorite german chocolate cupcakes! Looking for another fun celebration cake? This funfetti cake recipe should be your next bake.
Ingredients & Substitutions

- Cake Flour: Cake flour has a lower gluten content and a finer texture that creates a light, airy texture! You can use all-purpose flour, just be careful not to overmix your batter.
- Cocoa Powder: I use Dutch-processed cocoa powder which just means it has been treated with an alkali solution. It has a rich, deep flavor and a darker color. Giving the cake that classic devil’s food cake’s flavor and color. You can use non-Dutch-processed cocoa powder or natural cocoa if that’s what you have at home.
- Buttermilk: I generally bake with low-fat buttermilk rather than full-fat because it adds the perfect amount of moisture and fat. You can make your own buttermilk by adding 1 tablespoon of lemon juice or vinegar to 1 cup of milk.
- Brewed Coffee: Brewed coffee at home works perfectly, you can also use instant coffee or espresso.
- Egg Whites: Carton egg whites will not produce a stable meringue. I only use separated whites for this recipe. You can use egg whites that you have frozen. Just know that the longer they are in the freezer, the more the protein denatures, making the meringue less stable. I would add cream of tartar to frozen and defrosted whites.
- Unsweetened Chocolate: Bittersweet or unsweetened baker’s chocolate is what you want to use to control the buttercream’s sweetness. It will also ensure a rich flavor. You can reduce the chocolate if you want a lighter chocolate flavor or use a mix of semi-sweet and unsweetened for a sweeter frosting.
See the recipe card for full information on ingredients and quantities.
Variations for Devil’s Food Cake
- Brooklyn Blackout! This recipe would make a perfect Brooklyn blackout cake. Make my chocolate pudding recipe and layer it using a buttercream dam. Use those cake scraps and crumble them up. I like to bake them for a few minutes to crisp them up and add them to the outside of the cake.
- Change your buttercream. For a more decadent dessert, you can use the chocolate fudge frosting from my chocolate raspberry cake. It would also be delightful with caramel Swiss meringue buttercream, or this strawberry buttercream from these strawberry cupcakes. Can also make it festive with this peppermint American buttercream like I do for my peppermint brownies!
- Add fillings. Fill this layered cake with salted caramel sauce, this easy strawberry jam recipe, or this professional chocolate ganache recipe.

Professional Tips
- The number one rule with Swiss meringue buttercream is to be patient! Even a perfectly combined buttercream can take 5–8 minutes to transform from soup to a curdled mess to silky perfection.
- Bake in baking sheets. Baking the cake on a half-sheet pan will help it bake faster and produce more even layers. The cake will bake for 30-40 minutes in a half sheet pan. You just need a cake ring to cut out the layers from the pan. There will be cake scraps perfect for snacking or chocolate cake pops!
- Room temperature ingredients. It is an easy cake that bakes beautifully every time, but room-temperature ingredients are essential! Adding hot coffee to cold buttermilk will cause it to separate. It’s fine—you can totally make a great cake with it—but the texture will be slightly off.
- Make the components ahead of time. If you want this for a birthday or celebration, you can make each component ahead of time. The cake can be made a few days in advance. The buttercream as well. This will make assembling seem like a breeze.
How to Make Devil’s Food Cake
Use these instructions to make this rich and moist devil’s food cake! Further details and measurements can be found in the recipe card below.
To prepare the chocolate cake:
Step 1: Preheat the oven to 350°F (conventional, no fan) or 325°F (with the fan). Spray and line your chosen pans with parchment paper. I used 3, 8-inch round baking pans.


Step 2: In a large mixing bowl sift together the flour, cocoa powder, baking soda, baking powder, and salt to remove all the lumps and set aside (photo 1).
Step 3: In the bowl of a stand mixer fitted with the paddle attachment, cream the butter and sugar on medium speed until light and fluffy (photo 2).
Step 4: Add the eggs one at a time, scraping down the sides and the bottom of the bowl well after each addition. Add the egg yolk along with one of the other eggs (photo 3 & 4).


Step 5: In a large measuring cup or container, combine buttermilk, vanilla, and the coffee. Alternately add about a third of the flour mixture with about ½ the liquid ingredients. Repeat with another third of the dry ingredients and the remaining wet ingredients, and finally add the remaining flour mixture. Mix just until incorporated. I like to finish folding in the dry ingredients with a large rubber spatula (photo 5-7).
With a hand mixer or a KitchenAid, I fold in the dry ingredients by hand, alternating with the wet ingredients, because I find that even on a low speed, cocoa powder and cake flour still fly everywhere and can overmix the batter quickly.
Step 6: Divide batter into prepared pans (approximately 540g each for 3) and bake in the preheated oven until a toothpick comes out with a few clinging crumbs, and the center provides a little resistance when pressed lightly with your finger (photo 8).
The baking time will depend heavily on the pans you choose. This cake batter will bake faster in 3 pans. It bakes for 32 minutes when divided between 3, but for 2 pans it bakes between 35–40 minutes. A rectangular baking dish will take between 40–45 minutes. Mine took 44 minutes. The edges will also begin to pull away from the sides of the pan, but this is my least favorite test for doneness because it is the last thing to happen, and you are 1–2 minutes away from a dry, over baked cake!


Step 7: Allow the cakes to cool for 5 minutes in the pan, then flip them out onto a wire rack and remove the paper from the bottom of each cake. Allow to cool completely before flipping back over. Don’t stress if a little bit sticks to the rack (photo 9).
To prepare the buttercream:
Step 8: Heat about an inch of water in a medium sauce pot until it is just about simmering. The most important thing is that the bowl of your stand mixer should fit inside so that it is “nested,” but the water does not touch the bottom of the bowl.
Step 9: Whisk together the egg whites and sugar. Then place the bowl over top of simmering water and continue whisking constantly. Cook the whites and sugar just until it reaches 120°F on an instant-read thermometer or until the sugar has dissolved and the mixture is warm to the touch. The meringue will have started to gain a bit of volume and feel lighter at this point as well (photos 10 & 11).
Step 10: Move the bowl to your stand mixer and fit it with the whisk attachment. Be careful and use a towel, because the bowl will be hot if you’re using a gas burner! Beat on high speed until the meringue reaches stiff peaks and cools to below body temperature. This will only take 2–4 minutes, depending on your mixer (photo 12).
I find the best way to test it is to just stick your finger in the middle of the meringue. If it feels cool to the touch, you are ready to add your butter!


Step 11: Switch to the paddle attachment and then add all the butter. Mix on medium-low until all the butter works itself into the meringue and a silky smooth buttercream forms (photos 13 & 14).
If your butter was too cool, and there are a few stubborn bits of butter, you can gently heat the sides of the bowl with a kitchen torch, and it will melt those remaining pieces. Don’t do it too much or for too long in one spot, or the other butter will melt, and you can’t come back from that.
If you add your butter when your meringue is too warm, and you now have a soup, don’t stress! Let the butter work in completely (or it will solidify in the fridge and you’ll then have a chunky buttercream), and then pop the whole bowl and attachment in the refrigerator for about 20–30 minutes. Continue the mixing process.
Step 12: Once your buttercream comes together, stop the mixer, add all the chocolate, and mix on medium speed to incorporate. Switch back to the whisk and beat it up until it is light and fluffy (photos 14 & 15)!
To assemble the devil’s food cake:


Step 13: Level the cool cakes with a serrated knife using a sawing motion. We aren’t in a fancy bakery, so just take the cake dome off the top rather than getting it perfectly even with the sides. It just kills me to waste that much! Place one layer on a cake plate, cake board on a turntable, or directly on a cake stand if you are bold (photo 17).
Step 14: Scoop a generous cup and a half of frosting onto the top of the first layer, then spread it to the edges using a large offset spatula. Place the second layer on top of the frosting and then refrigerate for 20–30 minutes.
Step 15: Repeat with the second layer of frosting, then place the third layer upside-down on top. This gives you a perfectly flat top, which will make perfect edges easier if you care.
Step 16: Depending on the state of your buttercream, I like to give my cake a quick crumb coat and then refrigerate it for 30 minutes to an hour. If your buttercream is too soft and is squishing out when you try to frost the top, refrigerate it until it is firm.
There are cakes that require a crumb coat like my easy chocolate cake and then there are those that aren’t very crumbly, like this devil’s food cake. You can, and I always do, get away with just doing a final coat.
Step 17: Add another cup to the top of the layer of the cake and spread it out evenly to the edges, and begin to spread any excess over the sides. Using your offset spatula, add frosting to the sides of the cake and spread it out evenly, into all the gaps between the layers and down to the bottom of the cake plate (photo 18).
Step 18: Turn the cake as you work and continue adding buttercream until the whole cake is covered and is the thickness that you desire. With this buttercream, I like a ¼ inch thickness because when served at room temperature, it is lighter than air and is the perfect ratio. That would be too thick if you were using a chocolate buttercream frosting instead.
Step 19: Smooth the edges using the edge of a metal bench scraper (my favorite), a large offset spatula, or a plastic ruler. You can leave the top edges “torn” or you can use your favorite tool to smooth the top and square off the edges gradually.
Step 20: Refrigerate for at least an hour until set before decorating. If you would rather do an artful swirl, then it is best to swirl with the back of a spoon or the tip of your offset spatula while the buttercream is still soft (photo 19 & 20).
Chef Lindsey’s Recipe Tip
The chilling is essential to ensure that the buttercream sets and your layers don’t slide around as you frost the cakes. If you are a beginner, don’t skip the chilling steps!
Recipe FAQs
This devil’s food cake is a relative of red velvet and chocolate cake. It calls for less cocoa than a traditional chocolate cake, which gives it a reddish hue and it has a higher moisture content.
Devil’s food cake calls for less cocoa but more liquid, which gives it a moist, airy crumb, and for this reason, can handle a strong and decadent chocolate buttercream. I think of it as the yin to chocolate cake’s yang. Much like this chocolate raspberry cake which is the perfect blend of chocolate and raspberry flavors.
The cake can be stored in an airtight container at room temperature for 2–3 days. If it is a particularly warm day, you can store the cake in the refrigerator, but bring it back to room temperature before serving. Buttercream is best served soft!

Recommended Layered Cake Recipes

Cake Recipes
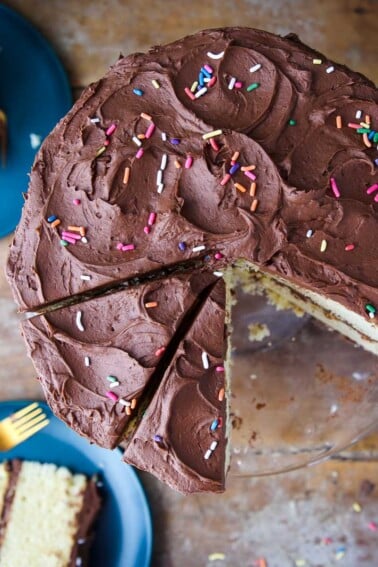
Best Red Velvet Cake Recipe
Cake Recipes
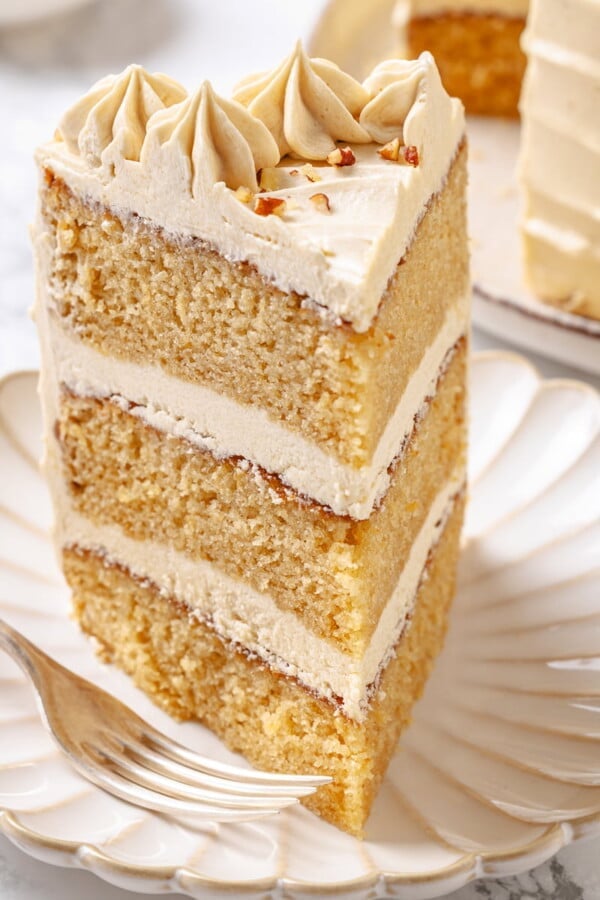
Moist Yellow Cake Recipe
Cake Recipes
Maple Cake
Cake Recipes
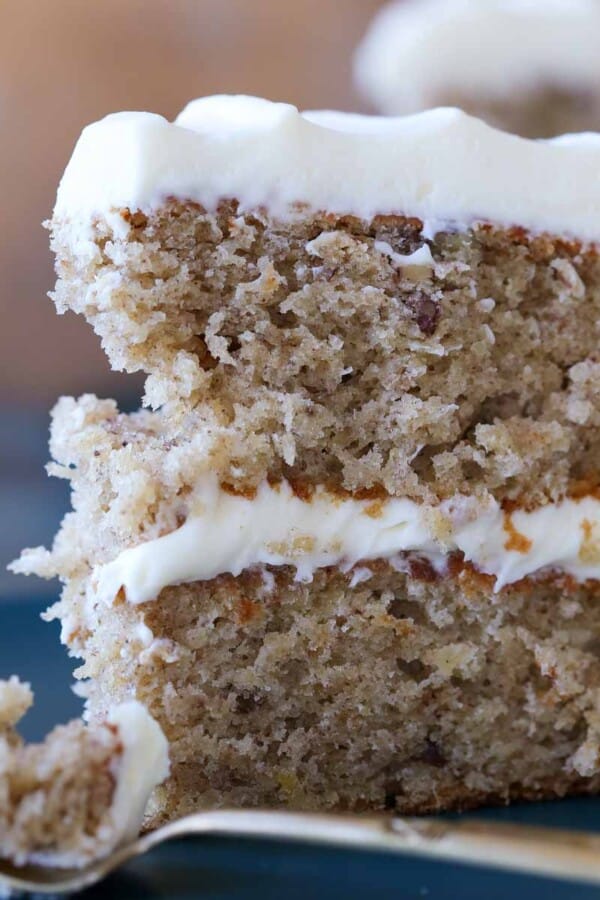
Hummingbird Cake
If you tried this recipe and loved it please leave a 🌟 star rating and let me know how it goes in the comments below. I love hearing from you; your comments make my day!
Devil’s Food Cake
Ingredients
For Devil’s Food Cake
- 2 ⅓ cups cake flour
- ¾ cup cocoa powder
- 1 ½ teaspoons baking soda
- ½ teaspoons baking powder
- 1 ½ teaspoons kosher salt
- 1 cup unsalted butter room temperature
- 2 cups granulated sugar
- 4 whole eggs
- 1 egg yolks
- ⅔ cup low fat buttermilk room temperature
- 1 ½ teaspoons vanilla extract
- ¾ cup coffee brewed, room temperature
For the Chocolate Swiss Meringue Buttercream (Yield: 1 ½ Quarts)
- 5 egg whites
- 1 ¼ cups Sugar
- ¼ teaspoons kosher salt
- 2 cups unsalted butter 4 sticks, room temperature
- 2 teaspoons vanilla extract
- 8 ounces unsweetened chocolate melted but not hot
Instructions
To prepare the chocolate cake:
- Preheat the oven to 350°F conventional (no fan) or 325°F with the fan. Grease and line your chosen pans with parchment. I used 3, 8 inch round baking pans.
- Sift together the flour, cocoa powder, baking soda, baking powder, and salt. Set aside.
- In the bowl of a stand mixer fitted with the paddle attachment, cream the butter and sugar on medium speed until light and fluffy.
- Add the eggs one at a time, scraping down the sides and the bottom of the bowl well after each addition. Add the egg yolk along with one of the other eggs.
- In a large measuring cup or container, combine buttermilk, vanilla, and coffee. Alternately add about a third of the sifted dry ingredients with about ½ the liquids. Repeat with another third of the dry ingredients and the remaining wet ingredients, and finally add the remaining flour mixture. Mix just until incorporated. I like to finish folding in the dry ingredients with a large rubber spatula.
- Divide the batter into prepared pans (approximately 540g each for 3 cakes) and bake until a cake tester comes out with a few clinging crumbs and the center provides a little resistance when pressed lightly with your finger.
- Allow the cakes to cool for 5 minutes in the pan, then flip them out onto a wire rack and remove the paper from the bottom of each cake. Allow to cool completely before flipping back over. Don’t stress if a little bit sticks to the rack.
To prepare the buttercream:
- Heat about an inch of water up in a medium sauce pot until it is just about simmering. The most important thing is that the bowl of your stand mixer should fit inside so that it is “nested” but the water does not touch the bottom of the bowl.
- Whisk together the egg whites and sugar. Then place the bowl over top of simmering water and continue whisking constantly. Cook the whites and sugar just until it reaches 120°F on an instant-read thermometer or until the sugar has dissolved and the mixture is warm to the touch. The meringue will have started to gain a bit of volume and feel lighter at this point as well.
- Move the bowl to your stand mixer and fit it with the whisk attachment. Be careful and use a towel, because the bowl will be hot if you’re using a gas burner! Beat on high speed until the meringue reaches stiff peaks and cools to below body temperature. This will only take 2-4 minutes, depending on your mixer.
- Switch to the paddle attachment and then add all the butter. Mix on medium-low until all the butter works itself into the meringue and a silky smooth buttercream forms.
- Once your buttercream comes together, stop the mixer, add all the chocolate, and mix on medium speed to incorporate. Switch back to the whisk and beat it up until it is light and fluffy!
To assemble the devil’s food cake:
- Once your cake is completely cool, level each layer with a serrated knife using a sawing motion. We aren’t in a fancy bakery, so just take the mound off the top rather than getting it perfectly even with the sides. It just kills me to waste that much! Place one layer on a cake plate, cake board on a turntable, or directly on a cake stand if you are bold.
- Scoop a generous cup and a half of frosting onto the top of the first layer, then spread it to the edges using a large offset spatula. Place the second layer on top of the frosting and then refrigerate for 20-30 minutes.
- Repeat with the second layer of frosting, then place the third layer upside-down on top. This gives you a perfectly flat top, which will make perfect edges easier if you care.
- Depending on the state of your buttercream, I like to give my cake a quick crumb coat and then refrigerate it for 30 minutes to an hour. If your buttercream is too soft and is squishing out when you try to frost the top, refrigerate it until the cake is firm.
- Add another cup to the top of the layer of the cake and spread it out evenly to the edges, and begin to spread any excess over the sides. Using your offset spatula, add frosting to the sides of the cake and spread it out evenly, into all the gaps between the layers and down to the bottom of the cake plate.
- Turn the cake as you work and continue adding buttercream until the whole cake is covered and is the thickness that you desire. With this buttercream, I like a ¼ inch thickness because when served at room temperature, it is lighter than air and is the perfect ratio. That would be too thick if you were using a chocolate buttercream frosting instead.
- Smooth the edges using the edge of a metal bench scraper (my favorite), a large offset spatula or a plastic ruler. You can leave the top edges “torn” or you can use your favorite tool to smooth the top and square off the edges gradually.
- Refrigerate for at least an hour until set before decorating. If you would rather do an artful swirl, then it is best to swirl with the back of a spoon or the tip of your offset spatula while the buttercream is still soft.
Video
Notes
Nutrition
Before You Go
I hope you enjoyed this recipe. If you are looking for more chocolate bakes, check out this classic brownie recipe or these double chocolate cookies! Have a celebration coming up? Try this chocolate raspberry cake or moist yellow cake recipe for an elegant show-stopping cake!


Hi! I’d love to try this cake, however, you advise to cook in a baking sheet, but give no cooking time. How long must it bake? Dark pan, light pan? Fan or traditional? Right now it’s tempting, but a little vague. 😘
Hi Menolly, thank you for pointing that out I will be updating the pos to make it clear! The cake will bake for 30-40 minutes in a half sheet pan. The temperature is 350°F conventional or 325°F with the fan. Dark pans may bake a few minutes faster, so start checking early. Hope you love the cake! ~CLF team
This cake is truly a chocoholic’s dream! The coffee adds a great flavor, and that buttercream is so smooth! I love the flavor altogether and I appreciate all the tips and tricks on how to get a smooth finish. My family was really impressed.
Got to know a lot from this!
Everything was so relatable.
Thank you for sharing!
Hey Lindsey,
Thanks for sharing this chocolate cake recipe. It looks like a piece of art. Must be hard to eat such irresistible chocolate beauty. The real struggle in this recipe is assembling the cake on point. It’s too perfect. The cake looks really moist and It is amazing!!! ????
Thanks Ashlesha! I have yet to come across anyone who can resist a slice though!
Delicious and Awesome chocolate cake, really beautiful. Thank you for sharing this beautiful information.
Oh man, I could totally feel your pain with that cake on the floor story. I felt like I was there cleaning up cake off the floor with you…and maybe seeing if I could salvage a bite that hadn’t touched the floor yet. I love a good chocolate cake, and this one looks fantastic! Your decoration skills are on point. Of course, I expected nothing less from a pastry chef in NYC. 🙂 If you happen to deliver, then I’ll place an order now. We can stay 6 feet apart of course…as long as you put this cake down and back away quickly.