This post may contain affiliate links. Please read our disclosure policy.
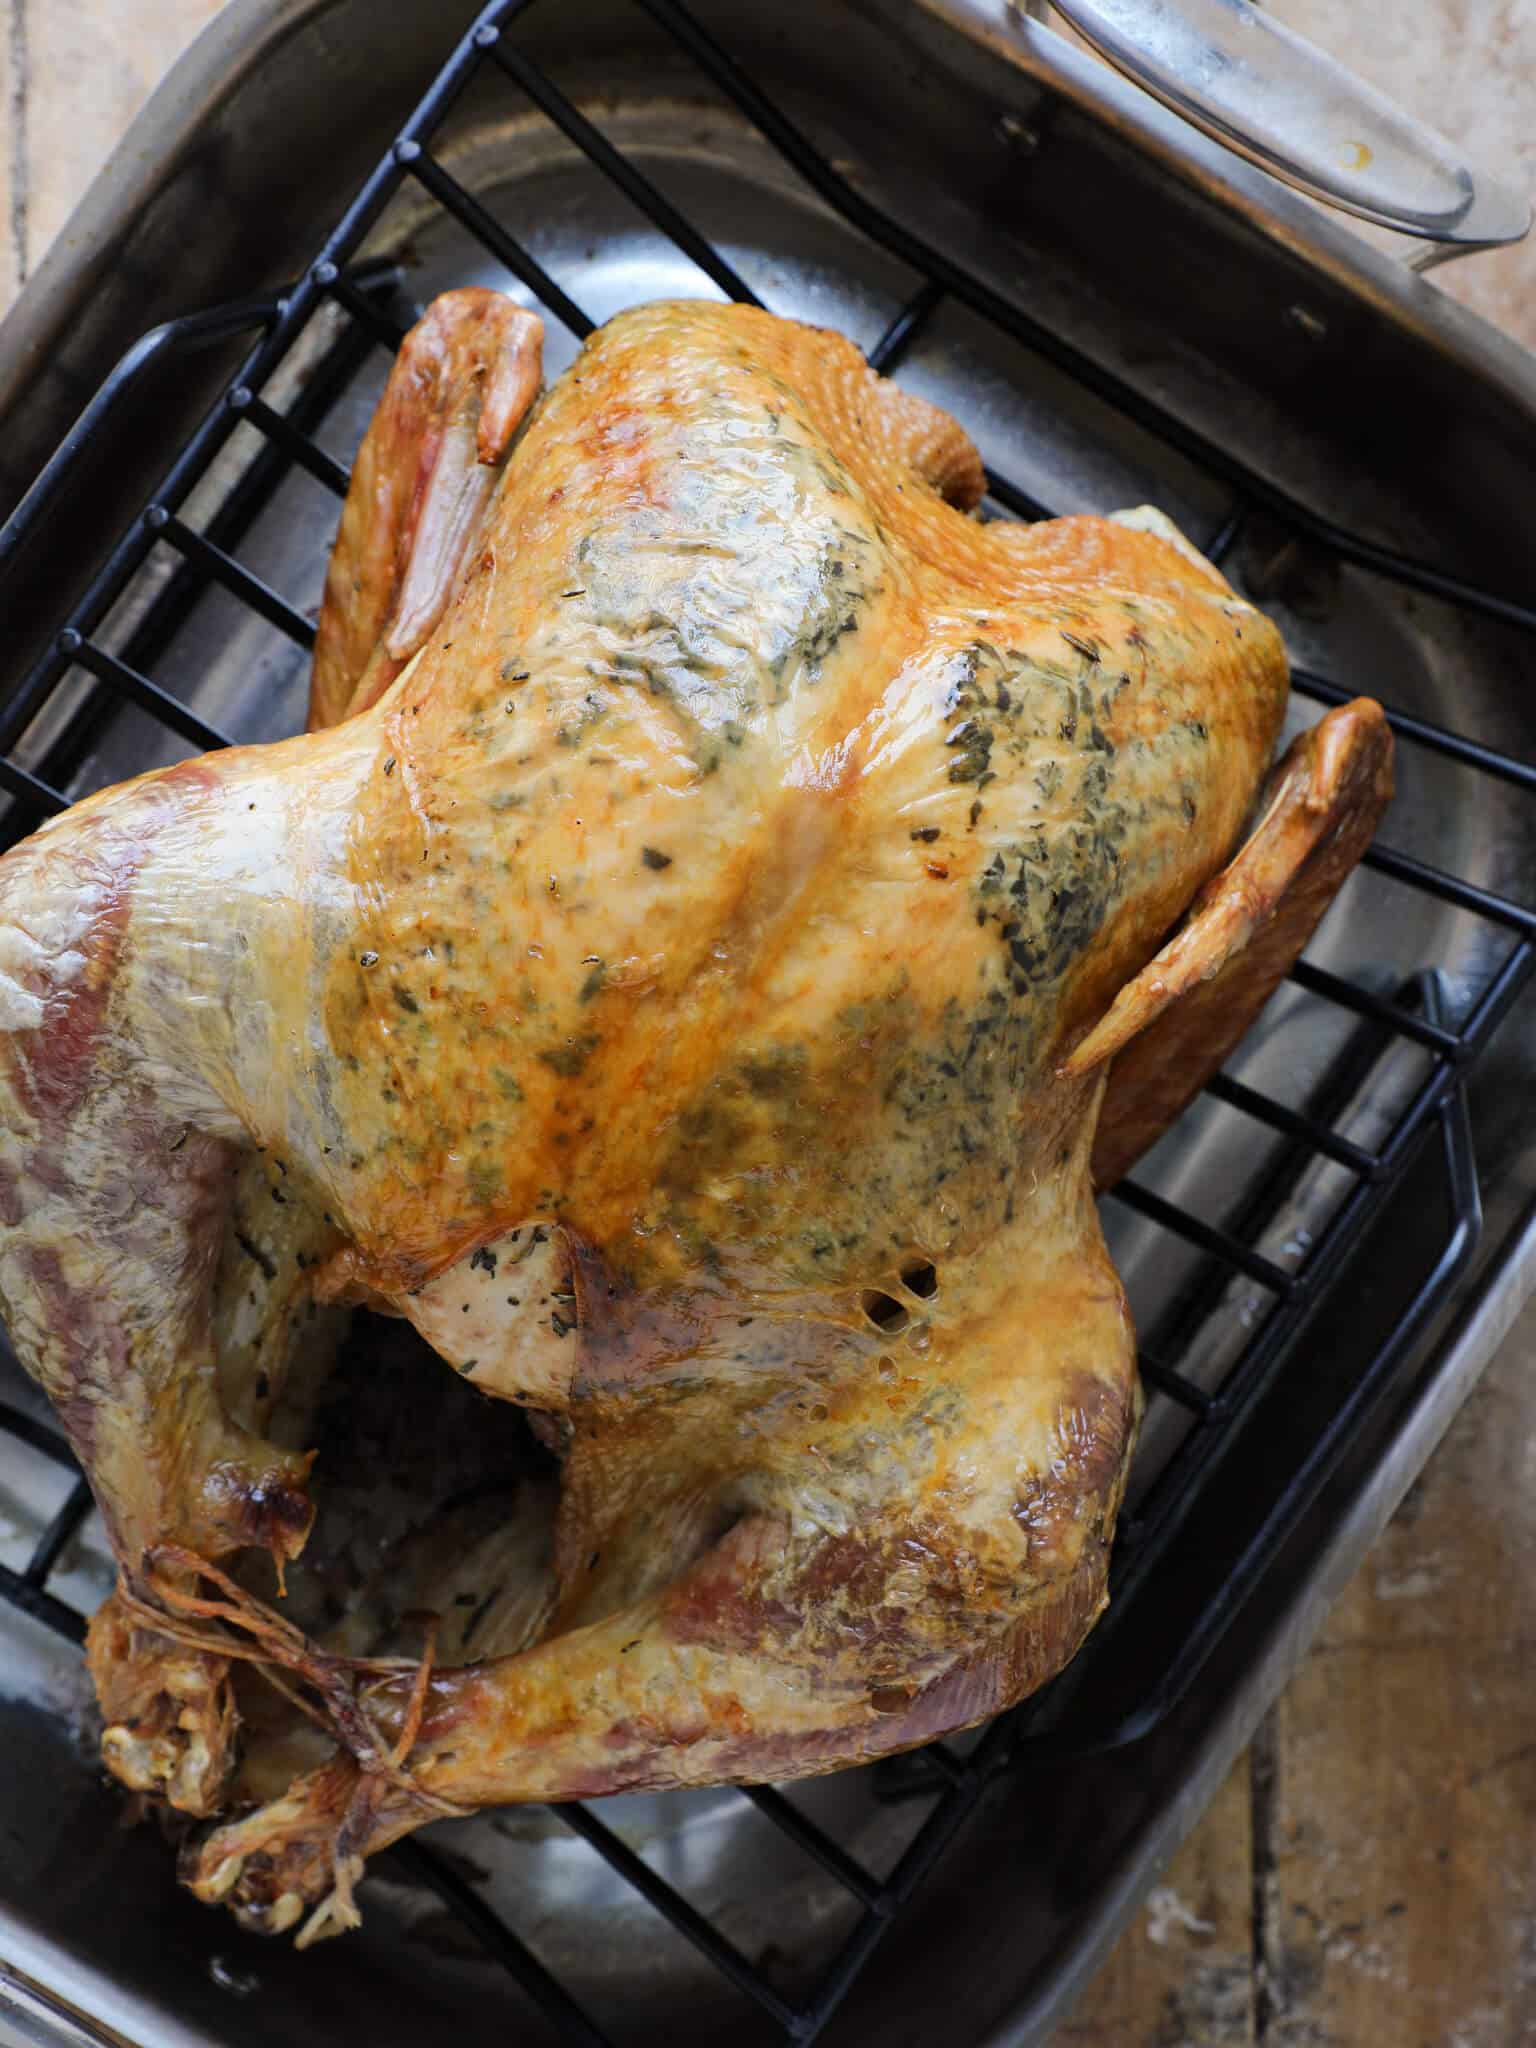
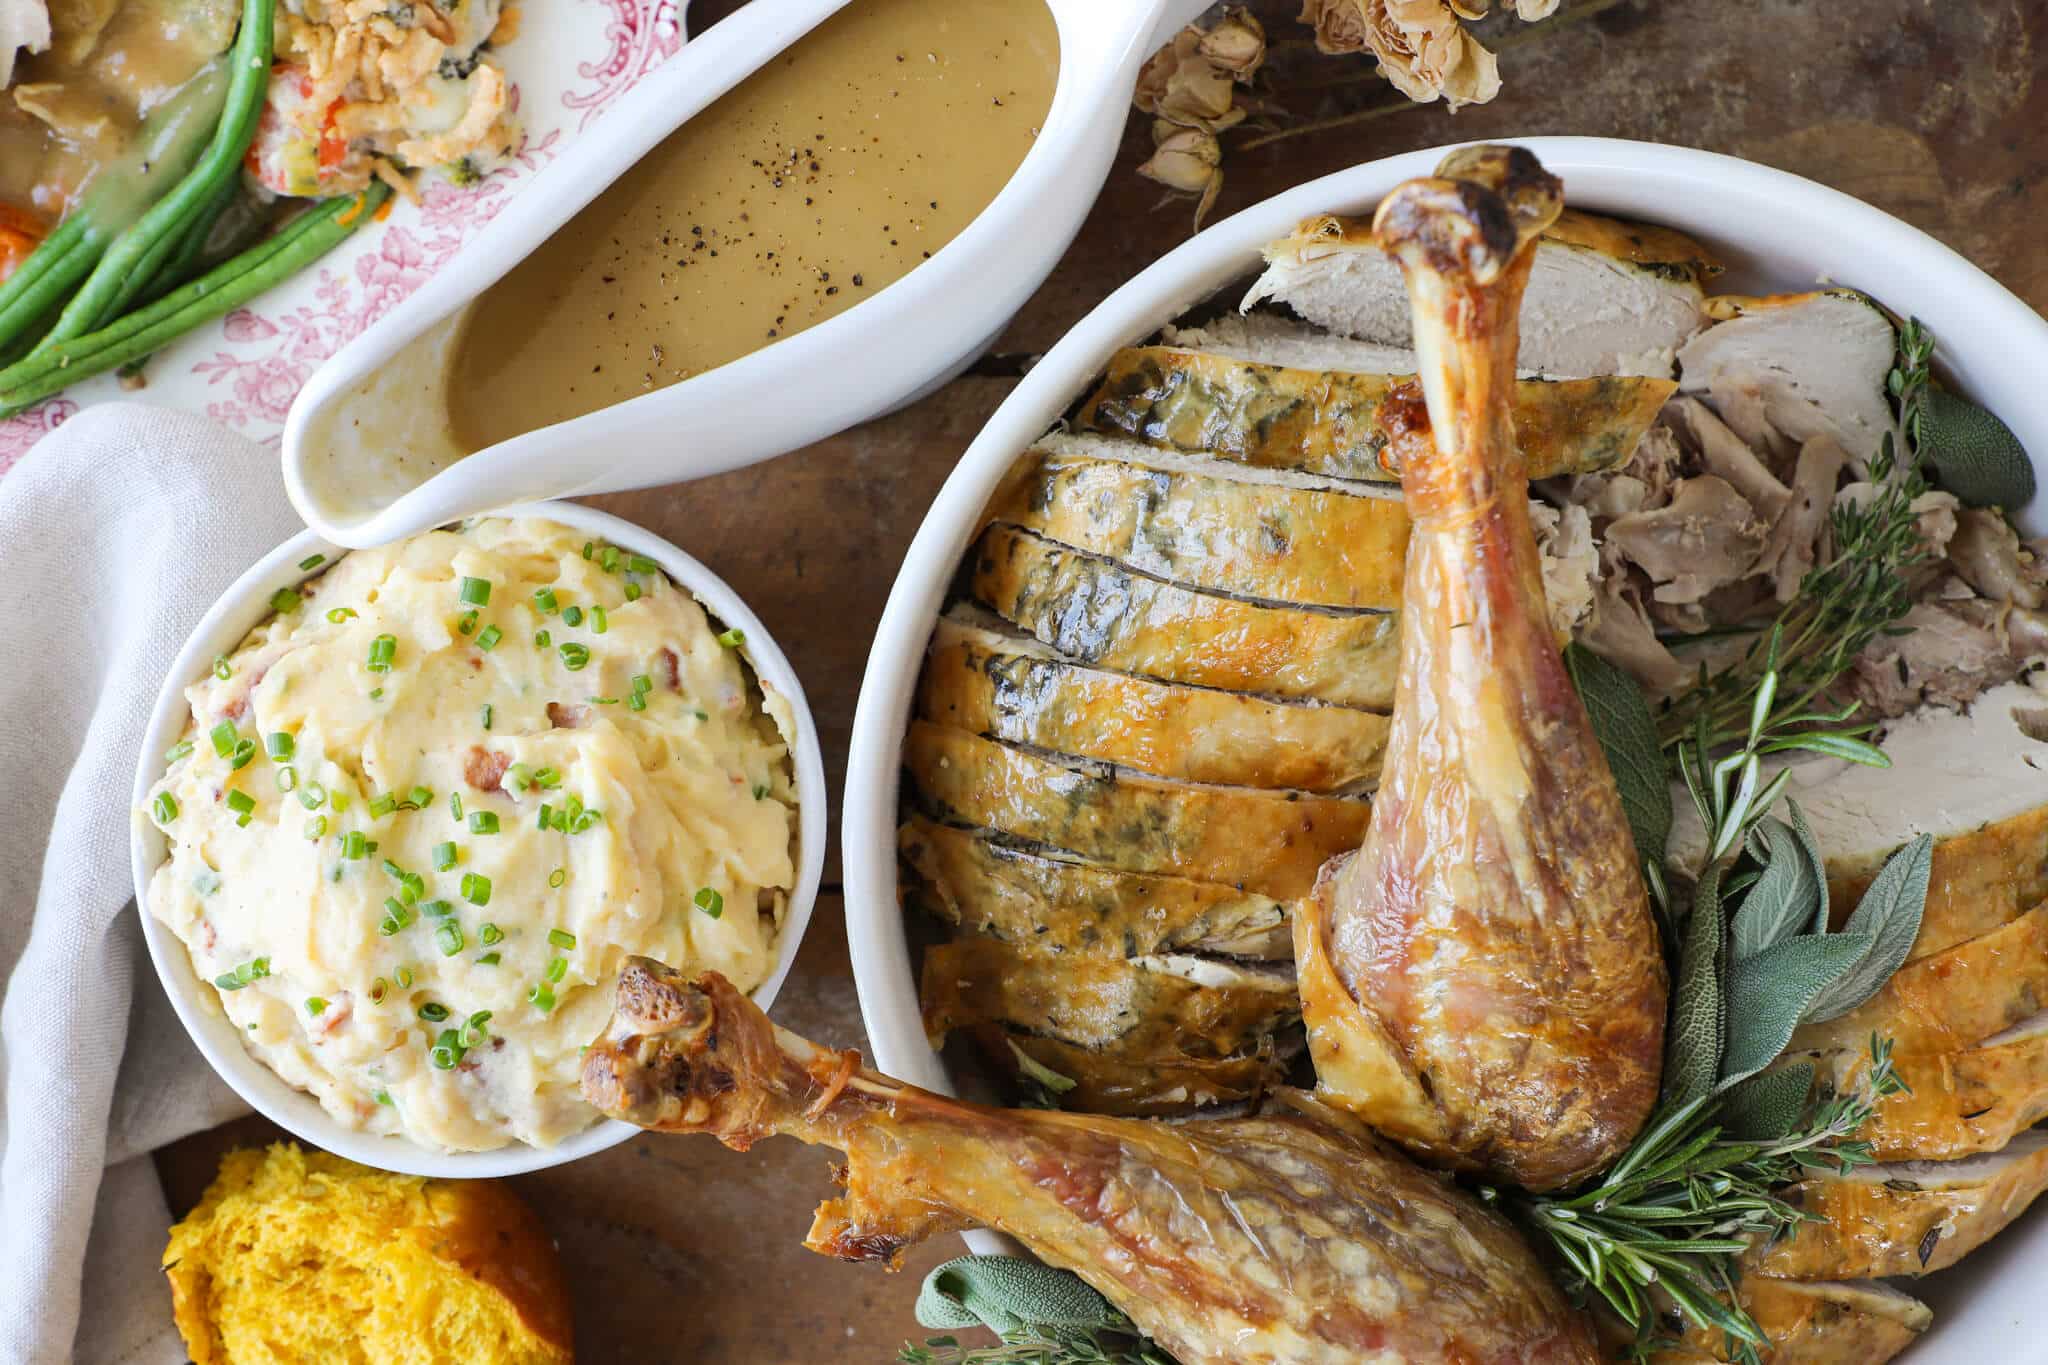
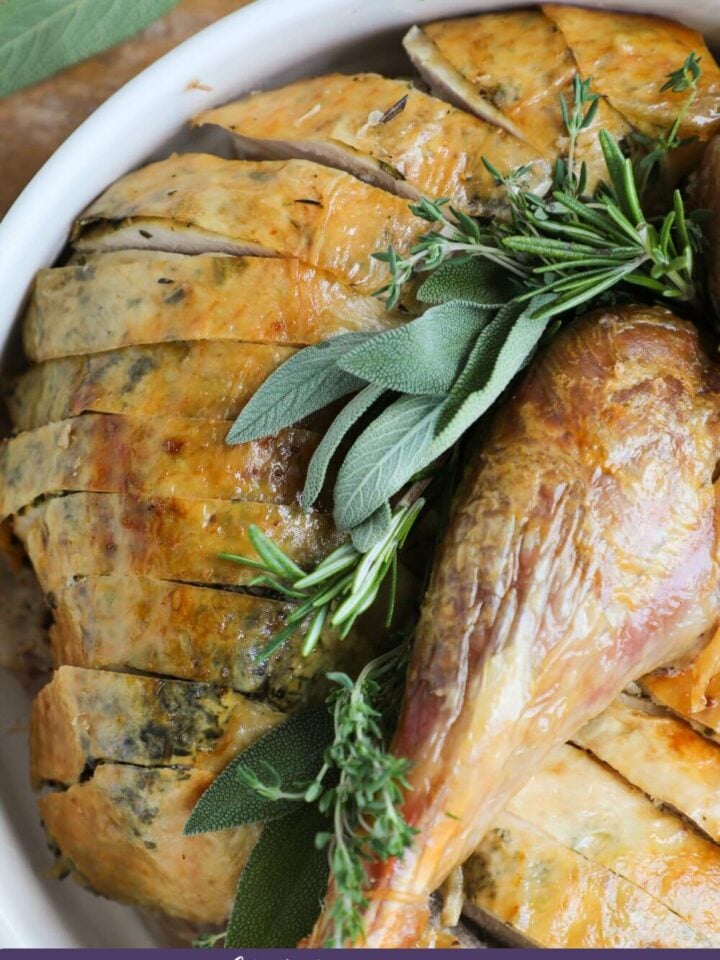
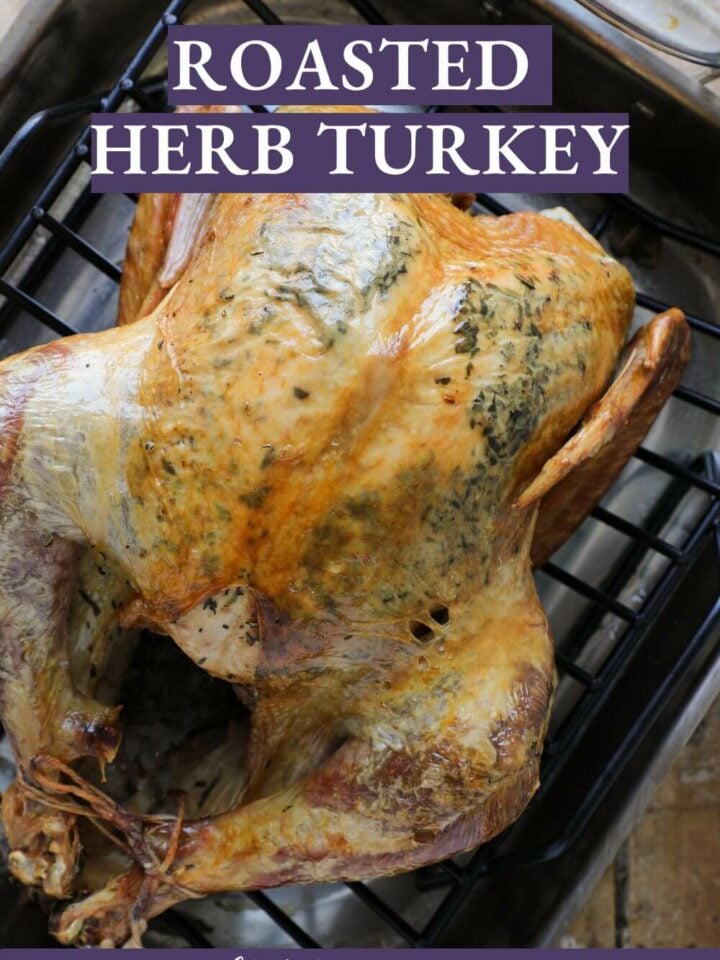
This easy Roasted Herb Turkey has chopped herbs under the skin, so you get a nice crisp turkey skin and herb-flavored turkey meat! I will show you how to roast a flavorful, moist whole turkey including all the tips and tricks for a crispy turkey skin, flavorful, moist turkey meat and a perfectly cooked whole turkey!
A Quick Look At The Recipe
This is a brief summary of the recipe. Jump to the recipe to get the full details.
Jump to RecipePrep Time
20 minutes
Cook Time
2 hours 12 minutes
Total Time
2 hours 32 minutes
Servings
6 people
Difficulty
Intermediate
Calories *
818 kcal per serving
Technique
Tuck herbs under the skin, add aromatics, baste, tent with foil once golden, and roast!
Flavor Profile
Juicy turkey infused with fragrant rosemary, sage, and thyme.
* Based on nutrition panel
This turkey was the star of my Christmas. It was incredibly moist with perfectly crispy skin, and the fresh herbs under the breast meat made all the difference! Your tip about tenting with foil after the skin browns kept everything juicy without sacrificing that gorgeous golden exterior…⭐⭐⭐⭐
Mara
At my family Thanksgiving, roasting the turkey is my Mom’s domain. She has the process down to a science and one doesn’t mess with perfection. I just make all the side dishes and desserts. Much easier in my opinion! But the benefit of being in the kitchen with her for all these decades, is that I have picked up all her tricks! Today I bring you a flavorful, moist Roasted Herb Turkey.
There is no fussing with a dry rub or brine. It saves time so that you can also make sweet potato casserole with pecans, apple sausage stuffing, and cranberry chutney! Don’t forget to save room for dessert with easy pumpkin pie, bourbon pecan pie and (yes, and) easy apple crisp!
Table of Contents
Why this is the best Roasted Herb Turkey?
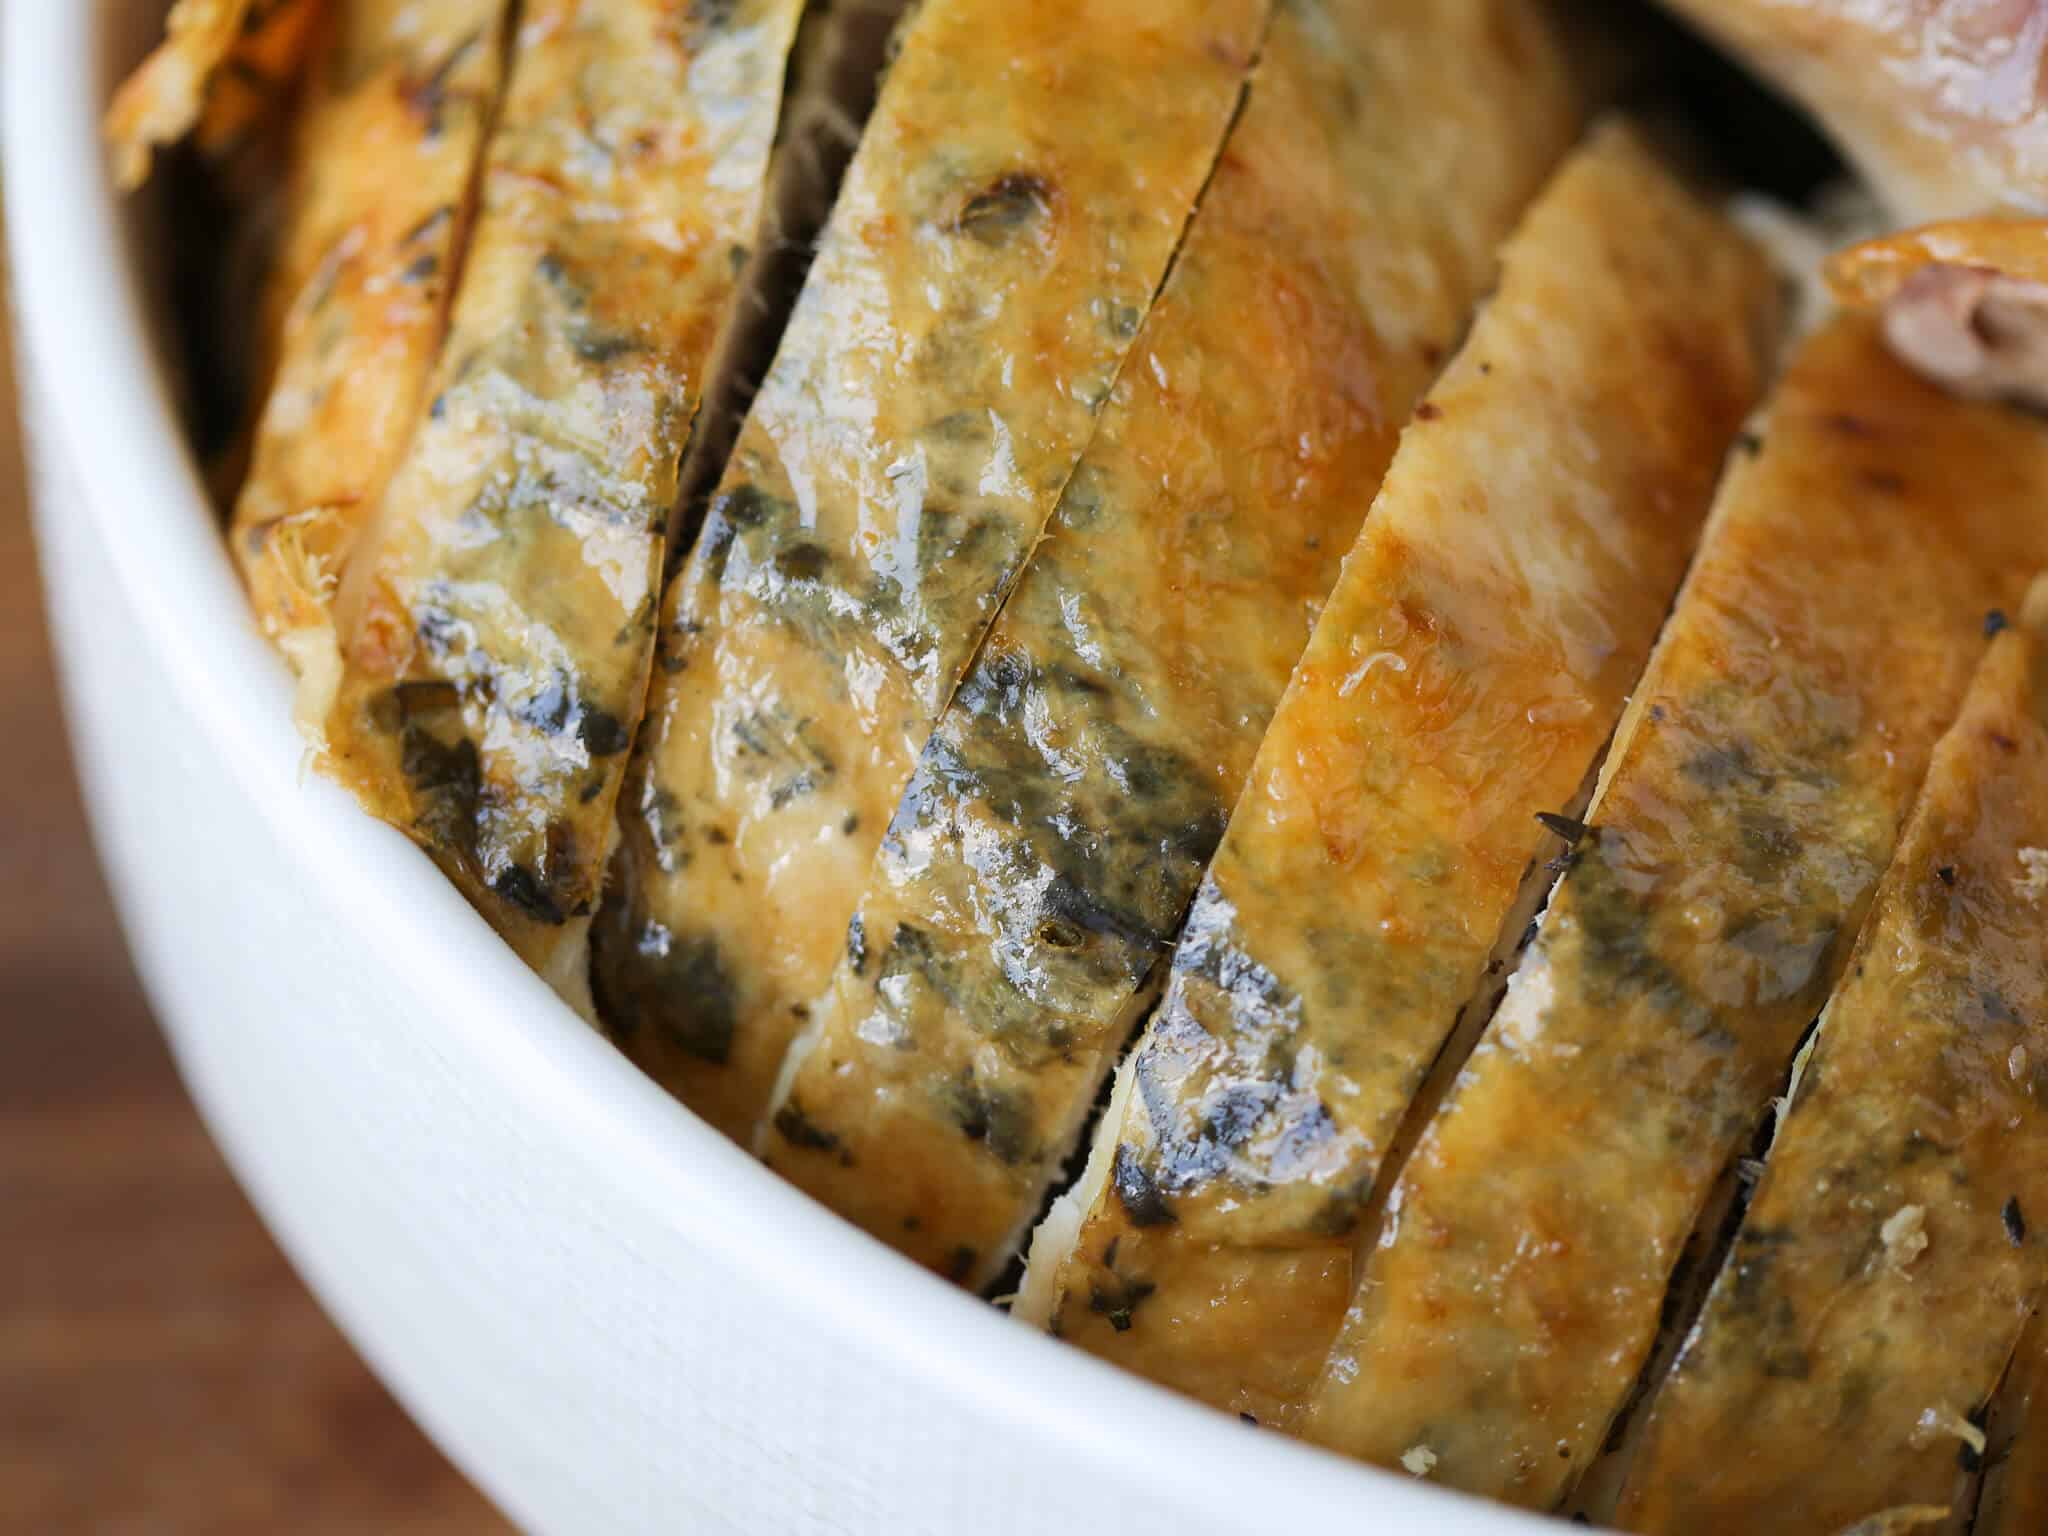
- Chopped herbs between the breast meat and the skin flavor the whole breast and not just the skin!
- Stuffing herbs and vegetables inside the turkey cavity not only flavors the turkey but also the pan drippings. This will make a particularly delicious gravy, or pan sauce like I use for my Lemon Roasted Chicken.
- Reducing the oven temperature after 15 minutes allows the skin to begin crisping while not overcooking the turkey.
- Tenting the turkey after about 45 minutes will keep the meat moist and the skin crispy!
- Basting with butter and bacon fat helps to crisp the skin, lock in moisture and flavor the roasted herb turkey.
How do you keep a whole turkey moist while roasting?
Roasting a whole turkey at 325°F convection will crisp the skin and lock in the moisture. Tenting the turkey with aluminum foil after 30-45 minutes will keep the meat moist and the skin crispy. Resting the roasted herb turkey after cooking allows the moisture to reabsorb in the meat and keep it moist. If you do happen to over cook it, don’t stress, just follow Claire’s advice on how to save overcooked turkey!
Ingredients
- Whole Turkey: Choose a whole turkey that is the right size for you and your gathering. The general rule is 1-1 1/2 pounds per person. I like to lean towards 1.5 lbs per person because we all know leftovers are the best part!
- Fresh Rosemary: Prepare fresh rosemary by picking the leaves of the stems. I run my thumb and pointer-finger down the thick stem from the top to bottom. This removes most of the leaves. Then pick the remaining leaves off. Gather and chop!
- Fresh Sage: Prepare fresh sage by picking the leaves off the stems. Gather a few together and roll into a spiral as you would basil. Slice with a sharp knife using a rocking motion to chiffonade then run your knife through the other way for a fine mince.
- Fresh Thyme: Prepare fresh thyme by picking the delicate leaves off the stem. You can try running your thumb and forefinger down the stem to remove as many as possible, but picking thyme, unfortunately, takes some time.
- Yellow Onions: Yellow onions are a bit milder than white onions. They still pack all that powerful onion flavor for your roasted herb turkey! White onions can also be used interchangeably.
- Bacon Fat: This is the fat rendered (or released) by bacon as it cooks. I like to save bacon fat in a jar to use to cook eggs, baste turkey or use in place of another cooking oil. It is an easy way to add a ton of flavor.
- Butter: Unsalted butter allows you to control how much salt is going into the turkey, so you can salt it just how you like it.
- Kosher Salt: Not only does the kosher salt heighten the flavor but it helps keep the turkey tender. Don’t omit completely.
- Cracked Black Pepper: Freshly cracked black pepper will add a little depth and heat if you add enough! It is completely to your taste.
- Chicken Stock: Just as in my ground turkey soup, I use my homemade chicken stock or an unsalted organic chicken stock. Some store-bought stocks have a lot of salt and this can make your gravy too salty when combined with the drippings.
Frequently Asked Questions
Adding water or stock to the bottom of the roasting pan will keep the pan drippings from burning on the bottom of the pan. This will allow you to capture all the flavors for a delicious gravy. It will also make the pan easier to clean!
Roast a turkey at 325°F convection or 350°F conventional. The convection fan moves the heat around the oven, which cooks the turkey more evenly and also crisps the skin!
I put aluminum foil over the top of a roasting turkey after the skin has started to brown. This protects the skin from burning and the breast and leg meat from drying out. It will not make the skin soggy.
Store roasted herb turkey in a sealed, air-tight container in the refrigerator for 4 days or 1 month frozen. Never leave cooked poultry sitting out at room temperature for longer than two hours.
What to serve with Roasted Herb Turkey?
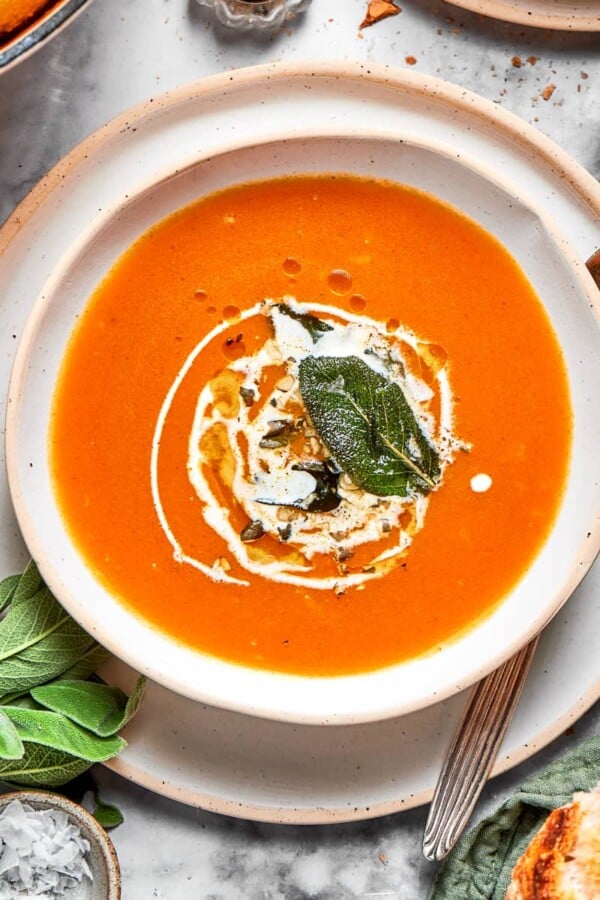
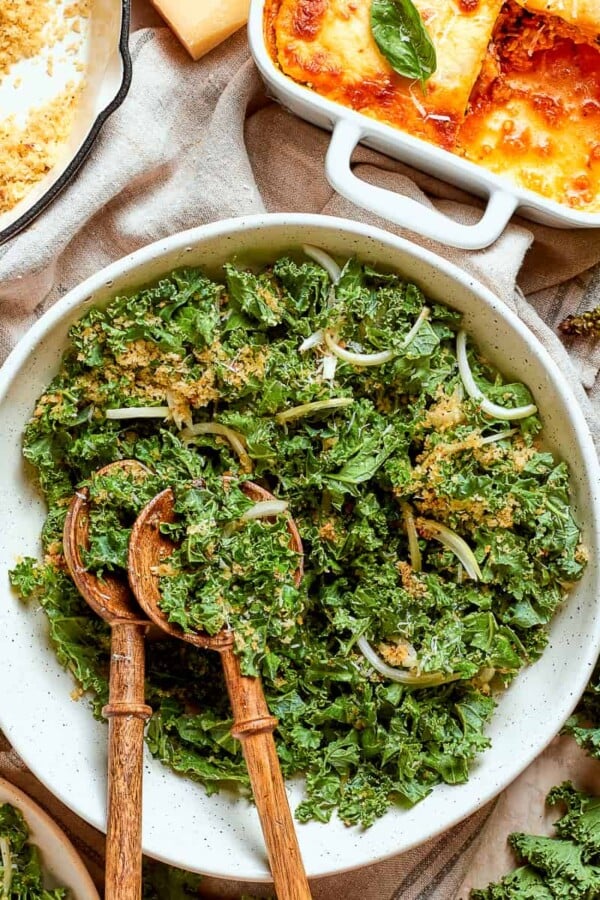
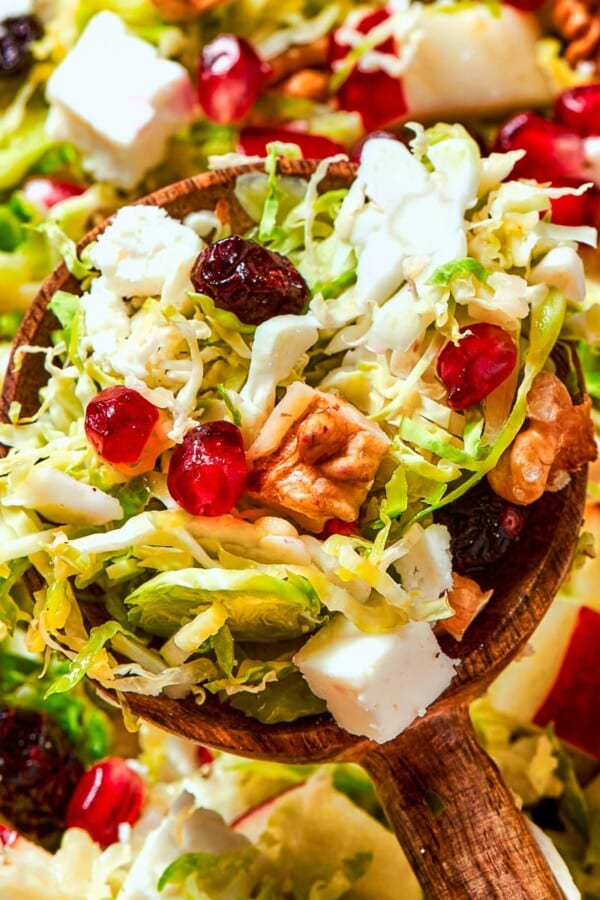
This roasted herb turkey was part of my easy Thanksgiving dinner menu and a staple at a traditional Thanksgiving dinner, but it would also be delicious at any meal! Serve with roasted cauliflower, creamy mashed potatoes, easy dinner rolls, and, of course, my easy gravy made from the pan drippings!
No Thanksgiving dinner would be complete without a festive cocktail! Try this Thanksgiving Sangria at your next Thanksgiving dinner or right now. You should also make more than you need so you have extra for to substitute turkey in this chicken pot pie or make this easy turkey ala king!

Roasted Herb Turkey
Ingredients
- 1 Whole Turkey of any size
- 2 tablespoons Fresh Rosemary picked and chopped
- 2 tablespoons Fresh Sage picked and chopped
- 1 tablespoon Fresh thyme picked
- 1 onion peeled and halved or quartered
- Additional herbs if desired for the turkey cavity
- 2 tablespoons bacon fat melted, optional
- ¼ cup butter melted
- Kosher salt to taste
- Cracked Black Pepper to taste
- 1 cup Turkey or Chicken stock plus more as needed. My Homemade Chicken Stock Recipe is the way to go!
Instructions
- Preheat oven to 400°F
- Dry off the turkey. I like to let it sit in the refrigerator for the final 12 hours uncovered. This allows the skin to dry and it will get crispier in the oven.
- Place turkey, breast side up, in a roasting pan fitted with a roasting rack or a rimmed baking sheet fitted with a wire rack. Remove the packet of gizzards from the turkey’s body cavity. You can stuff them back inside, chop them up and use them in a stuffing, or you can cook them in some stock for you, your pets or to enrich your gravy.
- Using kitchen twine, tie the turkey’s legs together. I use make several figure 8’s around the legs and then tie it off into a bow, but anything will work as long as the legs stay together!
- Gently loosen the skin from the breast meat by running your hand between them. Use a sweeping motion with your fingers to break that connective tissue and free the skin. Try not to tear it. The skin is the protective barrier and our first line of defense against a dry turkey.
- Once loosened, shove the chopped herbs between the breast meat and the skin. You could always put some butter in there to self-baste, but that is up to you.
- Tuck the turkey’s wings under the thighs to keep the wing-tips protected. They burn easily and have a tendency to overcook.
- Shove whatever leftover vegetables and herbs you have inside the turkey cavity. I like to use onions, carrots, leek tops and herbs. This is optional but also a great way to add more flavor to the turkey and the turkey drippings (aka your gravy!).
- Brush the outside of the turkey with melted bacon fat. This is optional. You could use olive oil or melted butter instead. Just don’t forget that whatever you put on the turkey will end up in the pan drippings and then in your gravy, if you are making gravy.
- Sprinkle with kosher salt and cracked black pepper.
- Pour chicken or turkey stock in the bottom of the roasting pan. Depending on the size of the pan, you can use more. You want to cover the bottom, which will keep the drippings from burning.
- Bake in preheated oven for 15 minutes and then reduce temperature to 325°F convection or 350°F conventional. Continue cooking until and instant read thermometer registers the temperature of the thickest part of the thigh as 165°F. The general rule of thumb is 13 minutes per pound at 350°F for an unstuffed turkey.
- After 45 minutes I baste my turkey with a bit of melted butter. This is optional.
- Add more stock or water as needed to keep the bottom of the pan from drying out. As the cooking progresses, there will be juices and fat that drip from the turkey and you won’t need to add as much.
- Once the skin begins browning, I cover the whole turkey with aluminum foil. This will allow the turkey to continue to cook without the skin burning or the breast and leg meat drying out.
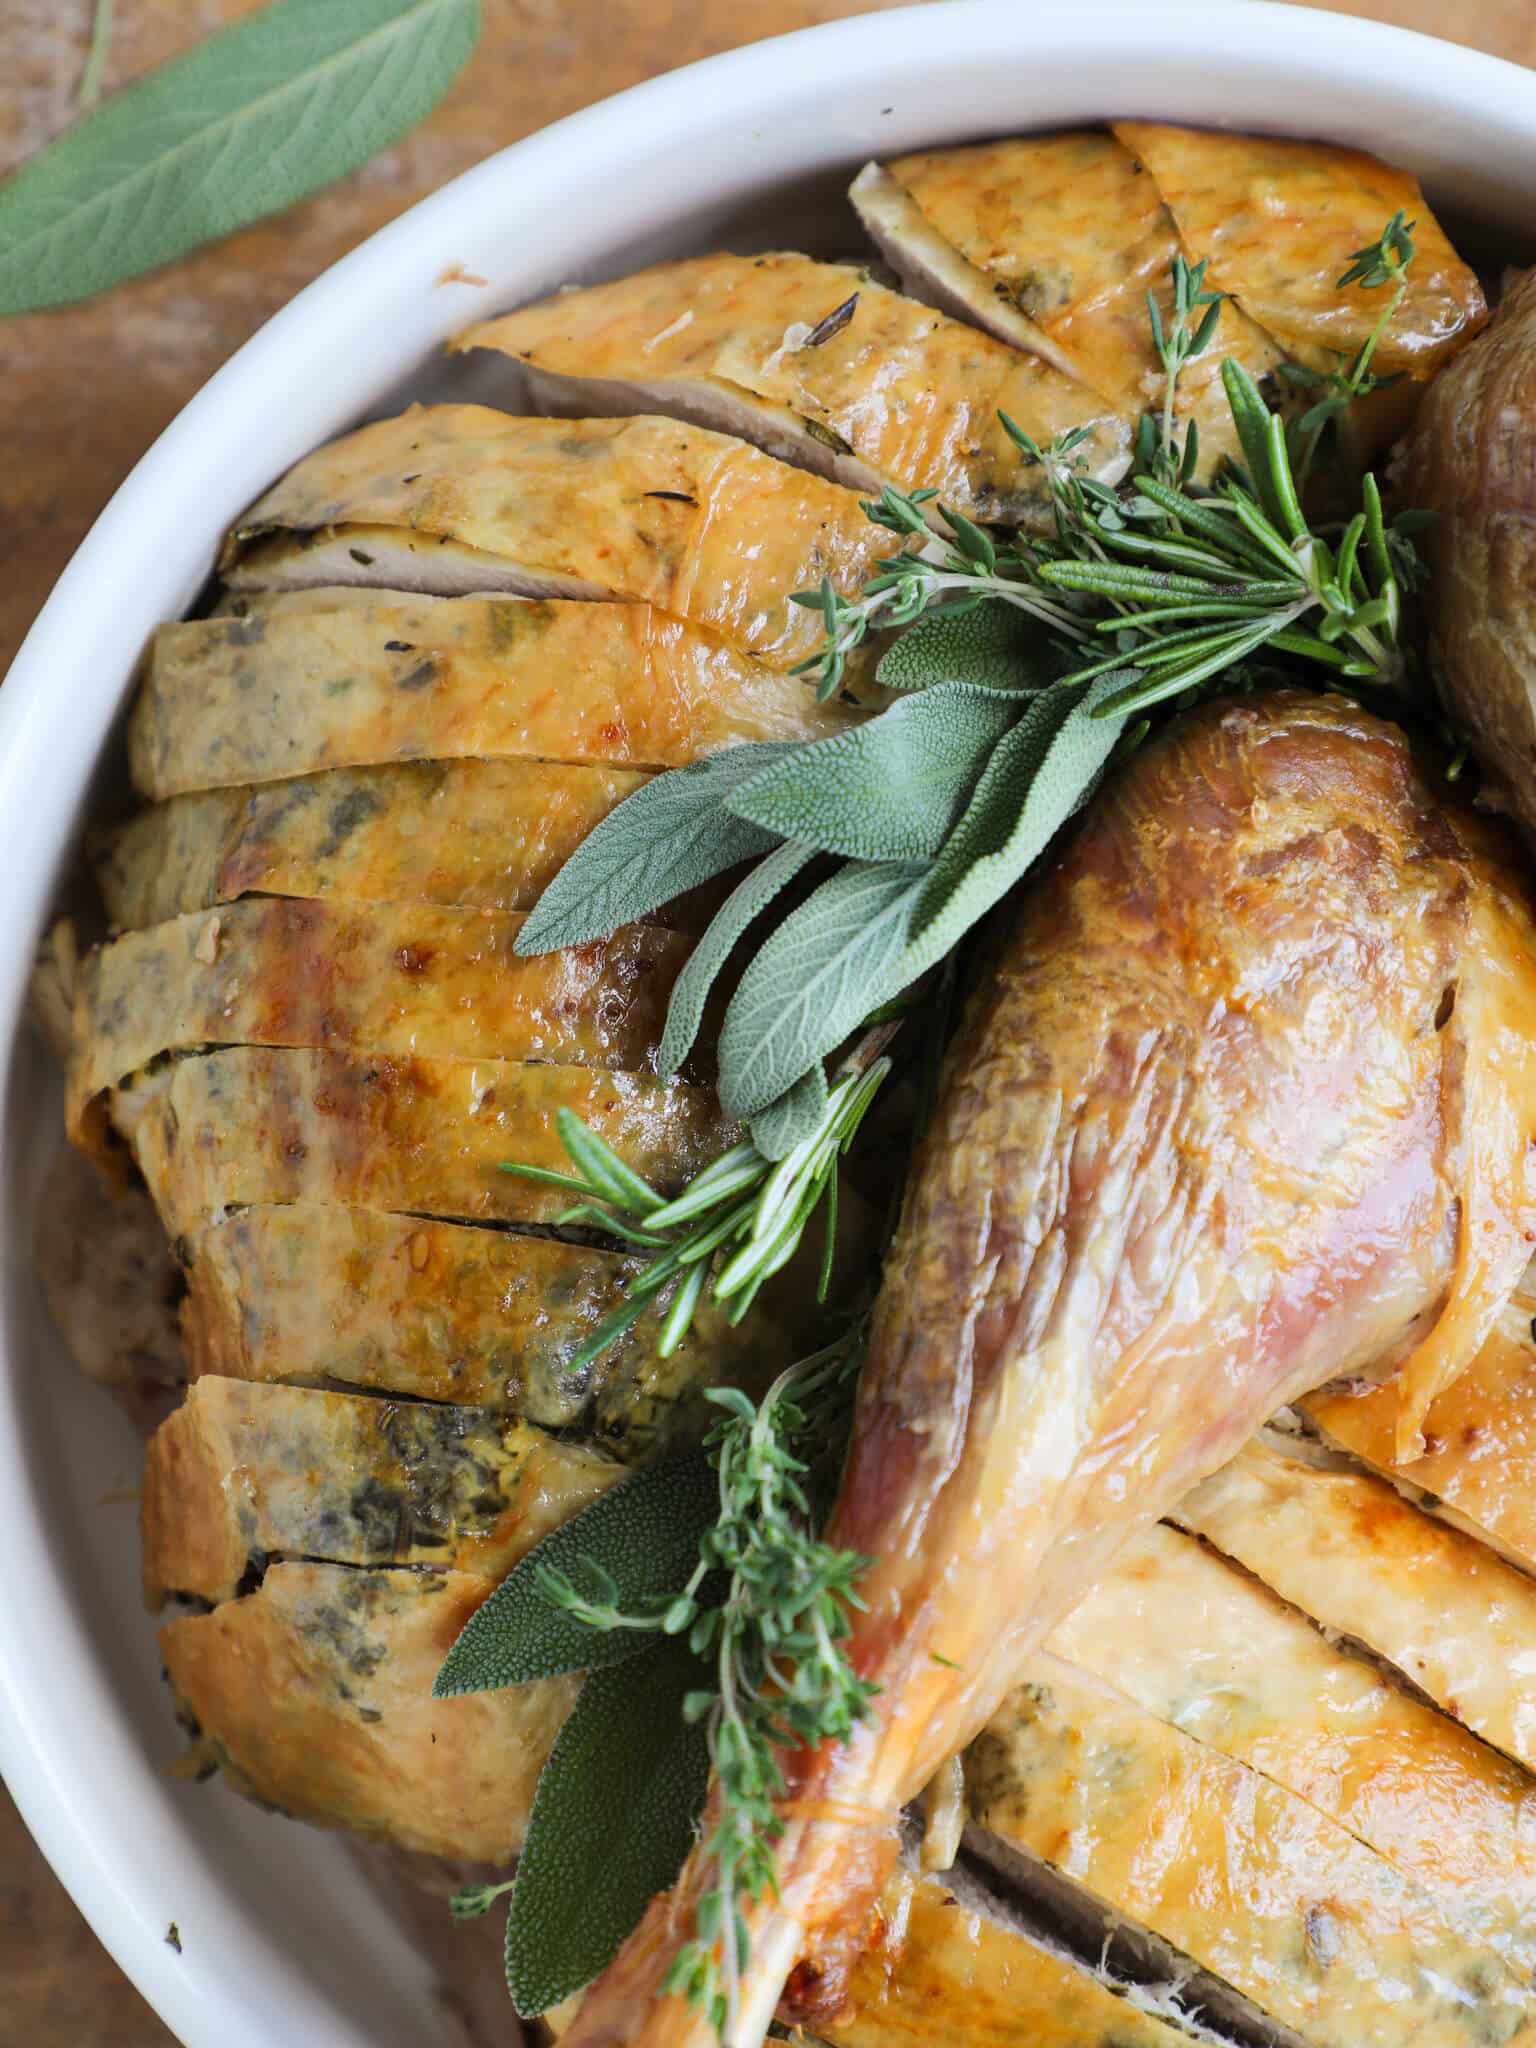
- Once the turkey is done, it needs to rest about 20 minutes before slicing. This allows the juices to reabsorb and distribute throughout the meat, which will keep it from being dry.
- Make my easy gravy from pan drippings next!
- If you are not making gravy, the turkey can rest in the roasting dish. If you are, then you will need to remove the turkey from the roasting pan. You can remove the whole rack if using a roasting pan and rack insert, otherwise you will need to carefully remove the bird from the wire rack set inside a rimmed baking sheet. This can be done with tongs, large serving forks or those turkey forks that look like pitch forks.
- Check out my Turkey Carving Tutorial for all the easiest tips and tricks!
Video
Nutrition
Before You Go!
Check out our other delicious, chef-developed Dinner Recipes or dive into all our Thanksgiving dinner recipes!


This turkey was the star of my Christmas. It was incredibly moist with perfectly crispy skin, and the fresh herbs under the breast meat made all the difference! Your tip about tenting with foil after the skin browns kept everything juicy without sacrificing that gorgeous golden exterior. My family has already declared that I have to make the turkey every year now, opps!
Cooked it. Love it !
Thank you and Happy Thanksgiving Chef.
You are most welcome! Happy Thanksgiving to you as well!
Happy to hear it! Thanks for stopping by and commenting!