This post may contain affiliate links. Please read our disclosure policy.
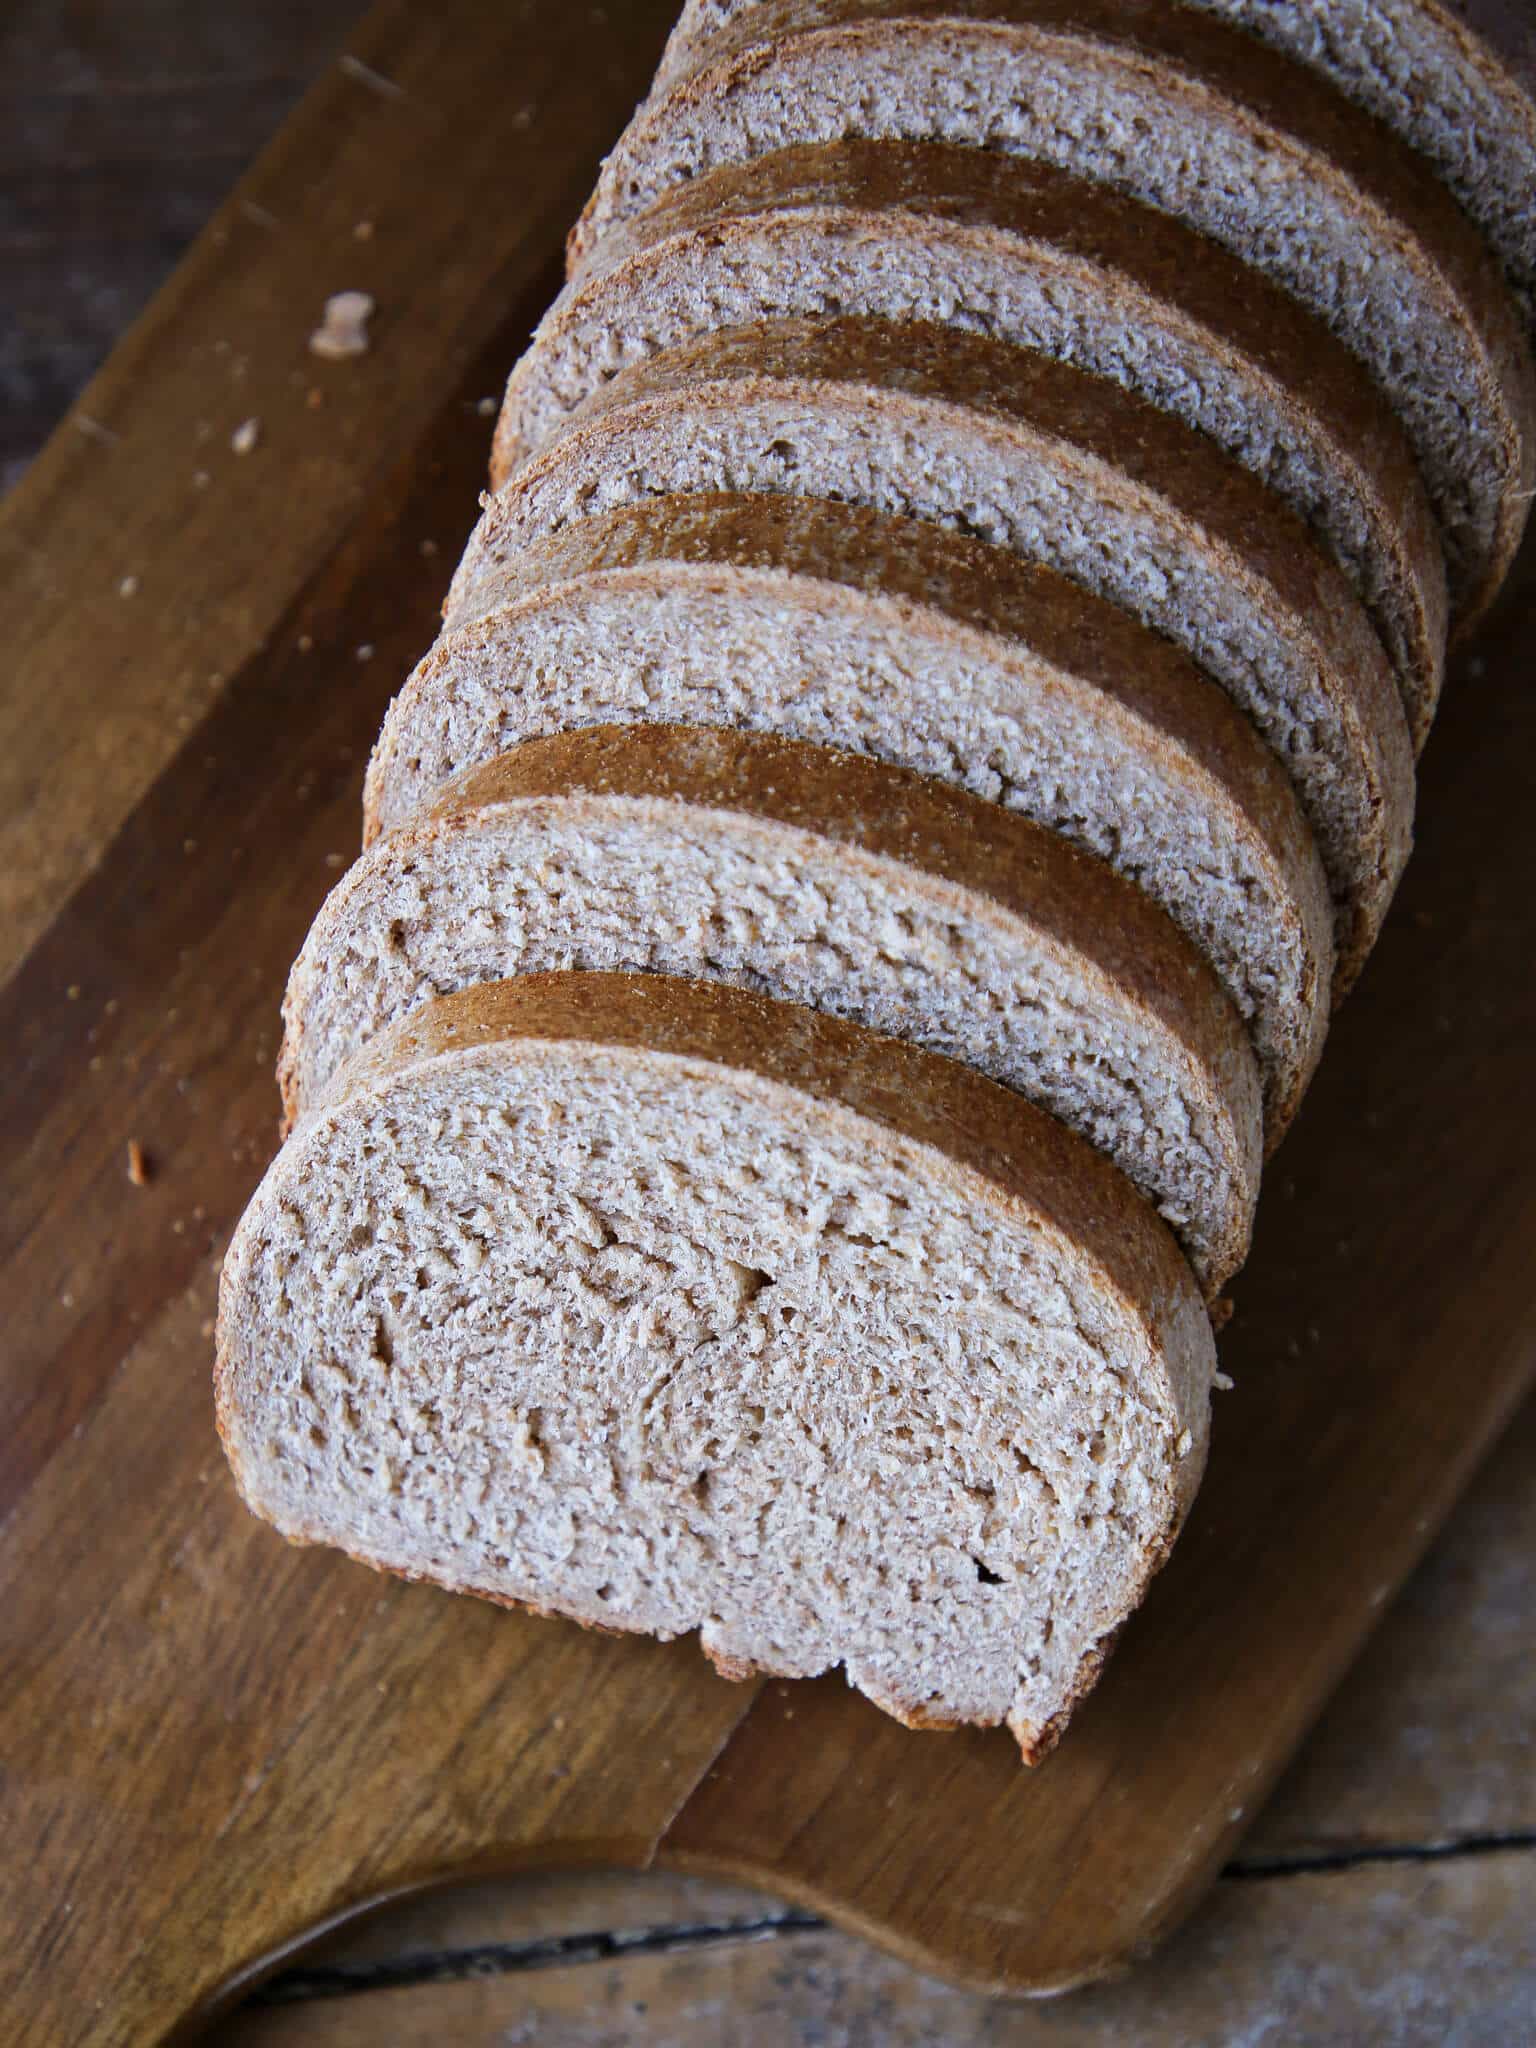
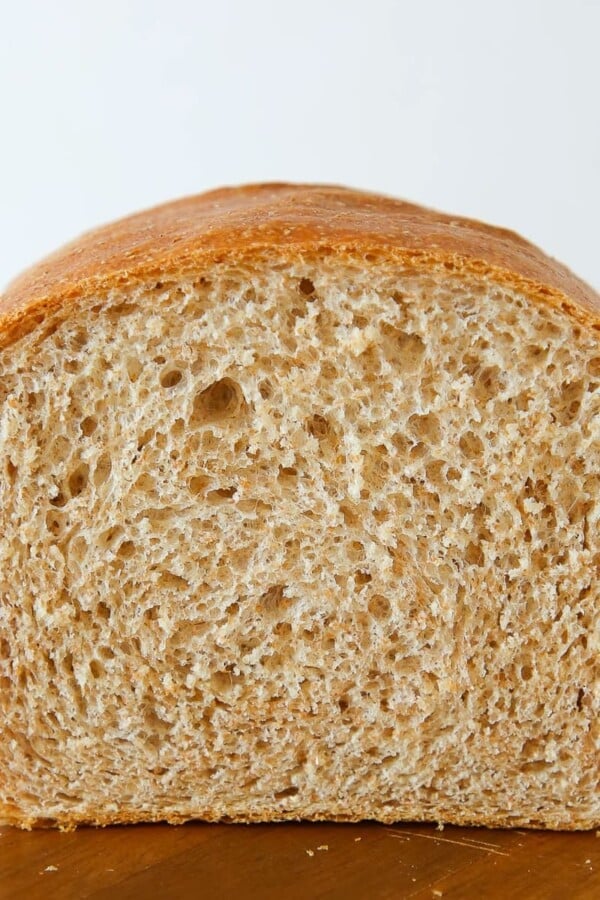
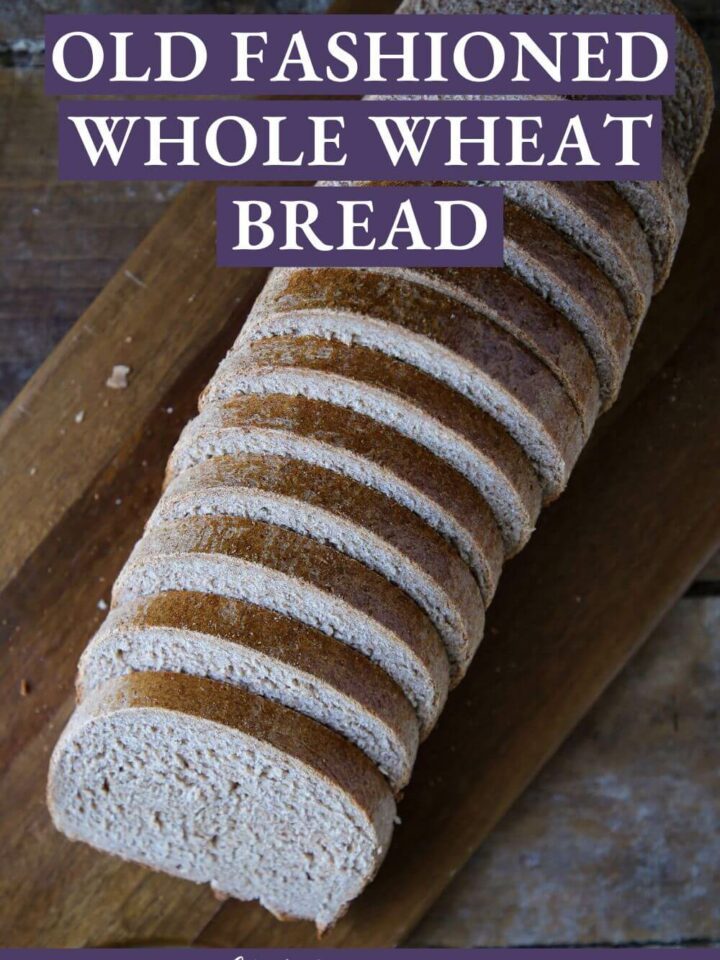
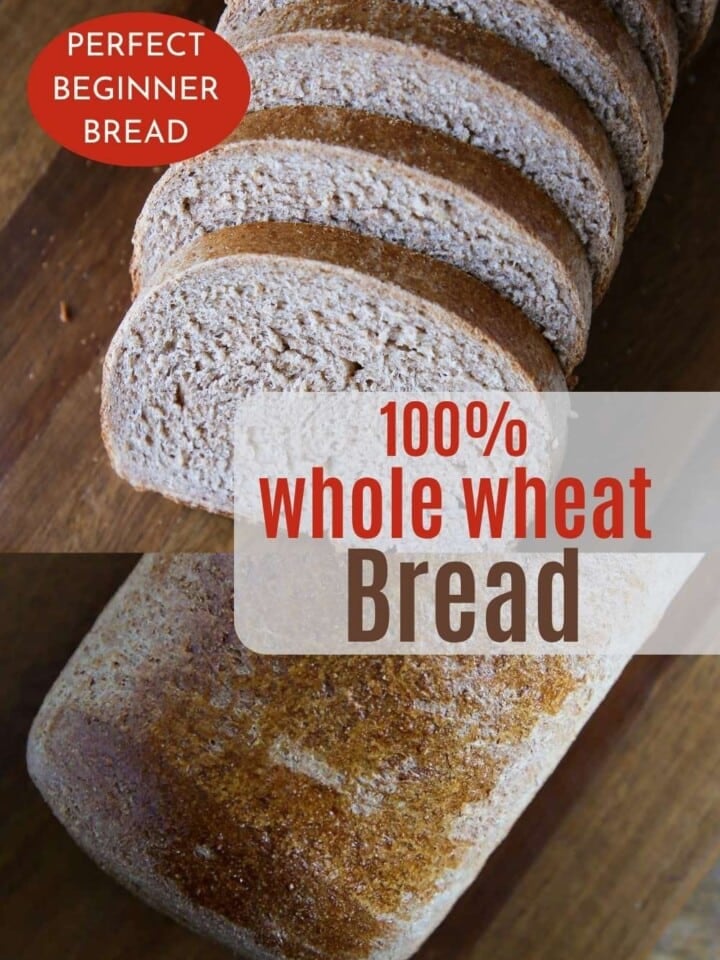
Old-fashioned 100% Whole Wheat Bread is hearty, slightly sweet, and perfectly chewy inside. This easy recipe is a great way to start baking homemade bread!
A Quick Look At The Recipe
This is a brief summary of the recipe. Jump to the recipe to get the full details.
Jump to RecipePrep Time
30 minutes
Cook Time
1 hour
Proof Time
2 hours
Total Time
3 hours 30 minutes
Servings
24 slices
Difficulty
Moderate (easy steps!)
Calories *
115 kcal per serving
Technique
Mix, proof, shape, and bake until golden and sounds hollow when tapped.
Flavor Profile
Hearty, slightly sweet, and chewy with a wholesome wheat flavor.
* Based on nutrition panel
Featured Comment
⭐⭐⭐⭐⭐I made this recipe exactly as written, and the loaves came out hearty and flavorful with a great chew. I love that they’re 100% whole wheat but still soft enough for sandwiches. One went straight to the freezer and the other disappeared by the next day! -Lauren
Why You Will Love This
- Balanced Flavor. Adding sugar, milk, and shortening to the dough adds a bit of richness to balance out the intensity of the whole wheat flour.
- Perfectly soft on the inside with a crisp crust. The added fat from the milk and shortening helps create a soft and tender inside, while the sugar and flour form the crisp crust.
- It’s nutritious and delicious. Whole wheat flour adds extra nutrients and a slightly nutty flavor to the bread. The added bonus of making your bread homemade is that you control what is in it!
Table of Contents
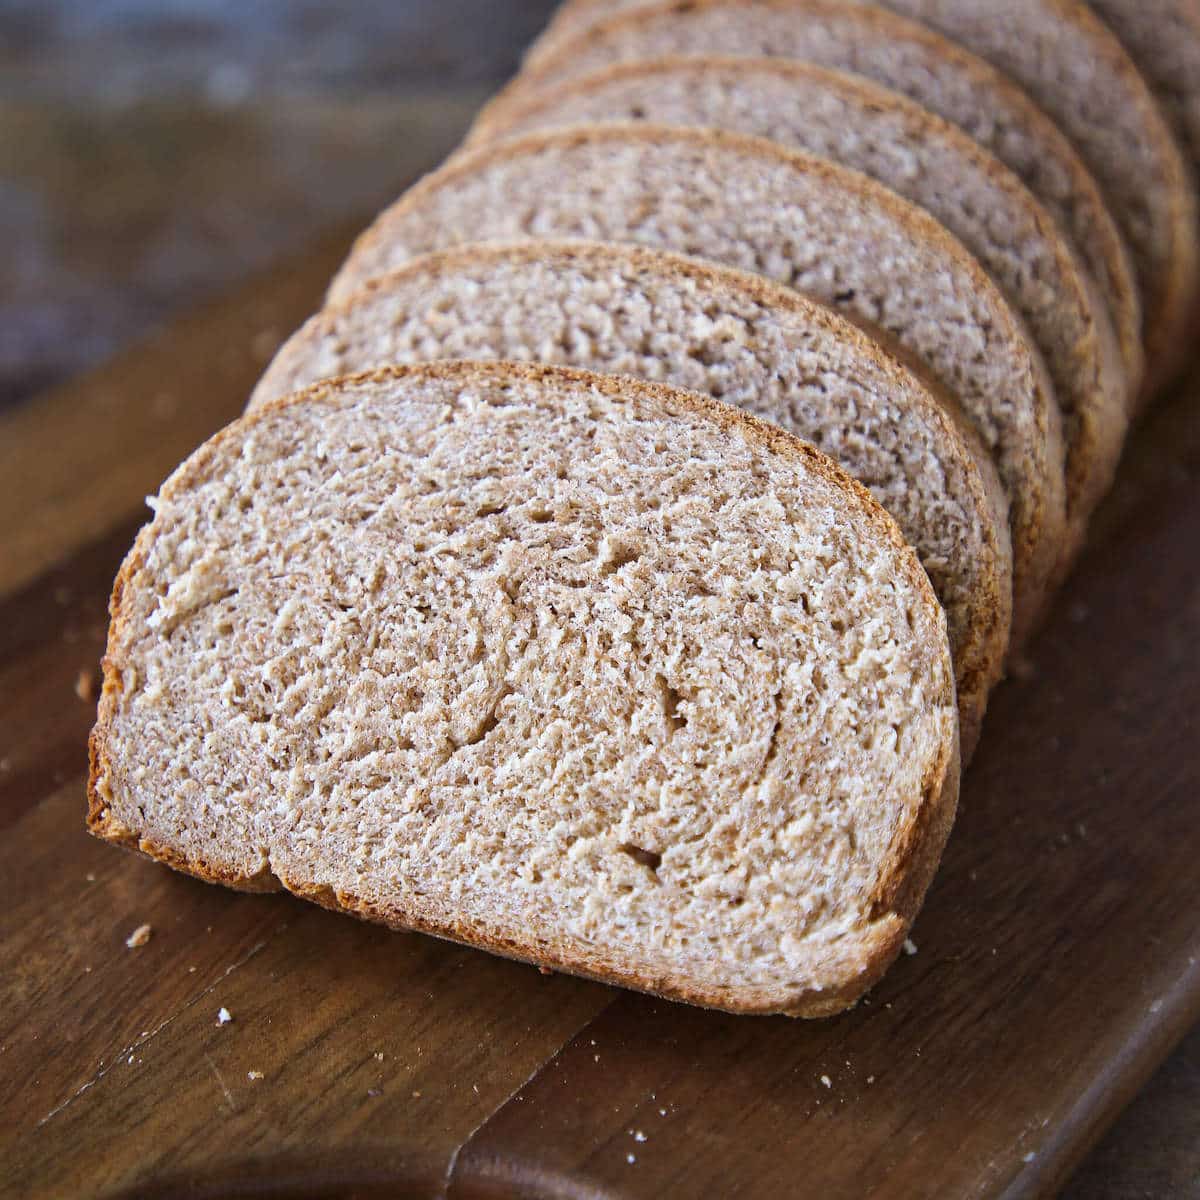
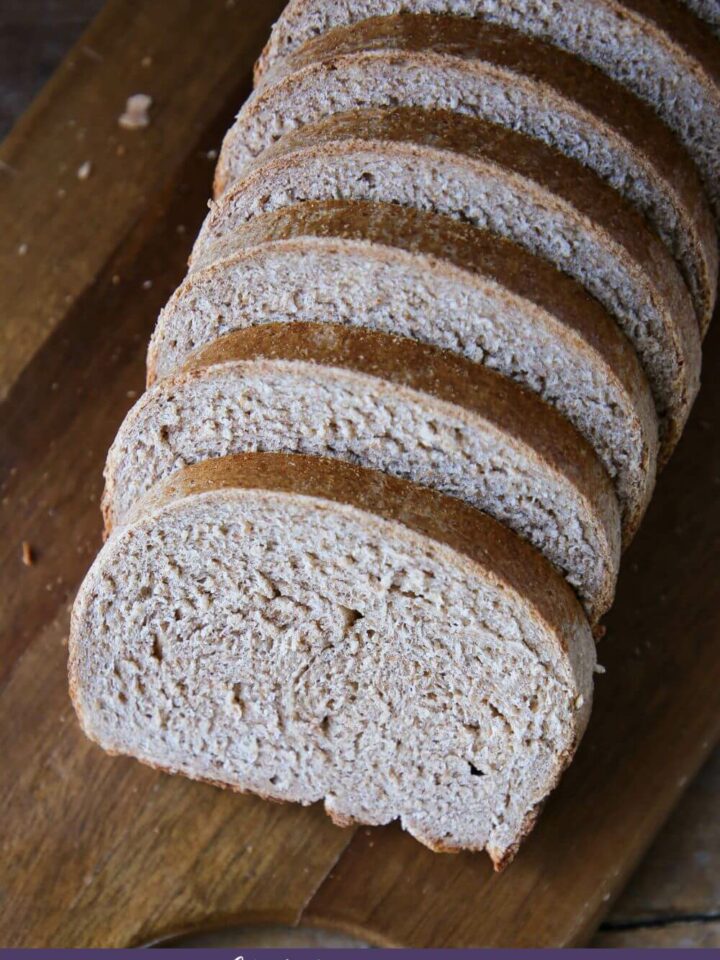
This historic recipe is adapted from the 1939’s American Woman’s Cookbook. This whole wheat bread has the perfect consistency: not too dense and not too airy. The crust is crisp, while the inside is moist and chewy.
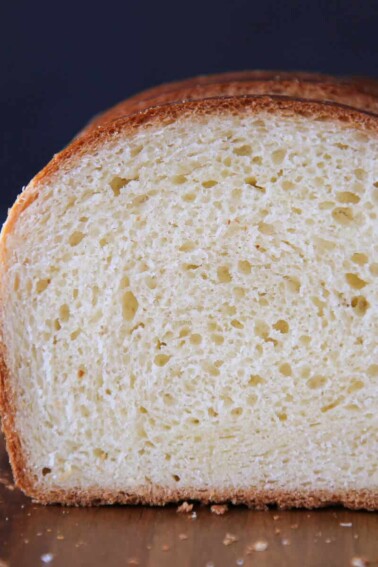
Whole wheat flour is so versatile. You can use it to make these delicious and healthy whole wheat pancakes or banana bran muffins for breakfast. You could also make my whole wheat sandwich bread, whole wheat rolls, or this whole wheat sourdough bread for lunch or dinner!
Ingredients & Substitutions
- 2% Milk & Water
- Granulated Sugar: Granulated sugar is food for the yeast and helps offset the sourness of 100% whole wheat breads. The bread is slightly sweet, so reduce the sugar by a tablespoon or two if you prefer a less-sweet loaf.
- Shortening: Shortening, such as Crisco, adds fat and inhibits gluten development, making the bread tender. You can substitute butter or coconut oil.
- Kosher Salt
- Dry Active Yeast: Dry active yeast requires an added step of hydration, but it is fast and controllable. If you don’t have it, you can substitute double the weight of fresh yeast or half the weight of instant yeast. If using either fresh or instant, you can add it straight to the dough.
- Whole Wheat Flour: I prefer either King Arthur or Bob’s Red Mill Whole Wheat Flour. Every brand has a slightly different flavor and texture depending on its grinding process.
See the recipe card for full information on ingredients and quantities.
Variations
- You can change the sweetener. You can make this bread with light or dark brown sugar. Try making it with some local honey, like in the whole wheat rolls, or try with molasses, like in this raisin bread recipe. You can also use real maple syrup for a faint hint of maple.
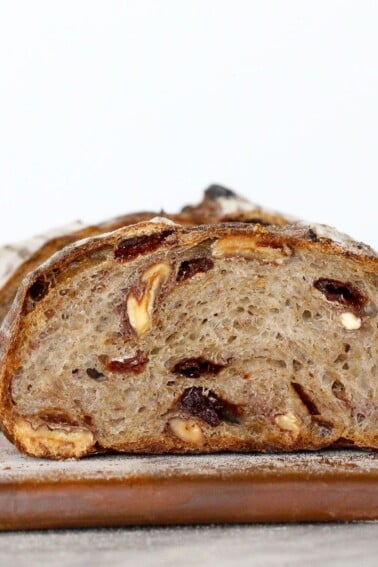
- Add in some mix-ins. Flavor this bread with dried fruit, or use fresh chopped herbs like these sourdough rolls made with my homemade sourdough starter recipe. You can also use a combination of nuts and dried fruit, like in this cherry sourdough bread!
- Make it with seeds or other whole grains. You can add seeds, including flax seeds, sunflower seeds, or caraway seeds, like this steakhouse-style pumpernickel bread. You can also add grains like quinoa, grain cereal, or oats, like with my multigrain bread recipe.
Professional Tips
- Don’t overwork the bread. With this dough, we want to develop gluten while maintaining the nutrients and properties of the whole wheat flour.
- The longer you mix, the more heat is generated, and the more of those nutrient properties are lost. I also found that overworking this particular bread can cause it to become tough.
- Scale the ingredients. This recipe was adapted from an old cookbook, and I converted it from volume to metric. Scaling will ensure that all your ingredients are properly measured. The whole-wheat flour should not be sifted before measuring.
- Make sure you boil your milk and water and allow them to cool. This ensures the destruction of microorganisms in the milk that might interfere with the action of the yeast plant. Then, make sure you allow it to cool to 110-100°F. Any hotter, and you can kill the yeast.
How to Make 100% Whole Wheat Bread
Use these instructions to make perfect whole wheat bread every time! Further details and measurements can be found in the recipe card below.
Mix the dough:
Step 1: Boil the milk and water together in a saucepan and pour into your mixer bowl.
Step 2: Add the shortening and sugar to the hot liquid and let the mixture cool until it is lukewarm.
I was impatient, so I placed my mixer bowl in a larger bowl filled with cold but not icy water and stirred until the mixture reached a temperature of 100 ° – 110° F.
Step 3: Proof the yeast. Add the yeast cake to a small amount of water, to which one teaspoon of sugar may be added to soften it. If using dry active, add ¼ cup of warm water (100 ° —110° F) to the yeast and stir to mix. Then add 1 teaspoon of sugar to proof the yeast, wait 10 minutes, and if the mixture has tripled, it is ready to use.
Step 4: Mix and knead. Add the yeast and whole wheat flour to your mixer bowl. Fitted with the dough hook attachment, mix at speed 2 until the dough clings to the hook and cleans the sides of the bowl for about two minutes. Then continue to knead on speed 2 for an additional two minutes.
If you are doing the kneading by hand, Ruth Berolzheimer explains, “Press the dough away with the palms of your hand. Stretch the dough from the edge, folding the back edge over to the center. Press the dough away with the palms of your hands, exerting sufficient force to cause the part folded over to adhere to the mass under it, and repeat folding. Turn the dough one-quarter around and repeat kneading. Continue turning, folding, and kneading until the dough is smooth and elastic and will not stick to an unfloured board.”
Bulk Proof:
Step 5: Grease a large bowl with vegetable oil. I pour a little oil into my hands and then spread the oil over the insides of the bowl. I find this method more efficient.
Step 6: Place the dough in the lightly greased bowl and turn it over to coat all sides with the oil.
Step 7: Proof. Cover with a damp towel and place in a warm place (80 ° – 85°) for an hour, or until the dough has tripled in size.
You can use the proof setting on your oven if you have it, or I preheat my oven for 10 minutes and then let it cool down to a comfortable temperature. An oven thermometer would be very helpful here.
Step 8: Perform one set of folds on the bread, or punch down the bread and then shape it back into a round.
Step 9: Optional second proof. Let the bread rise for one more hour in a warm spot until it has doubled in size.
This second rising is optional, but as Ruth explains, “This second rising is… worthwhile because it improves both the texture and flavor of the bread.”
Shape the loaves:
Step 10: Divide and rest. Turn the bread out onto a lightly oiled work surface, divide it into two halves. Then, preshape it into two rounds, and let it rest for 10 minutes on the bench. You can eyeball this, but for the most even loaves, use your kitchen scale.
I decided to make one large loaf and two baby loaves, so I divided one half into two halves again.
Step 11: Final shape into a loaf by pulling it into a rectangular shape. Fold the top half of the dough down toward the center, rotate 180°, then fold the other side down, pressing. Perform 2 thumb folds by rolling the dough around the thumb of your left hand and then sealing the dough with the heel of the right hand. Start on the right side of the log and move across to the left.
Final rise and bake.
Step 12: Let dough rise. Place the shaped dough into a well-greased loaf pan, seam-side down. Cover with plastic wrap or a towel, and let rise until doubled in volume. Preheat the oven to 400°F.
Step 13: Cook the loaves at 400°F for 15 minutes and then decrease the temperature to 350°F for the remaining 45 minutes. My mini loaves were done after an additional 15 minutes at 350°F.
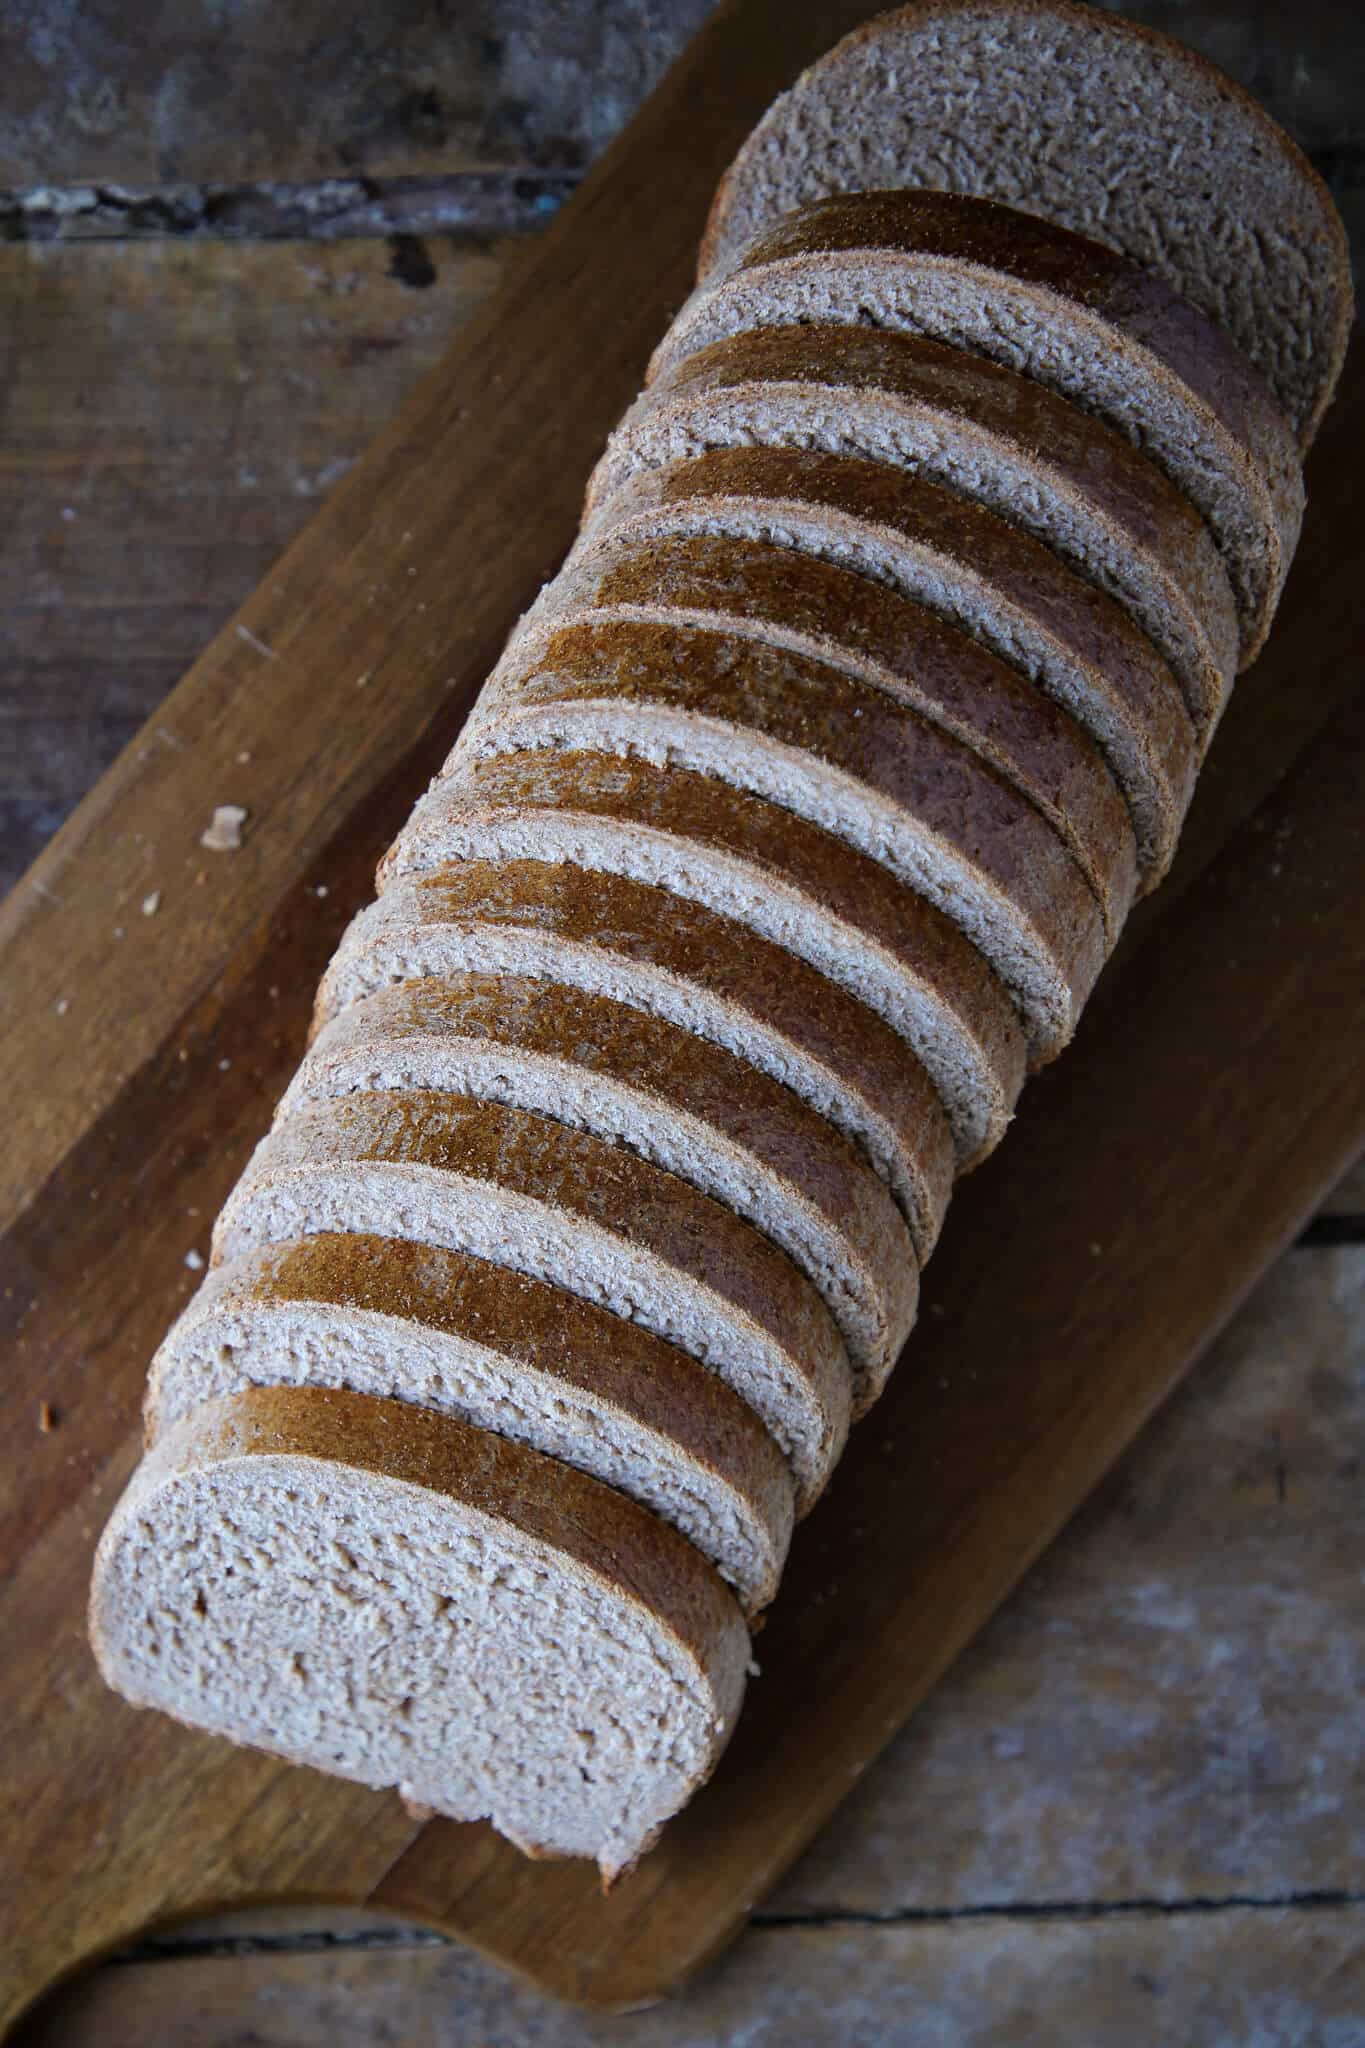
Step 14: Check and cool. The loaves are done when the sides pull away from the pan, the crust is a rich, golden brown, and the loaves sound hollow when you firmly tap the top. You can also insert a toothpick into the center of the loaf; the loaves are done when it comes out clean. Immediately remove the loaves from the pans to cool on a wire rack.

Chef Lindsey’s Recipe Tip
Use metal loaf pans to bake bread! Ceramic or glass loaf pans hold and react to heat differently than metal. Metal pans will give your bread a great initial rise and keep the heat evenly distributed in the bread for even baking.
Recipe FAQs
Cool the whole wheat loaves completely before wrapping in plastic wrap, aluminum foil, or a zip-top bag. Store at room temperature for up to 3 days, refrigerated for a week, or kept in the freezer for up to 2 months. Storing the uncut loaves well wrapped in the freezer will keep them freshest.
While 100% whole wheat is a type of whole grain, the terms aren’t interchangeable. 100% whole wheat specifically refers to products made from the wheat kernel, including the wheat bran, germ, and endosperm. Whole Grain is a much broader term that encompasses any grain in its complete, unprocessed form. This includes not just wheat, but also oats, brown rice, quinoa, barley, and many others. So, all 100% whole wheat products are whole grain, but not all whole grain products are 100% whole wheat.
While this bread is perfect for making sandwiches like this roast beef melt or this deviled egg salad sandwich, it can also be used to make apple sausage stuffing or homemade bread crumbs!
Recommended Bread Recipes
Yeasted Bread Recipes
Whole Wheat Sandwich Bread Recipe
Yeasted Bread Recipes
Brioche Bread Recipe

Homemade Bread Recipes
Potato Bread
Sourdough Bread Recipes
Cherry Sourdough Bread
If you tried this recipe and loved it please leave a 🌟 star rating and let me know how it goes in the comments below. I love hearing from you; your comments make my day!

100% Whole Wheat Bread
Ingredients
- 2 cups milk 2%, scaled
- 4 tablespoons sugar
- 2 tablespoons shortening
- 1 ½ teaspoons salt
- 1¼ teaspoons active dry yeast aka 1 yeast cake
- ½ cup warm water
- 5 cups whole-wheat flour
Instructions
Mix the dough:
- Boil the milk and water together in a saucepan and pour into your mixer bowl.
- Add the shortening and sugar to the hot liquid and let the mixture cool until it is lukewarm.
- Add the yeast cake to a small amount of water, to which one teaspoon of sugar may be added to soften it. If using dry active, add ¼ cup of warm water (100 ° —110° F) to the yeast and stir to mix. Then add 1 t of sugar to proof the yeast, wait 10 minutes, and if the mixture has tripled, it is ready to use.
- Add the yeast and whole wheat flour to your mixer bowl. Fitted with the dough hook attachment, mix at speed 2 until the dough clings to the hook and cleans the sides of the bowl for about two minutes. Then continue to knead on speed 2 for an additional two minutes.
Bulk Proof:
- Grease a large bowl with vegetable oil. I pour a little oil into my hands and then spread the oil over the insides of the bowl. I find this method more efficient.
- Place the dough in the lightly greased bowl and turn it over to coat all sides with the oil.
- Cover with a damp towel and place in a warm place (80 ° – 85°) for an hour, or until the dough has tripled in size.
- Perform one set of folds on the bread, or punch down the bread and then shape it back into a round.
- Optional second proof. Let the bread rise for one more hour in a warm spot until it has doubled in size.
Shape the loaves:
- Turn the bread out onto a lightly oiled work surface, divide it into two halves. Then, preshape it into two rounds, and let it rest for 10 minutes on the bench. You can eyeball this, but for the most even loaves, use your kitchen scale.
- Final shape into a loaf by pulling it into a rectangular shape. Fold the top half of the dough down toward the center, rotate 180°, then fold the other side down, pressing. Perform 2 thumb folds by rolling the dough around the thumb of your left hand and then sealing the dough with the heel of the right hand. Start on the right side of the log and move across to the left.
Final rise and bake.
- Place the shaped dough into a well-greased loaf pan, seam-side down. Cover with plastic wrap or a towel, and let rise until doubled in volume. Preheat the oven to 400°F.
- Cook the loaves at 400°F for 15 minutes and then decrease the temperature to 350°F for the remaining 45 minutes. My mini loaves were done after an additional 15 minutes at 350°F.
- The loaves are done when the sides pull away from the pan, the crust is a rich, golden brown, and the loaves sound hollow when you firmly tap the top. You can also insert a toothpick into the center of the loaf; the loaves are done when it comes out clean. Immediately remove the loaves from the pans to cool on a wire rack.
Notes
Nutrition
Before You Go
I hope you enjoyed this hearty old-fashioned bread recipe. Check out our other delicious yeasted bread recipes, like these pillowy pumpkin herb dinner rolls or this traditional panettone!


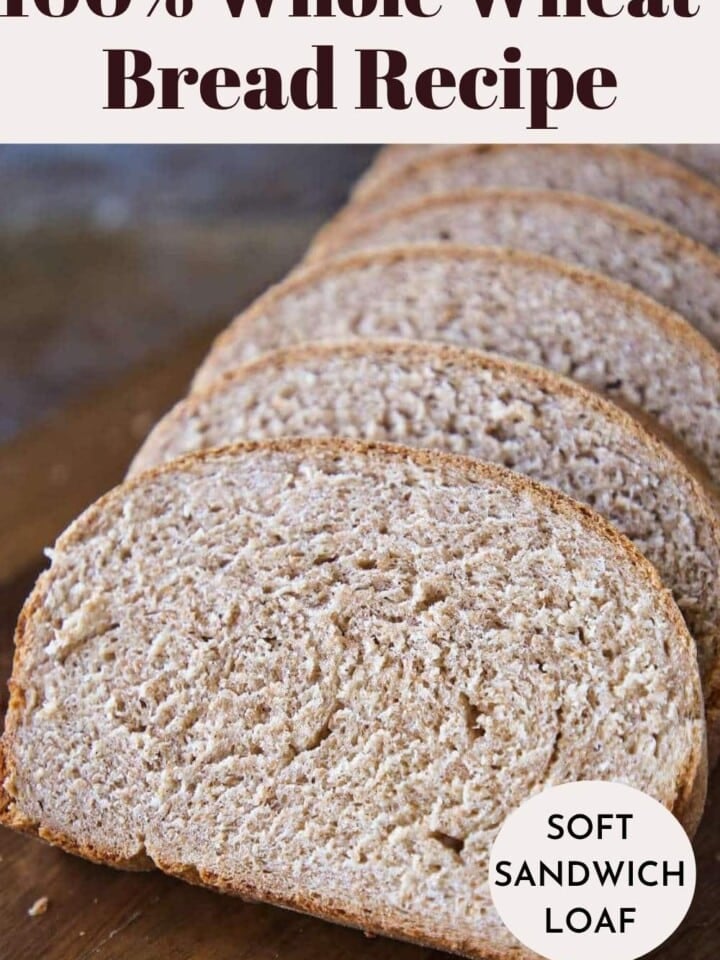
I made this recipe exactly as written, and the loaves came out hearty and flavorful with a great chew. I love that they’re 100% whole wheat but still soft enough for sandwiches. One went straight to the freezer and the other disappeared by the next day!