This post may contain affiliate links. Please read our disclosure policy.
A flavorful and nutritious whole wheat sandwich bread recipe. Easy-to-follow instructions for soft, chewy bread that slices easily and tastes better than store-bought bread!
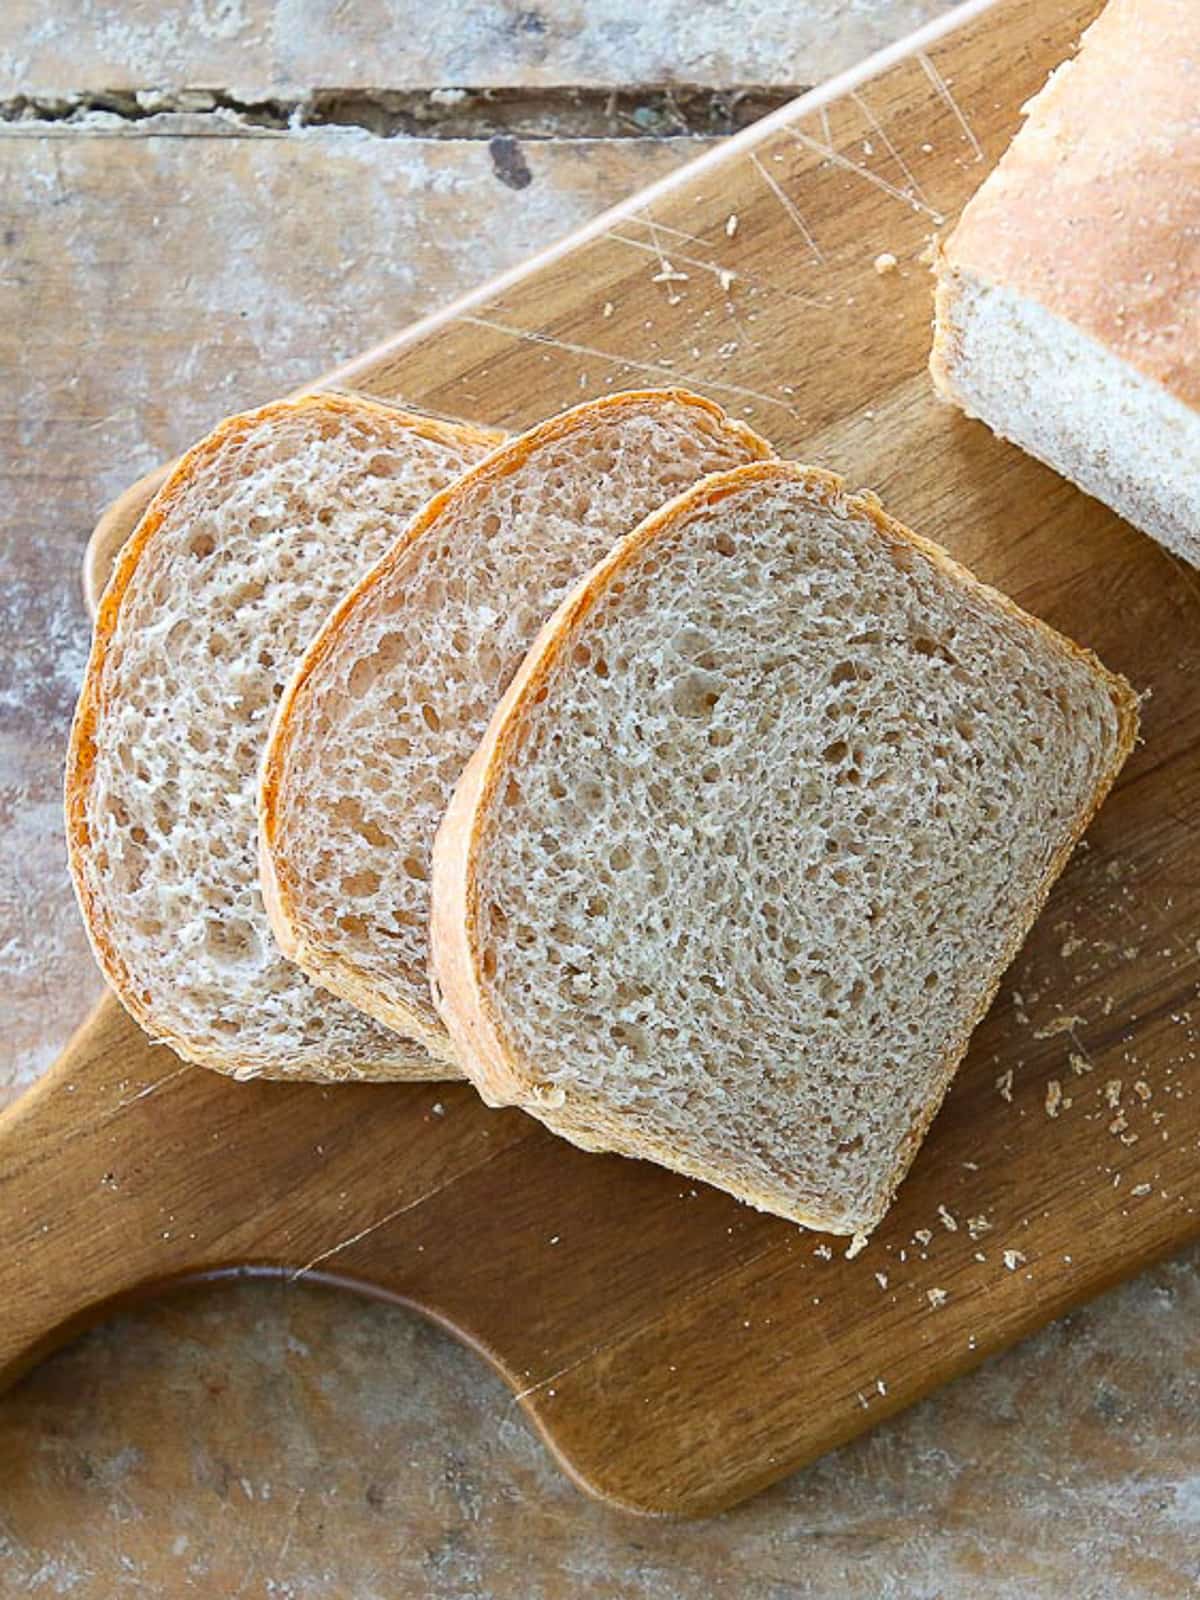
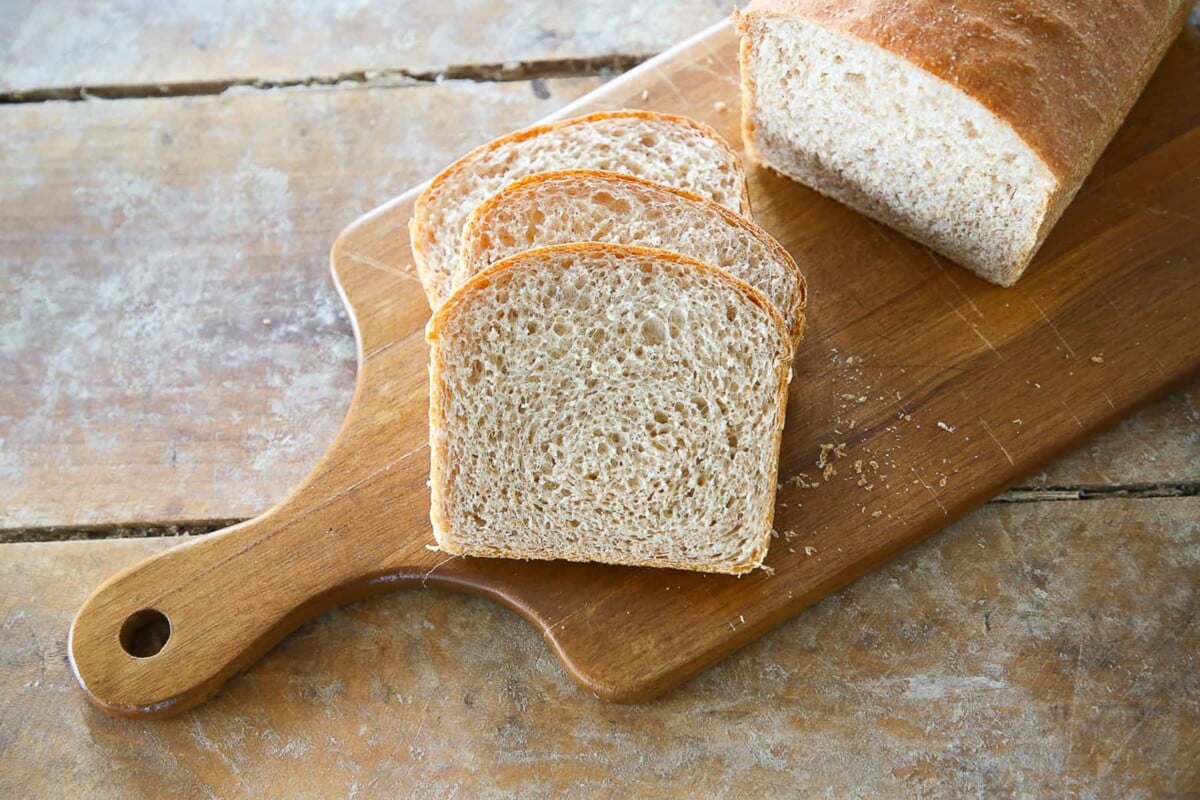
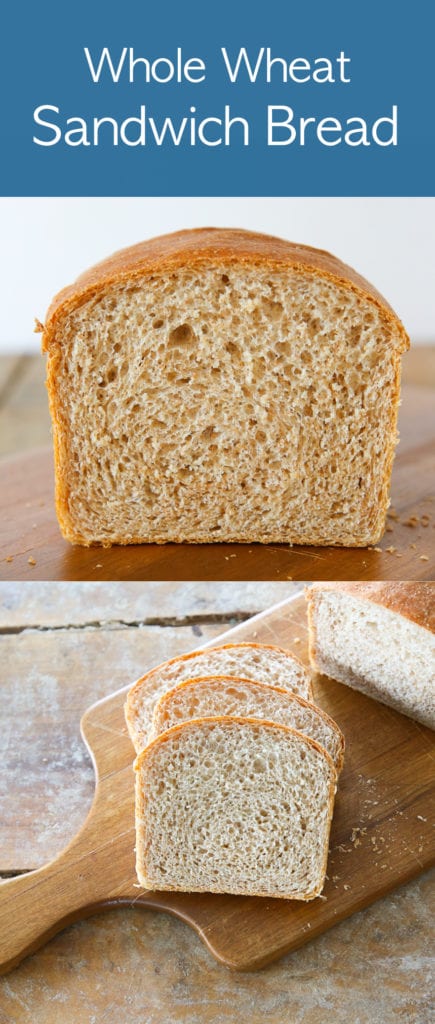
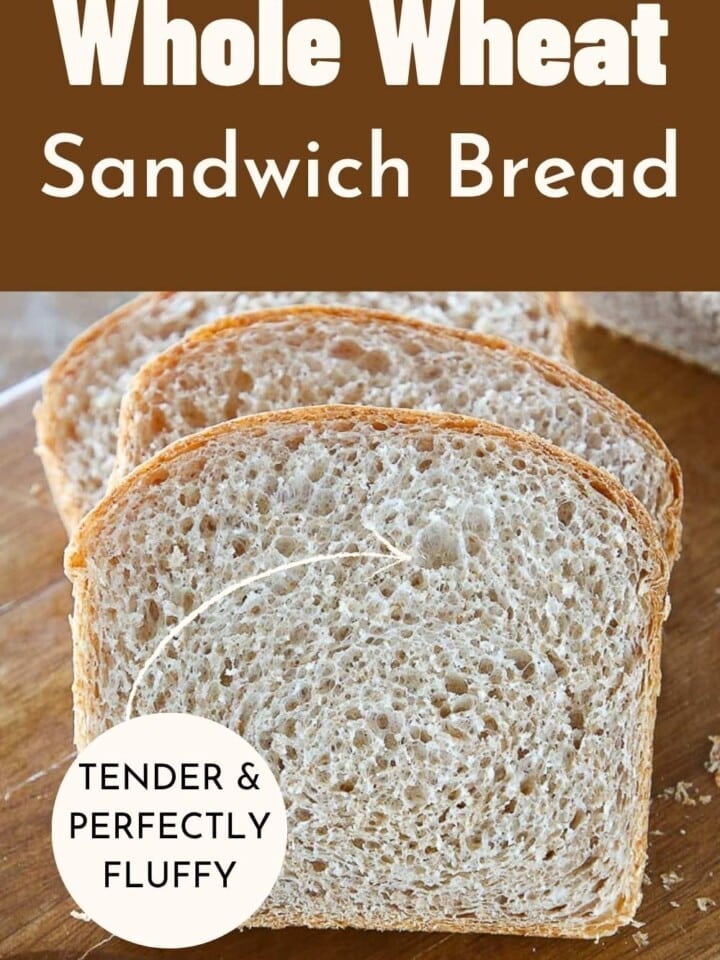
This 50% whole wheat sandwich bread has a perfectly chewy crust and a soft, pillowy interior. If you’re looking for 100%, my 100% whole wheat bread recipe has you covered!
Don’t be fooled by the name! This is an incredibly versatile bread recipe. You can tear it up and make a savory bread pudding, or use it as the base of an apple sausage stuffing, or whip up a quick cinnamon raisin French toast. You can use it for the best tuna melt recipe.
Why You Will Love This
- Balanced flavor. There is a little powdered milk, cream, and butter to add a bit of richness and balance out the intensity of the whole wheat.
- Soft, tender, and perfectly fluffy. Using a mixture of whole wheat flour and all-purpose flour allows this bread to form a strong gluten network that traps the air created by the yeast, yielding a taller, lighter, and more tender loaf.
- Easy and delicious bread! This bread is not only delicious but it is easy to make and perfect for beginners! I give you step by step instructions and tips to help you make a perfect loaf! And hopefully convince you to start making your own bread at home from now on!
Table of Contents
Ingredients & Substitutions
- All-Purpose Flour: All-purpose flour has more gluten than whole wheat flour. You can substitute bread flour 1:1 for the all-purpose flour. I would not use 100% whole wheat flour with this recipe. Whole wheat flours absorb moisture differently than all-purpose or bread flour. If you’d like to make 100% whole wheat bread, try 100% whole wheat bread.
- Fine Whole Wheat Flour: I prefer either King Arthur or Bob’s Red Mill Whole Wheat Flour. Every brand has a slightly different flavor and texture depending on its grinding process.
- Water
- Kosher Salt:
- Dry Active Yeast: Dry active yeast requires an added step of hydration, but it is fast and controllable. If you don’t have dry active yeast, you can substitute double the weight of fresh yeast or half the weight of instant yeast. If using either fresh or instant yeast, you can add it straight to the dough.
- Powdered Milk: Powdered milk adds flavor and nutrients. It also aids in the rise and texture of the bread due to its high protein content, which helps with gluten formation and helps extend the bread’s shelf life. You can omit the powdered milk if you don’t have it and substitute some of the water for milk BY WEIGHT.
- Butter: Unsalted butter allows you to control the flavor of the dough while still adding buttery goodness! You get to mix it all in there (unlike other recipes like brioche bread, where you have to wait). This is because the quantity will not greatly impede gluten development. If you want to substitute the butter with coconut oil or vegetable oil, make sure to do it by weight, 1:1.
- Heavy Cream: Heavy cream adds fat and flavor to the bread, along with a little bit of moisture. You can also omit this.
See the recipe card for full information on ingredients and quantities.
Variations
- Add some sweetness. Try making the bread with some honey, light brown sugar, or maple syrup to add additional flavors. Honey and maple syrup will add additional moisture, so reduce the water or heavy cream slightly. You can also add raisins to add small bursts of sweetness like in this raisin bread recipe.
- Try it with some seeds. Add a mixture of seeds and oats on top of the bread. Brush the loaf with beaten egg white and then roll in seed mixture before final proofing.. . You can also add up to 1 ½ cups of mixed seeds and oats to the bread after the gluten has been developed.
- Make mini loaves or rolls. You can make mini loaves if you have mini loaf pans. You can divide the dough and bake rolls on a baking sheet like my sourdough rolls, or in a baking dish like this easy dinner rolls recipe. Alternatively, you can proof and bake them in a standard muffin pan like these whole wheat rolls.
Professional Tips
- Choose the right whole wheat flour. Choose a fine-ground whole wheat flour that is stone ground. Smaller companies like Bob’s Red Mill control the temperature of the flour during grinding, which preserves the natural flavors, antioxidants, and vitamins that are destroyed at warmer temperatures.
- Check the freshness of your whole wheat flour! Whole grain flours contain more parts of the kernel. All those things that we love about them are what cause them to spoil faster. It may not mold, but can still go stale or rancid. Most importantly, the flavor will be “off”. Just put it in the refrigerator (or freezer) and it will keep way longer.
- Get that kitchen scale. Using a kitchen scale will ensure you are using the right ratios of flour and water. This is especially important when making bread. As you get used to using a scale for baking, you’ll find it easier and faster to measure all your ingredients.
How to Make This Whole Wheat Sandwich Bread Recipe
Use these instructions to make a perfect loaf of whole wheat bread every time! Further details and measurements can be found in the recipe card below.
Step 1: In the bowl of a stand mixer, add the warm water and sprinkle the yeast on top, and allow to sit until bubbly, approximately 10 minutes.
Step 2: Add all the remaining ingredients to the bowl and mix to incorporate with the PADDLE attachment.
The paddle attachment is more efficient at incorporating than the hook into most home stand mixers.
Step 3: Once the ingredients are mixed and the flour has been hydrated, switch to the dough hook attachment and mix on medium until a smooth dough forms. Use the windowpane test to tell if the dough is ready to proof. You can knead the bread by hand on a lightly floured surface. It should feel smooth and bounce back when poked on top of the dough. The kneading by hand will take about 10 to 12 minutes.
WINDOWPANE TEST: Take a golf ball-sized portion of the dough from the mixer and gently start to pull the dough apart. I like to think of it as a square and gently pull on two sides, then rotate and repeat the process. If the dough tears instantly, it is not ready. If it allows you to pull it thin enough to see light through it, then it is ready.
Step 4: Place the dough in a lightly oiled large bowl, cover with plastic wrap, and then place in a warm spot or your oven on a proof setting. Allow to bulk proof until it is doubled, approximately an hour, depending on the warmth of your place.
Step 5: Divide. Turn the dough out onto a lightly floured surface and divide it in half. This will make two loaves, each weighing 500g.
For easy weighing, use the oiled bowl on your scale.
Step 6: Preshape and Bench Rest. Preshape the dough into a round by folding all the edges into the center, flipping it over, and then tightening it into a ball by pulling it toward you with both hands. Repeat with the second piece of dough. Cover with plastic wrap and allow to sit for 15 minutes.
Step 7: While your dough bench rests, prepare your loaf pans. I use a standard 9-inch metal loaf pan and spray it with cooking spray. Done!
Step 8: Final Shape! We are going to shape these into a log (or a bâtard if you like fancy French terms for things). Take one of the rounds and flip it over. Grab the top and bottom edges and gently pull it into a small rectangle. Place it on the counter and fold the top edge down 2/3rd of the way and press it into the dough. Rotate so that the unfolded edge is now away from you, and fold that edge down towards you to meet the bottom edge. Press to seal. Now we are going to do 2 thumb folds. Take the top edge with your right hand and fold it over your thumb about halfway down, pressing to seal as you go. Repeat until you have folded the entire length. You will notice the dough getting tighter and longer.
Keep in mind the length of your pan. You don’t want your dough to be longer than your pan. You can put it on the counter above your dough for reference if that makes it easier to judge the length.
Step 9: Repeat the thumb fold one more time, sealing it well on the bottom. You should now have a log shape that is even in width along the whole length, that is the length of your pan, and tight enough not to slouch onto the counter. If the dough is too loose, repeat the thumb fold one more time.
Step 10: Final Proof. Place each log into the sprayed pan seam-side down. Cover with plastic wrap and place once more in your warm spot. Allow to proof until the dough just starts to crest over the top of the pan, approximately 2-2.5 hours. When that happens, preheat your oven to 350°F.
If using the proofing setting on your oven, this final proof may be faster. Keep an eye on it and check every 30 minutes. Remove the bread from the oven when it’s ready, then start preheating.
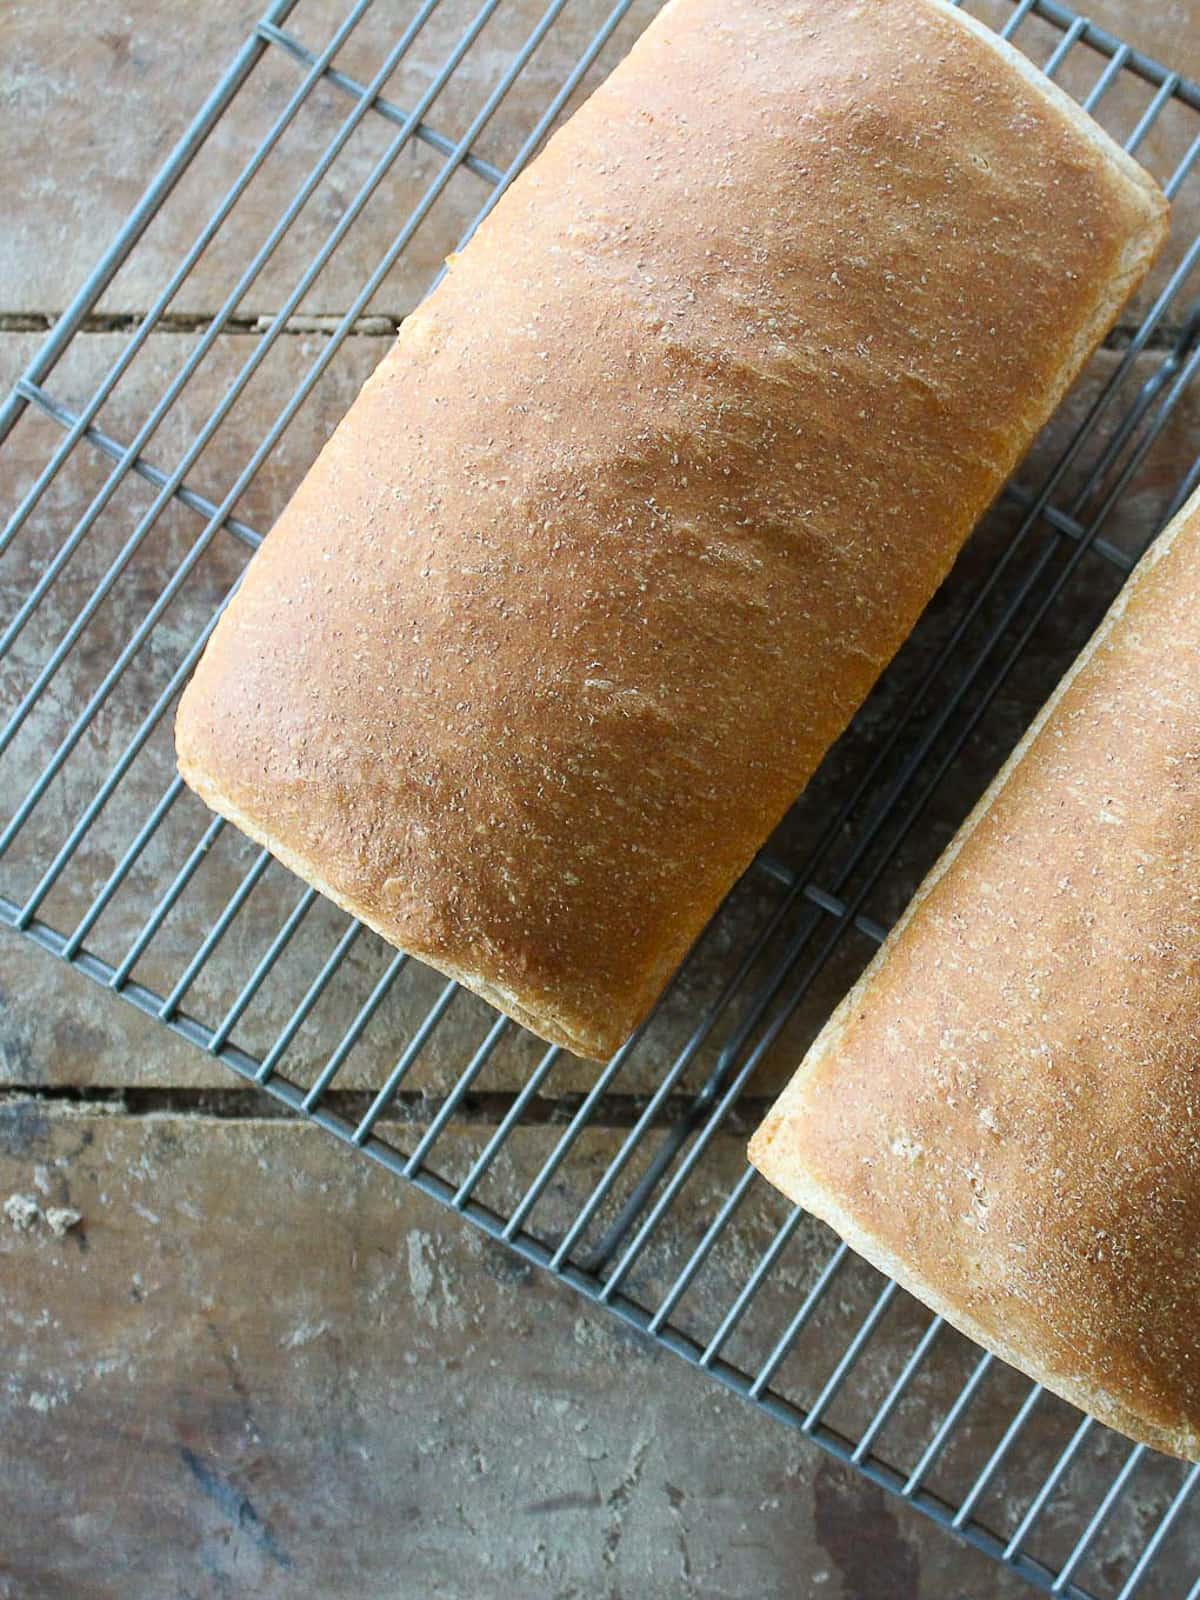
Step 11: Baking! As soon as it is preheated, bake for 35-40 minutes or until the internal temperature reads 185°F and the outside is a golden brown.
Step 12: Allow the bread to cool for 5 minutes in the pan, then remove to a wire rack to cool completely. If they sit in the pan too long, they will steam and the sides and bottom will get soggy! Slice and enjoy!
Chef Lindsey’s Recipe Tip
There are different degrees of gluten development, but with this dough, we want to develop gluten while maintaining as many nutrients and properties of the whole wheat flour. The longer you mix, the more heat is generated and the more of these properties are lost.
Recipe FAQs
Cool the loaves completely before wrapping them in plastic wrap, an airtight container, or a zip-top bag. Store at room temperature for up to 3 days, refrigerated for a week, or frozen for up to 2 months. Storing the uncut loaves well wrapped in the freezer will keep them freshest.
Making bread at home helps you control the ingredients in your bread (i.e., preservatives and additives). Whole wheat flour also gives this bread added nutrients from the whole grain.
Metal loaf pans are best when baking bread. They evenly distribute the heat, allowing for even rising and browning.
Use this bread to make deviled egg salad sandwich or this amazing roast beef melt! It is also perfect toasted with mixed berry jam, or added to a cheese plate with my caramelized onions.

Recommended Sandwich Recipes

Dinner Roll Recipes
Brioche Bun Recipe

Sandwich Recipes
Best Tuna Melt Recipe

Dinner Roll Recipes
Savory Pumpkin Rolls

Sandwich Recipes
Turkey Sloppy Joes
If you tried this recipe and loved it please leave a 🌟 star rating and let me know how it goes in the comments below. I love hearing from you; your comments make my day!


Whole Wheat Sandwich Bread
Ingredients
- 2 ¼ cups all purpose flour
- 2 ⅓ cups fine whole wheat flour
- 1 ¾ cups water about 100°F or warm to the touch
- 2 ¼ teaspoons kosher salt
- 1 ½ teaspoons dry active yeast
- 3 tablespoons powdered milk
- 2 tablespoons unsalted butter softened
- 1 tablespoon heavy cream
Instructions
- In the bowl of a stand mixer, add the warm water and sprinkle the yeast on top, and allow to sit until bubbly, approximately 10 minutes.
- Add all the remaining ingredients to the bowl and mix to incorporate with the PADDLE attachment.
- Once the ingredients are mixed and the flour has been hydrated, switch to the dough hook attachment and mix on medium until a smooth dough forms. Use the windowpane test to tell if the dough is ready to proof. You can knead the bread by hand on a lightly floured surface. It should feel smooth and bounce back when poked on top of the dough.The kneading by hand will take about 10 to 12 minutes.
- Place the dough in a lightly oiled large bowl, cover with plastic wrap, and then place in a warm spot or your oven on a proof setting. Allow to bulk proof until it is doubled, approximately an hour, depending on the warmth of your place.
- Divide. Turn the dough out onto a lightly floured surface and divide it in half. This will make two loaves, each weighing 500g.
- Preshape and Bench Rest. Preshape the dough into a round by folding all the edges into the center, flipping it over, and then tightening it into a ball by pulling it toward you with both hands. Repeat with the second piece of dough. Cover with plastic wrap and allow to sit for 15 minutes.
- While your dough bench rests, prepare your loaf pans. I use a standard 9-inch metal loaf pan and spray it with cooking spray. Done!
- Final Shape! We are going to shape these into a log (or a bâtard if you like fancy French terms for things). Take one of the rounds and flip it over. Grab the top and bottom edges and gently pull it into a small rectangle. Place it on the counter and fold the top edge down 2/3rd of the way and press it into the dough. Rotate so that the unfolded edge is now away from you, and fold that edge down towards you to meet the bottom edge. Press to seal. Now we are going to do 2 thumb folds. Take the top edge with your right hand and fold it over your thumb about halfway down, pressing to seal as you go. Repeat until you have folded the entire length. You will notice the dough getting tighter and longer.
- Repeat the thumb fold one more time, sealing it well on the bottom. You should now have a log shape that is even in width along the whole length, that is the length of your pan, and tight enough not to slouch onto the counter. If the dough is too loose, repeat the thumb fold one more time.
- Final Proof. Place each log into the sprayed pan seam-side down. Cover with plastic wrap and place once more in your warm spot. Allow to proof until the dough just starts to crest over the top of the pan, approximately 2-2.5 hours. When that happens, preheat your oven to 350°F.
- Baking! As soon as it is preheated, bake for 35-40 minutes or until the internal temperature reads 185°F and the outside is a golden brown.
- Allow the bread to cool for 5 minutes in the pan, then remove to a wire rack to cool completely. If they sit in the pan too long, they will steam and the sides and bottom will get soggy! Slice and enjoy!
Video
Notes
Nutrition
Before You Go
I hope you enjoyed this light wheat sandwich bread! Peruse all our yeasted bread recipes or dive into more sandwich bread recipes next!


This is a really delicious, soft bread loaf! Would it work to double all ingredients do you think??
It absolutely does, Jane! I have actually made very large batches (like 200 loaves) of this recipe. Using the weighted measurements, of course. Just make sure your mixer can handle the increased volume. Happy baking
Have made this several times and turns out well. Am wondering if I could double the recipe??
Absolutely, Jane! Happy baking