This post may contain affiliate links. Please read our disclosure policy.
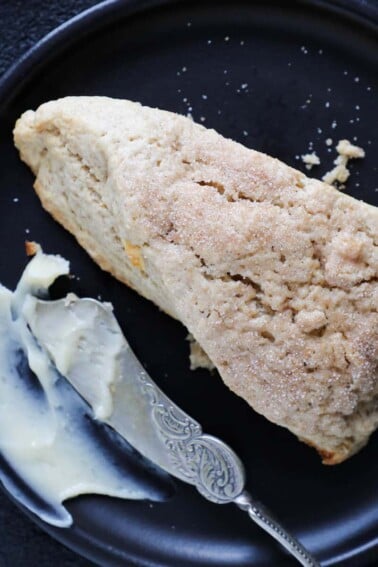
A professional recipe for flavorful raspberry white chocolate scones. These easy scones are moist and tender, with a crumbly texture.


A Quick Look At The Recipe
This is a brief summary of the recipe. Jump to the recipe to get the full details.
Jump to RecipePrep Time
20 minutes
Cook Time
20 minutes
Total Time
40 minutes
Servings
12 scones
Difficulty
Intermediate
Calories *
290 kcal per serving
Technique
Cut-in butter method with frozen raspberries folded in; dough shaped and baked.
Flavor Profile
Sweet white chocolate, tart raspberry, buttery dough.
* Based on nutrition panel
I was nervous about baking my scones right away but they turned out amazing. The white chocolate chips caramelized perfectly and the raspberries didn’t make the scone gummy! The scones stayed moist and tender a wonderful and flavorful recipe. ⭐⭐⭐⭐⭐
Lauren
Why This Recipe Works
- Fully cut-in butter for a tender crumb. Cutting the butter all the way into the flour coats the flour in fat, which inhibits gluten development. The result is a moist, dense interior without any of the toughness that comes from overworked dough.
- Wet ingredients are combined before adding to the dry. Blending the wet ingredients together before they meet the dry mixture speeds up incorporation. Less manipulation means less gluten formation, which keeps the crumb tender just like these carrot cake scones.
- Frozen raspberries that stay intact. Using frozen raspberries and baking the scones immediately means they release minimal juice during baking. The berries hold their shape, the dough stays structured, and you get clean pockets of tart fruit in every bite rather than a soggy, purple-streaked interior. If you love that white chocolate and raspberry pairing, these white chocolate raspberry cookies hit the same flavor notes in a completely different format.
Table of Contents
- Why This Recipe Works
- Ingredients & Substitutions
- Variations on This Raspberry White Chocolate Scones
- Professional Tips
- How to Make Raspberry White Chocolate Scones
- Chef Lindsey’s Recipe Tip
- Recipe FAQs
- Recommended Berry Recipes!
- Recommended Breakfast Recipes
- Raspberry White Chocolate Scones Recipe
- Before You Go
These scones are built on the same foundation as my blueberry scones, adapted to highlight the way white chocolate and raspberry play together. Baking immediately after cutting gave these scones the best interior texture and kept the white chocolate chips from going past caramelization into something bitter.
The raspberry and white chocolate combination works because the tartness of the fruit keeps the sweetness of the chocolate from feeling heavy. If you love this classic flavor pairing, this white chocolate mousse and these white chocolate cranberry cookies are worth making after these scones!
Ingredients & Substitutions
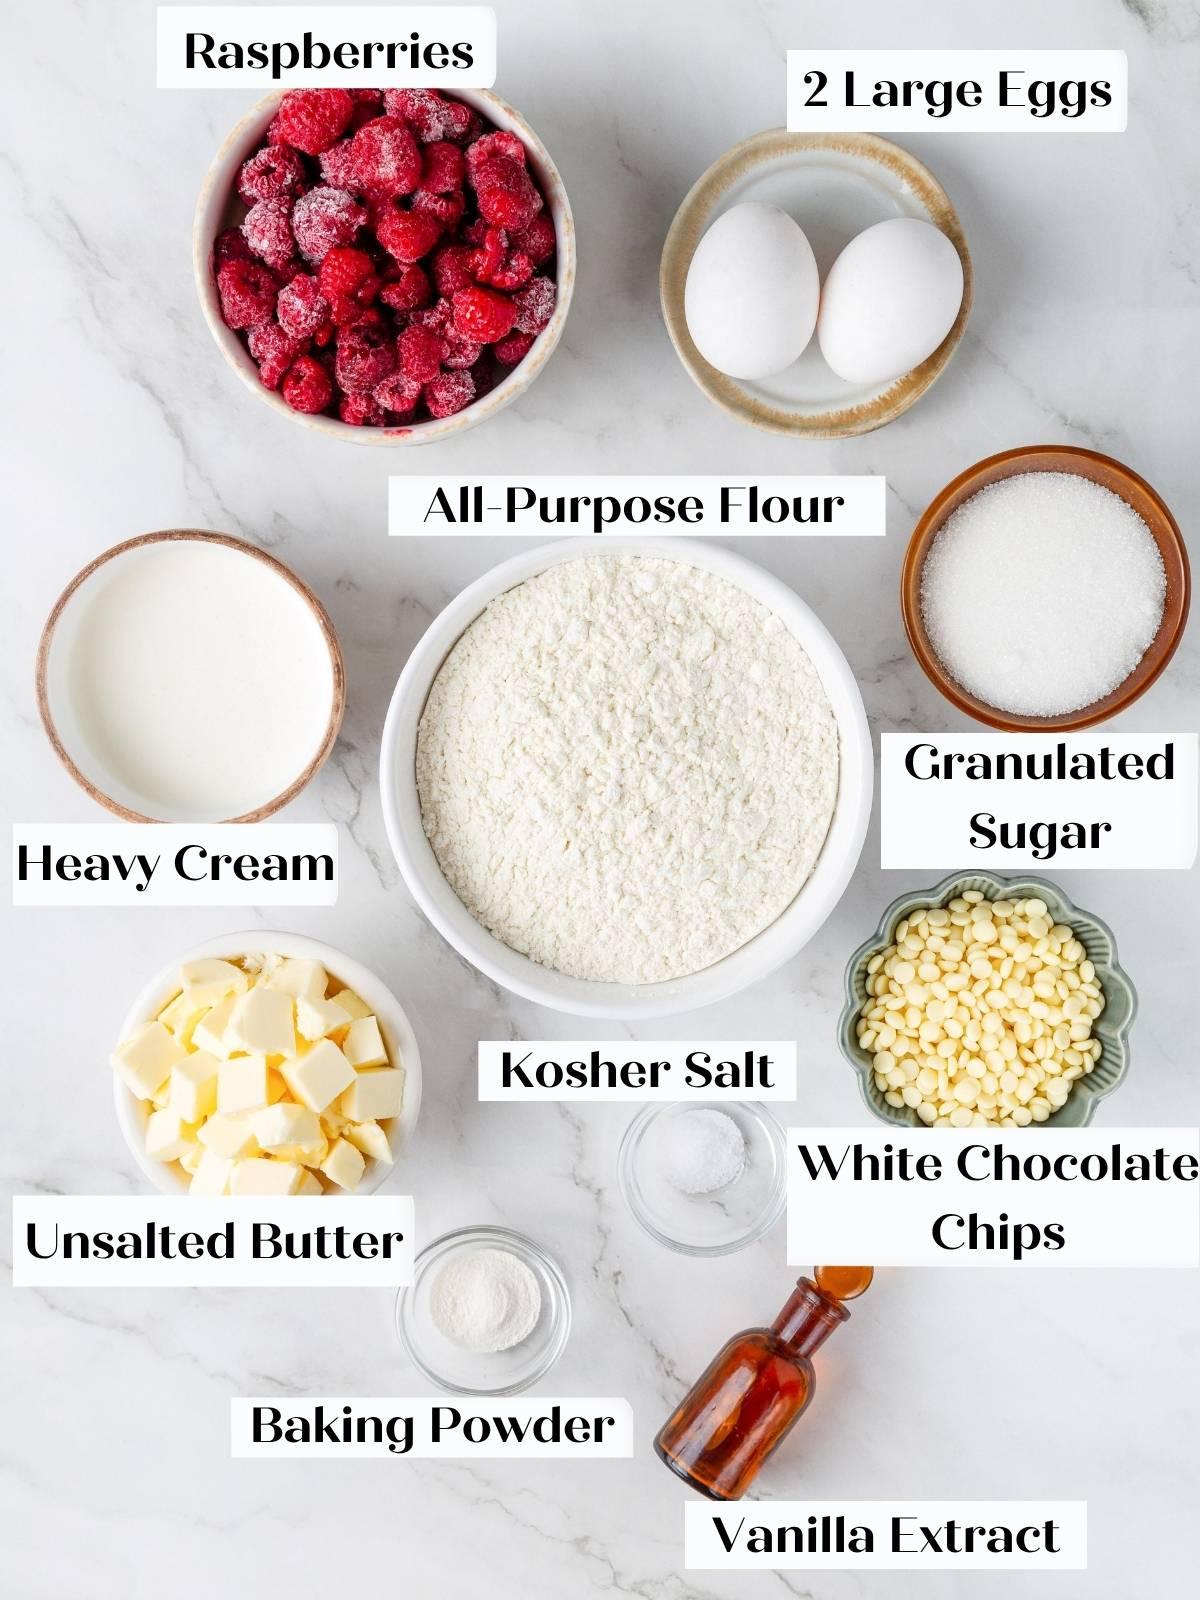
- All-Purpose Flour
- Granulated Sugar
- Kosher Salt
- Baking Powder: Baking powder provides the lift that opens up the crumb as the scones hit the oven. Use fresh baking powder. Old or expired baking powder will give you dense scones that never fully rise.
- Unsalted Butter: Cold and cubed, this is the most critical ingredient in the recipe. Working cold butter fully into the flour coats the flour particles and limits gluten development, which is what creates a tender, flaky scone rather than a tough one. Salted butter can be used in a pinch, but reduce the added salt slightly.
- Vanilla Extract
- Eggs: Eggs provide structure, richness, and moisture, contributing to a tender crumb and helping bind the fruit and chocolate so the scones hold together through baking. They also aid in browning and keep the interior from feeling dry.
- Heavy Cream: Heavy cream hydrates the flour and adds fat, making the crumb richer and more tender than milk would. The higher fat content also helps balance the tart raspberries and sweet white chocolate chips.
- Raspberries, Frozen: Using frozen raspberries is the key to keeping the interior clean and structured. They release less juice than fresh during baking, which means no gummy pockets. Squeeze the frozen raspberries to break them apart. I do this with plastic wrap to keep my hands from warming the raspberries up.
- White Chocolate Chips: White chocolate chips add concentrated pockets of creamy sweetness that balance the raspberries’ tartness. Chips hold their shape better than chopped white chocolate, which you could definitely use if that’s what you have, then head over and make my white chocolate macadamia cookies!
- White Sparkling Sugar, for Finishing: Sparkling sugar creates a crunchy, caramelized topping that contrasts directly with the moist interior. It withstands baking heat without dissolving.
See the recipe card for full information on ingredients and quantities.
Variations on This Raspberry White Chocolate Scones
- Lemon Raspberry White Chocolate. Add the white chocolate chips and raspberries to my lemon scones and follow the instructions as written here for a bright, citrus-forward version of this same scone.
- Add a glaze! Make the cream cheese glaze from these cinnamon scones or top with my donut glaze recipe! You could also make a quick raspberry jam and top them with a raspberry glaze, inspired by my lemon pound cake!
- Change the fruit: Swap the frozen raspberries for blueberries, blackberries, or even strawberries, like with these strawberry scones! Maybe add some white chocolate to these apple scones for a delightful spiced white chocolate apple scone!
- Change the chocolate: Swap the white chocolate for milk chocolate, dark, bittersweet, or use semi-sweet chocolate chips as I do in my chocolate chip scones! I love dark chocolate and raspberry, hello chocolate raspberry cake!

Professional Tips
- Cut the butter in fully. Cutting the butter all the way before adding the wet ingredients coats the flour with fat, which inhibits gluten formation and results in tender scones. You don’t want those flaky layers like with homemade buttermilk biscuits, so that means no unincorporated butter.
- Bake immediately after cutting. Resting this dough in the refrigerator causes the raspberries to release moisture into the surrounding flour, resulting in a spongy interior. Shape, cut, top with cream and sugar, and go straight into the preheated oven.
- Use frozen raspberries and keep them cold. Warm or thawed raspberries bleed aggressively and destabilize the dough. Squeeze the frozen berries apart before folding them in, and fold gently and briefly so they stay as intact as possible.
- Test doneness, don’t just use the timer. The edges should look dry, and the centers should offer light resistance when touched: if the scone indents and does not spring back, it needs more time. Start checking at 18 minutes and pull them the moment that resistance is there.
How to Make Raspberry White Chocolate Scones
The key to these scones is method: cut the butter in completely, blend the wet ingredients before adding them, and work quickly once the dough comes together.
Step 1: Preheat the oven and prepare your pan. Preheat to 325°F convection or 350°F conventional. Line a baking sheet with parchment paper and set it aside.
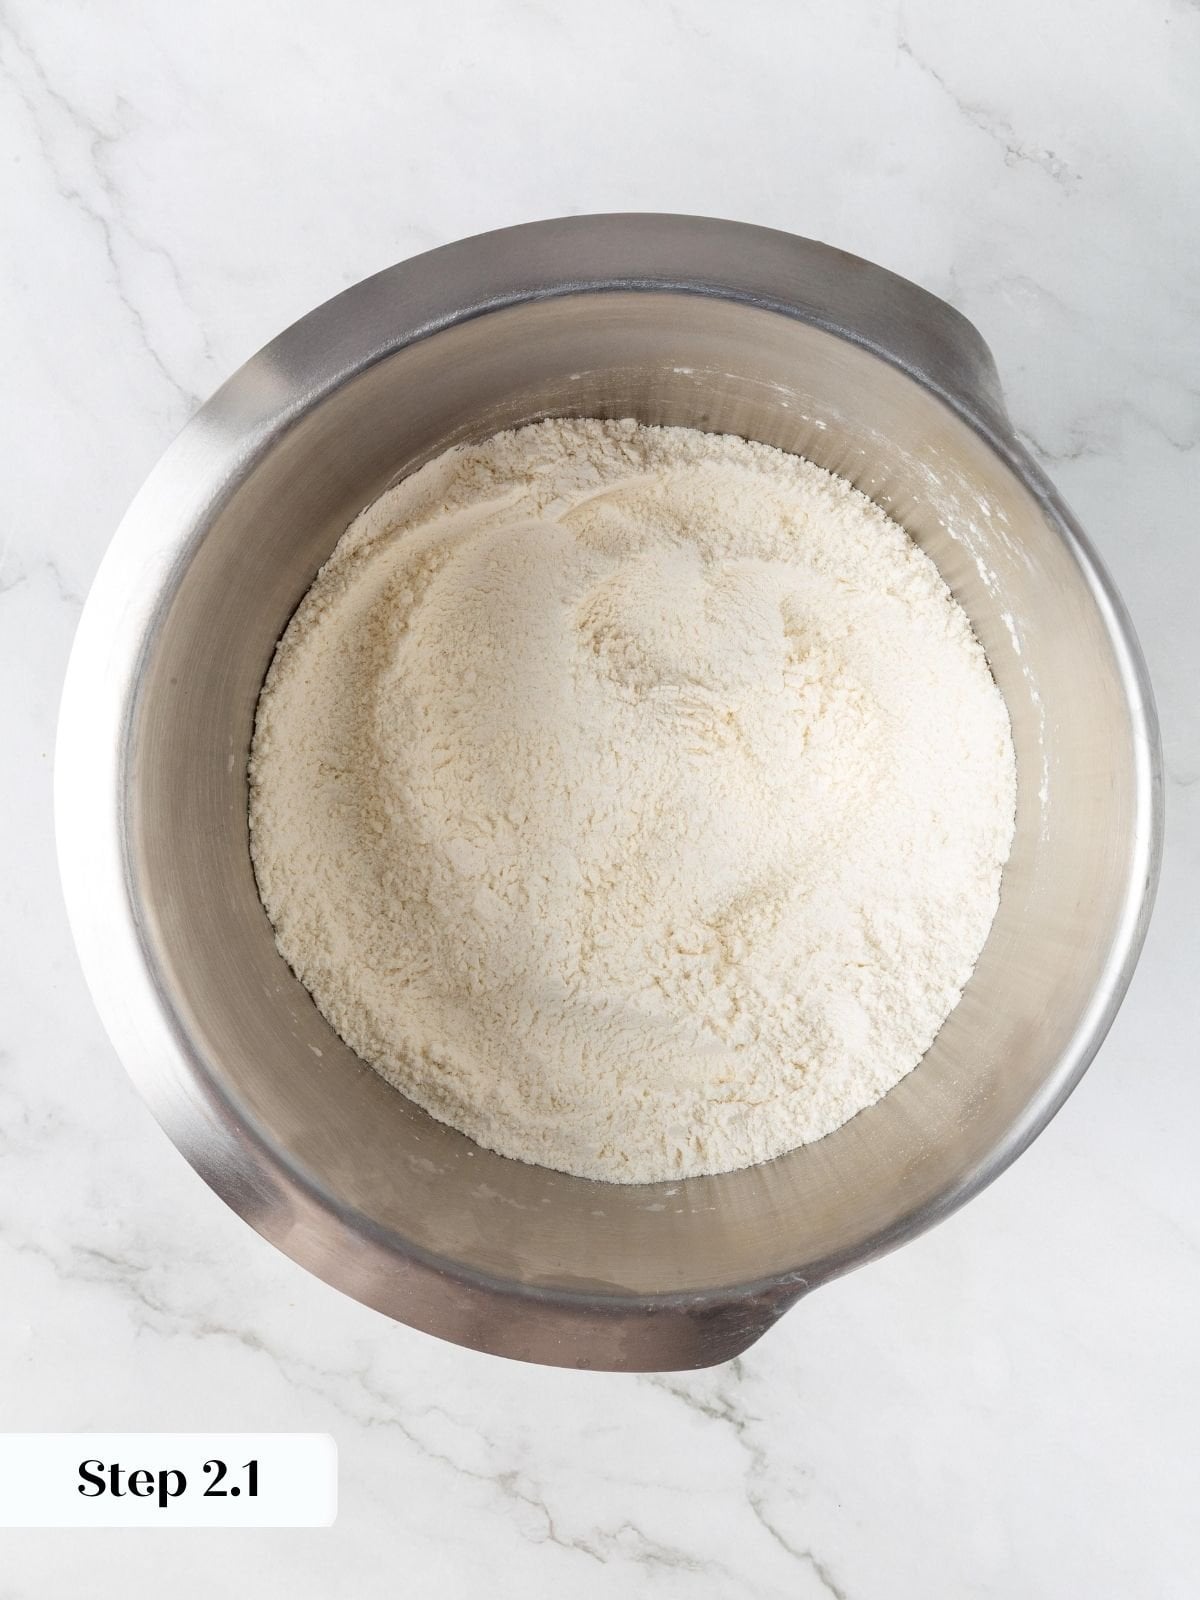
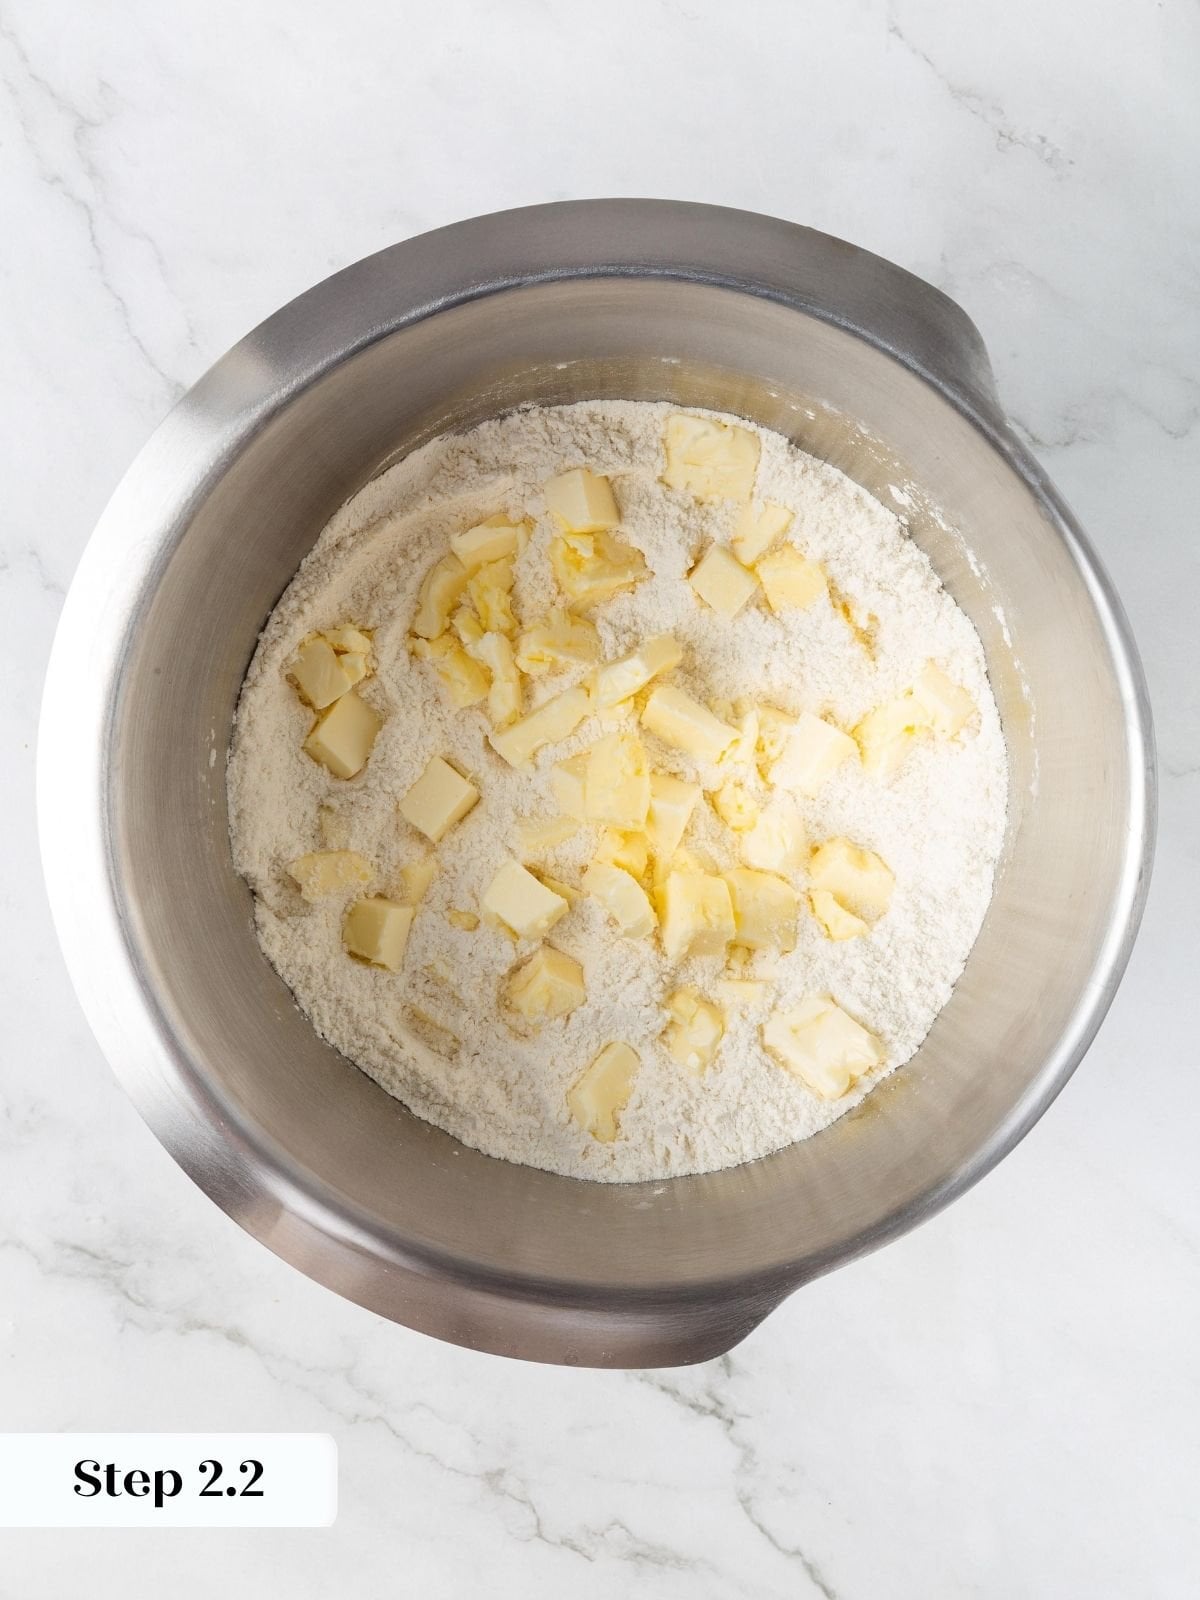
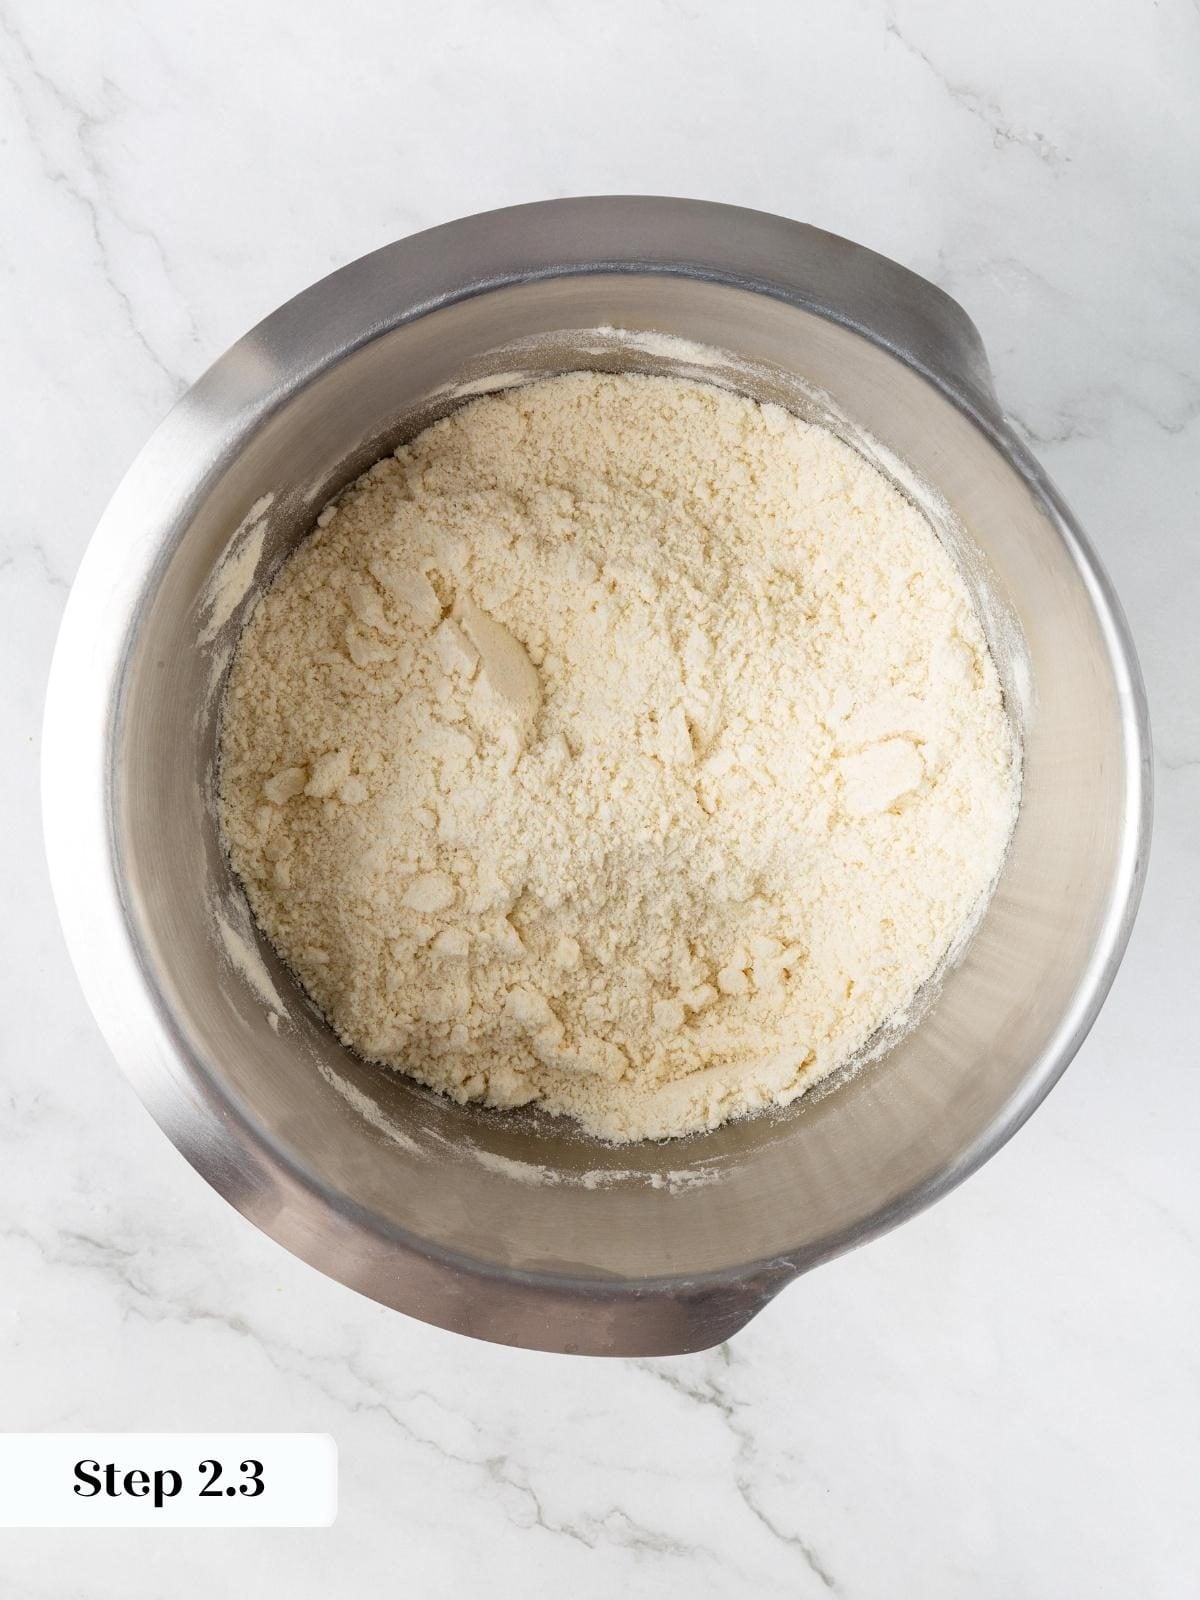
Step 2: Cut the butter into the dry ingredients. Add the flour, sugar, salt, and baking powder to the bowl of a stand mixer fitted with the paddle attachment. Mix on low just to distribute, then add the cold butter and continue mixing on low until no visible butter remains and the mixture resembles wet sand. (photos 1, 2 & 3 below).
Because the butter coats the flour as it breaks down, it tends to clump, which can look like unincorporated pieces. Stop the mixer and run your hand through the bowl to confirm those clumps are fully worked in, not rogue chunks of butter.
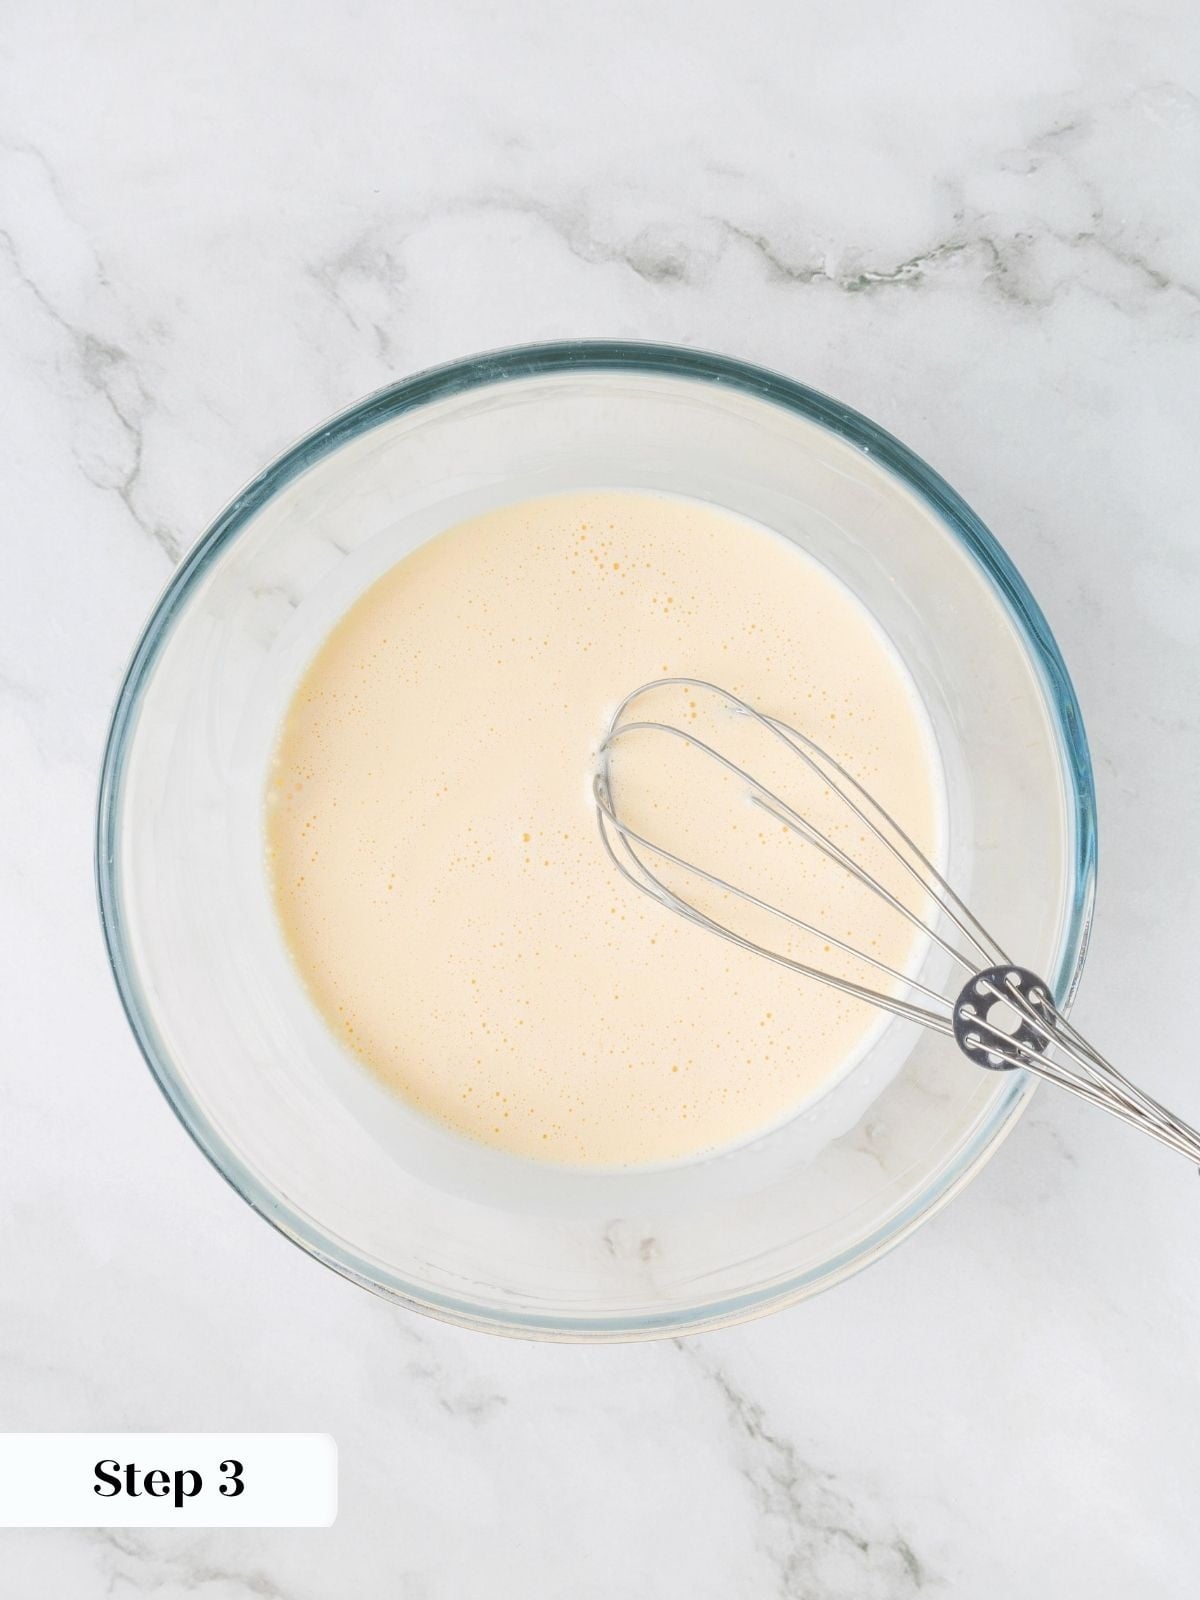
Step 3: Whisk the wet ingredients together. While the dry ingredients are mixing, whisk the eggs, heavy cream, and vanilla in a medium bowl until completely smooth. A hand blender makes quick work of this if you have one. (photo 4 above).
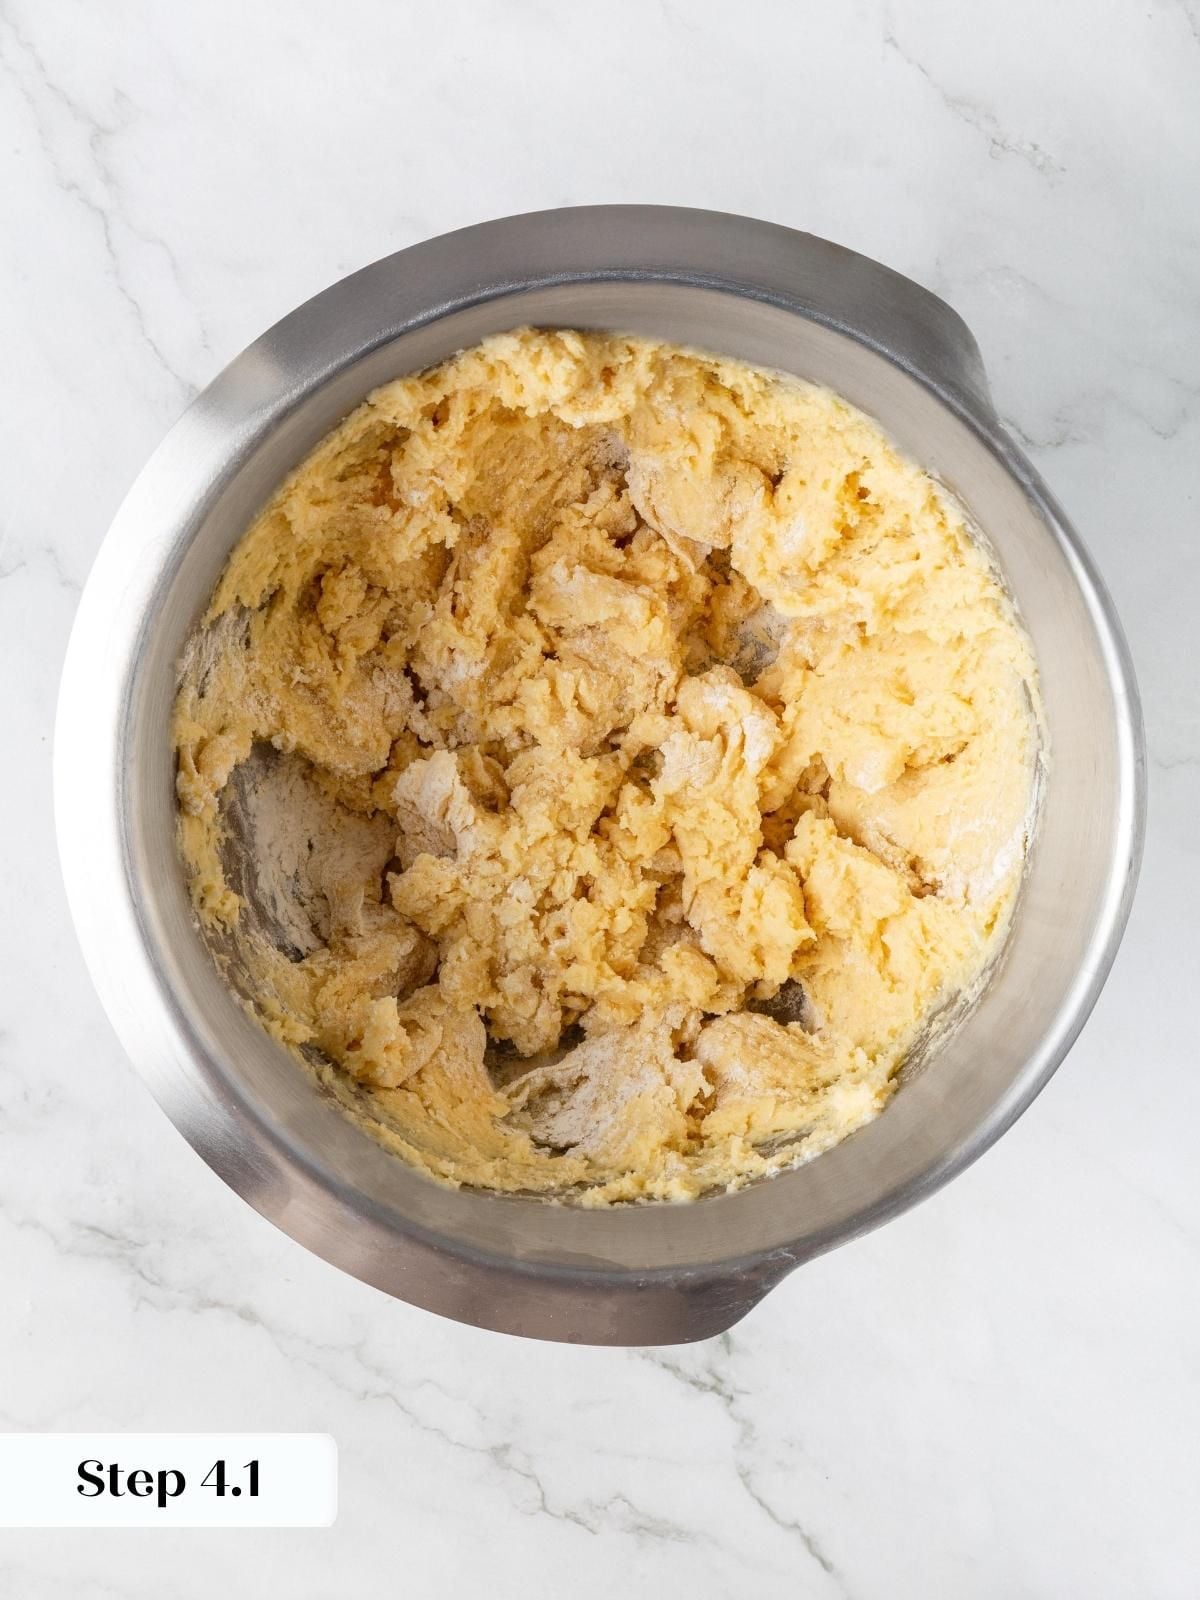
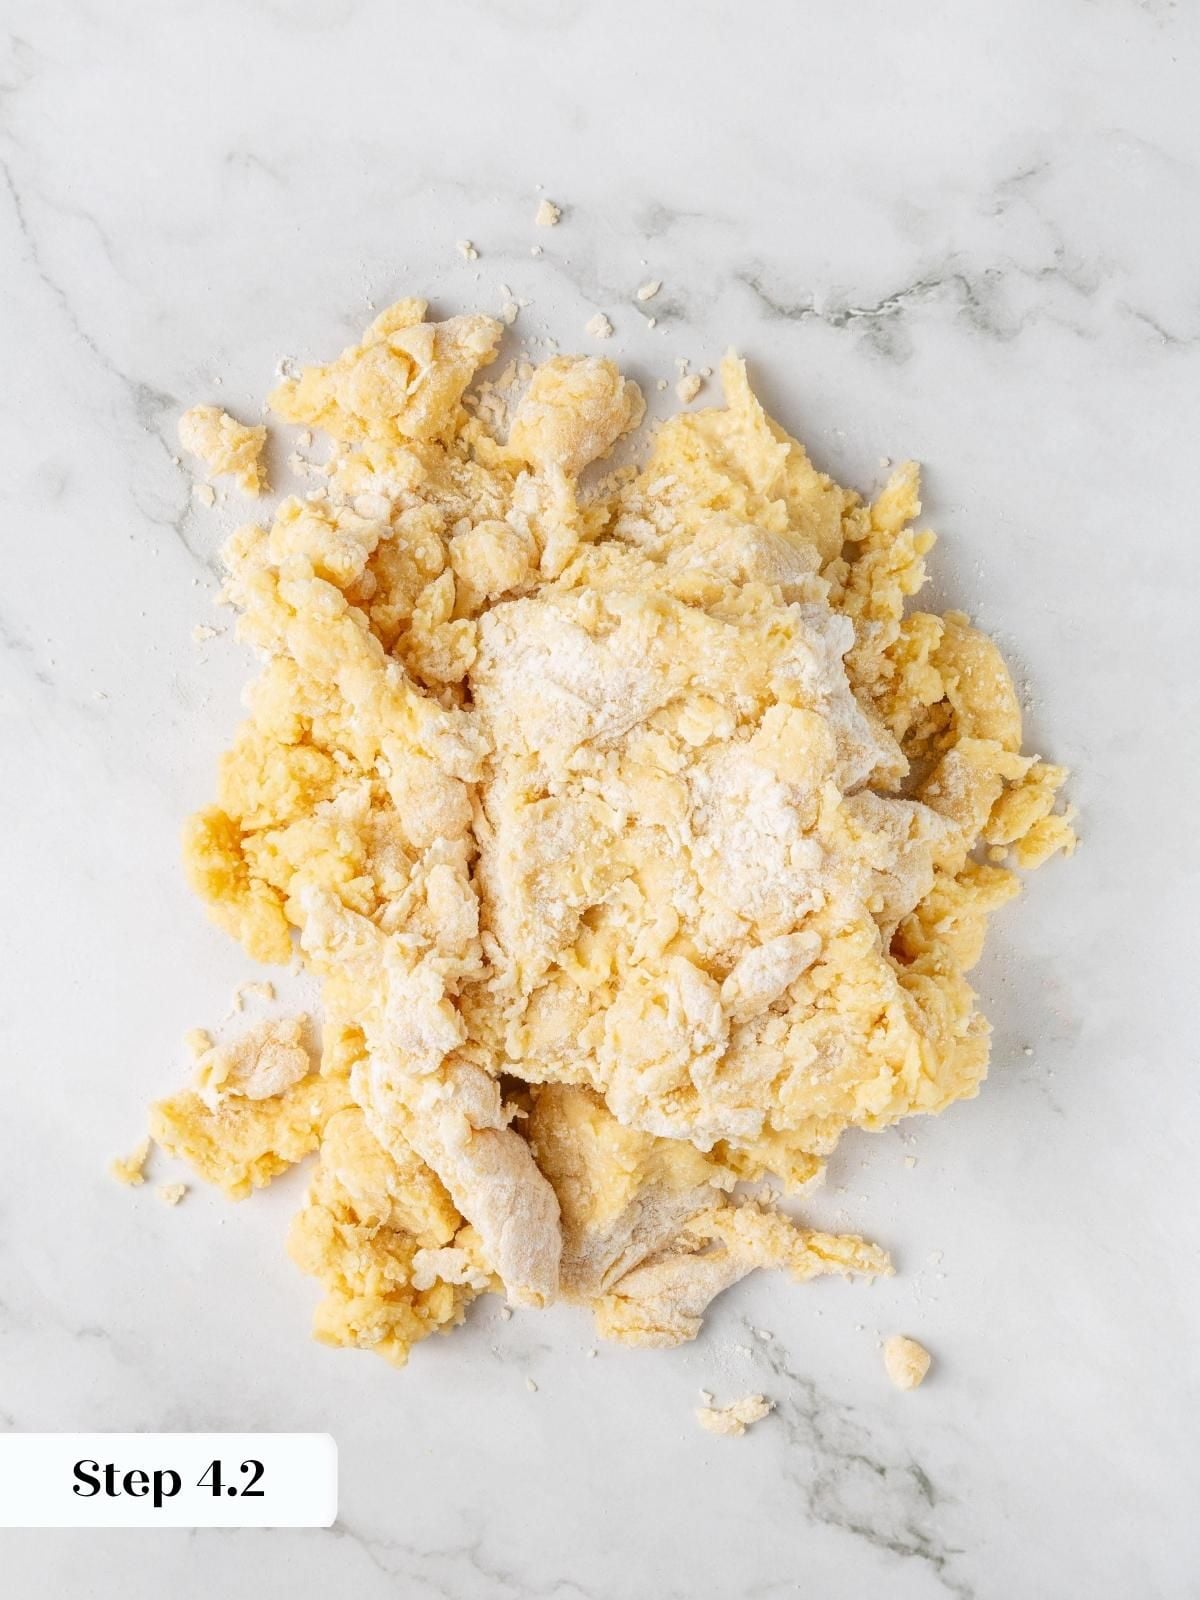
Step 4: Bring the dough together. With the mixer running on low, pour the cream mixture in slowly and mix until just incorporated. The dough will look shaggy at this point, which is fine. Scrape the dough and any dry bits out onto a clean, dry surface. (photos 5 & 6 below).
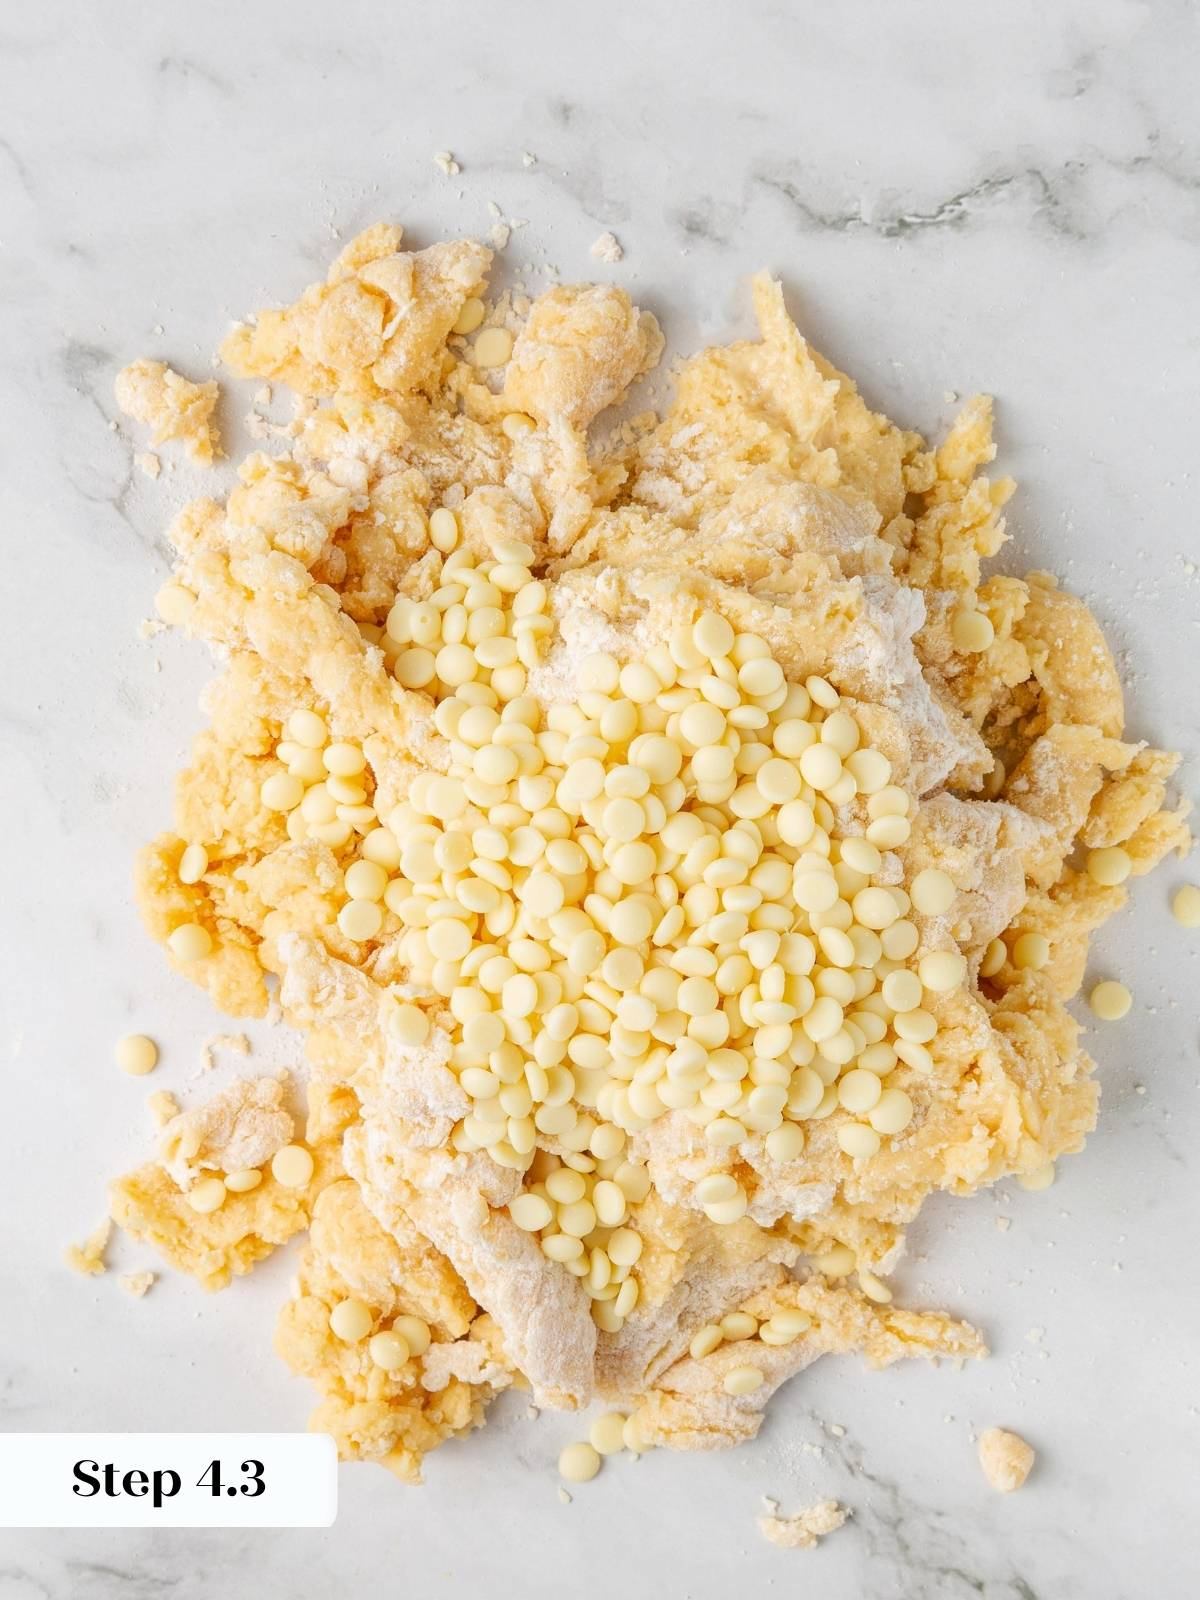
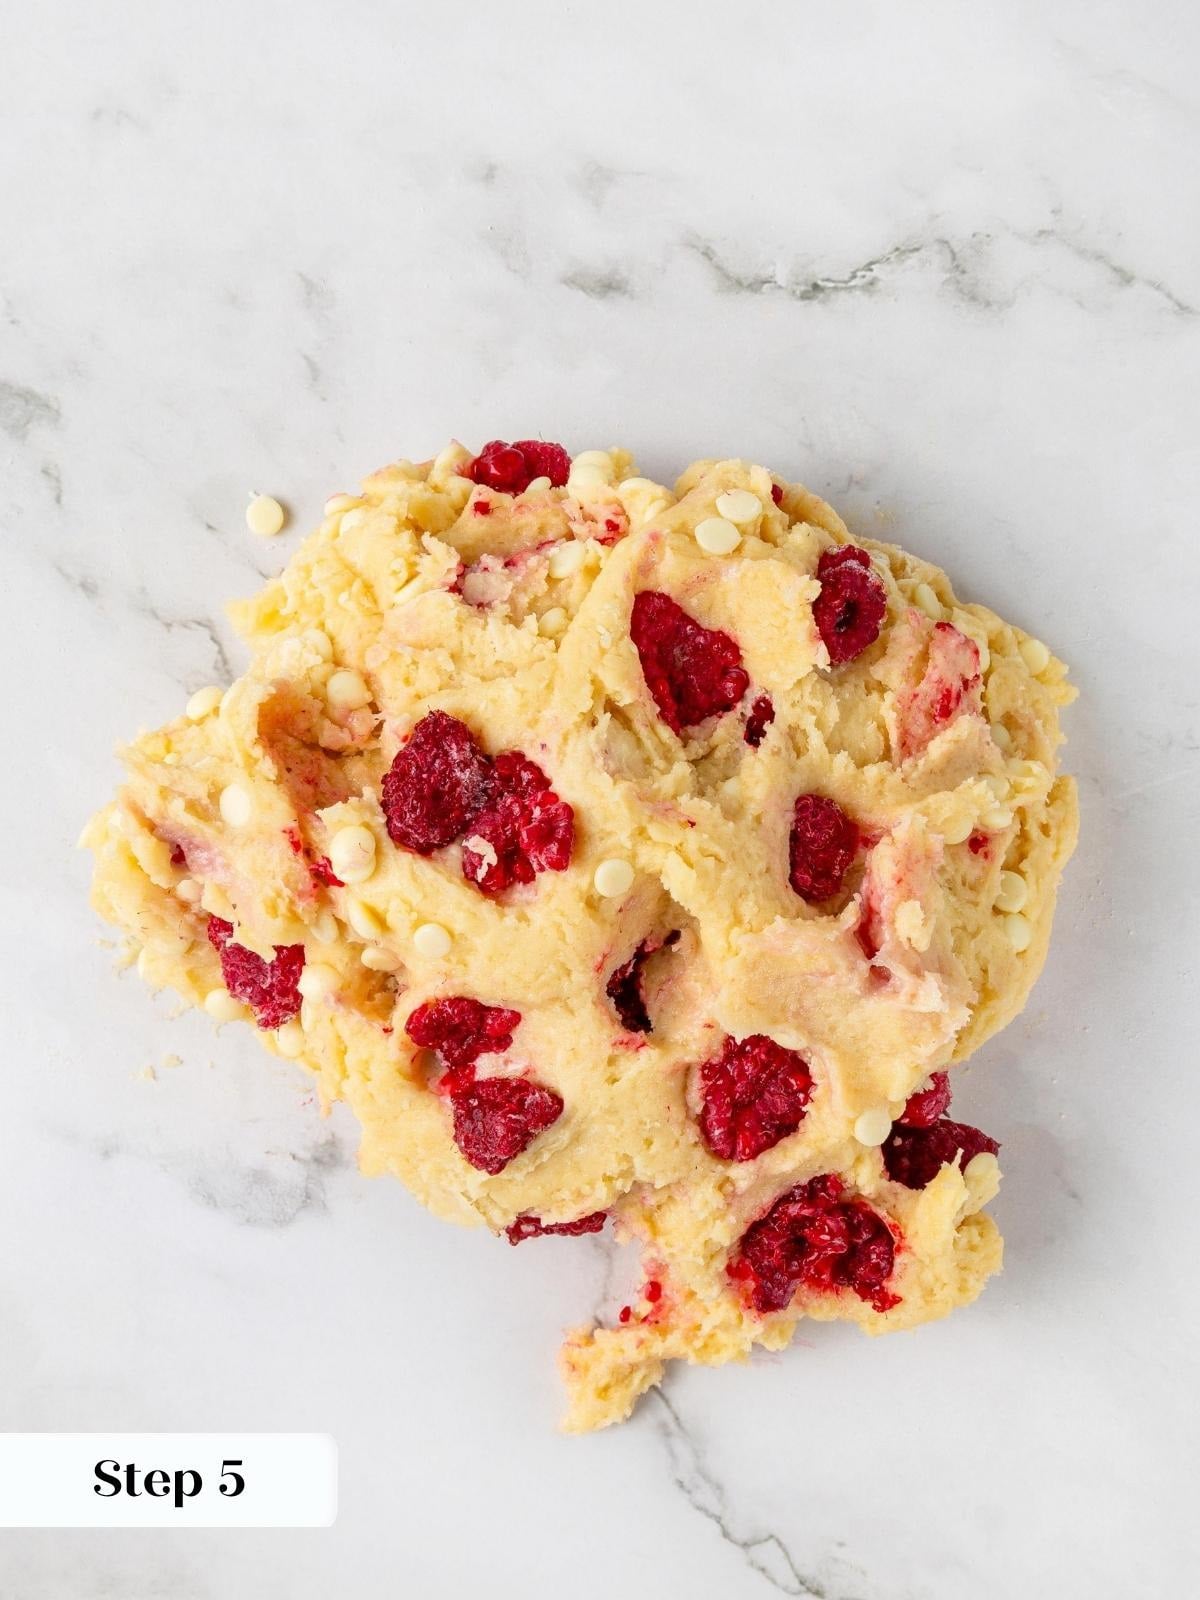
Step 5: Fold in the white chocolate and frozen raspberries. Once the dough is cohesive, add the white chocolate chips and gently squeeze the dough together until no visible dry spots remain. Then add the frozen raspberries and fold them in gently. Squeeze the frozen raspberries as you go to break apart any clumps. (photos 7 & 8).
Working quickly here matters: warm hands will start to thaw the berries, which causes bleeding and a spongier final texture. The raspberries should stay as cold as possible going into the dough.
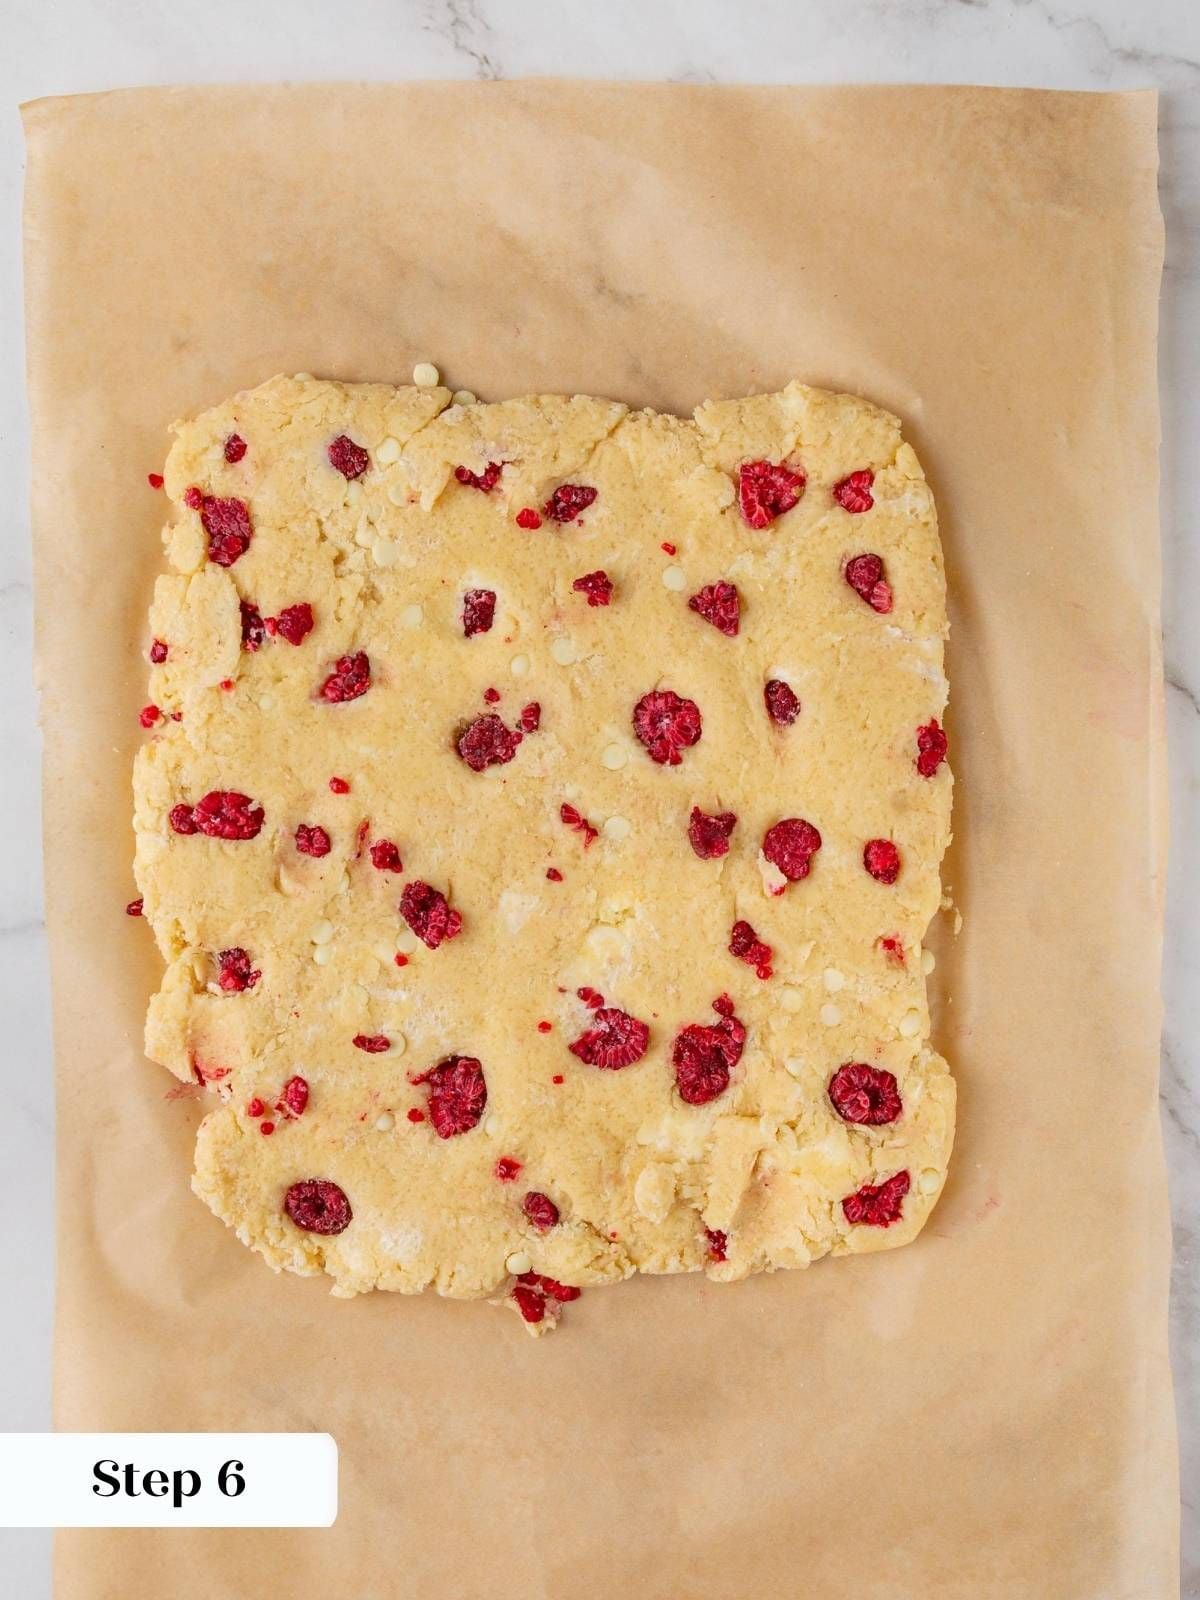
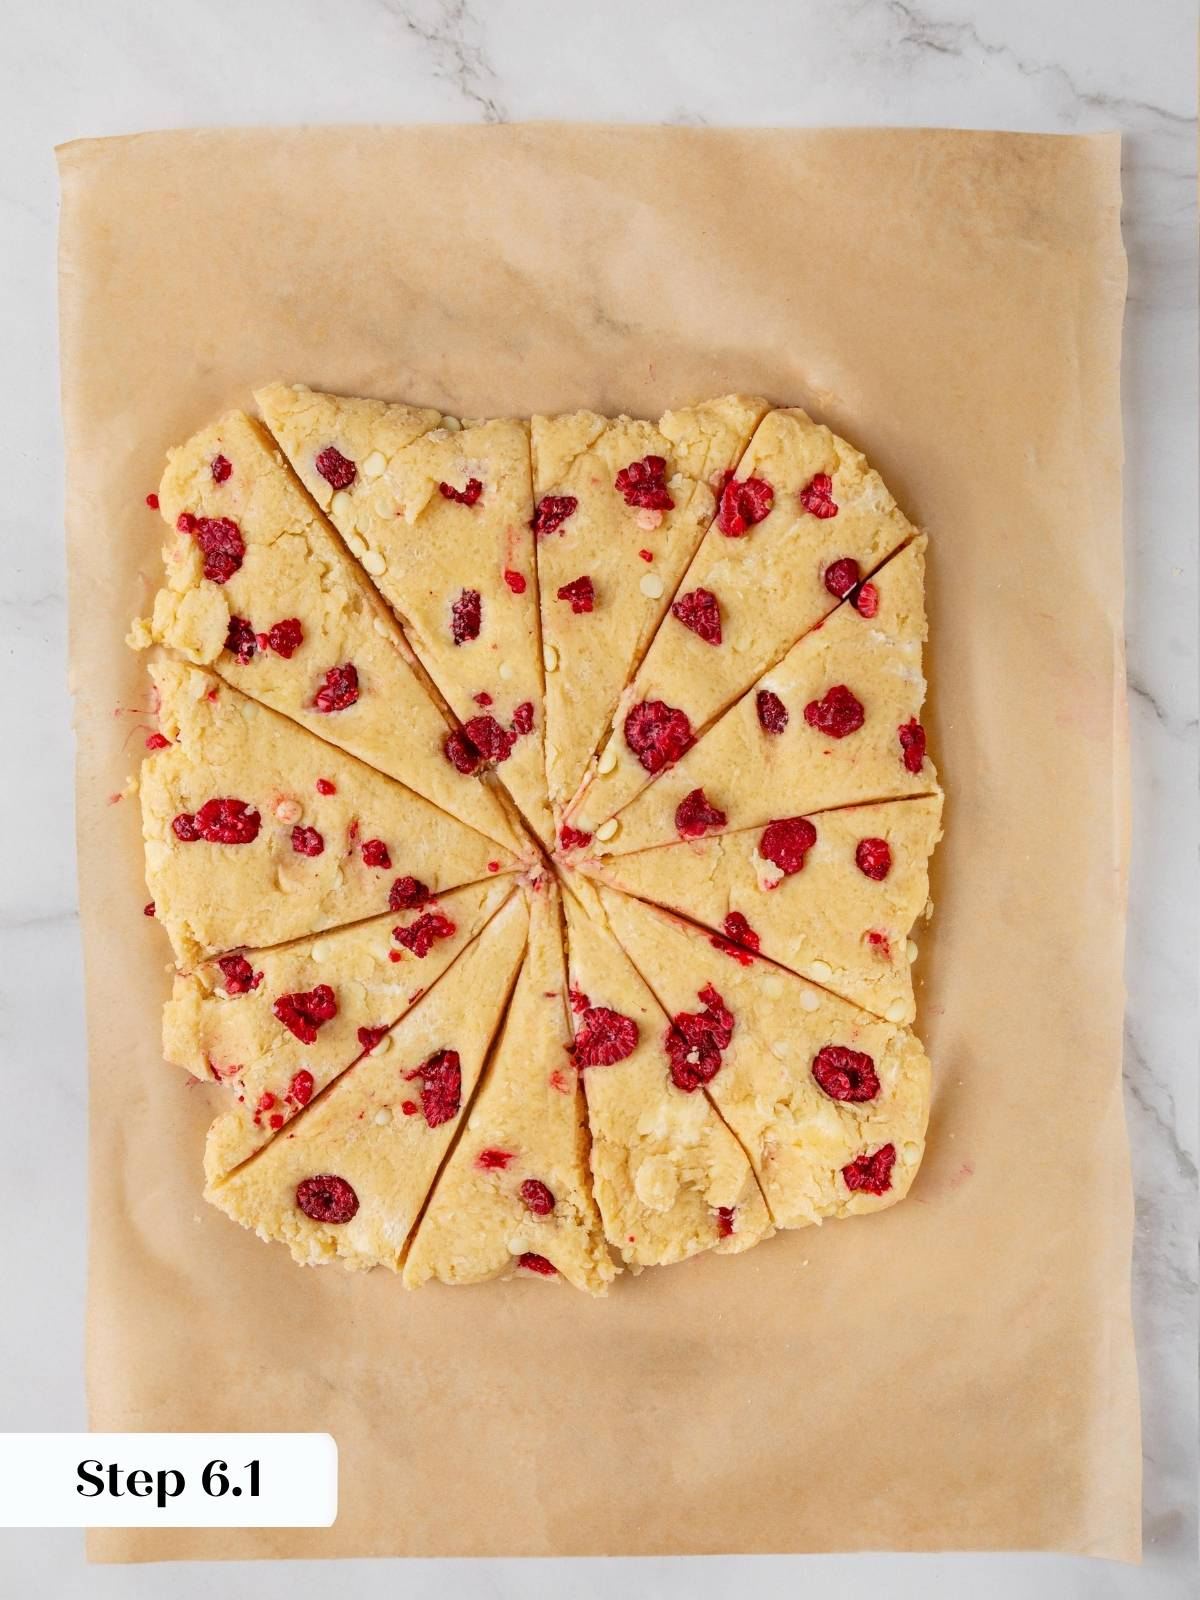
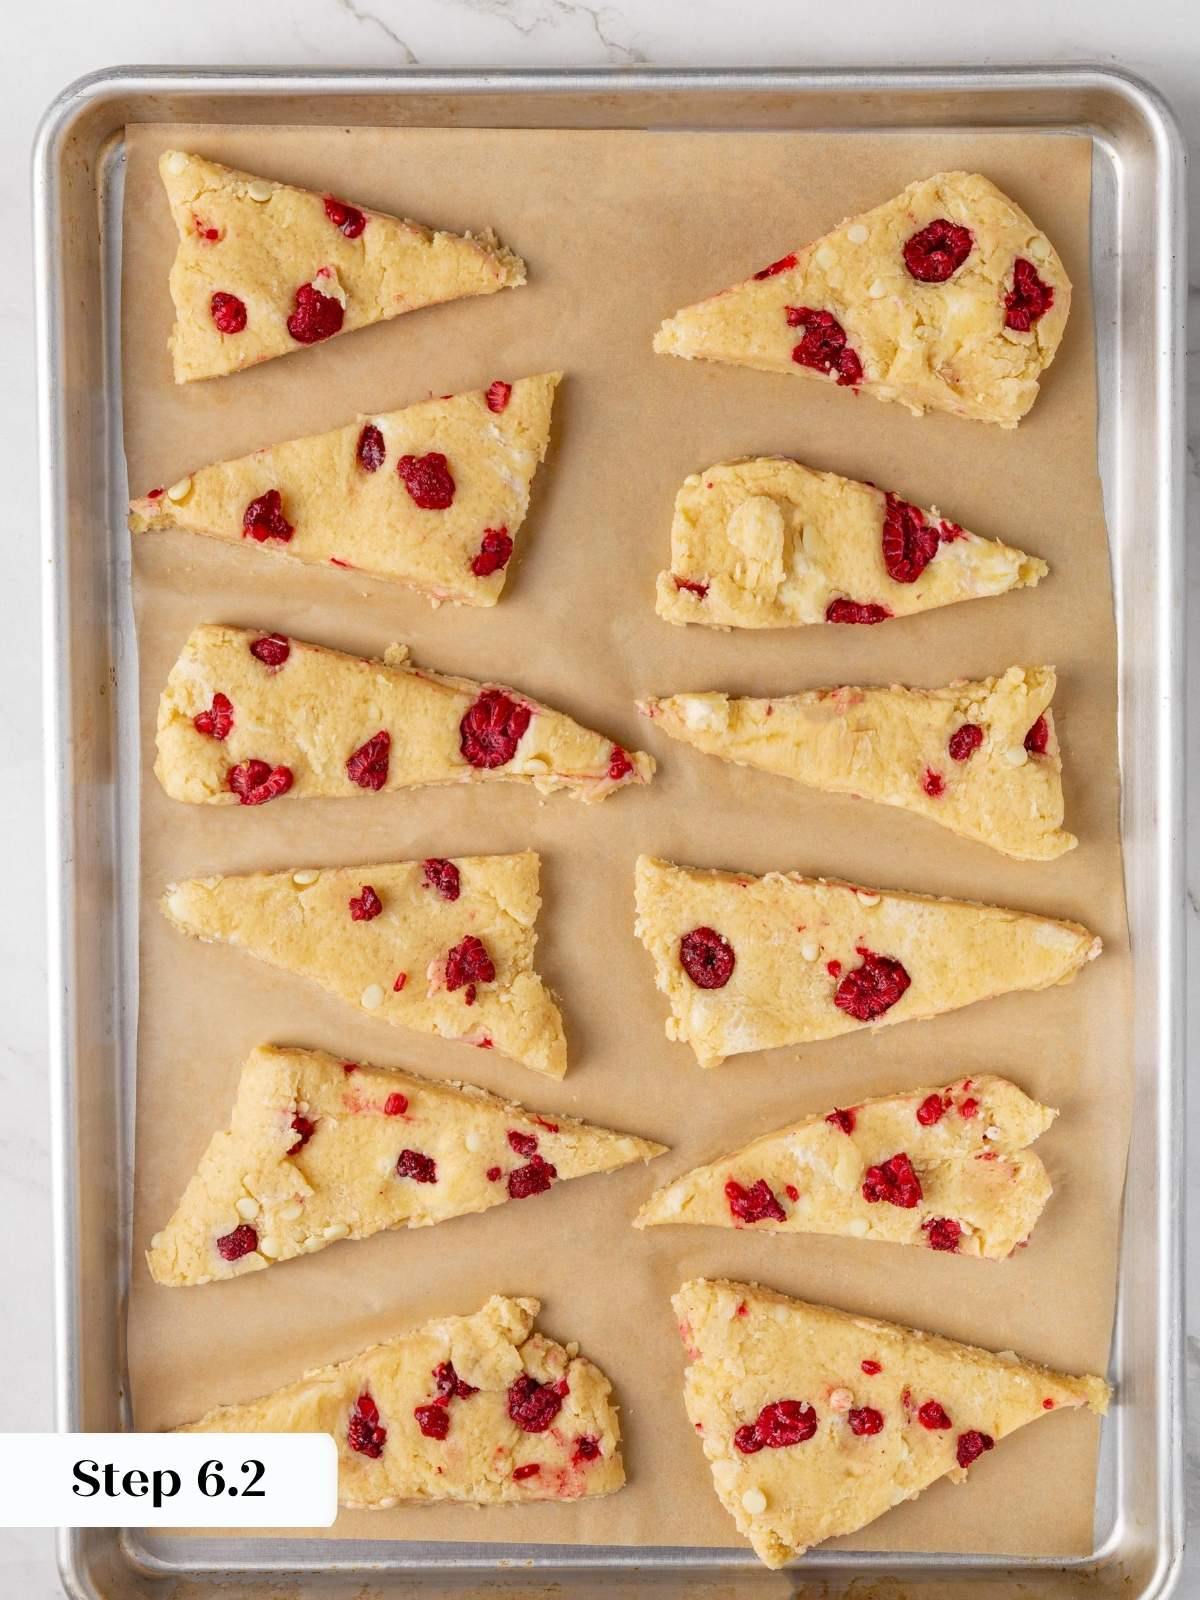
Step 6: Shape the scones. For uniform, cleanly cut triangles, use a rolling pin to roll the dough to ½ inch thickness, then shape it into a 6-inch square. I use plastic wrap to press the dough into shape, keeping my warm hands off the dough and the raspberries cold. Divide the square in half on each side to create four 3-inch squares, then cut each square diagonally to form 8 triangles. ( photos 9, 10 & 11)
For a more rustic result, press the dough into a circle and cut 12 triangles from it. Place the shaped scones on the prepared baking sheet about 2 inches apart.
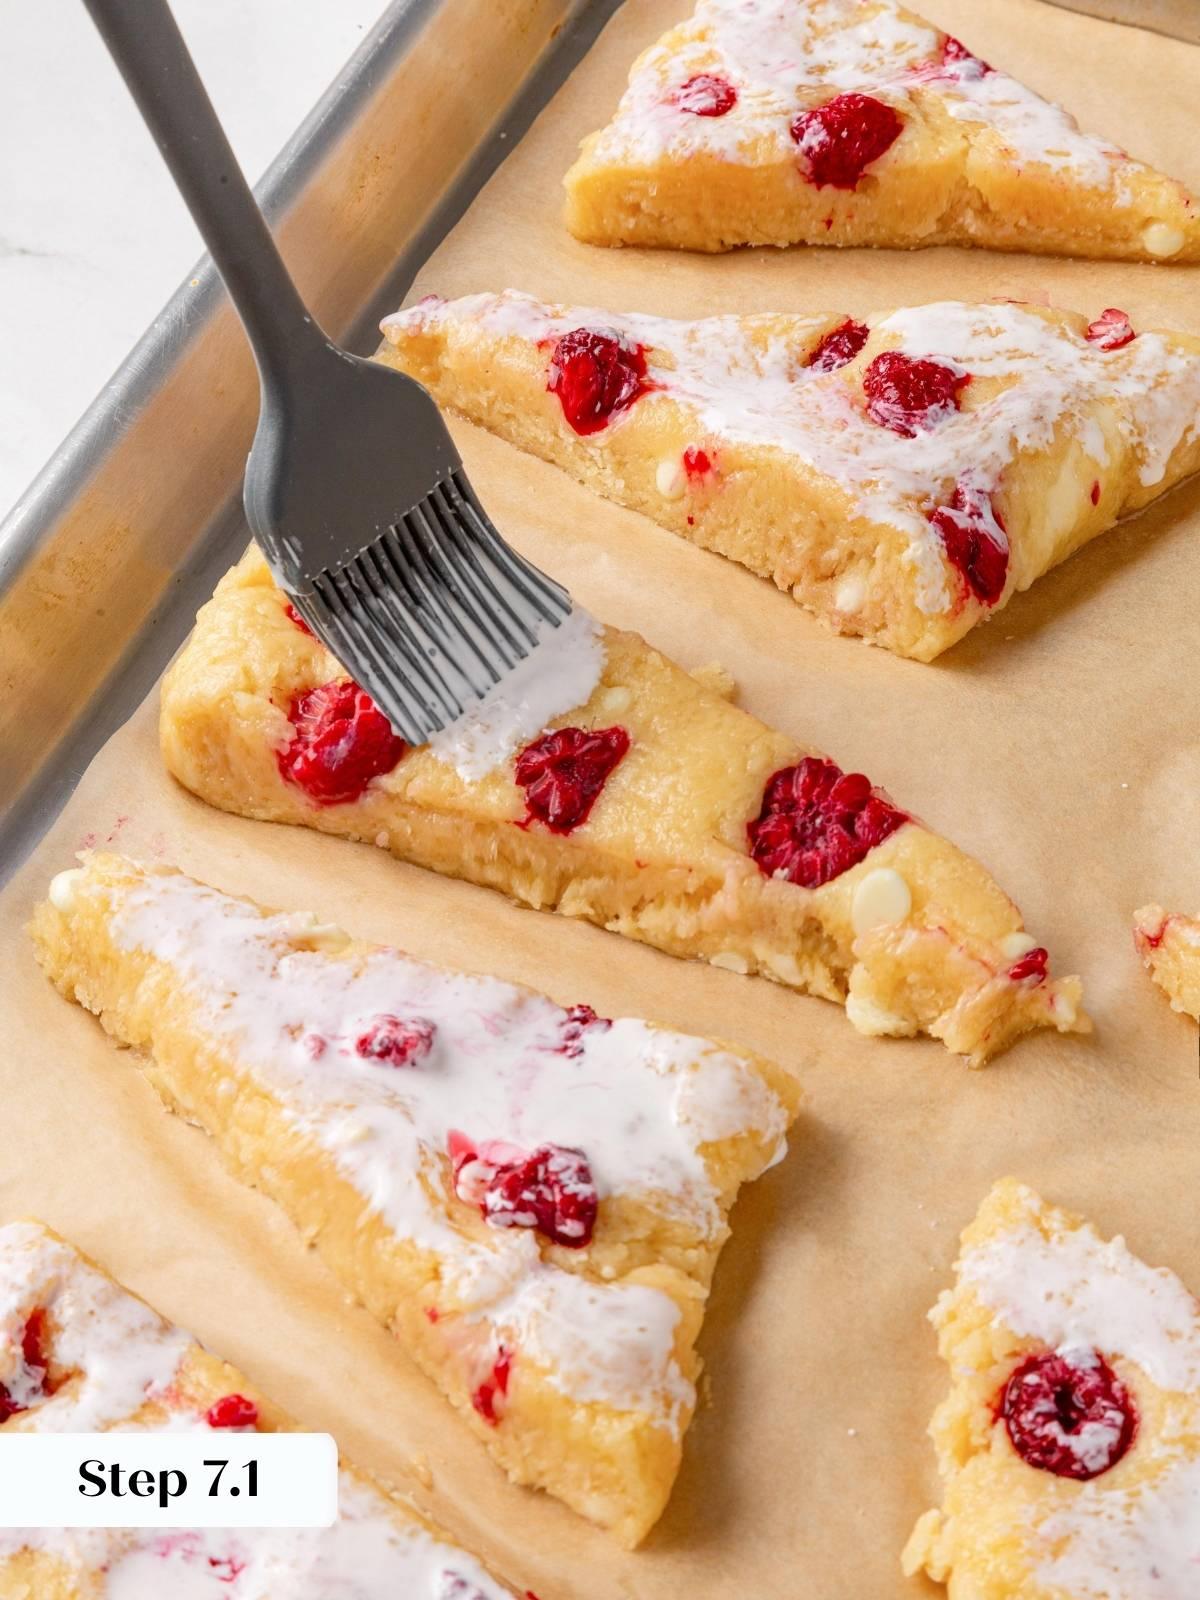
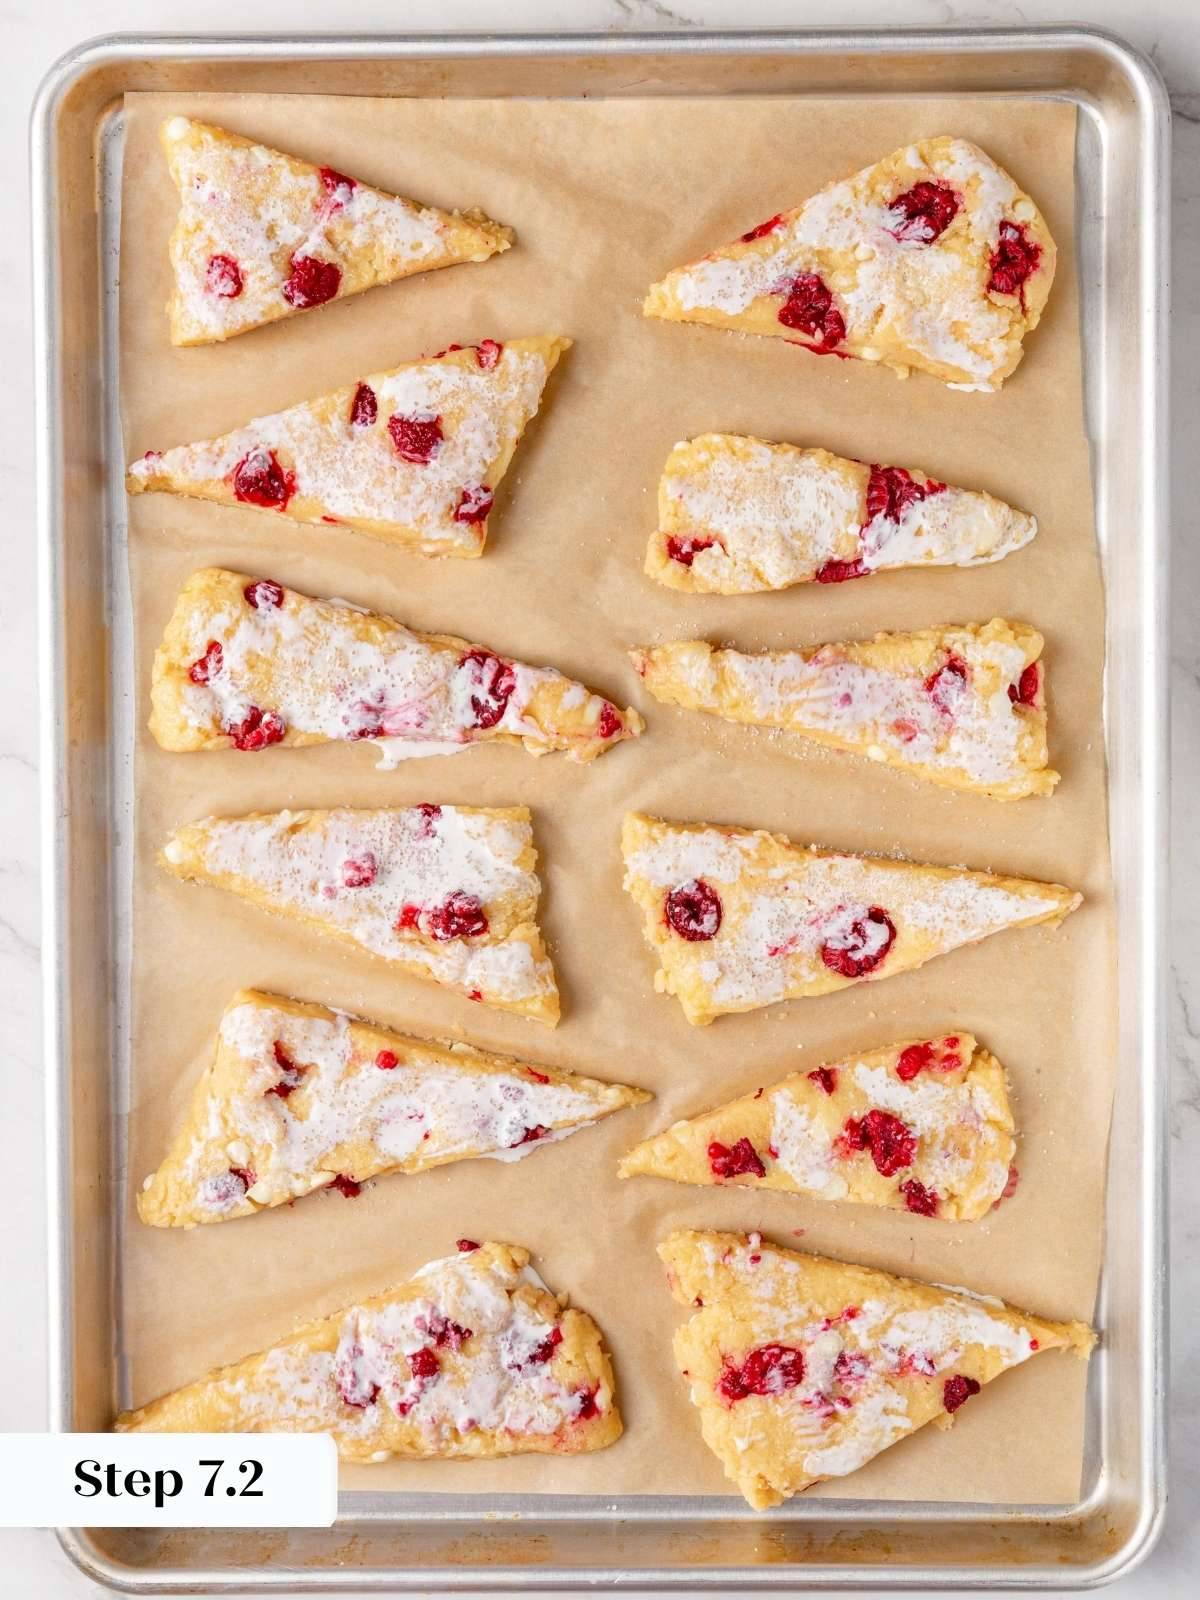
Step 7: Brush and sugar the scones. Brush each scone with heavy cream, then sprinkle generously with white sparkling sugar. The cream wash helps the sugar adhere and gives the edges that golden, slightly crisp finish once baked. Work in small batches of 2 to 3 scones at a time: brush, then sugar immediately before moving to the next. (photos 12 & 13).
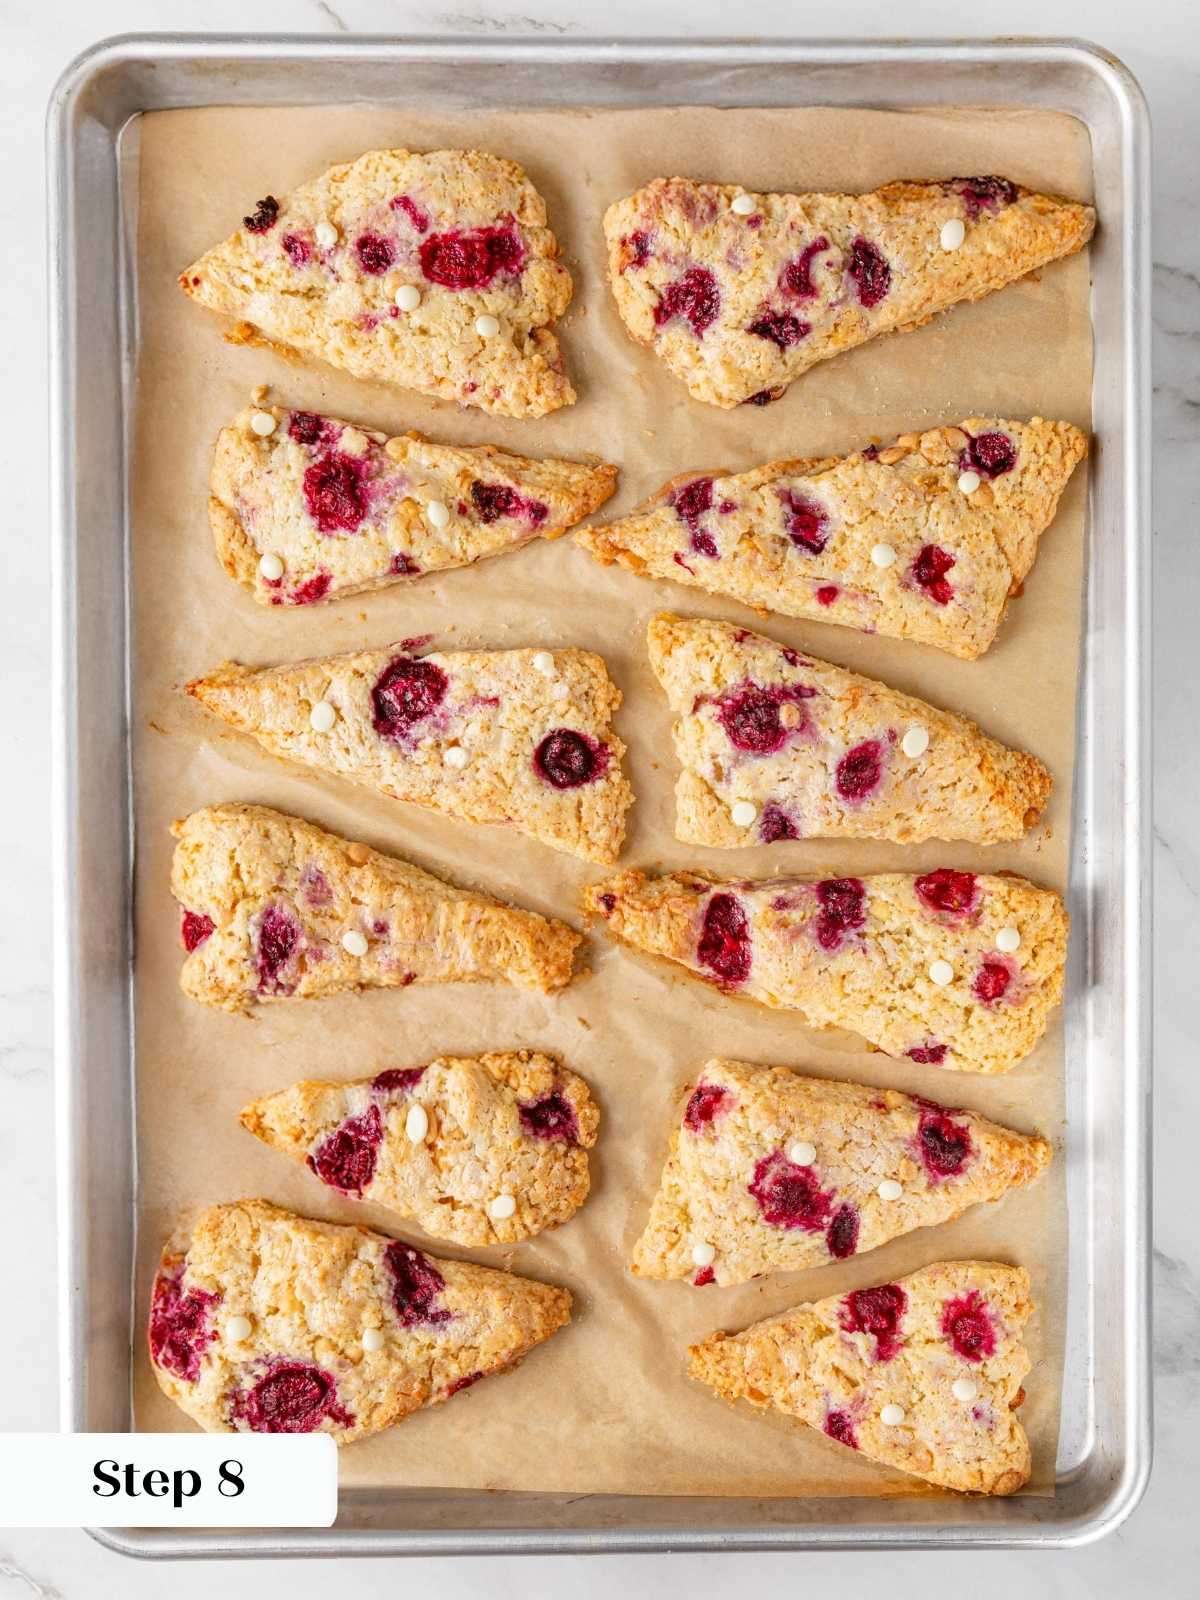
Step 8: Bake the scones. Bake at 325°F convection or 350°F conventional for 18 to 20 minutes. The edges will look dry and set, and the centers should feel just firm when you press them lightly with the tip of a finger. If the center indents and does not spring back, they need more time. Start checking at 18 minutes: the difference between perfectly baked and overdone is narrow. (photo 14).
Tip: If baking from frozen, keep the oven temperature the same but extend the bake time to 20 to 25 minutes, depending on the size of the scone. Watch the white chocolate chips closely: baking from frozen pushes them close to their limit, so check early and pull the moment the centers spring back.
Step 9: Cool and serve. Cool the scones completely on the baking sheet. The interior will continue to set as they cool, and cutting into them too soon gives you a gummy crumb that does not reflect the actual texture. Once fully cooled, the interior should be moist and tender with a lightly crisp, sugared edge.
Chef Lindsey’s Recipe Tip
The single biggest mistake I see with these scones is treating them like a standard scone dough that can be prepped ahead and refrigerated. Because frozen raspberries hydrate the dough from the inside as they thaw, even a short rest in the fridge gives that moisture time to work into the surrounding flour and turn the crumb spongy. Shape the dough, cut the scones, brush with cream, coat in sugar, and bake: the whole sequence should happen in one continuous motion.
Recipe FAQs
Yes, with one important caveat: do not refrigerate the shaped dough before baking. Instead, freeze the cut scones on a sheet pan until solid, then transfer to a bag or container. Bake directly from frozen, adding about 4 minutes to the bake time and watching the white chocolate chips carefully from the 20-minute mark. But they are best baked right away!
The most common cause is resting the dough in the refrigerator before baking. The frozen raspberries release moisture as they sit, and that extra hydration gets absorbed into the flour, which produces a spongy rather than tender interior. Baking immediately after cutting is the fix.
The edges should look set and dry, and the centers should offer light resistance when pressed gently with a fingertip. If the scone indents and does not spring back, it needs more time. Start checking at 18 minutes and pull them the moment that resistance is there.
These scones are best the day they are baked. Store any leftovers in an airtight container at room temperature for up to 2 days. For longer storage, freeze the baked scones for up to 2 months and let them come to room temperature before serving.

Recommended Berry Recipes!
Summer Dessert Recipes
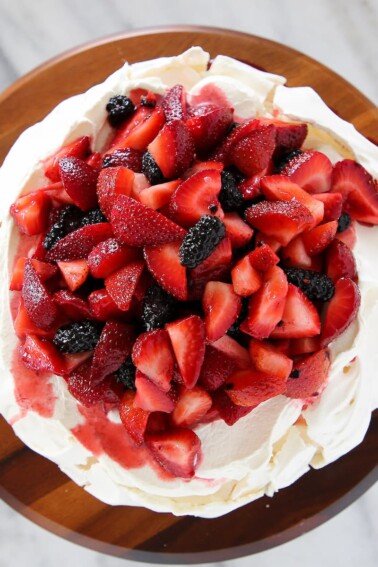
Lemon Berry Pavlova Cake
Crisps & Crumble Recipes
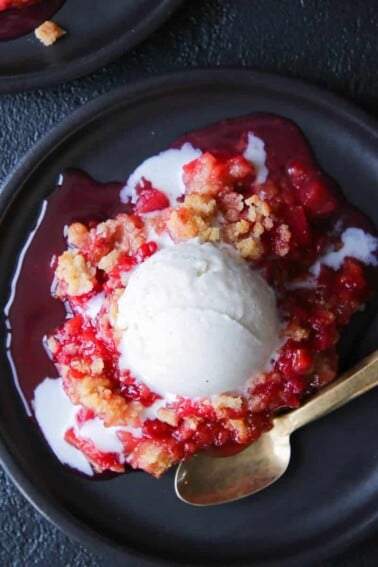
Raspberry Rhubarb Crisp
Summer Dessert Recipes
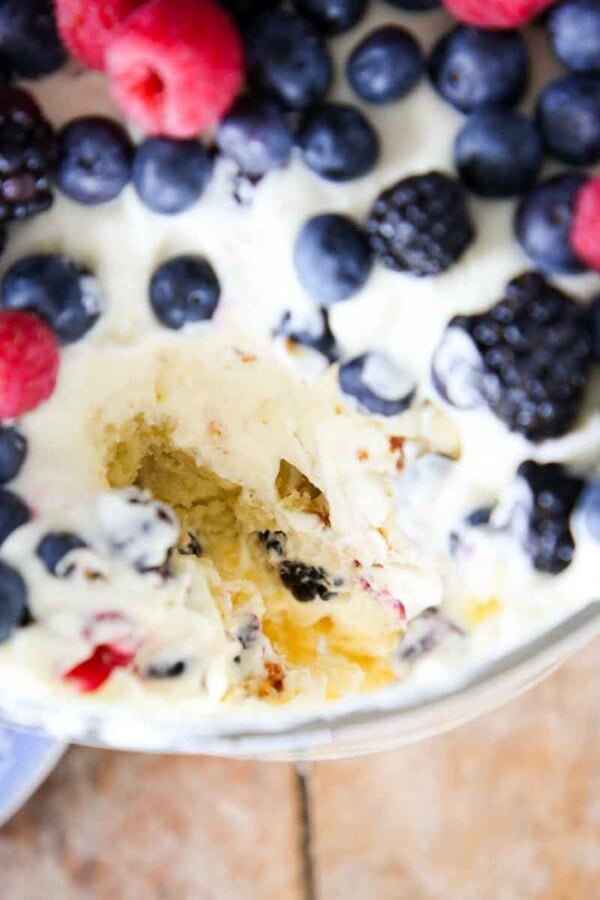
Berry Trifle
Ice Cream Recipes
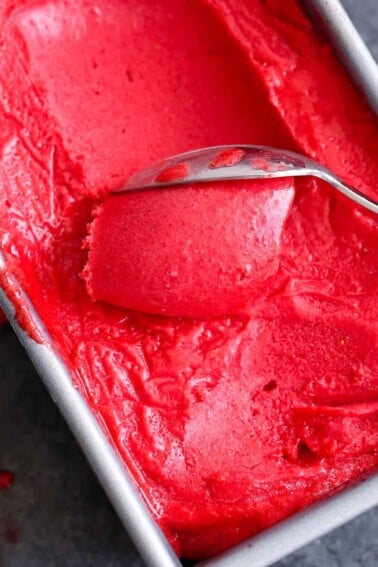
Raspberry Sorbet
If you tried this recipe and loved it please leave a 🌟 star rating and let me know how it goes in the comments below. I love hearing from you; your comments make my day!

Raspberry White Chocolate Scones
Ingredients
- 2 ½ cups all-purpose flour
- ½ cup granulated sugar
- ¼ teaspoon kosher salt
- 1 teaspoon baking powder
- ½ cup unsalted butter cold, cubed
- 1 teaspoon vanilla extract
- 2 large eggs
- ½ cup heavy cream
- 1 ½ cups raspberries frozen
- ½ cup white chocolate chips
- Heavy cream for finishing
- White sparkling sugar for finishing
Instructions
- Preheat oven to 325°F convection or 350°F conventional. Line a baking sheet with parchment.
- In the bowl of a stand mixer fitted with the paddle attachment, combine flour, sugar, salt, and baking powder. Mix on low just to distribute. Add cold cubed butter and mix on low until no visible butter remains and the mixture resembles wet sand.
- Whisk together vanilla, eggs, and heavy cream in a separate bowl until smooth. With the mixer running on low, slowly pour in the cream mixture and mix until just incorporated.
- Turn the dough out onto a clean surface. Add white chocolate chips and squeeze the dough together gently until no dry spots remain. Add frozen raspberries and fold them in gently, squeezing to break apart any clumps as you go.
- For uniform scones, roll or press dough into a 6-inch square, roughly ½ inch thick. Divide into four 3-inch squares, then cut each diagonally to form 8 triangles. For rustic scones, press into a circle and cut into 12 triangles. Place on the prepared baking sheet about 2 inches apart.
- Brush scones immediately with heavy cream and sprinkle generously with white sparkling sugar. Bake right away, do not refrigerate before baking.
- Bake 18 to 20 minutes, until edges look dry and set and the centers offer light resistance when pressed gently with a fingertip. If baking from frozen, bake 20 to 25 minutes at the same temperatures.
- Cool completely on the baking sheet.
Notes
Doneness cue: The edges should look dry and set. Press the center gently with a fingertip; it should spring back. If it indents and stays, bake for 2 to 3 more minutes and check again.
White chocolate chips: Baking immediately produces nicely caramelized chips at 18 to 20 minutes. Baking from frozen pushes them to their limit. Watch carefully from the 20-minute mark.
Storage: Best on the day they are baked. Store in an airtight container at room temperature for up to 2 days, or freeze baked scones for up to 2 months. Let frozen scones come to room temperature before serving.
Nutrition
Before You Go
I hope you enjoyed this chef-tested recipe! For other fun brunch flavor combinations, check out all my breakfast recipes, but might I suggest you make these peach muffins next!


I was nervous about baking my scones right away but they turned out amazing. The white chocolate chips caramelized perfectly and the raspberries didn’t make the scone gummy! The scones stayed moist and tender a wonderful and flavorful recipe.
Hi Lauren, Thank you for taking the time and coming back and sharing so glad your scones turned out perfect! It always makes our day! ~ CLF team