
This post may contain affiliate links. Please read our disclosure policy.
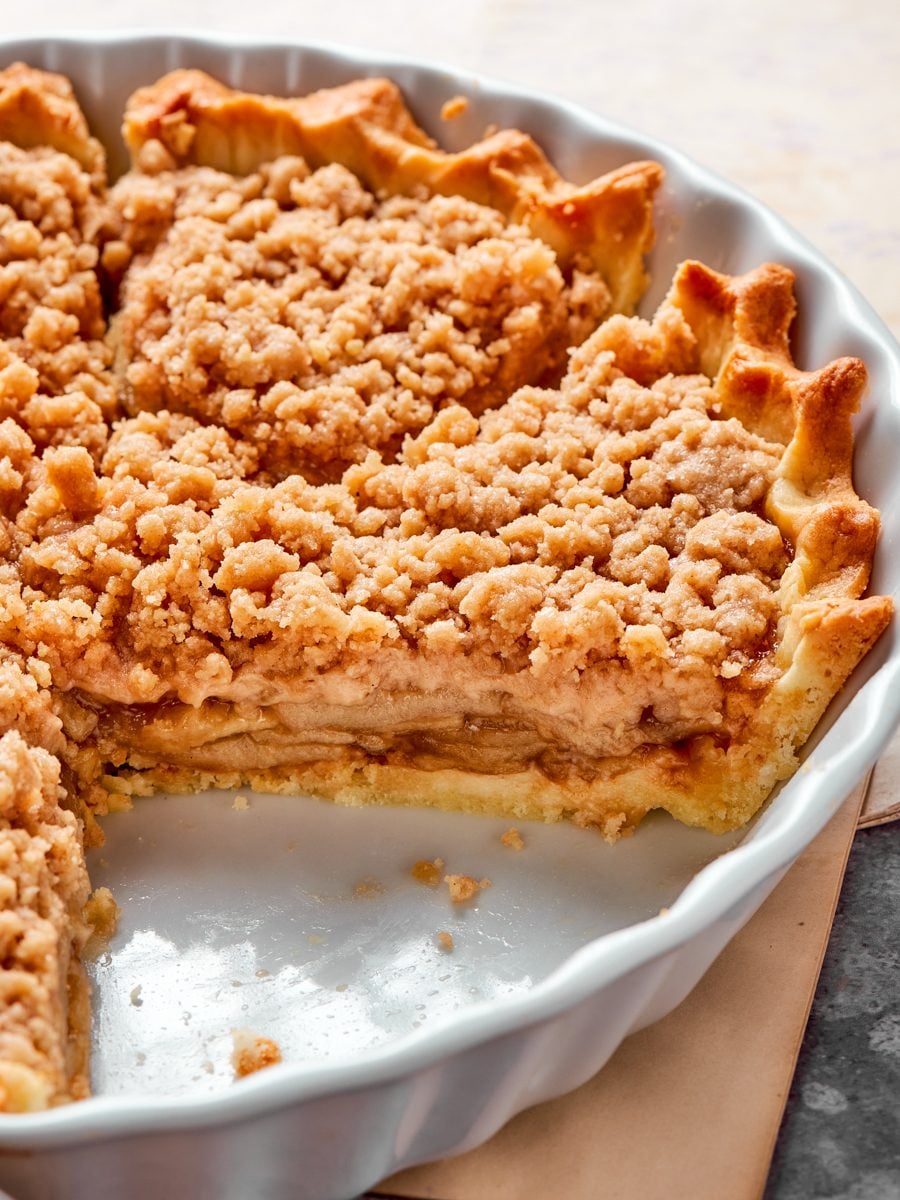
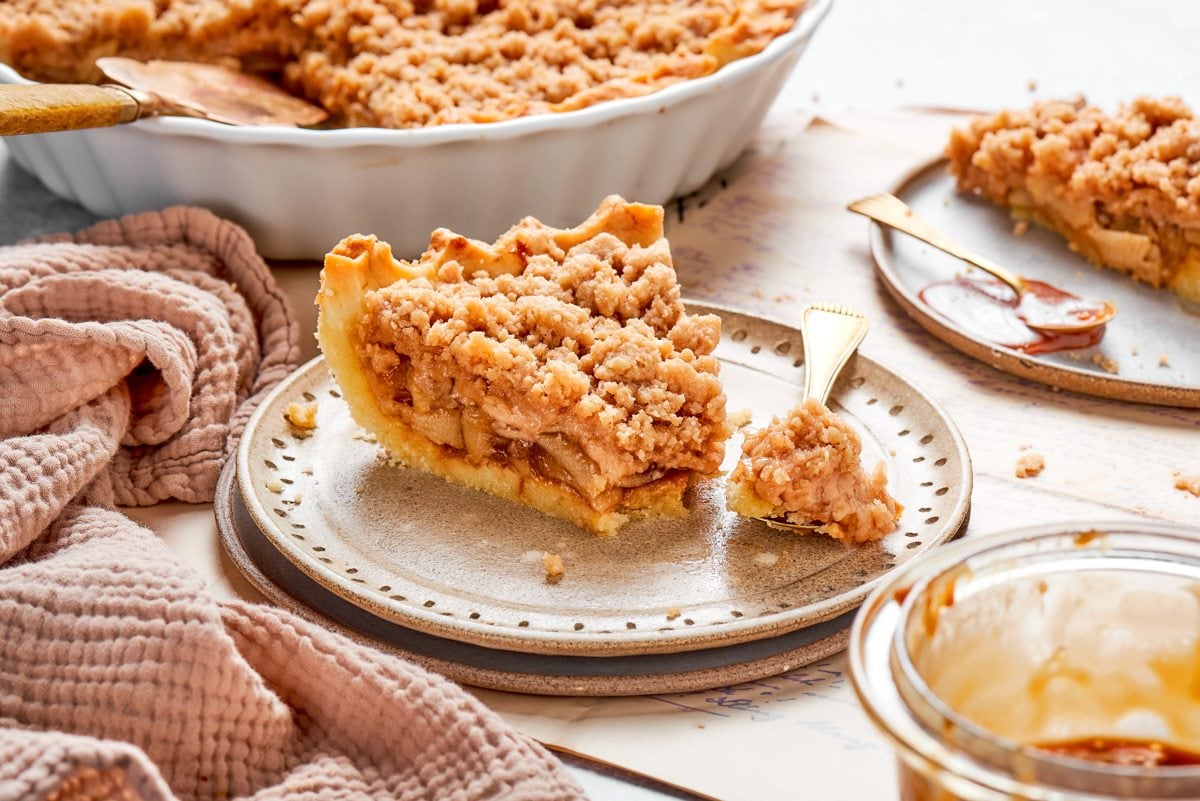
Caramel Apple Tart is epic! Layers of [salted caramel sauce] and sliced apples pile high in a sweet tart crust, topped with a cinnamon twist on my favorite go-to [streusel topping]!
A Quick Look At The Recipe
This is a brief summary of the recipe. Jump to the recipe to get the full details.
Jump to RecipePrep Time
2 hours 40 minutes
Cook Time
40 minutes
Total Time
3 hours 20 minutes
Servings
12 slices
Difficulty
Intermediate— three from-scratch components.
Calories *
719 kcal per serving
Technique
Pâte sucrée blind-baked, filled with pre-cooked spiced apples and caramel, finished with cinnamon streusel and baked.
Flavor Profile
Buttery, spiced, caramel-rich with a crisp streusel finish.
* Based on nutrition panel
I made this for Rosh Hashannah and it was the first dessert to disappear from the table. The pre-cooked apple filling is a revelation — no soggy bottom, no soupy mess, just clean slices with perfect layers. I used Honeycrisp apples and the caramel came through in every bite. ⭐⭐⭐⭐⭐
Meredith
Why This Recipe Works
- Pre-cooked filling prevents a soggy tart. Cooking the apple filling on the stovetop before it goes into the shell drives off excess liquid and lets the cornstarch thicken it in a controlled environment. Skip this step, and you will have a soupy, unsliceable result.
- Pâte Sucrée gives the shell structure. The enriched, cookie-like crust holds its shape under the weight of the filling and caramel without turning soft. It also has enough sweetness to balance the apples’ tartness without competing with the caramel.
- Tart apples stand up to caramel. Varieties like Honeycrisp or Crispin hold their texture through cooking and provide enough acidity to keep the filling from tasting flat under all that richness.
- Streusel adds contrast and forgives imperfect tops. The brown sugar streusel introduces crunch and a slightly nutty depth that the smooth caramel and tender apples need. It also means there is no pastry lid to fuss over.
Table of Contents
I know you’re like, “woah, Lindsey. Calm down! That is four components you want me to make for one tart.” Oui, mes amis! This tart will change your life and all your friends will crown you the Baking Queen or King of your group.
And who doesn’t want that?! Like Thanksgiving or any large holiday meal, this tart can be easy and low-stress with a little planning and prep. But there’s no shame in making these mini apple pies instead. If you are wondering what other wonderful show-stopping dessert you can make this fall, may I interest you in this French apple cake or these caramel apple cupcakes!
Ingredients & Substitutions
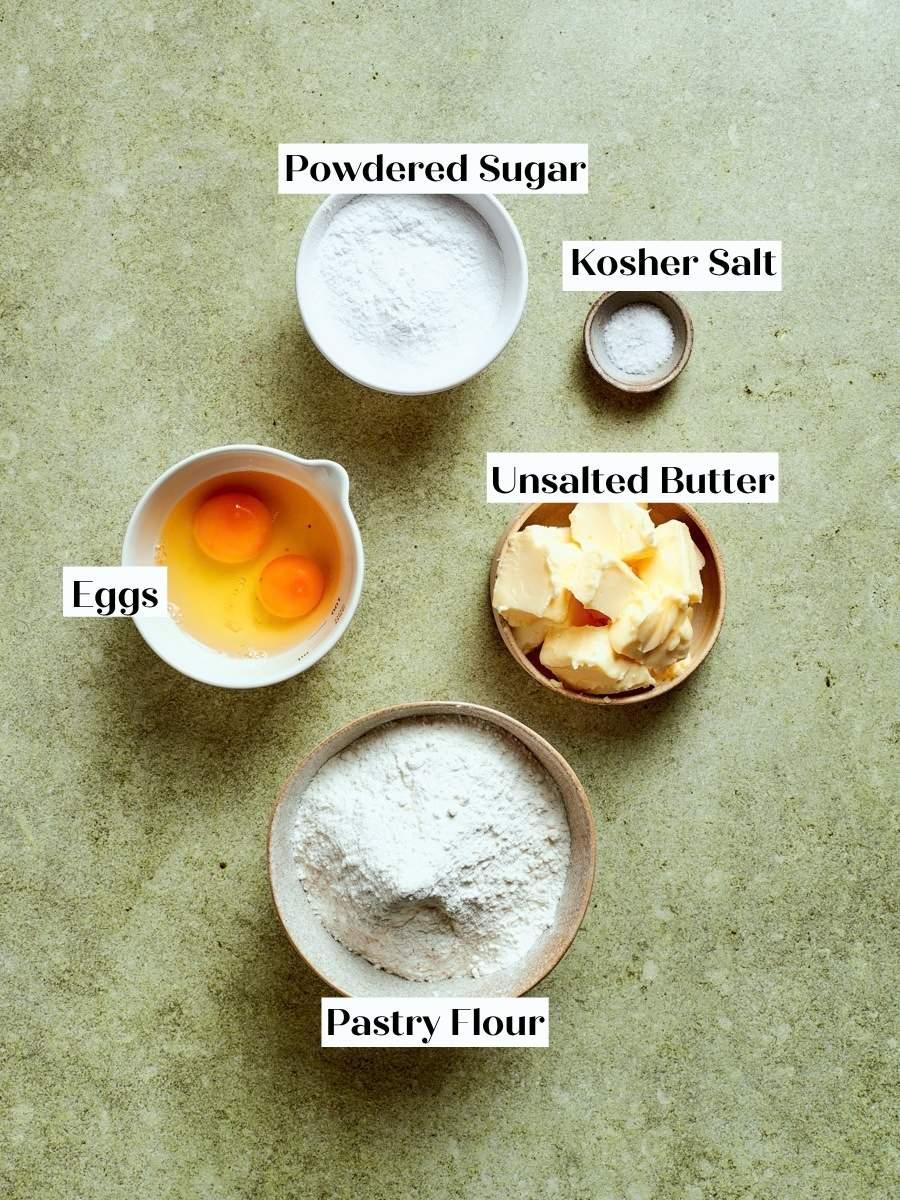
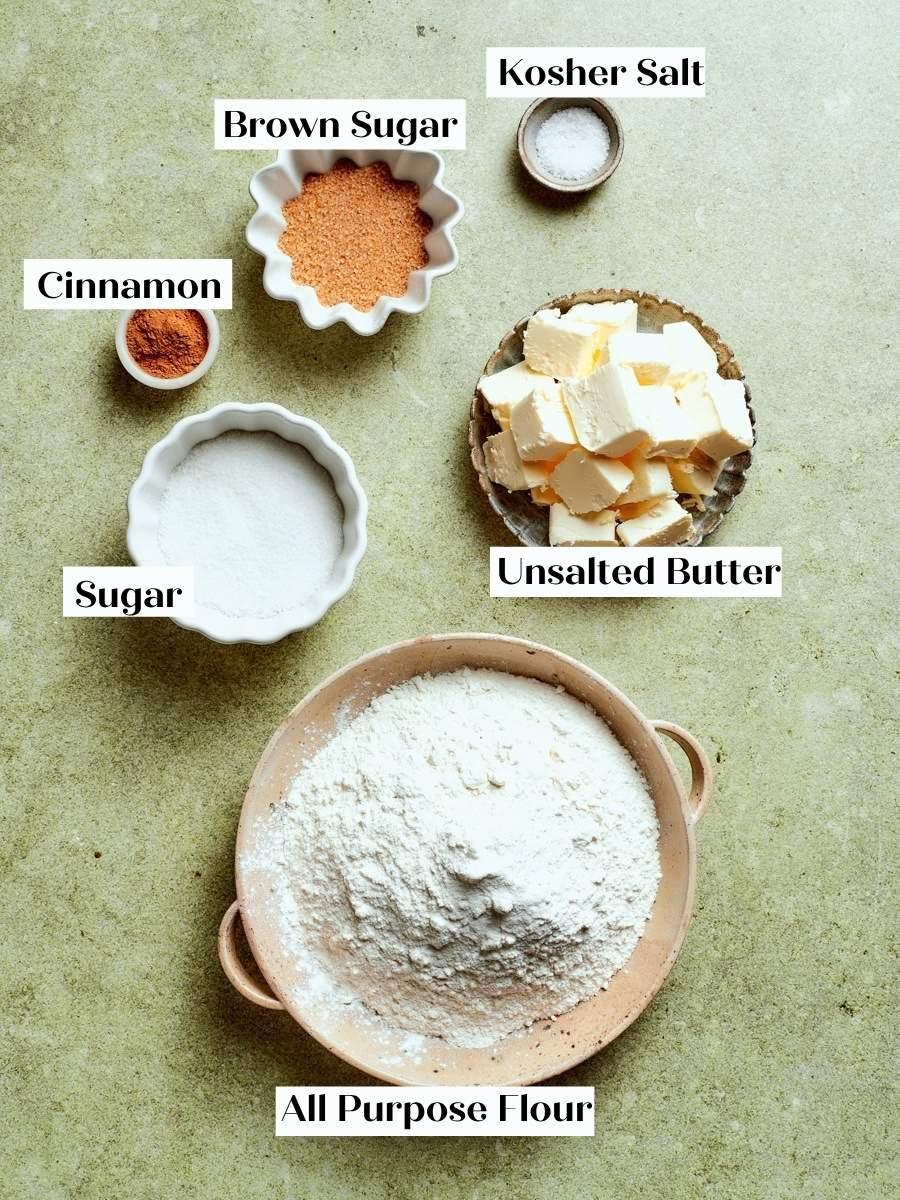
- Powdered Sugar: Dissolves more readily than granulated sugar, giving the crust a finer, more even crumb. Do not substitute granulated here.
- Eggs (pâte sucrée): Bind the dough and contribute to the shell’s golden color and slight chew. One whole egg is standard for this quantity of dough.
- Pastry Flour: Lower protein content than all-purpose flour, which keeps the crust delicate rather than tough. If you cannot find pastry flour, substitute 1: 1 for all-purpose flour.
- Sugar and Light Brown Sugar (streusel): The combination gives the streusel both crisp texture from the granulated sugar and a deeper, molasses-forward flavor from the brown sugar. Either alone produces a less interesting result.
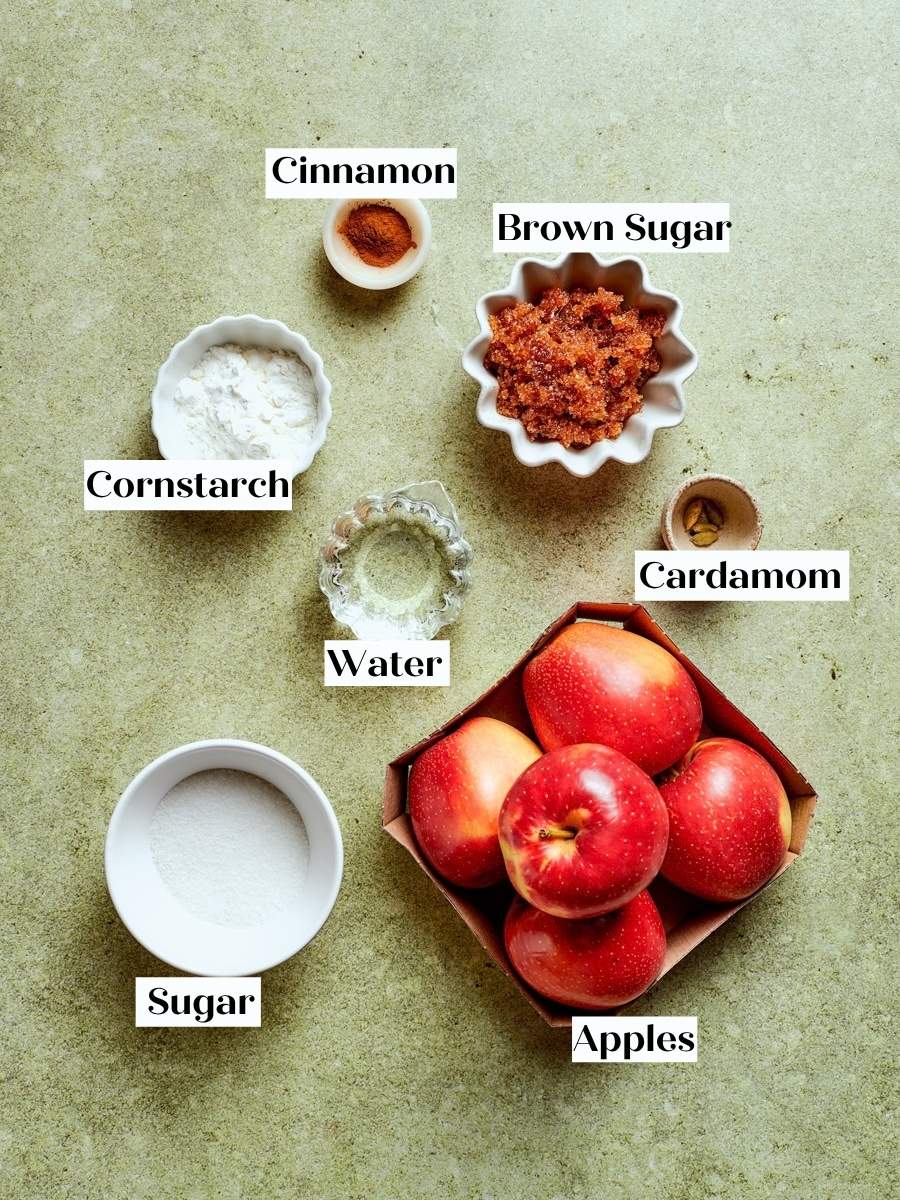
- Apples: This is the tart’s most critical ingredient. Choose firm, tart varieties that hold their shape through cooking: Honeycrisp, Jonagold, Cripps Pink, or Fuji all work well. Avoid Macintosh or any apple that turns mealy, because they will collapse into applesauce before the tart is done.
- Sugar and Dark Brown Sugar (filling): The brown sugar adds a molasses depth that amplifies the caramel. Taste the filling before adding the cornstarch and adjust the sugar level based on how sweet your apples are.
- Cinnamon and Cardamom: Cinnamon is the anchor spice, and cardamom adds a floral, slightly citrusy note that makes the filling feel more complex than a standard apple pie. Freshly ground cardamom makes a noticeable difference here.
- Cornstarch and Water: These thicken the filling while it cooks on the stovetop so it slices cleanly in the finished tart. Always dissolve the cornstarch in water before adding it to the hot fruit, and taste the filling for sweetness before this step.
- Caramel Sauce: Drizzle over the finished tart; this ties every component together. I use my salted caramel sauce, and I always make a large batch, so I have it on hand for exactly these moments.
See the recipe card for full information on ingredients and quantities.
Variations on This Caramel Apple Tart
- Different Crust. Swap the Pâte Sucrée for a flaky Pâte Brisée or this Pâte Sablée. You could also use this semolina tart crust or this almond flour tart crust.
- Warming Spice Blend. Swap or supplement the cinnamon and cardamom with a custom spice blend based on your preferences: homemade apple pie spice works beautifully here, or try this speculoos spice mix recipe!
- Caramel Pear! Swap in Bosc pears for a delightful caramel pear tart perfect for winter!
- Apple Cider Caramel! Make the caramel sauce with reduced apple cider for an apple cider tart! Perfect to pair with is harvest apple ginger smash!
Professional Tips
- Choose your apples with intention. Firm, tart varieties like Honeycrisp, Crispin, or Ginger Gold hold their shape during stovetop cooking and stand up to the caramel’s sweetness. Mealy apples will collapse before the tart even goes into the oven, and you can’t recover from that.
- Taste before you add the cornstarch. Sugar levels vary with every batch of apples depending on ripeness, and this is your only window to adjust. Once you add the cornstarch slurry, the mixture thickens immediately, and tasting it becomes a mess.
- Pre-cook the filling. Just like my Mile High Apple Pie, don’t skip pre-cooking the apple filling, or you will get a soupy mess instead of a sliceable, show-stopping tart. Tarts don’t cook long enough to fully cook the apples, so keep that in mind. You can also make this ahead of time! Just store it in the refrigerator for up to one week.
- Do not skip chilling the lined tart shell before blind baking. Refrigerate the lined pan for a full 30 minutes to keep the dough from shrinking away from the sides during the par-bake. Pull it too soon, and you will lose the clean, straight edges that make this tart look finished.
How to Make Caramel Apple Tart
Use these instructions to make this showstopping caramel apple tart! Find further details and measurements in the recipe card below.
Make the Pâte Sucrée
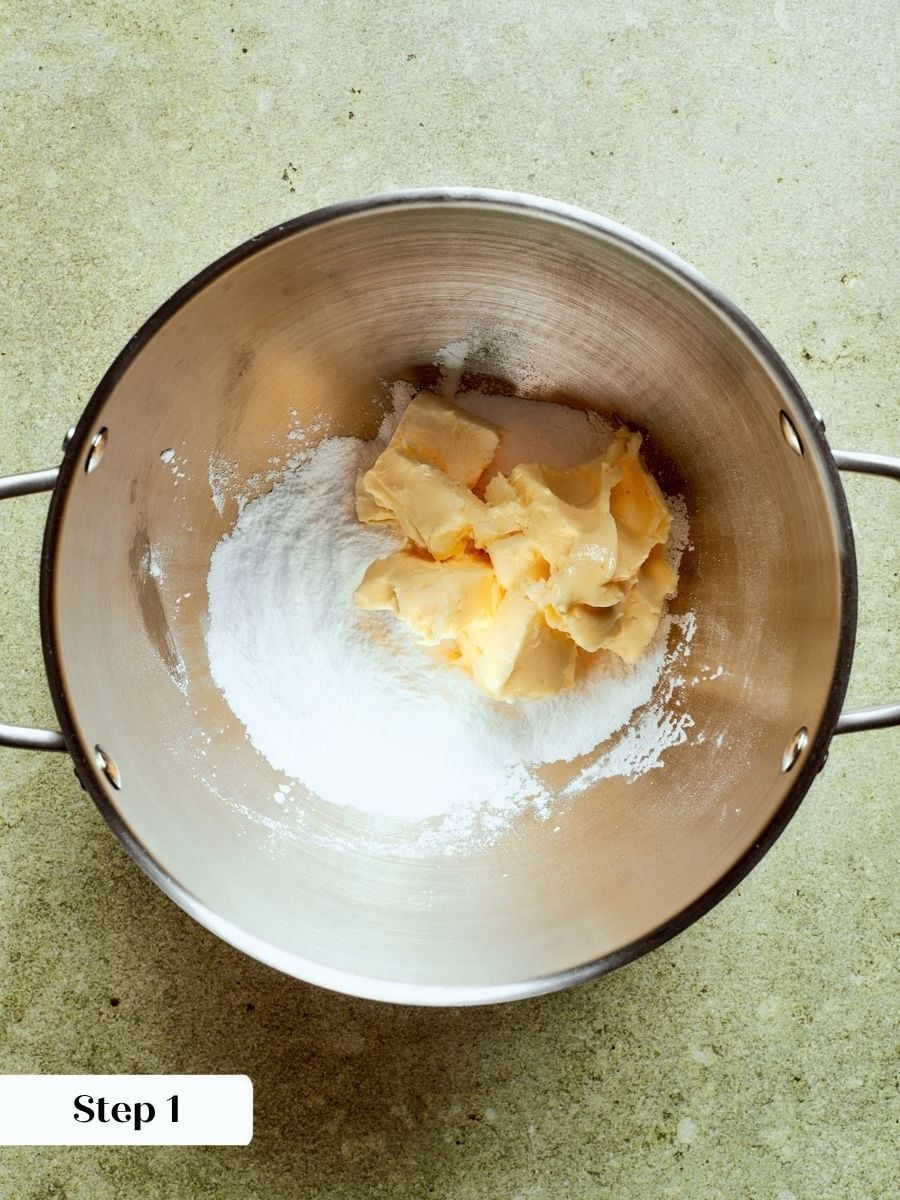
Step 1: Soften your butter in a stand mixer or let it sit out at room temperature for an hour. Add the sifted powdered sugar and softened butter to the bowl of a stand mixer fitted with the paddle attachment and cream them together, starting on low so the powdered sugar doesn’t cloud the kitchen. Once combined, increase the speed slightly and mix until silky and smooth. (photo 1)
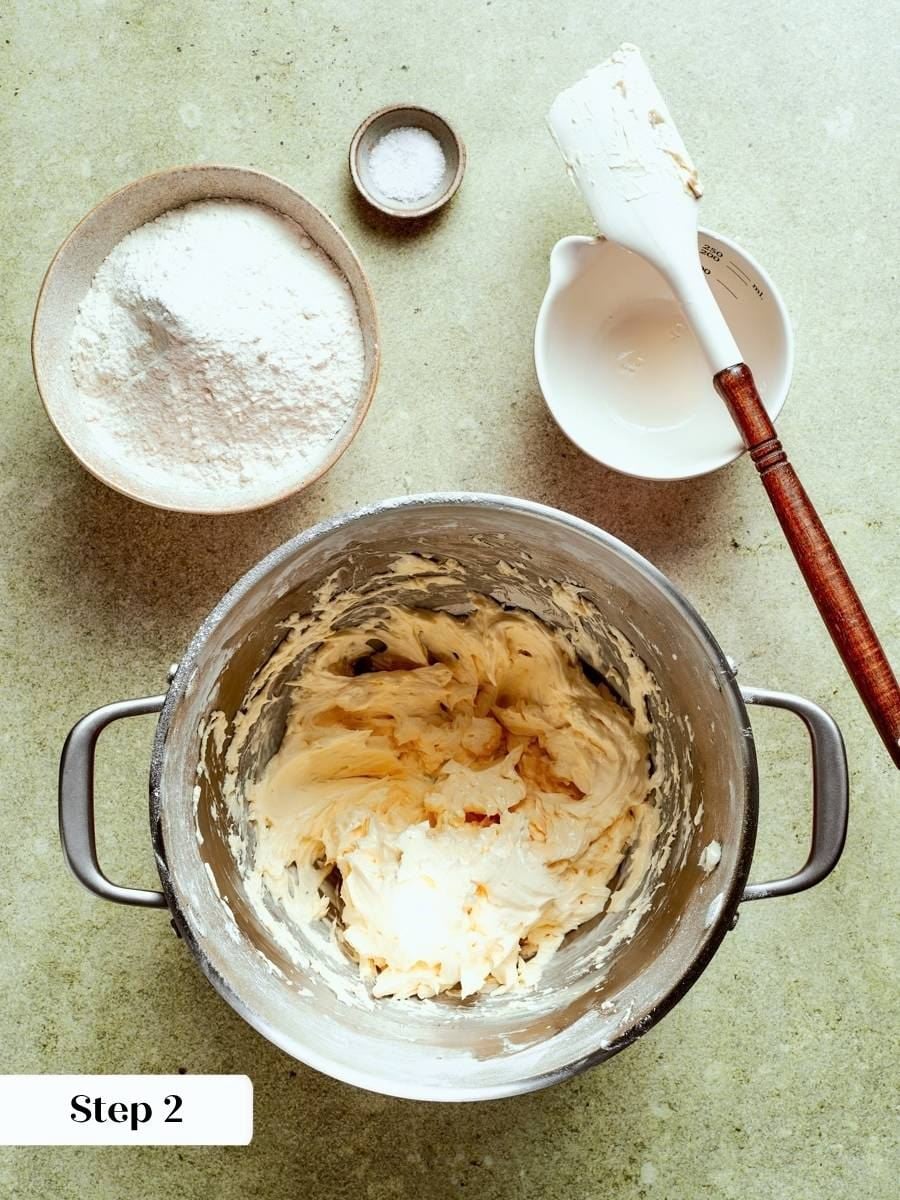
Step 2: Add the eggs. Add eggs one at a time, letting each incorporate before adding the next. Room temperature eggs will incorporate faster, which is completely normal. The mixture may look broken or curdled for a moment, and that is fine. Keep mixing and it will come back together.(photo 2)
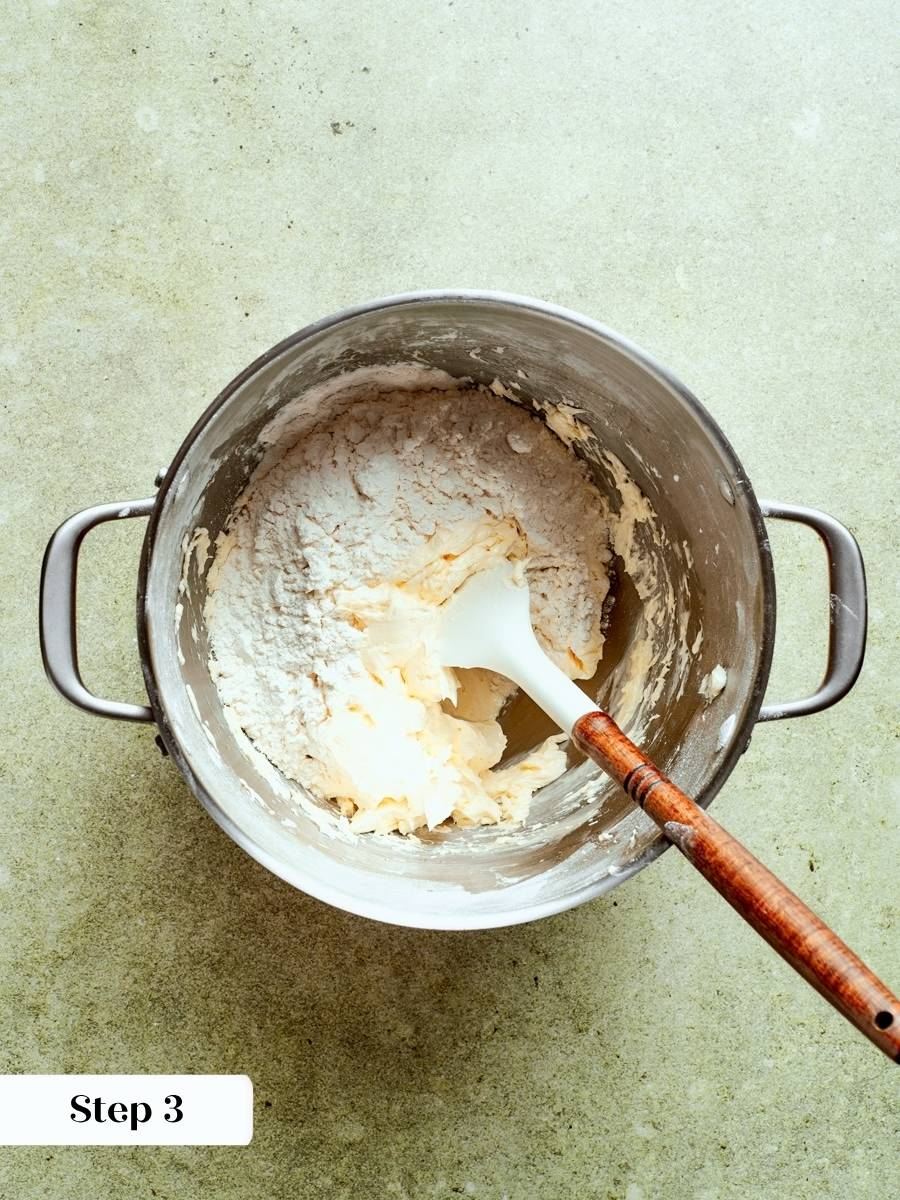
Step 3: Add flour and salt. Add the pastry flour and kosher salt to the bowl and start mixing on low. The goal is to cut the flour into the creamed mixture without overworking the dough. Stop as soon as it comes together and no dry streaks remain. (photo 3)
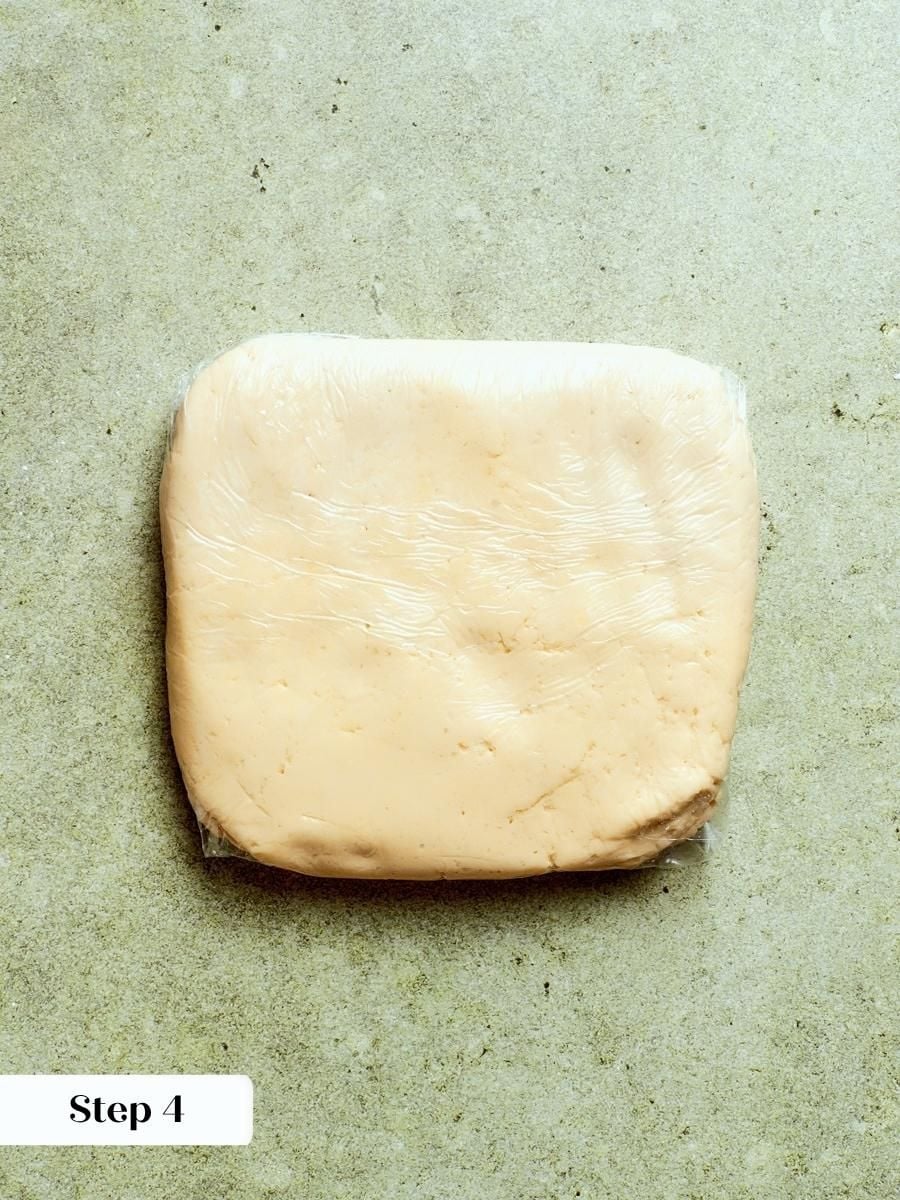
Step 4: Wrap and chill the dough. Turn the dough out and divide it into however many portions you need, then wrap each portion tightly in plastic wrap. Chill for at least two hours. (photo 4)
This rest lets the gluten relax and the butter firm up. Skipping the chill will make the dough nearly impossible to lift cleanly. You can also roll the dough out to 1/8-inch thickness before freezing. This is a great time-saver if you’re planning ahead.
Make the Streusel
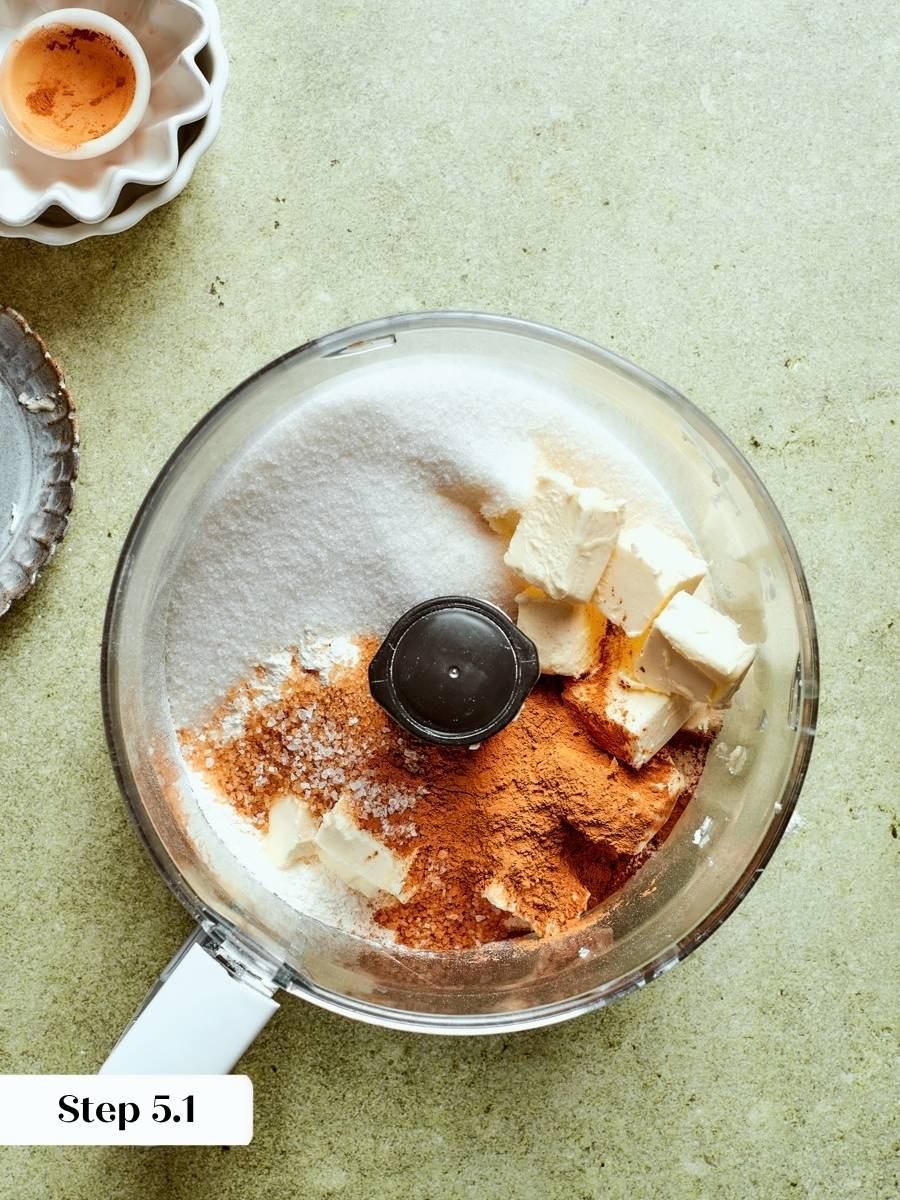
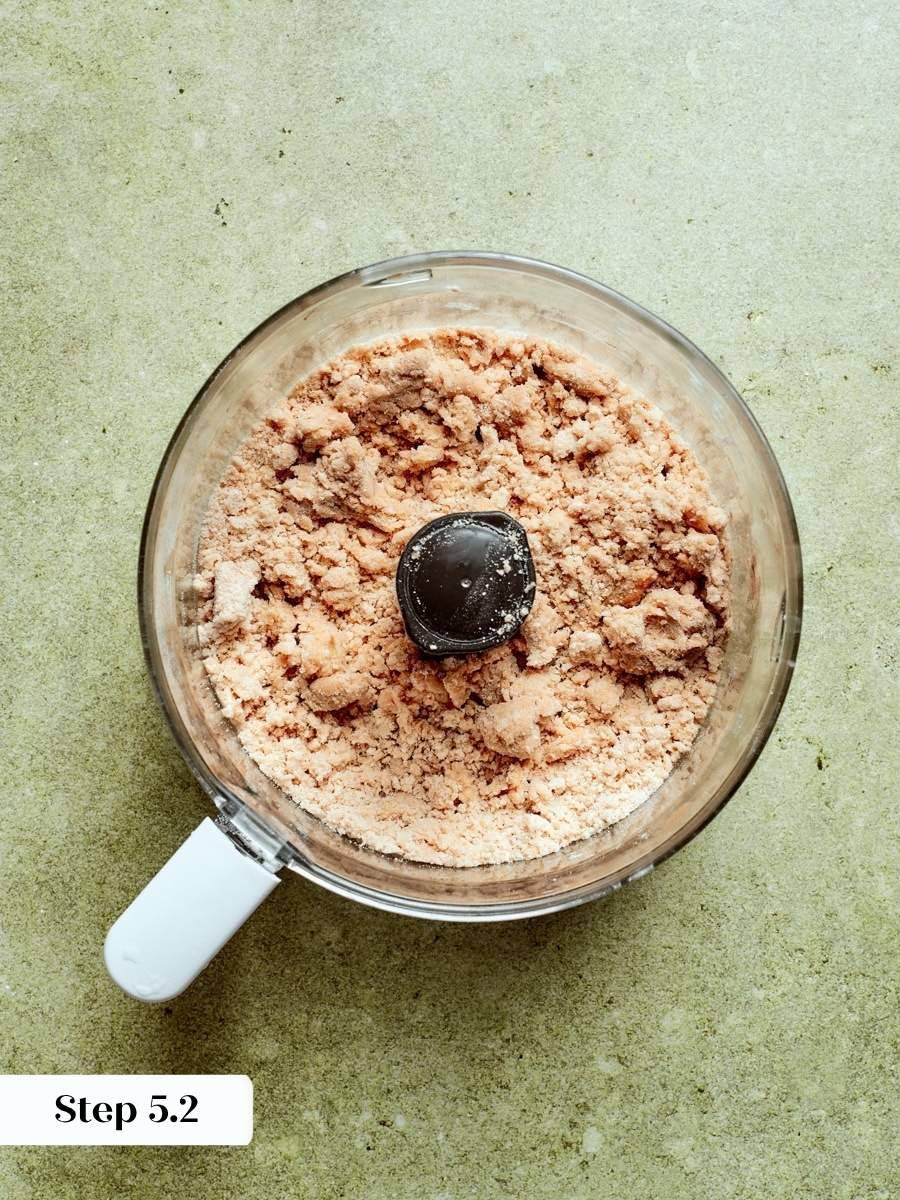
Step 5: Combine all streusel ingredients in the bowl of a stand mixer fitted with the paddle attachment. Mix on medium-low until the mixture comes together into clumps. You’re looking for a rough, crumbly texture with pea-sized pieces of butter throughout. Chill in the refrigerator for at least an hour, or freeze for up to 2 months if you’re working ahead. (photos 5 & 6)
Make the Apple Filling
Step 6: Slice the apples. Peel and core the apples, then cut each in half. Slice them to about 1/16-inch thickness. A mandoline makes this go quickly and keeps the slices uniform, which matters for even cooking. Slice them directly into your pot, because there’s no reason to dirty an extra dish.
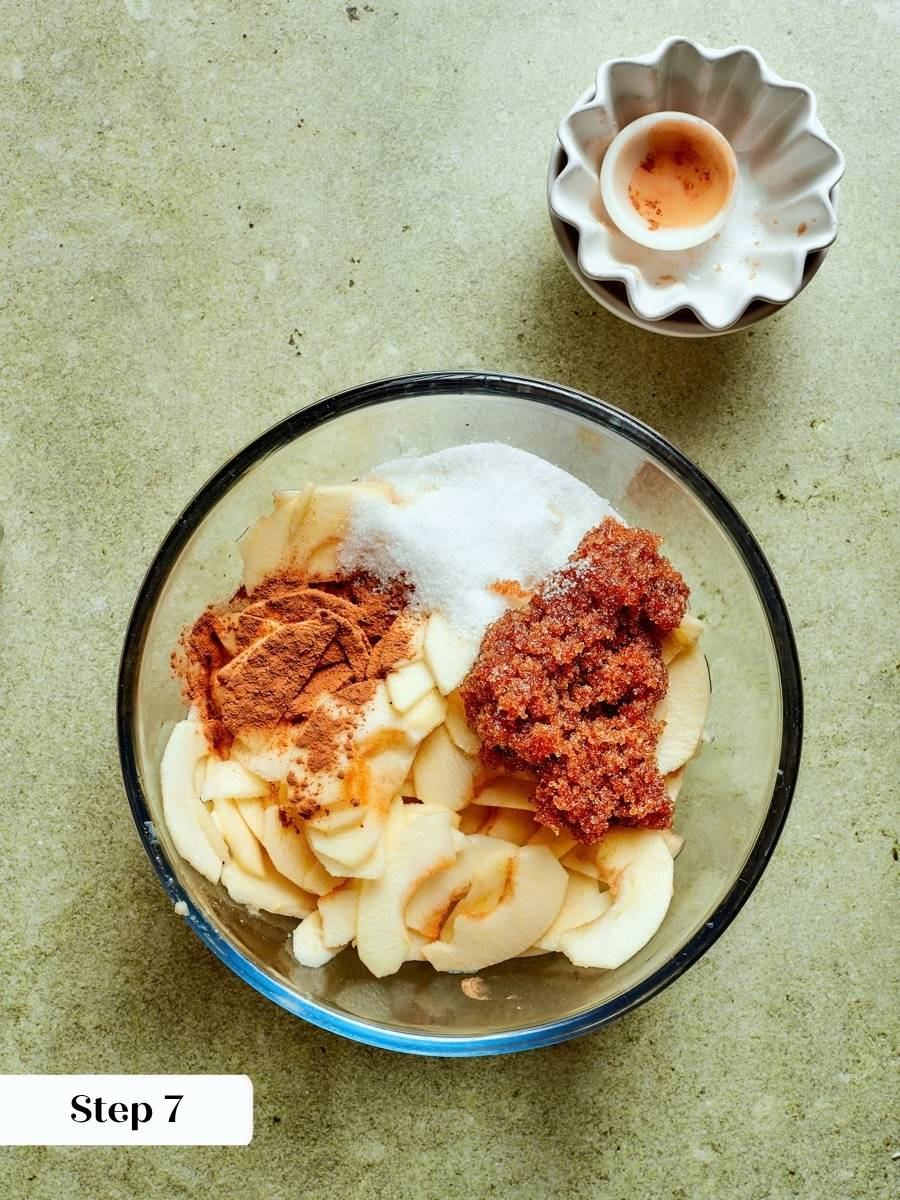
Step 7: Toss the apples with sugar and spices. Add both sugars, the cinnamon, and the cardamom to the bowl of sliced apples and toss until every slice is coated. Taste the mixture before you cook. If your apples are particularly sweet or particularly tart, this is the moment to adjust the sugar, not after the cornstarch goes in. (photo 7)
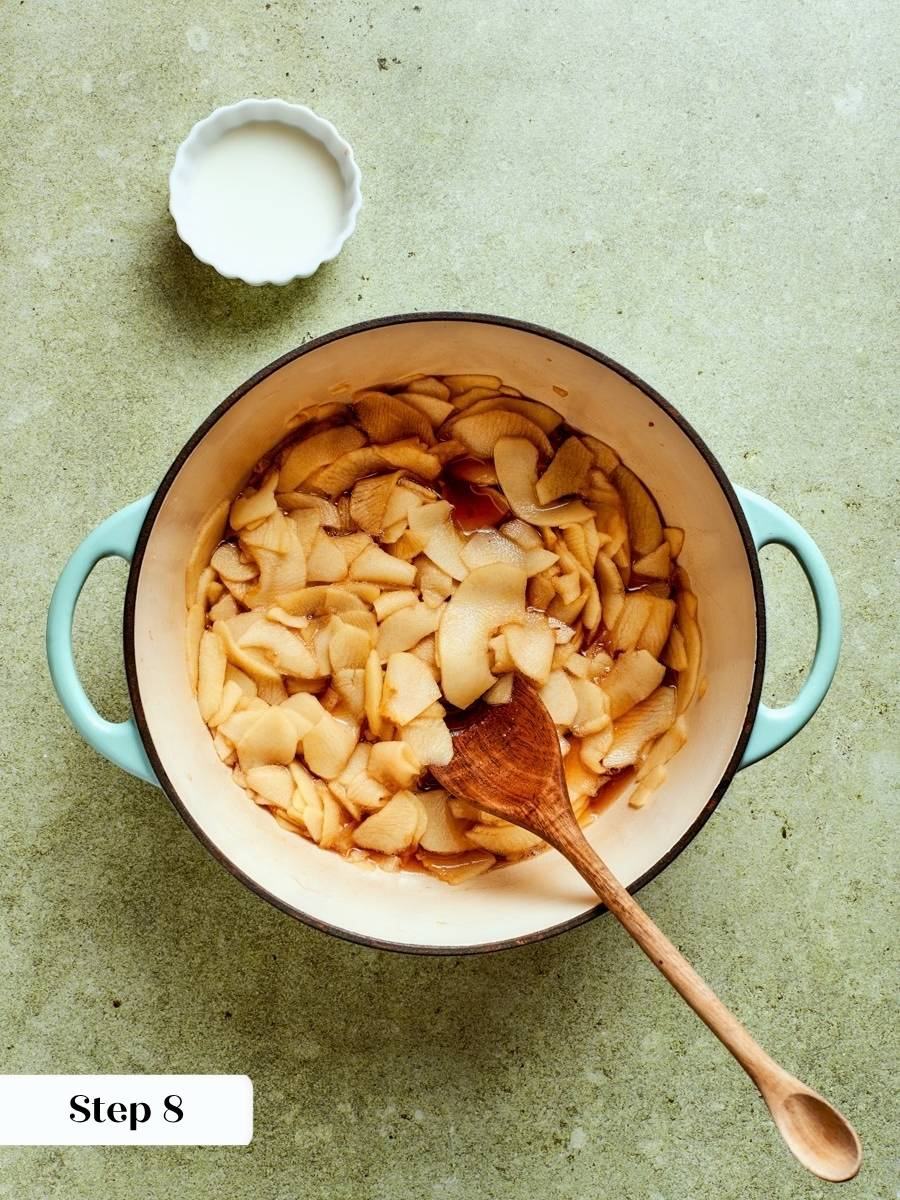
Step 8: Cook the apple filling. Cook at a moderate temperature, stirring occasionally, until the apples begin to release their moisture and soften slightly. You’re looking for a crisp-tender, meaning they give when pressed but still have a little resistance at the center. This takes roughly 8 to 12 minutes depending on your apple variety and how thin you sliced them. (photo 7)
Just like when making apple pie filling you don’t want to overcook the apple because they will be cooked again. If you cook until translucent then you will have apple mush filling and nobody wants that.
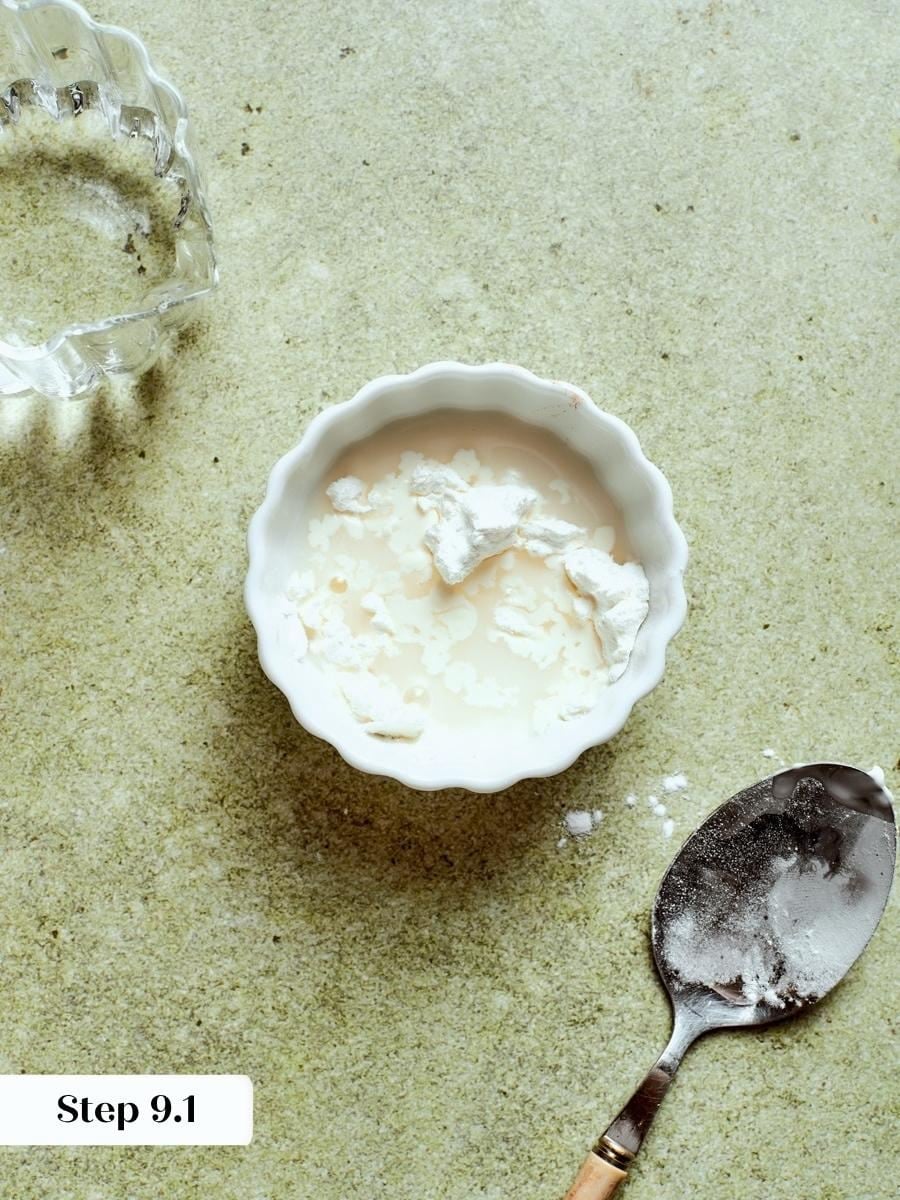
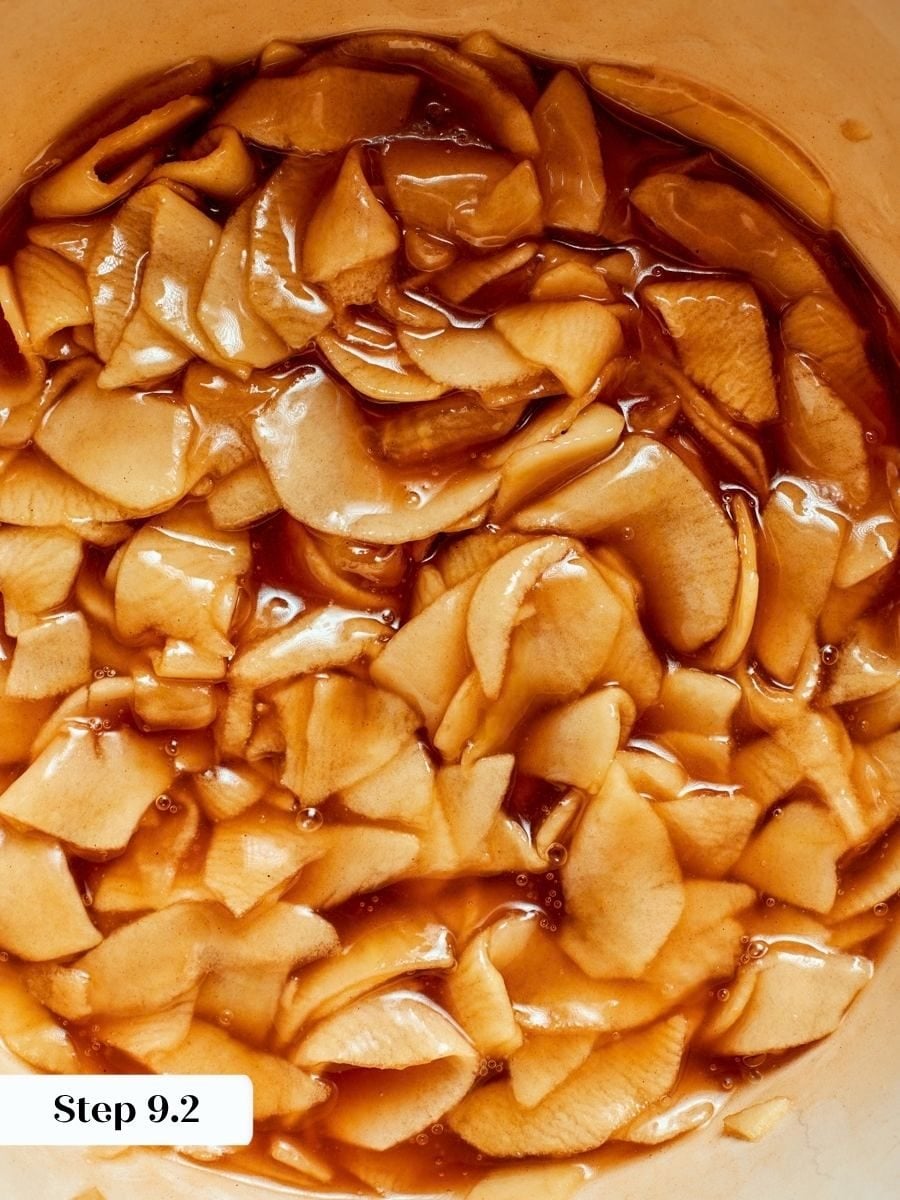
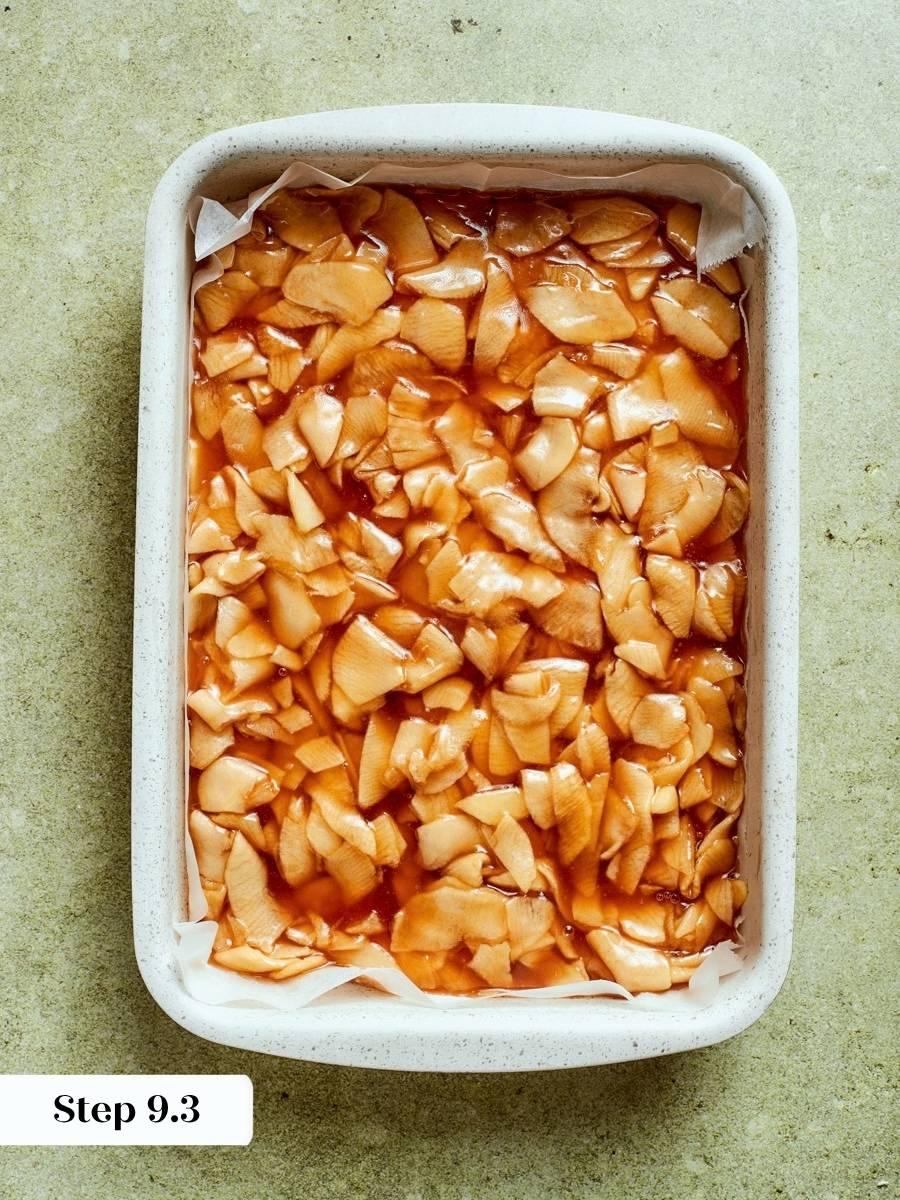
Step 9: Add the cornstarch slurry and finish the filling. Whisk the cornstarch and water together in a small bowl until completely smooth, then pour it into the hot apple mixture while stirring continuously. The filling will thicken almost immediately. Keep it on the heat and let it boil for a full minute to cook out the raw starch flavor. Pour the finished filling onto a parchment-lined baking sheet and spread it into an even layer. Refrigerate immediately. The goal is to stop the cooking quickly so the apples don’t go soft before they hit the tart. (photos 8-10)
If you see the cornstarch seizing into lumps, it means it wasn’t fully dissolved before it hit the heat, or you added it too slowly. Stir aggressively the moment it goes in and it should smooth out. If lumps remain, press them against the side of the pan with a spatula to break them up.
Assemble the Tart
Step 10: Roll and chill the tart dough. Remove one portion of chilled dough from the refrigerator and roll it out on a lightly floured surface to about 1/8-inch thickness. Work quickly. The dough will soften fast as the butter warms, and if it starts sticking to the surface, slide an offset spatula underneath, re-flour, and keep going. Once rolled, slide the dough onto a sheet pan and return it to the refrigerator to chill while you preheat the oven to 325°F convection or 350°F conventional.
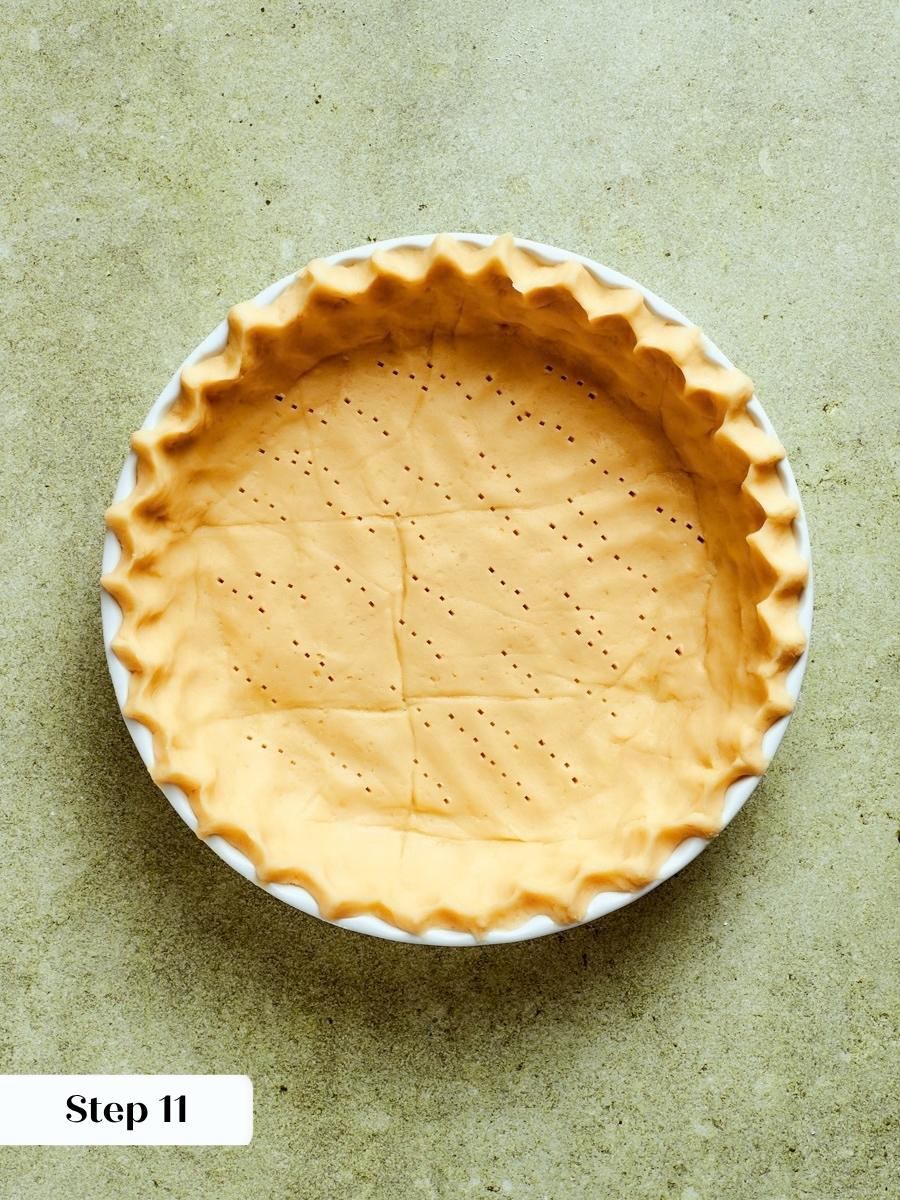
Step 11: Line the tart pan. Drape the chilled dough over the tart pan and gently press it into the corners and up the fluted sides without stretching it. Fill any cracks with small scraps of dough, pressing firmly to seal. Run a rolling pin across the top edge of the pan to cut away the excess in one clean pass. Chill the lined tart pan for 30 minutes before baking. This rest is not optional: skipping it is the reason tart shells shrink. (photo 11)
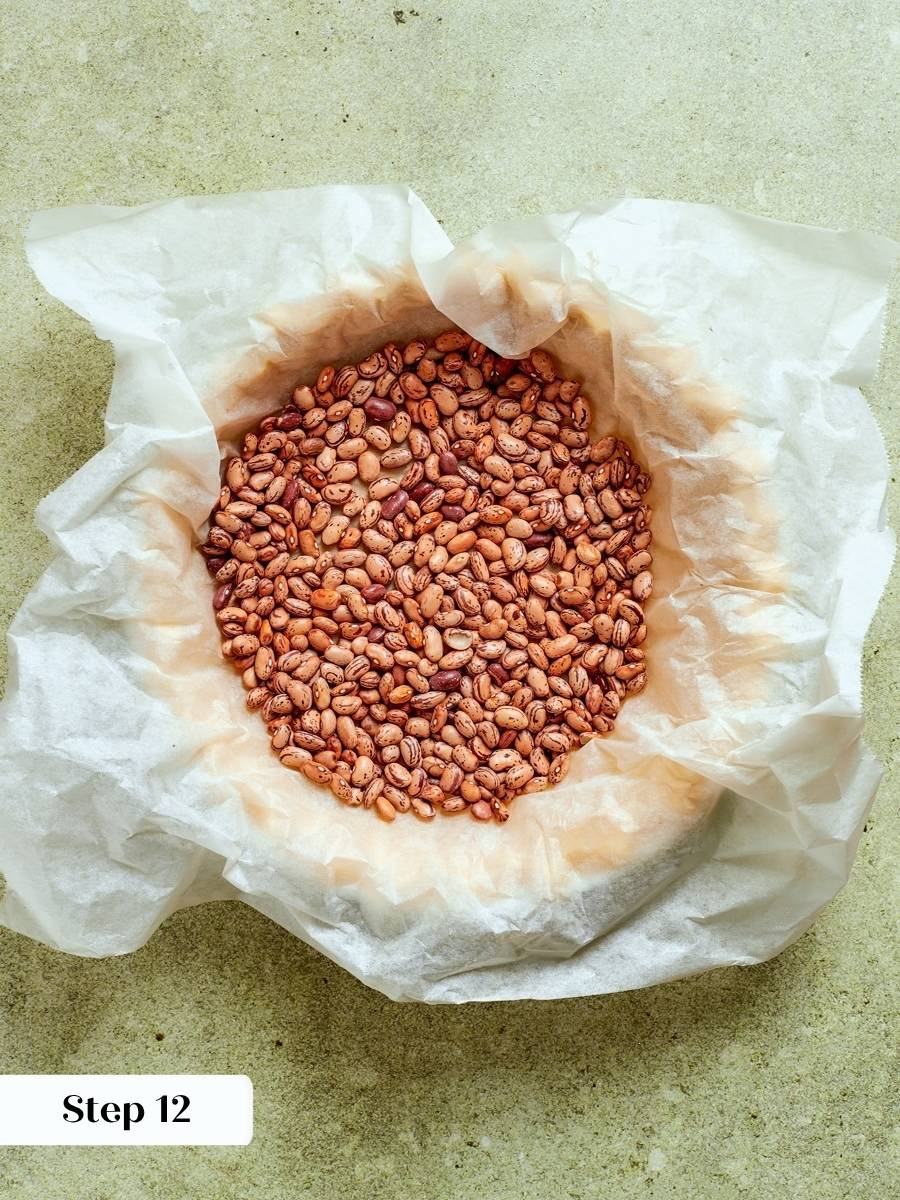
Step 12: Blind bake the tart shell. Transfer the chilled shell directly to the preheated oven and bake for 8-10 minutes. The surface should look matte rather than wet, and the edges will just begin to show color. Pull it at that point. (photo 12)
You can blind bake it with weights but I find it isn’t necessary with my sucrée recipe when it is treated with love and care. Any brisée or pie dough will need to be lined with parchment and weighted down with baking beans or weights or rice. I made a video tutorial on blind baking pie crusts to help with this!
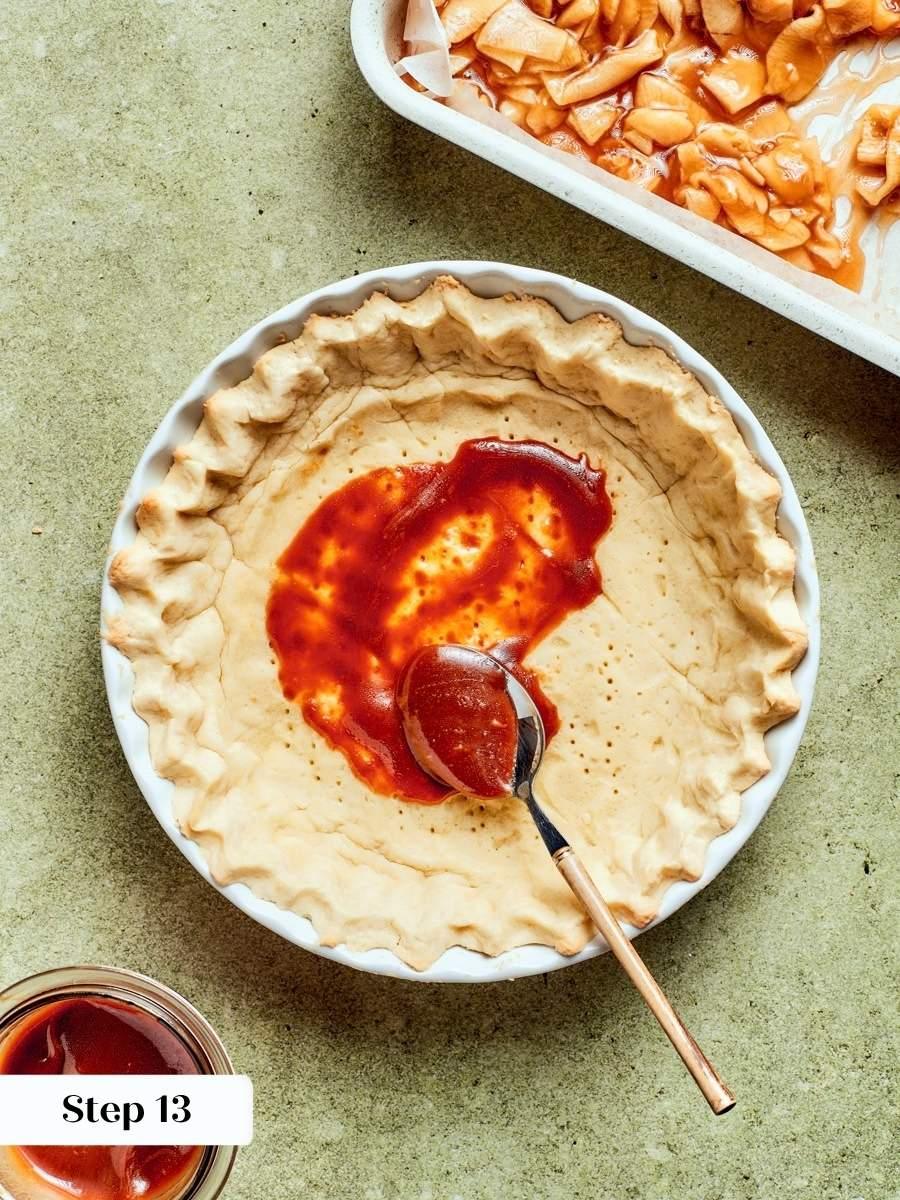
Step 13: Add the caramel layer. Pour the caramel sauce into the warm tart shell and spread it into an even layer. The warmth of the shell helps the caramel flow. If your shell has cooled down by the time you get here, warm the caramel slightly before spreading so it moves easily without tearing the crust. (photo 13)
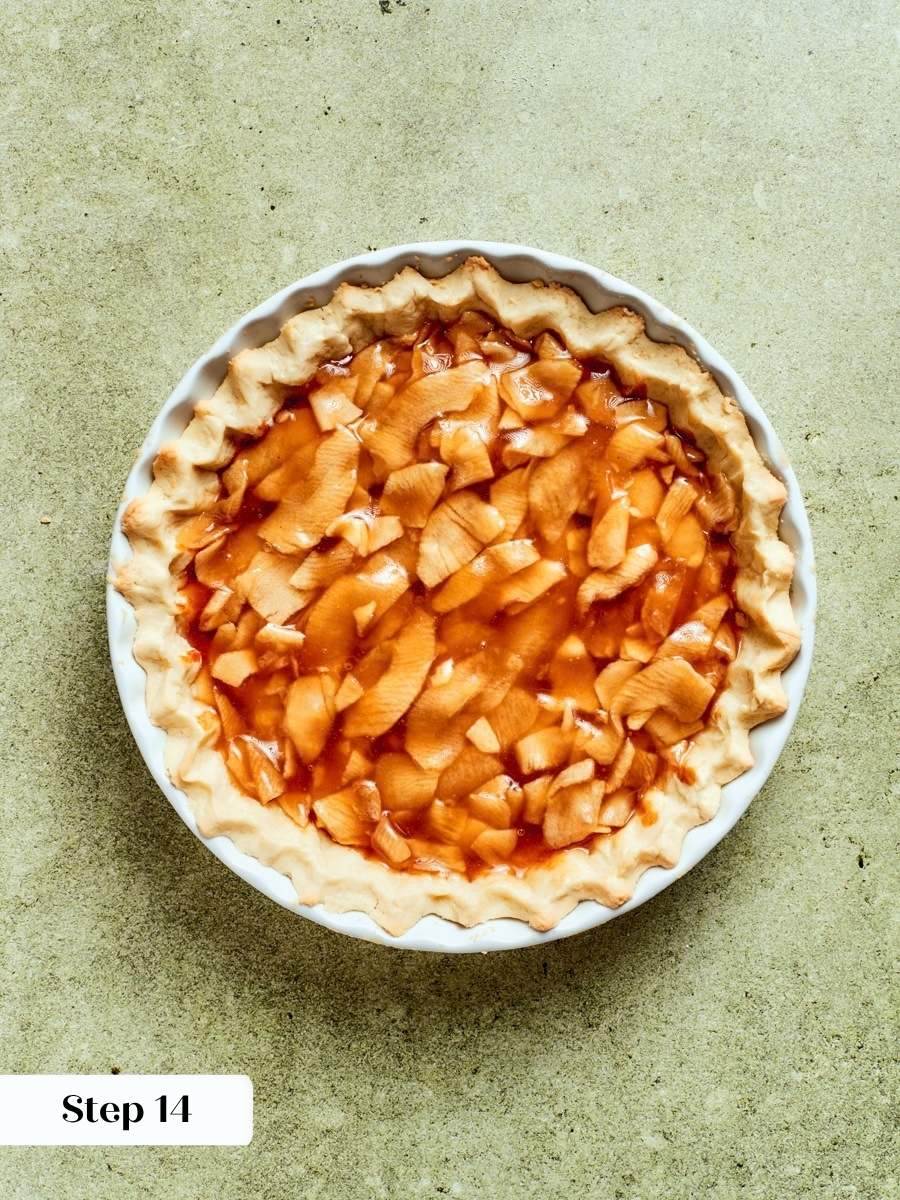
Step 14: Layer in the apples. Arrange the cooled apple filling over the caramel. You can take your time and layer the slices in overlapping concentric rows for a polished presentation, or simply pour and spread them evenly across the surface. Both approaches taste exactly the same, because this tart is already doing a lot of the heavy lifting. (photo 14)
Bake
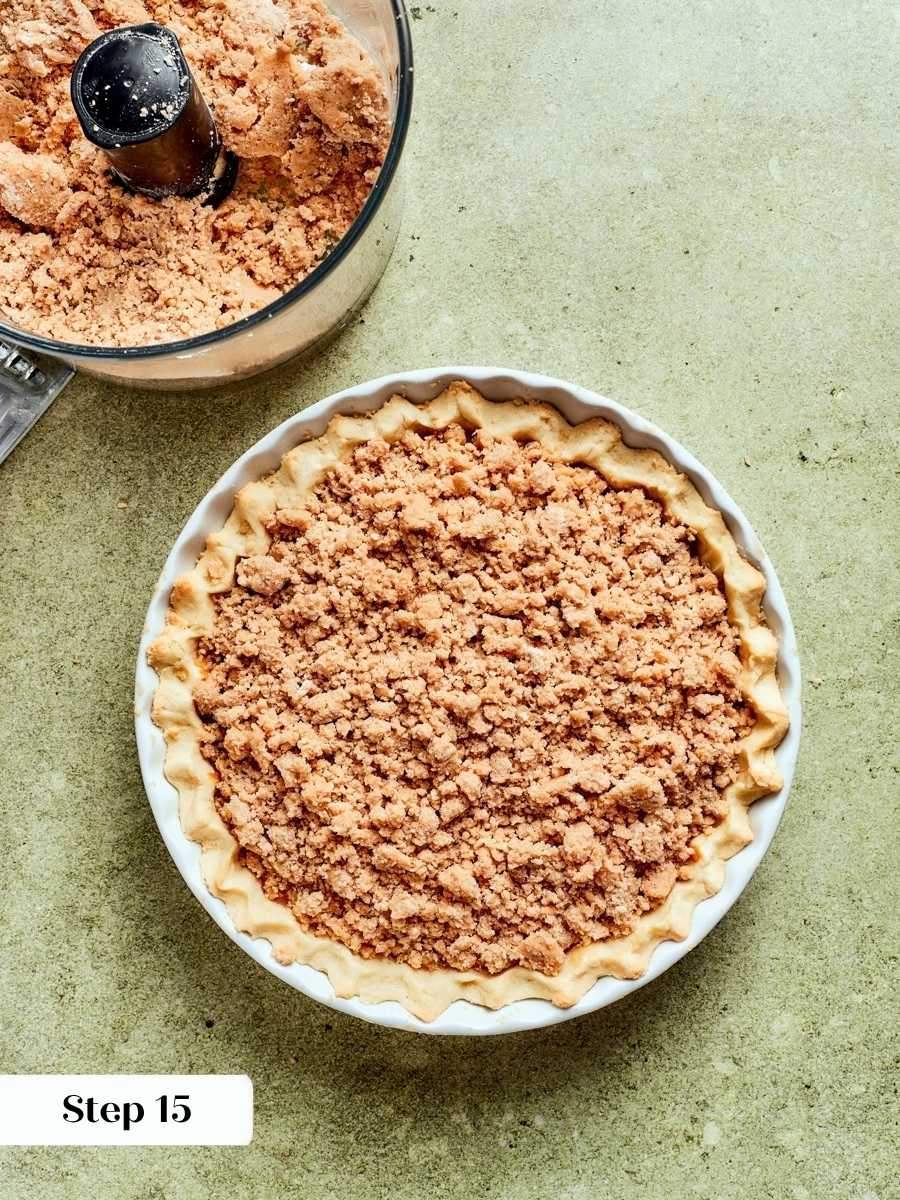
Step 15: Cover with streusel and bake. Crumble the chilled streusel generously over the apple layer until every bit of filling is covered. Bake at 325°F convection or 350°F conventional for approximately 30 minutes. The filling should begin to bubble around the edges, the tart shell should be a deep golden brown, and the streusel should be light to medium golden. Because everything except the streusel is already cooked, you are really just looking for color and heat penetration, not doneness in the traditional sense. (photo 15)
The streusel will look pale going in and might seem like it needs more time than the 30 minutes. Give it a few minutes past the point where it looks done to you. It continues to crisp as the tart cools on the rack, so pulling it when it looks just set is usually the right call.
Chef Lindsey’s Recipe Tip
I made this recipe in an 8-inch tart because that is the mold that I have at home, but the same recipe will also work in a 9, 10, or even an 11-inch tart mold! It will just be a little thinner, and it will bake a little less time!
Recipe FAQs
Yes. The streusel, apple fillling and the crust can both be made up to one month in advance and frozen. The caramel sauce keeps well in the refrigerator, and I usually make a large batch so I always have some on hand. Refrigerate any leftover finished tart tightly wrapped for up to seven days.
Firm, tart varieties are the move: Honeycrisp, Crispin, Ginger Gold, and Ginger Crisp all hold their texture through the stovetop cook without going mushy. Avoid Macintosh or any variety that tends toward mealiness, because there is no correcting that once the filling is made.
You can, though the flavor will be noticeably less complex than a properly made caramel sauce. If you have the time, making it from scratch is worth it.
Recommended Apple Recipes!
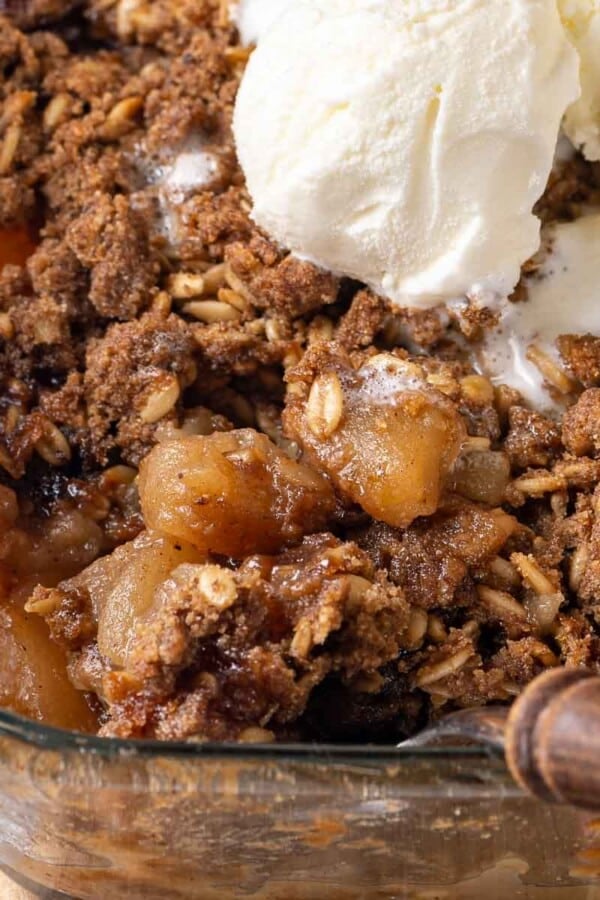
Crisps & Crumble Recipes
Easy Apple Crisp Recipe
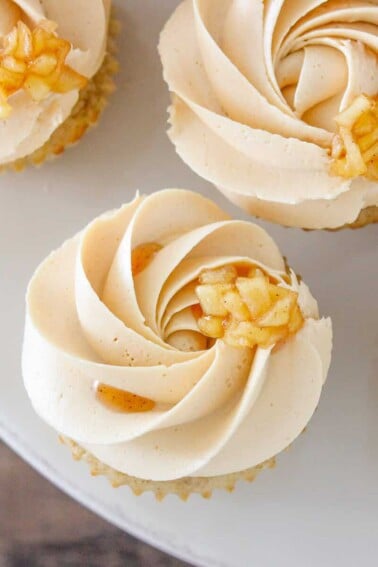
Cupcake Recipes
Caramel Apple Cupcakes
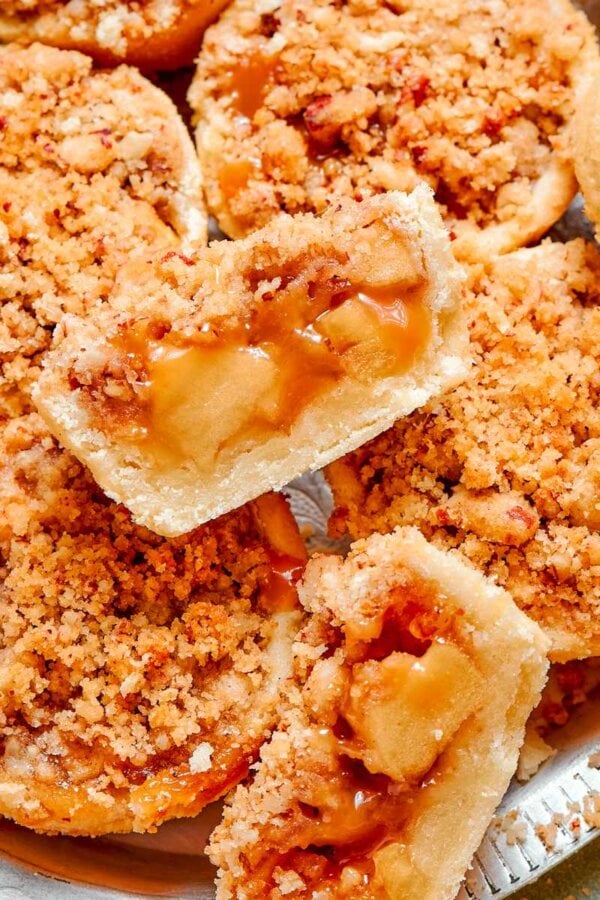
Christmas Cookie Recipes
Mini Apple Pies
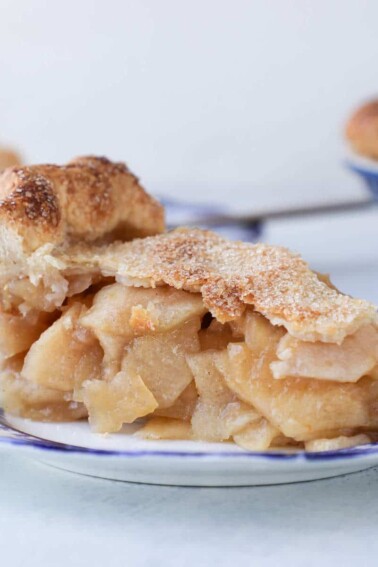
Pies and Tart Recipes
Mile High Apple Pie
If you tried this recipe and loved it please leave a 🌟 star rating and let me know how it goes in the comments below. I love hearing from you; your comments make my day!
Caramel Apple Tart
Ingredients
Pâte Sucrée
- 175 g unsalted butter — cubed
- 85 g powdered sugar — sifted
- 100 g eggs
- 350 g pastry flour
- ½ teaspoon kosher salt
Brown Sugar Streusel
- 148 g sugar
- 50 g light brown sugar
- 408 g all purpose flour
- 2 g kosher salt
- 5 g cinnamon
- 312 g unsalted butter
Apple Filling
- 5 apples — such as Jonagold,Cripps Pink, Honeycrisp, Fuji
- 58 g sugar
- 58 g dark brown sugar
- ½ teaspoon cinnamon
- ¼ teaspoon cardamom — freshly ground is best!
- 1½ tablespoons cornstarch
- 2 tablespoons water
Assembly
- ½ cup caramel sauce
Instructions
Make the Pâte Sucrée (Sweet Crust Pastry):
- Soften your butter in a stand mixer or let it sit out at room temperature for an hour or so.
- Put sifted powdered sugar and softened butter in stand mixer with the paddle attachment, and cream them (starting on low so the powdered sugar doesn’t get everywhere). This will get silky smooth.
- Add eggs one at a time (it helps if the eggs are room temperature), it might look a little scary in the bowl, but don’t worry, the eggs will incorporate at their own pace.
- Add flour and kosher salt to bowl of stand mixer and start on low to cut in our creamed mixture, be patient and trust the process. What we’ve got here is sucrée!
- This dough still needs to be handled with care and love, because it still has gluten in it which you don’t want to overdevelop.
- Take your sucrée out and divide it into however many packets you want, wrap them in cling wrap and chill them for at least two hours. You can also freeze them already rolled out!
Make the Streusel:
- Combine all ingredients in the bowl of a stand mixer fitted with the paddle attachment. Mix on medium low until combined. Chill in the refrigerator at least an hour but up to 1 week, or freeze for up to 2 months.
Make the apple filling:
- Peel and core apples. Cut in half and slice apples about 1/16th inch thick. I use a mandoline to make them even. This method also has the bonus factor that it is way quicker! I usually slice them straight into the bowl in which I will mix, because you know how I feel about excess dishes!
- Toss together apples, sugar, brown sugar, and spices.
- Pour into a sauce pan set over medium heat. Cook at a lower heat until the apples begin to release their moisture. Meanwhile, line a baking sheet with parchment paper that over laps the edges or plastic wrap.
- Once the apples are crisp-tender meaning they still have a little crunch to them but they have softened. Whisk together the water and cornstarch in a bowl. Pour into the cooking apple mixture while stirring, so that it doesn’t have a chance to clump. This will thicken the mixture immediately. Continue to boil for one minute to cook the starch. Pour onto prepared baking sheet and cool in the refrigerator. The idea is to cool them quickly so they don’t get any softer. You will add these cooled apples to the tart.
Assemble the Tart:
- Roll out the tart dough to about an 1/8th an inch thick, and chill again before lining tart pan. While the dough is chilling, preheat the oven to 350°F.
- Line the tart pan with the dough, filling in any cracks with scraps. Use the edge of the tart pan to cut away any excess. You can also use a rolling pin to make a perfect edge. Chill 30 minutes, so that the crust doesn’t shrink. Bake in preheated oven for 8-10 minutes or until the surface looks matte and is just being to brown. You can blind bake it with weights but I find it isn’t necessary with my sucrée recipe when it is treat with love and care. Any brisée or pie dough will need to be lined with parchment and weighted down with baking beans or weights or rice. I made a video tutorial on blind baking pie crusts to help with this!
- Pour the caramel sauce into the still-warm crust and spread it out. If your crust is cool, warm the caramel sauce a little to make it easier to spread evenly without ruining the crust.
- Layer in the apples like I did in the video to make even layers or just pour them right on in!
- Crumble [an excessive amount of] streusel all over the top until all the apples are covered.
- Bake in preheated oven for approximately 30 minutes or until the filling has begun to bubble around the edges, the tart shell is a nice deep golden brown and the streusel is a light to medium golden brown. Remember that everything except the streusel is already cooked, so it’s not that serious!
Video
Notes
Doneness Cue: The filling should be actively bubbling around the edges and the streusel should be light to medium golden before pulling the tart from the oven.
Storage: Refrigerate leftover tart tightly wrapped for up to seven days.
Make Ahead: The pâte sucrée and streusel can be made up to one month in advance and frozen. The caramel sauce can be made ahead and refrigerated; making a large batch means you will always have it ready.
Nutrition
Before You Go
If you loved this caramel apple tart, with its buttery pastry shell, spiced apple filling, and that glossy salted caramel finish, there is plenty more where that came from in my Pie and Tart Recipes or make this easy apple crisp next!








Hi Chef Lindsey –
Another review that could easily move to a 5 star based on a few changes I would make after making the recipe.
I decided to use a different pastry for the tart shell – I think you have a similar one on your site using a small amount of almond flour. Lined my 9″ tart shell with removable bottom, chilled and par baked for about 12 min – the shell was still quite pale but set. This round I used your advice from a video and left the sides a bit higher than the top of the pan, and there was no slumping.
I had fun making the dry caramel sauce but believe that for the quantity of sugar, 1/2 teaspoon of salt would have given it a bit more of the “salted caramel” flavor. It was still luscious and I could have eaten it with a spoon! I cut back the sugar by 1/2 as I did not want the tart to be too sweet. My apples did not produce much liquid, so I cut the cornstarch slurry to 2 tsp/1 TB water. Used 1/3 cup caramel for thin coating, again personal preference for level of sweetness. I halved the recipe for the streusel and still had some left over after generous covering over the apples. I added about 1/2 cup chopped walnuts to the streusel for a touch of bitter to the sweet filling.
After baking (again on a sheet pan to prevent butter drips) for 30 minutes, the tart was looking quite pale and underbaked, so I left it for another 15 minutes which seemed to produce a medium golden look to the top of the shell and the streusel, with just a tiny hint of bubbling from the filling. I wish I had baked it longer, the crust was not as set as I would have like, and the browning on the sides was uneven. Like an apple pie, I think it would be hard to overbake this tart unless you had streusel that was too dark (which could be covered with foil for the last 15 min). Even with a different crust, it is hard to believe this tart would bake through with a short blind bake and 30 min in the oven.
Again, the taste and look of the tart were spot on and I would definitely make this again with the few changes. Next attempt, I might use the full amount of sugar for the apples, and just reserve the caramel for topping the tart or some ice cream on the side, it deserved to shine on its own! Thanks for these fun and slightly challenging tart recipes.
Is the recipe for the crust for 2 (8″) tarts? A bit unsure based on the instructions to wrap in as many packets as you want?
Hi Susan – Sorry for the confusion! Yes, the recipe is copied over from my pate sucree recipe, which does yield 2, 8 inch crusts. We were trying to make it so you didn’t have to leave the recipe card for the measurements but that is definitely confusing! Happy baking! ~Lindsey
I love this tart! Who doesn’t love apples and streusel? The topping is perfect with the apple filling, and I think the whole thing is perfectly spiced, and the caramel sauce really brings it home. Everyone was so impressed at dinner!
Hi,
Love the look of your desserts, but there are so many ads covering the recipes that it’s almost impossible to read the article. I can’t even close some of them. Is there a trick to getting rid of them? Thanx!
Hi Carmel! Happy to hear you love the look of the desserts, sorry to hear about your advertisement disappointment. It’s genuinely the only way I can keep providing free professional tutorials! However, your comment matters to me, and honestly if some of them aren’t closing that’s a big problem! I will contact the ad humans right away. I do hope you’ll try this tart, it’s one of my favorites on the blog!
You have used grams in the recipe, how do you convert to regular measurements?
Hi Krista! You can toggle over to the button ‘US Customary’ where all the measurements will be by volume. Happy baking!
This looks beautiful and delicious! If I assemble the tart ahead of time and freeze it, should it be thawed out before baking or can I bake it from frozen and how long?
Hi Shirley, I would either bake it, cool it and then freeze it, or thaw it before baking. Happy baking! ~lindsey