
This post may contain affiliate links. Please read our disclosure policy.
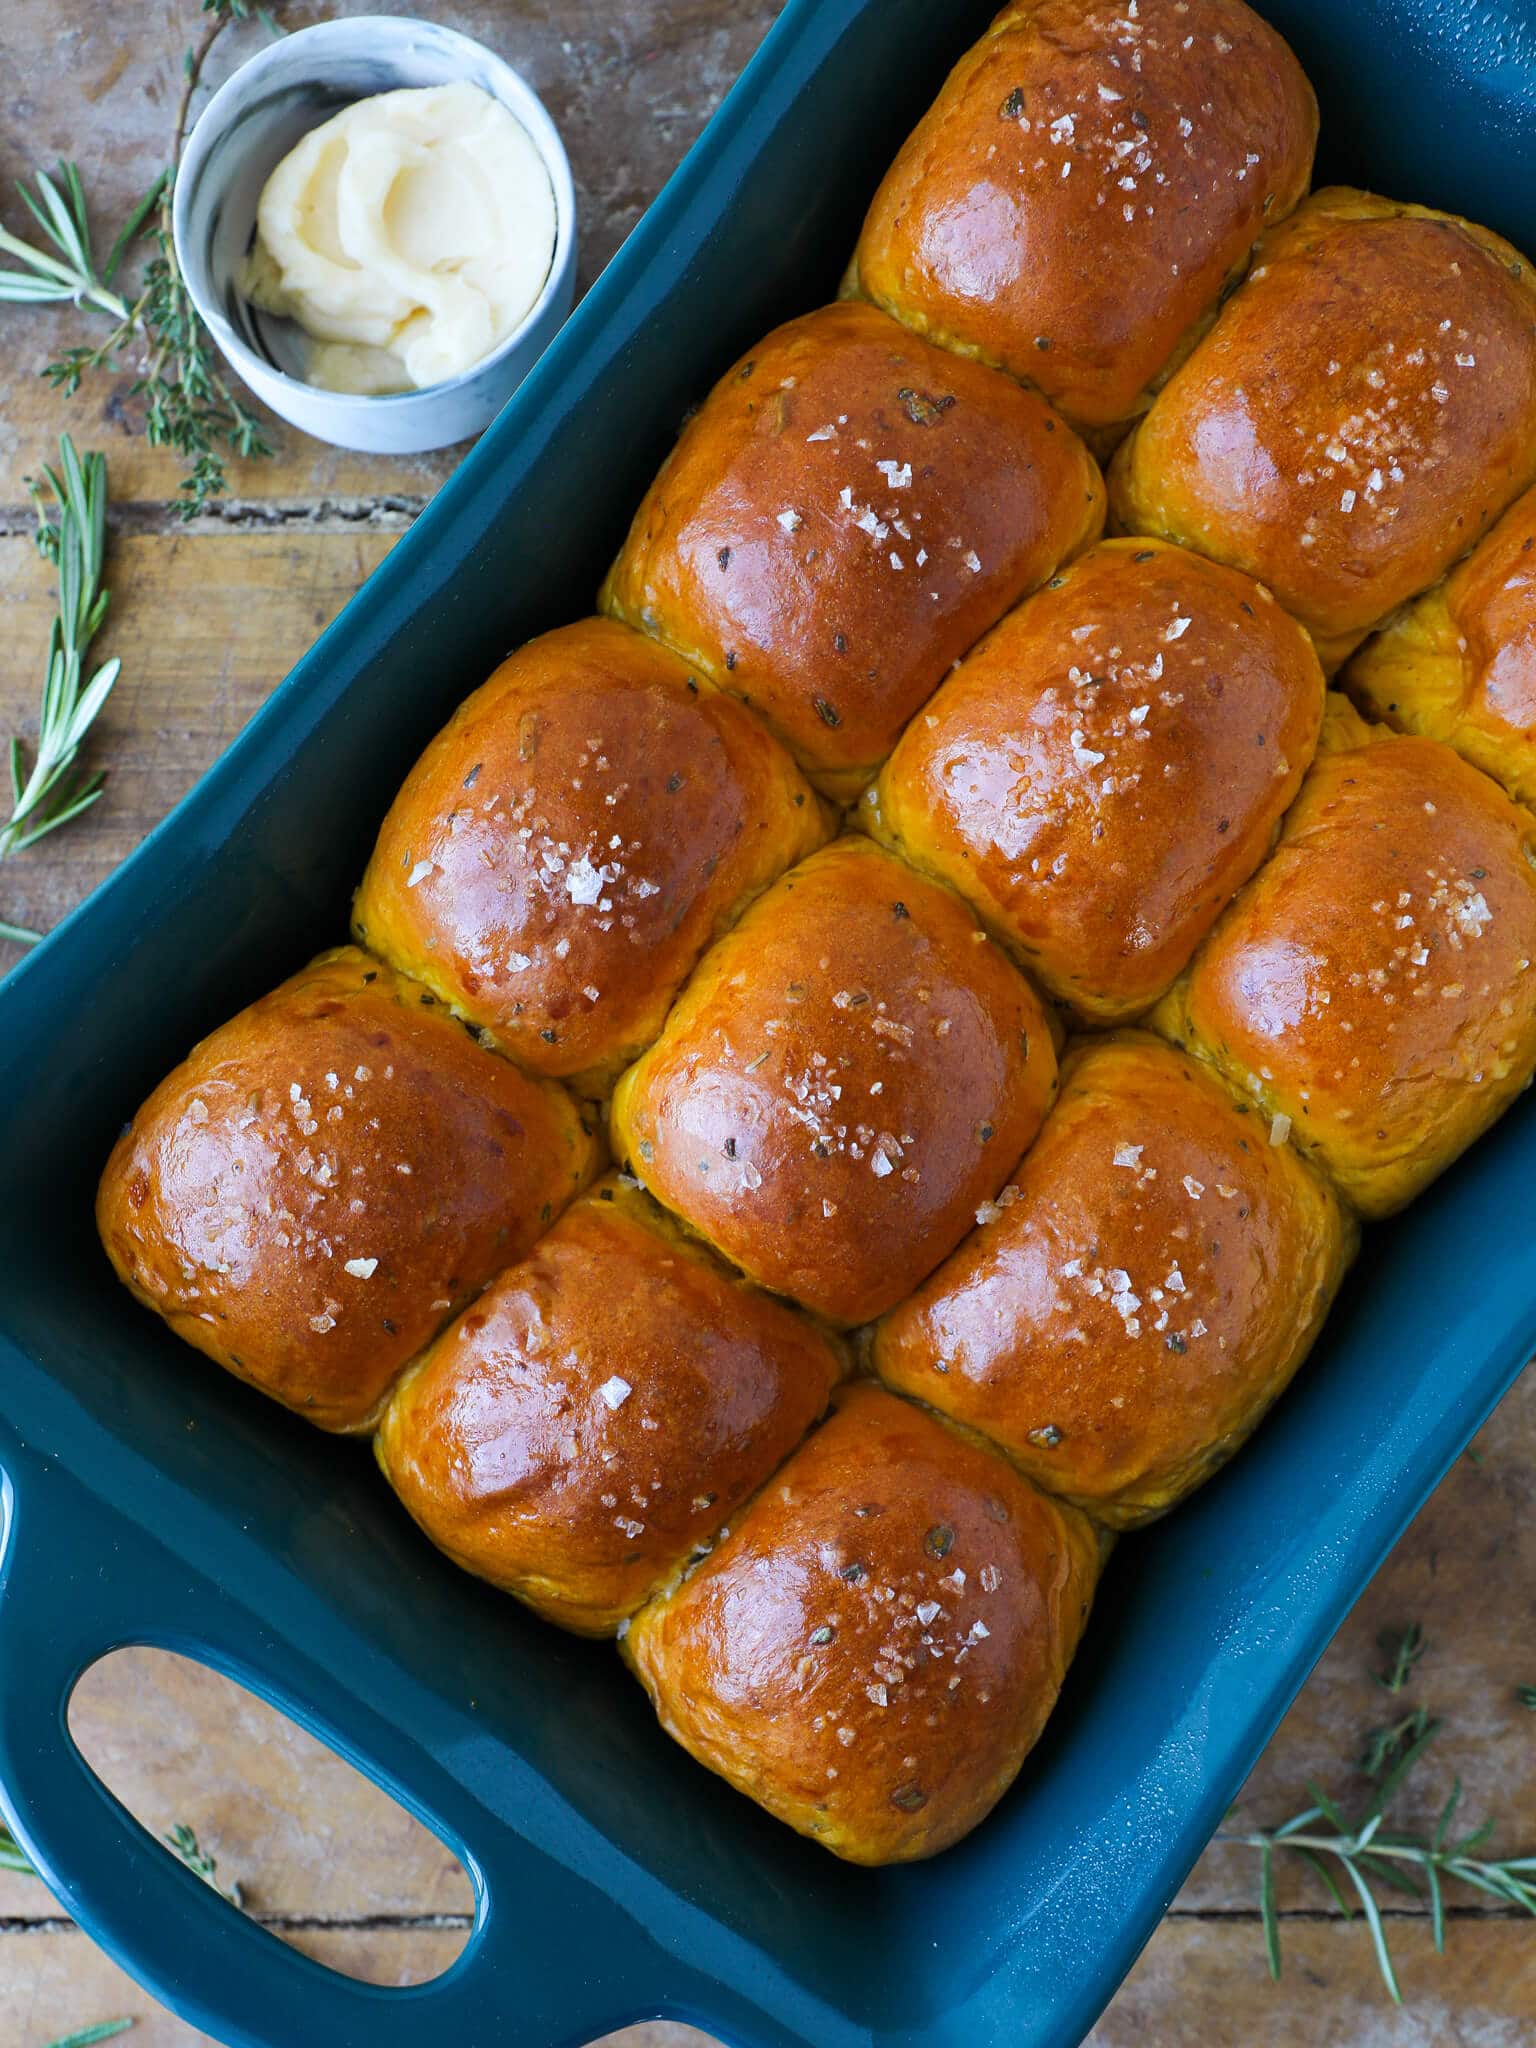
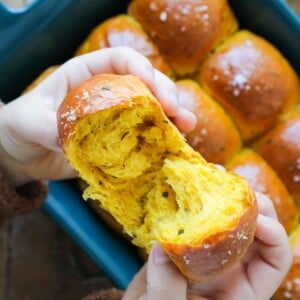
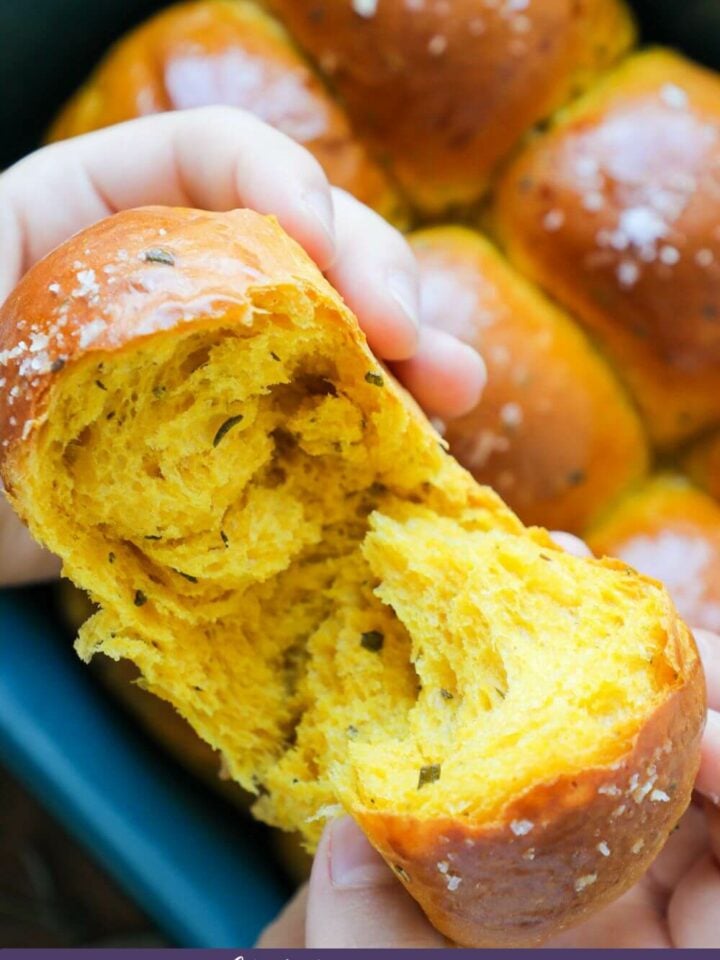
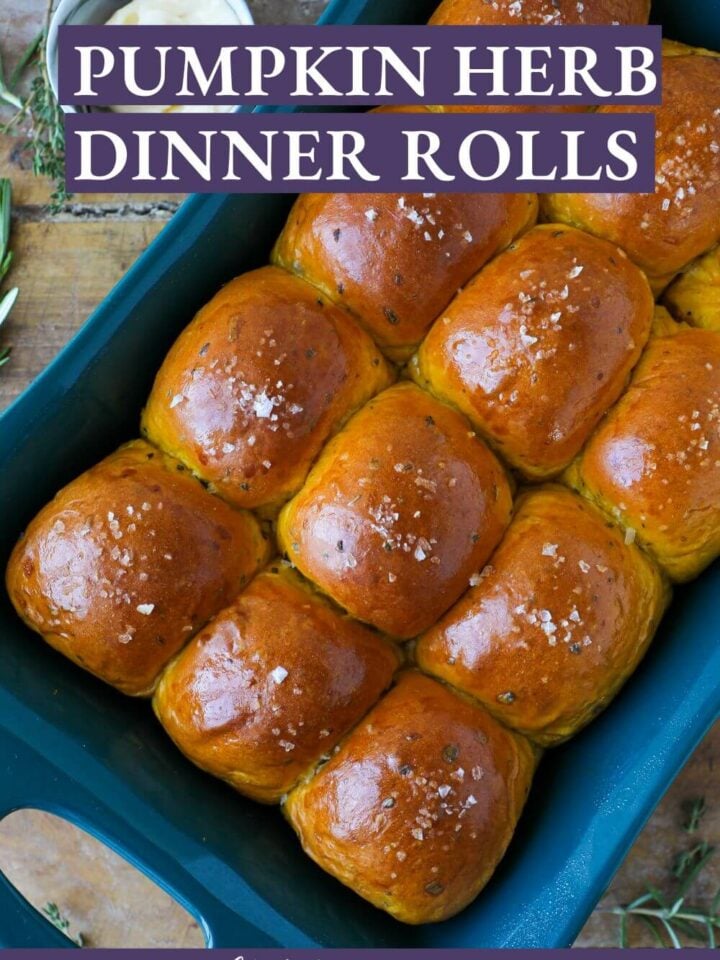
These are the perfect Savory Pumpkin Rolls. Rosemary, sage, and thyme are bloomed in browned butter for a deep, complex flavor. These yeasted rolls are soft, tender, and full of flavor. I’ll give you all the tips and tricks for perfect rolls every single time.
A Quick Look At The Recipe
This is a brief summary of the recipe. Jump to the recipe to get the full details.
Jump to RecipePrep Time
30 minutes
Cook Time
22 minutes
Proof
1 hour 50 minutes
Total Time
2 hours 42 minutes
Servings
12 rolls
Difficulty
Intermediate
Calories *
257 kcal per serving
Technique
Sponge-started enriched dough mixed to a rough windowpane, folded during bulk proof, and baked pull-apart style in a single pan
Flavor Profile
Earthy pumpkin, nutty browned butter, savory fresh herbs
* Based on nutrition panel
That sponge step was messier than I expected, definitely needed to use my hands like the recipe said. But totally worth it: these were the only rolls on the table with a savory edge that actually tasted like Thanksgiving herbs in my opinion, not just sweet pumpkin. ⭐⭐⭐⭐⭐
Lauren
Why This Recipe Works
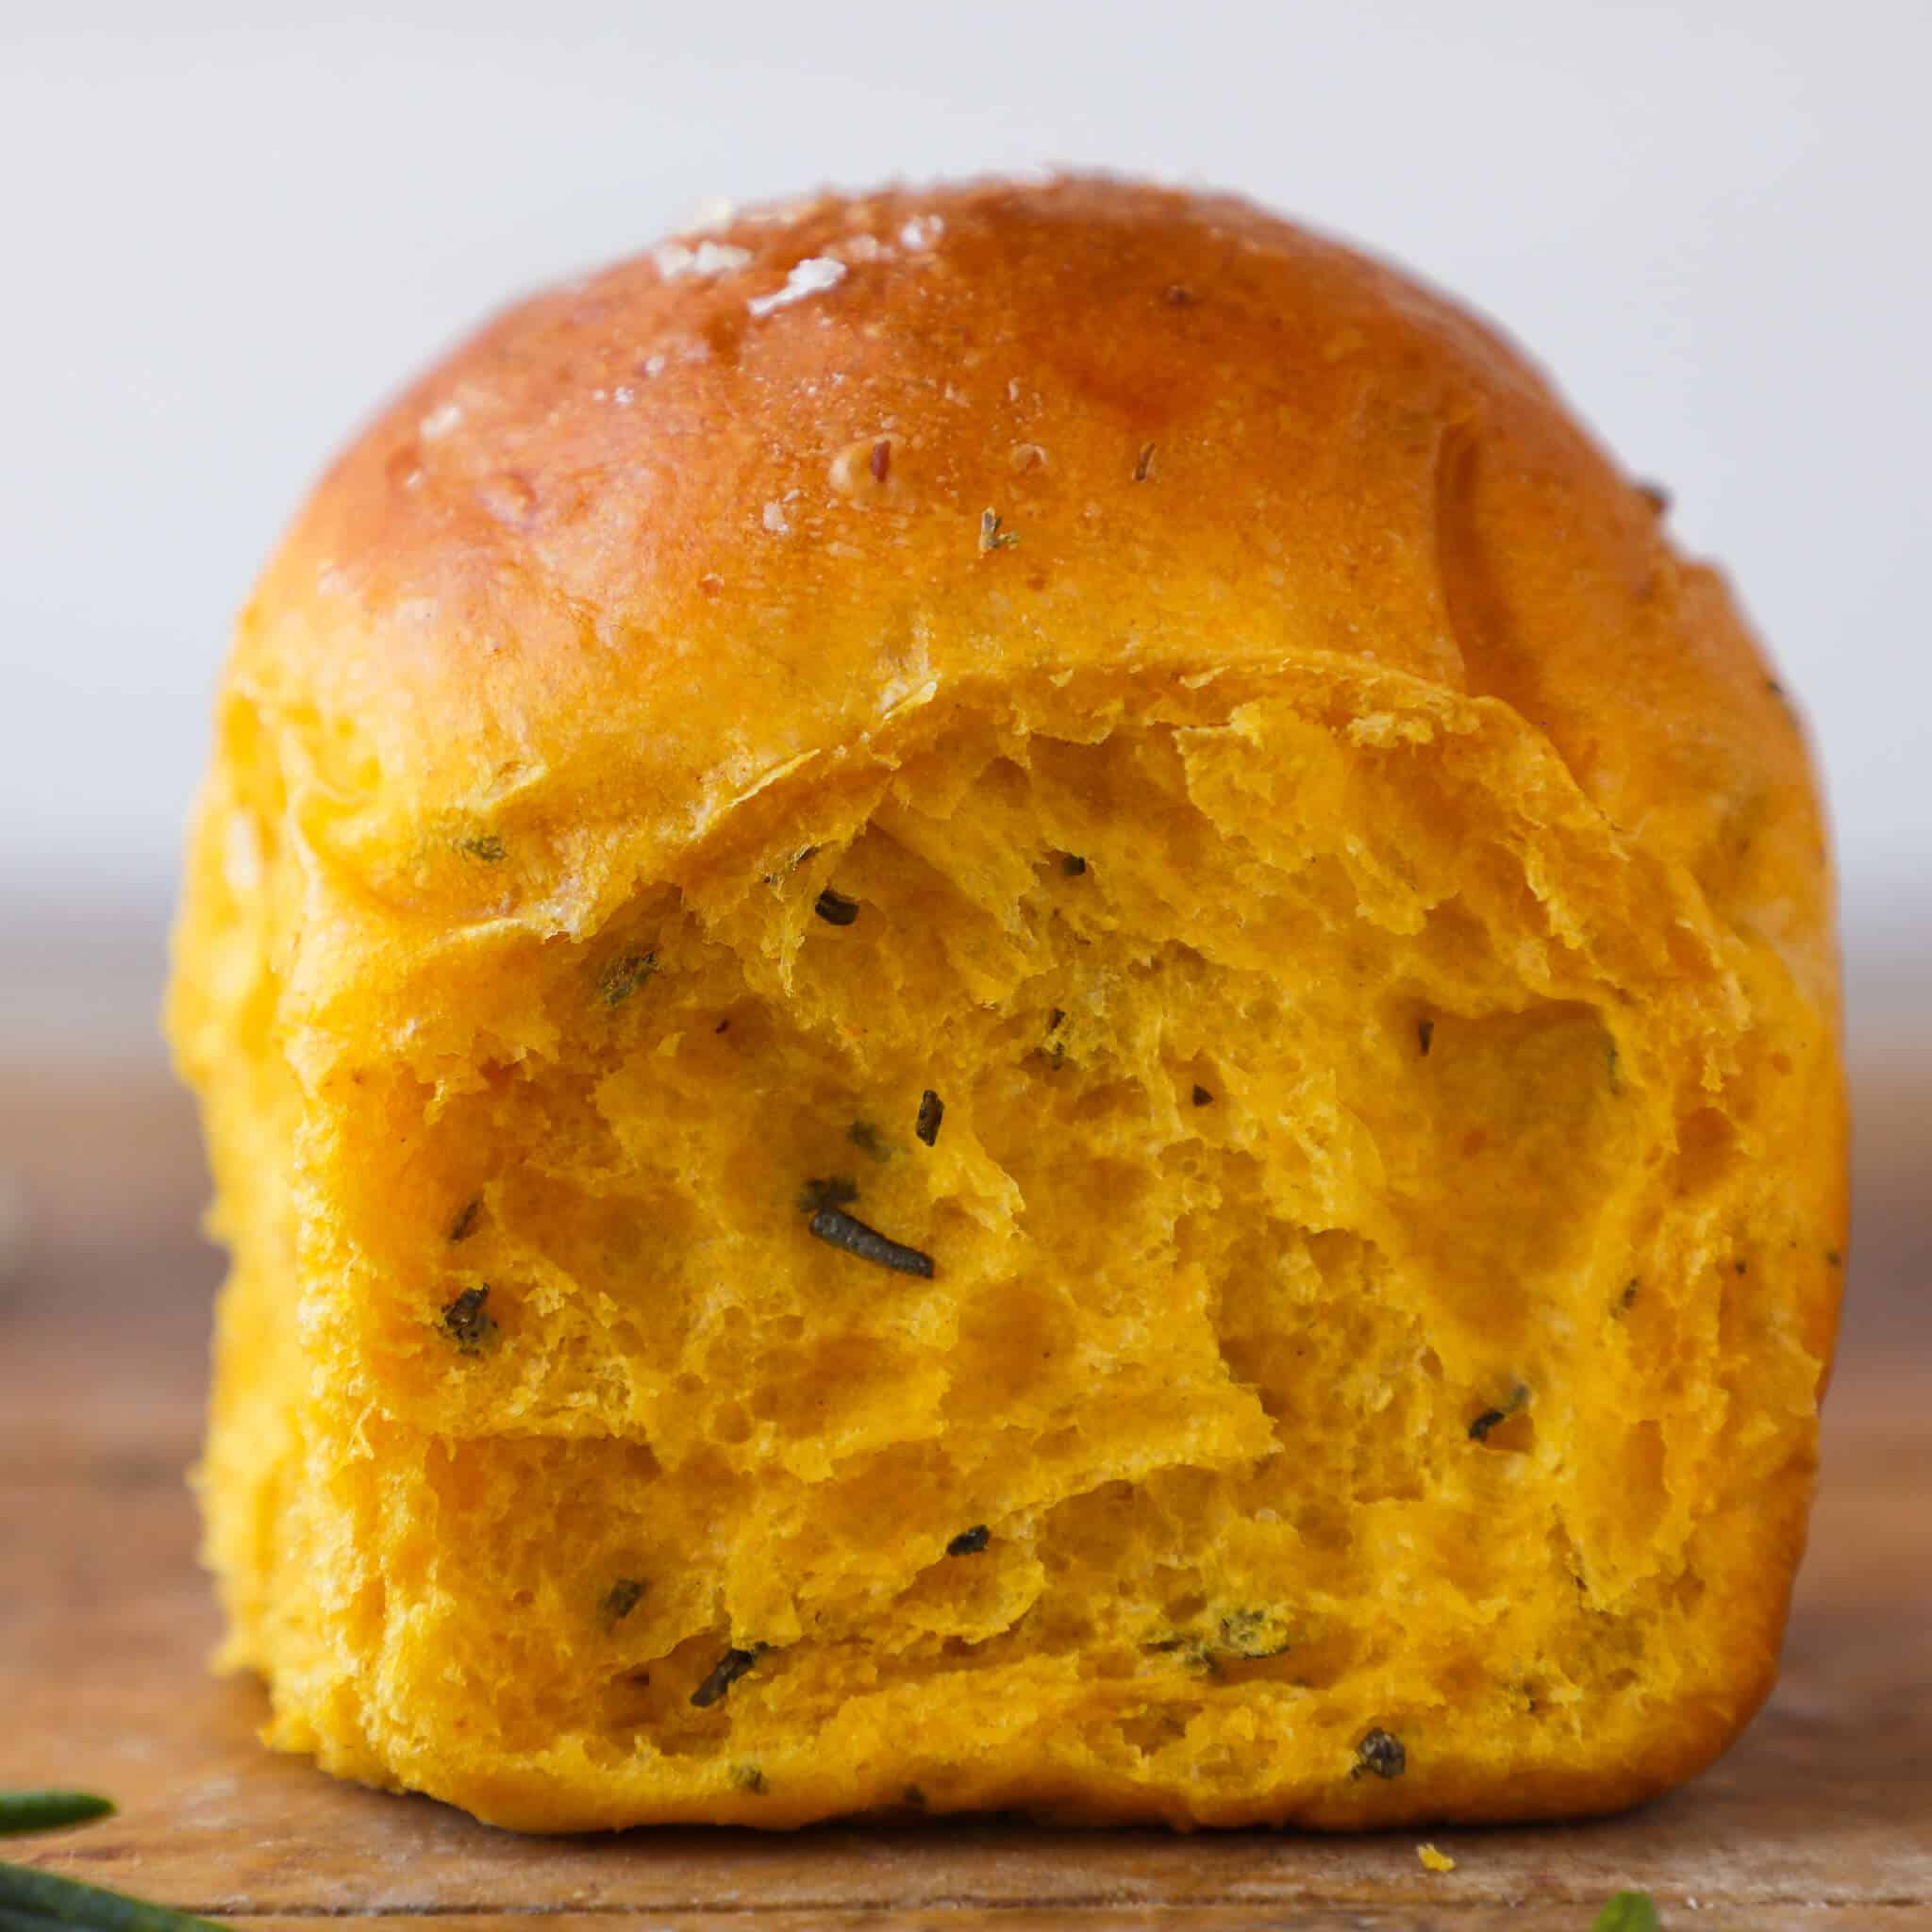
- Pumpkin adds moisture and structure. Pumpkin purée replaces some of the liquid in a standard enriched dough, contributing natural sugars and a tender, pillowy crumb that holds up through the second day. Just like in these pumpkin dinner rolls!
- Fresh herbs create savory depth. Rosemary, thyme, or sage woven into an enriched dough balances the pumpkin’s natural sweetness without tipping into dessert territory, making these rolls work alongside any main course.
- Enriched dough ensures a soft, pull-apart texture. Butter and egg in the dough create a fine, tender crumb that stays soft from the inside out, which is exactly what you want in a dinner roll meant for the table.
- A two-rise process builds flavor and lift. Allowing the dough to ferment twice develops complexity in the crumb and gives the rolls their rounded, even shape without overworking the gluten.
Table of Contents
It will come as no surprise that I am a sweet pumpkin spice girl with all the pumpkin dessert recipes. But every now and again, a savory pumpkin inspiration arrives. These pumpkin herb dinner rolls just popped into my head, and I couldn’t get them out. It was the browned-butter-and-herb combination that made my heart stop!
Whatever you do, please don’t limit them to one day a year. They deserve to shine all season long! There is nothing like one of these rolls slathered with homemade maple butter to warm the soul. If you are new to enriched doughs, my Easy Dinner Roll Recipe walks through the foundational technique in detail and is a good reference point before you start.
Ingredients & Substitutions
- Dry Active Yeast: Activates in warm milk to leaven the dough and build structure. Make sure your milk is between 100°F and 110°F: too hot and the yeast dies, too cool, and it won’t activate properly.
- Whole Milk: Hydrates the dough and enriches the crumb. I always use whole milk in enriched doughs because the fat content keeps the texture tender in a way lower-fat milk simply doesn’t replicate.
- Dark Brown Sugar
- Bread Flour: Its higher protein content gives these rolls their structure and a slight chew without making them tough. All-purpose flour will work in a pinch, but the rolls will be slightly less defined and a touch softer.
- Butter: Enriches the dough and creates a tender, layered crumb. Use unsalted butter at room temperature so it incorporates evenly without seizing the dough.
- Egg
- Pumpkin Purée: The single most important ingredient for moisture, color, and crumb. Use plain canned pumpkin purée, not pumpkin pie filling, which contains added sugar and spices that will throw off the dough’s balance. If your purée seems particularly wet, blot it briefly with paper towels before measuring.
- Fresh Rosemary: Prepare fresh rosemary by picking the leaves of the stems. I run my thumb and pointer-finger down the thick stem from the top to bottom. This removes most of the leaves. Then pick the remaining leaves off. Gather and chop!
- Fresh Sage: Prepare fresh sage by picking the leaves off the stems. Gather a few together and roll into a spiral as you would basil. Slice with a sharp knife using a rocking motion to chiffonade then run your knife through the other way for a fine mince.
- Fresh Thyme: Prepare fresh thyme by picking the delicate leaves off the stem. You can try running your thumb and forefinger down the stem to remove as many as possible, but picking thyme, unfortunately, takes some time.
- Kosher Salt
See the recipe card for full information on ingredients and quantities.
Variations on Savory Pumpkin Rolls
- Herbs. Use any combination of fresh herbs that you would like. Woody herbs like rosemary, oregano, and sage withstand the heat of browned butter better. If you would like to use a more delicate herb like cilantro, mix it straight into the batter or risk it burning and losing its fresh flavor. Herbs are one of the many reasons these rolls would be so delicious served with some Chicken in White Wine Sauce!
- Sweet potato! Make this with pureed sweet potatoes for a delicious take on my brown butter sage mashed sweet potatoes!
- Omit the herbs. You can make the rolls without any herbs! Just a delicious, savory brown-butter pumpkin roll!
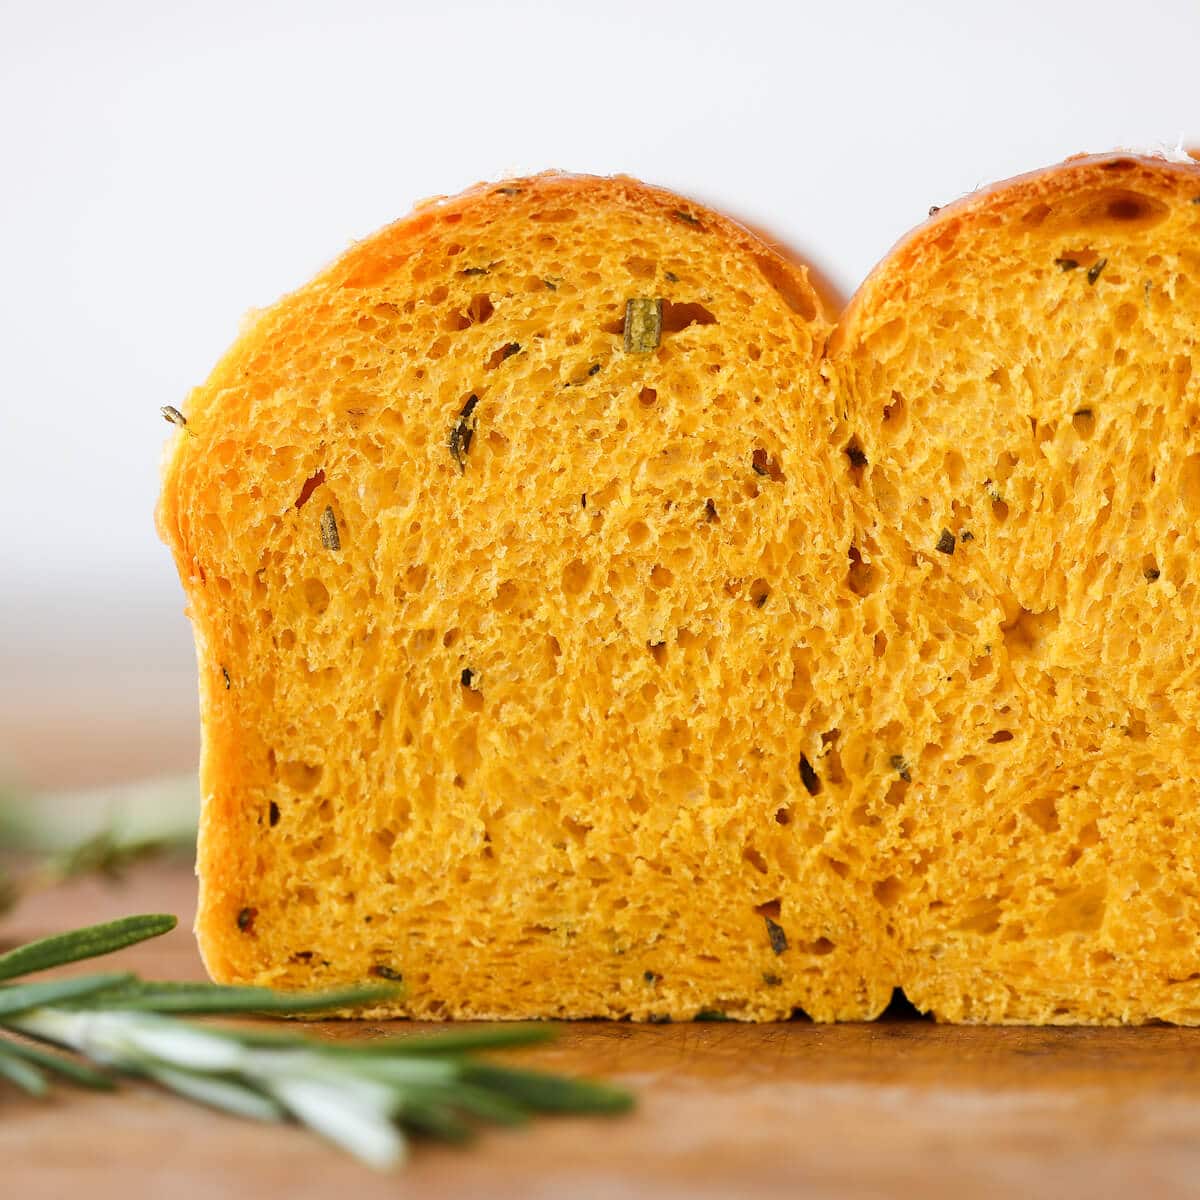
- Make them into loaves! This will make two standard-sized loaves. Follow the dividing, shaping, final proofing, and baking instructions for my brioche bread loaves instead.
Professional Tips
- Use a thermometer for both the milk and the finished rolls. Milk that reads between 95°F and 100°F activates the yeast without killing it, and rolls pulled at an internal temperature of 185°F are fully baked through the center without drying out. These two temperature checks remove almost all the guesswork from the process.
- Do not skip the sponge step. Letting the yeast bloom in warm milk before adding it to the full dough builds early fermentation activity, which means a more reliable rise and better flavor. Rushing this step is the most common reason enriched rolls come out dense.
- Brown the butter carefully. Cook the butter with the herbs on medium heat, watching for the milk solids to turn golden and the butter to smell lightly nutty. The herbs will toast gently in the hot fat, which I find gives the rolls a noticeably more complex flavor than simply mixing raw herbs into the dough.
- Fold, don’t punch. After the first 30-minute proof, folding the dough rather than deflating it preserves the gas structure you have already built and gives the rolls better lift in the oven. Follow the folding sequence in the instructions and the dough will tighten into a neat packet on its own.
How to Make Pumpkin Herb Dinner Rolls
Start with the sponge and the herb butter simultaneously, since both need time before the dough comes together.
Make the Sponge
Step 1: Warm the milk to around 95 to 100°F, which is just above body temperature and should feel pleasantly warm on your wrist. Combine all the sponge ingredients in a medium bowl and mix with your hands. It will be very wet and sticky, which is completely normal. A spoon will work but your hands move it together faster and more evenly. Cover tightly with plastic wrap and set it somewhere warm until it is visibly bubbly and smells yeasty, about 20 minutes.
Brown the Butter
Step 2: Brown the butter with the herbs. Melt the butter in a small pot over medium heat, then add the chopped rosemary, sage, and thyme. Stir frequently and watch it carefully. The butter will foam, then begin to smell nutty and turn a deep golden color. You want fragrant, lightly browned herbs, not burnt ones.
If you are nervous about the timing, brown the butter first and then add the herbs off the heat. Pour into a small bowl and let it cool to room temperature before adding it to the dough. Popping it in the refrigerator speeds this along if you are short on time.
Make the dough
Step 3: Scale the remaining ingredients. While the sponge is proofing and the butter is cooling, weigh the remaining flour, dark brown sugar, salt, pumpkin puree, egg, and butter directly into the stand mixer bowl.
Step 4: Combine and mix the dough. Add the sponge, browned herb butter, and all remaining ingredients to the bowl of a stand mixer. Mix on low speed with the paddle attachment until the dough comes together into a rough, shaggy mass with no dry flour remaining. It will look messy at this stage, and that is fine.
Step 5: Develop the dough to a rough windowpane. Switch to the dough hook and mix on medium speed until the dough reaches a rough windowpane. To test, pinch off a small piece, gently stretch one side outward, rotate it, and stretch again to form a rough square. The dough should not tear, and you should be able to see light through parts of it while other spots still look slightly rough. It will not look perfectly smooth, and that is exactly what you want at this stage.
The windowpane test can feel confusing the first time you do it. The goal here is not a perfectly translucent, paper-thin membrane like you would get with a lean bread dough. Because this dough is enriched with pumpkin, egg, and butter, a rough, patchwork windowpane is the target and the sign to stop mixing.
Proof
Step 6: First proof and fold. Scrape the dough into a well-oiled bowl and cover with plastic wrap. Let it proof in a warm spot for 30 minutes. When the time is up, fold the dough: grab one side, pull it up and out of the bowl, and fold it over the top third of the dough. Rotate the bowl 180 degrees and repeat with the opposite side. Rotate a quarter turn and fold again, then rotate 180 degrees and make the final fold. You should end up with a neat, tight square packet of dough.
Step 7: Bulk proof until doubled. Cover the folded dough with plastic wrap and return it to the warm spot. Let it proof until doubled in size, which took about 30 more minutes in my kitchen. The dough is ready when it feels light and airy when you gently press it, almost like it has a little spring and give rather than feeling dense.
Divide and Shape
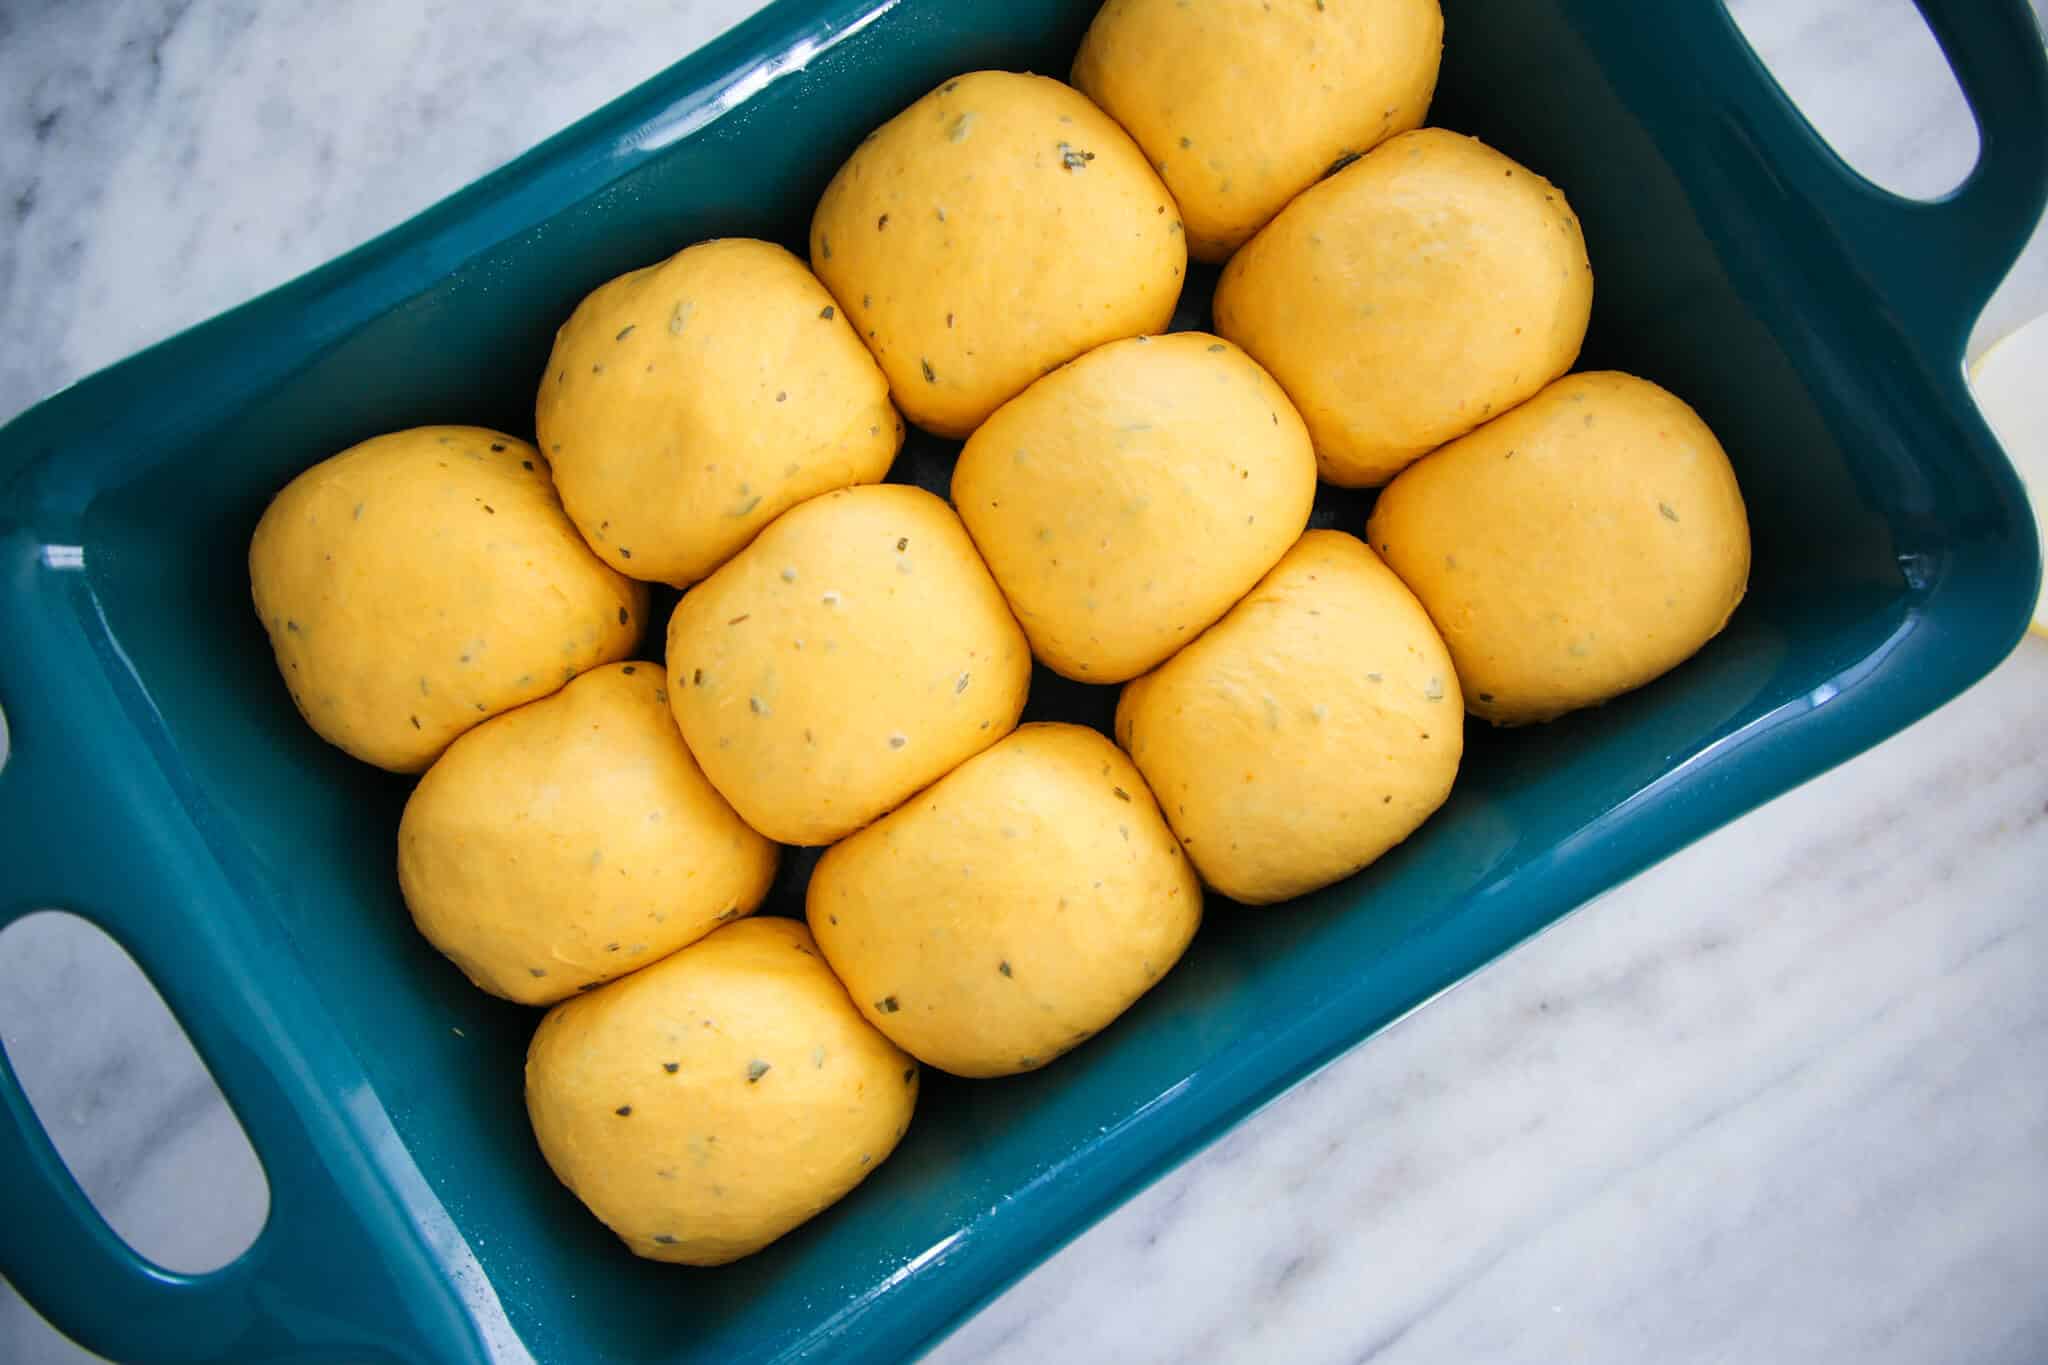
Step 8: Grease the pan and portion the dough. While the dough finishes its bulk proof, grease a 9 x 13-inch baking dish with cooking spray or butter. When the dough has doubled and feels light and airy to the touch, turn it out onto an unfloured surface. It should be soft, supple, and not sticky at all. Divide it into 12 equal portions, either by eye or by weight. Each piece should be about 99g. Arrange them roughly equidistant in the prepared dish.
Final Proof and Bake
Step 9: Second proof until doubled. Cover the pan loosely with plastic wrap and return it to the warm spot. Let the rolls proof until they have doubled in size and look visibly puffed, about 30 minutes.
Step 10: Preheat the oven. Preheat to 350°F while the rolls finish their second proof. Do not rush the oven preheat. A fully preheated oven gives you even color and proper oven spring in those first few minutes of baking.
Step 11: Egg wash and bake. When the rolls are doubled and feel light and airy, brush them gently with beaten egg, taking care not to press down and deflate them. Bake for 20 to 22 minutes, start checking at 20. The rolls are done when an instant-read thermometer inserted into the center of a middle roll reads 185°F. If you do not have a thermometer, insert a toothpick or cake tester into the center: it should come out with a few clinging crumbs but no streaks of raw dough. *
If your rolls are deeply golden on top at the 18-minute mark but the centers are not yet at temperature, tent the pan loosely with foil and continue baking. The tops brown faster than the centers come up to temperature, especially in the middle of the pan.
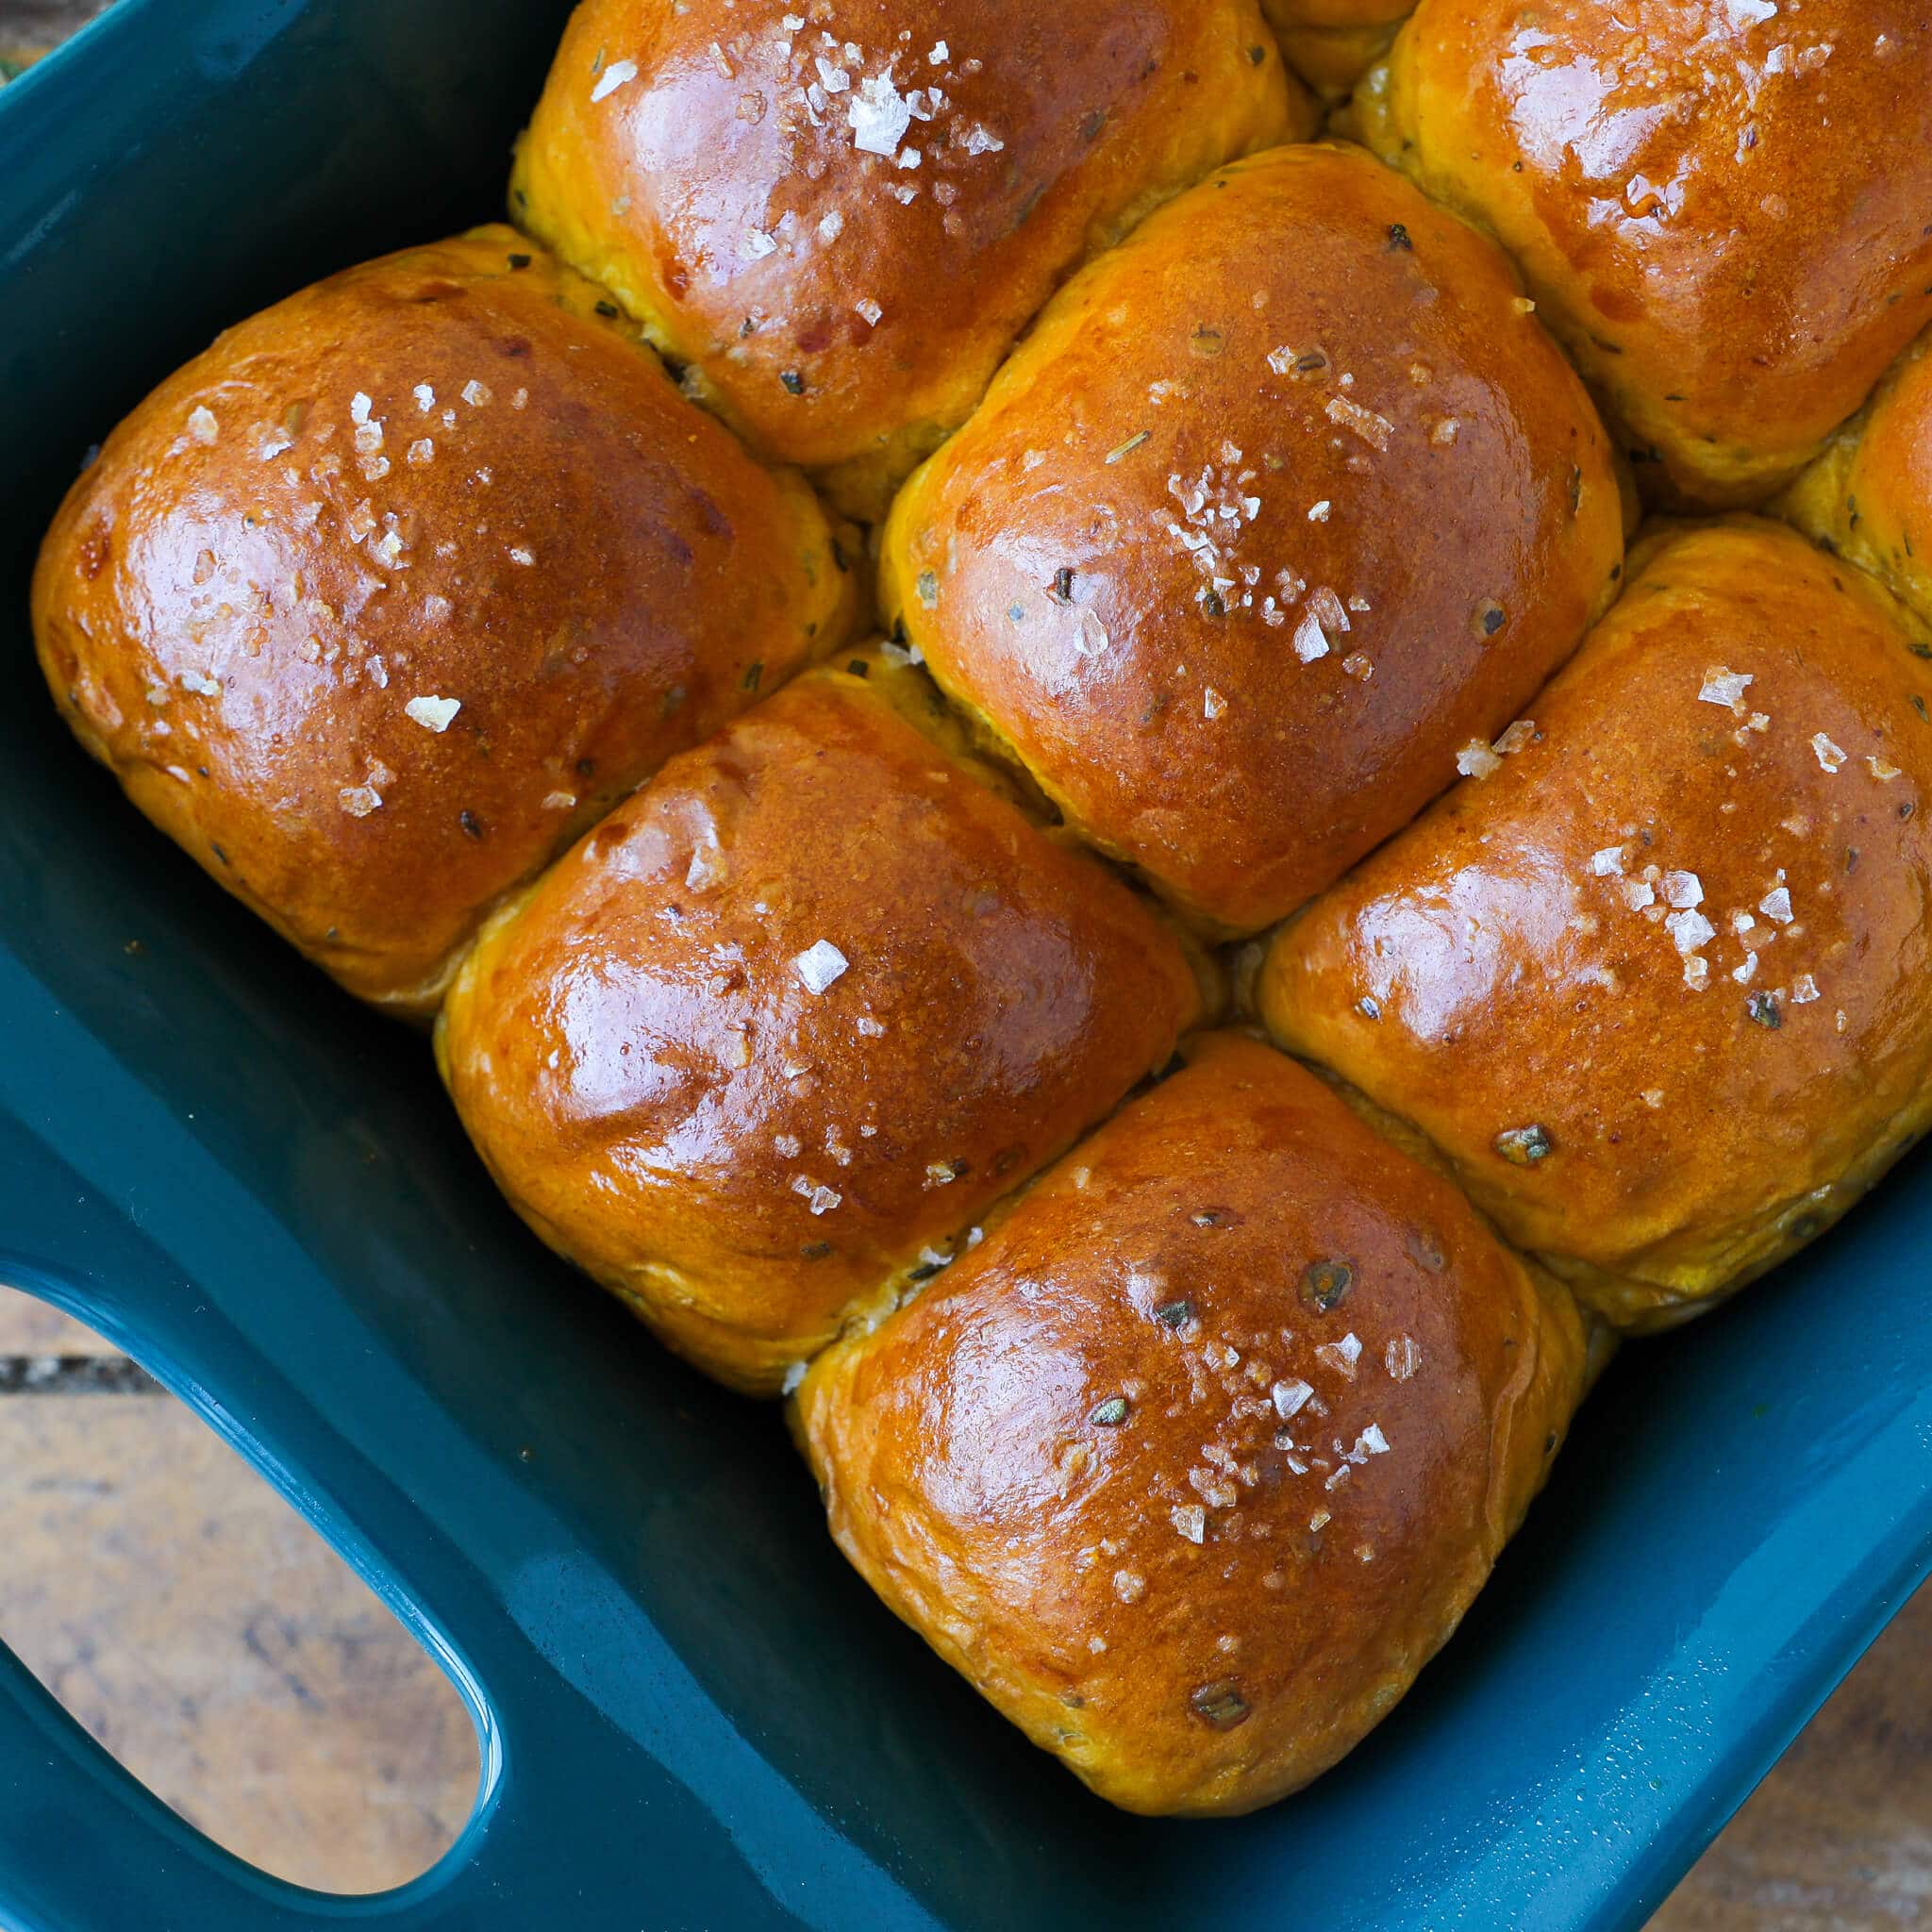
Step 12: Butter the tops and serve. The moment the rolls come out of the oven, brush them generously with melted butter or browned butter! It soaks in quickly and gives them that glossy, pull-apart top I love. Technically, they should cool before you eat them, but I say dig right in.
Chef Lindsey’s Recipe Tip
If your kitchen runs cool, the proofing times in this recipe will stretch longer than mine did, and that is completely fine. You can also use the proof setting in your oven. Just be sure to remove the bread with enough time to preheat your oven.
Recipe FAQs
These rolls are best eaten the day they are made. If you have leftovers, wrap them well and reheat in a warm oven the next day to bring them back to life. I would not go beyond day two.
Rosemary, sage, and thyme are the classic combination here because all three hold up well to the heat of the brown butter without turning bitter. Fresh herbs are worth it for this recipe: dried herbs tend to go dusty rather than fragrant in the browned butter.
These are a natural fit for a fall dinner table alongside roasted meats and vegetable sides. They pair especially well with a full Traditional Thanksgiving Dinner Menu with Recipes spread or any holiday meal where you want a bread that pulls its weight as part of the menu.
This recipe is built around an instant yeast sponge, and swapping in a starter would require significant changes to hydration, timing, and flour ratios. If you want a roll with sourdough flavor and a similar herb profile, my Sourdough Rolls are a better starting point for that direction.
Day-old rolls reheat well in a warm oven and can also be used to make Homemade Bread Crumbs if any go stale before you get to them.
Other Thanksgiving Recipes!
Thanksgiving Recipes
Roasted Herb Turkey
Easy Side Dish Recipes
Loaded Mashed Potatoes
Easy Side Dish Recipes
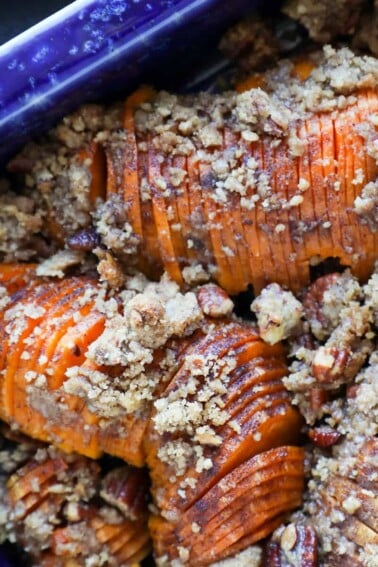
Hasselback Sweet Potato Casserole
Easy Side Dish Recipes
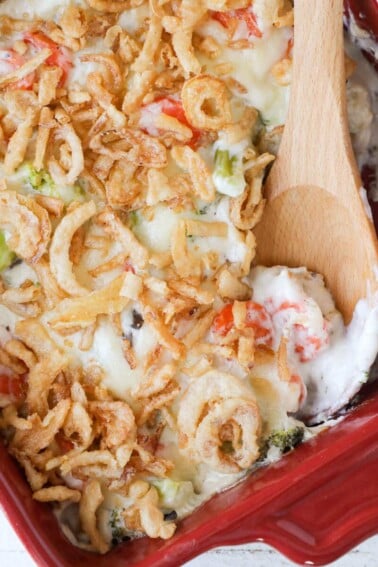
Vegetable Casserole Recipe
If you tried this recipe and loved it please leave a 🌟 star rating and let me know how it goes in the comments below. I love hearing from you; your comments make my day!
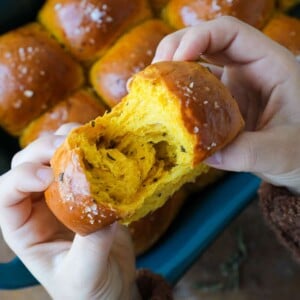
Savory Pumpkin Rolls
Ingredients
Sponge
- 2¼ teaspoons dry active yeast
- 14 tablespoons whole milk — 100°F
- 1 tablespoon sugar
- 1 1/4 cup bread flour
Browned Herb Butter
- 6 tablespoons butter
- 2 tablespoons fresh rosemary — chopped
- 1 tablespoon fresh sage — chopped
- 1 teaspoon fresh thyme — picked
Dough
- 3 1/4 cups bread flour
- 2 tablespoons dark brown sugar
- 1 teaspoon kosher salt
- 1 egg
- 1 cup pumpkin puree
Instructions
Make Sponge
- Heat the milk to 95–100°F. Combine all sponge ingredients in a medium bowl and mix with your hands until a shaggy, wet mass forms. Cover with plastic wrap and set in a warm spot for about 20 minutes, until visibly bubbly.
Brown the Butter
- While the sponge proofs, melt the butter in a small pot over medium heat. Add the chopped rosemary, sage, and thyme and cook, stirring frequently, until the butter is browned and smells lightly nutty. Do not let the herbs burn. Pour into a small bowl and cool to room temperature, or refrigerate to speed things along.
Make the Dough
- Scale the remaining dough ingredients directly into the bowl of a stand mixer. Add the active sponge and the cooled browned herb butter. Mix on low with the paddle attachment until combined.
- Switch to the dough hook and mix on medium speed until a rough windowpane can be pulled: pinch off a small piece, gently stretch it into a square shape, and it should thin without tearing, showing some translucency in spots. The dough will not look perfectly smooth, but it should be one cohesive mass.
Proof, Shape and Bake
- Scrape the dough into a well-oiled bowl and cover with plastic wrap. Proof for 30 minutes in a warm place, then fold: grab one side, pull it up and fold it over a third of the dough, rotate 180 degrees and repeat, then quarter-turn and repeat twice more. You should have a tight, compact square of dough.
- Cover and allow the dough to double in a warm place, about 30 additional minutes. Grease a 9×13-inch baking dish. When the dough has doubled and feels light and airy to the touch, turn it out onto an unfloured surface.
- Divide into 12 equal portions, about 99 g each. Arrange evenly in the prepared dish. Cover and proof until doubled and light, about 30 minutes. Preheat the oven to 350°F.
- Brush the risen rolls with beaten egg. Bake for 20–22 minutes, until an instant-read thermometer inserted into the center of a middle roll reads 185°F. If you do not have a thermometer, a toothpick should come out with clinging crumbs but no streaks of raw dough.
- Brush immediately with melted butter for glossy, golden tops. Serve warm.
Video
Notes
Doneness Cue: An instant-read thermometer inserted into the center of a middle roll should read 185°F; a toothpick should come out with clinging crumbs and no streaks of raw dough.
Storage: These rolls are best eaten the day they are made. Leftovers can be wrapped well and reheated in a warm oven the next day; do not go beyond day two.
Make Ahead: The rolls can be baked the day of serving only. There is no tested make-ahead window beyond reheating day-old rolls in a warm oven.
Nutrition
Before You Go
These pumpkin herb dinner rolls, with their pillowy crumb and savory rosemary and sage throughout, are the kind of thing that disappears before the main course is even served. If you want to keep exploring, browse my Dinner Recipes or make these potato rolls next!
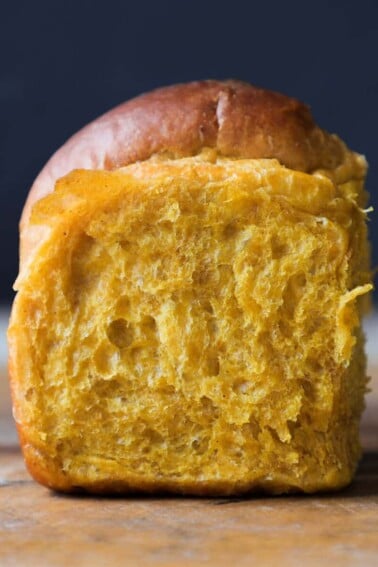








I had leftover pumpkin puree from Thanksgiving and wanted to make something pumpkin one last time before the season was over, and I’m so glad I did! These rolls completely blew me away! The browned butter with the fresh herbs makes the whole kitchen smell incredible while they bake. I’ll be making these every fall without question.
That sponge step was messier than I expected, definitely needed to use my hands like the recipe said. But totally worth it: these were the only rolls on the table with a savory edge that actually tasted like Thanksgiving herbs in my opinion, not just sweet pumpkin.