This post may contain affiliate links. Please read our disclosure policy.
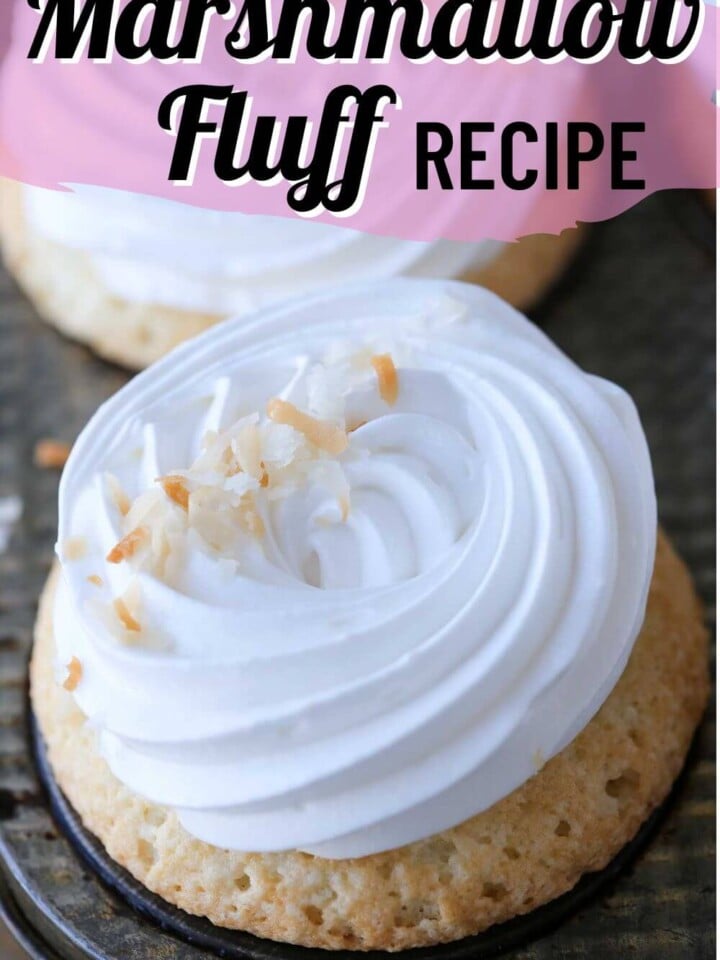
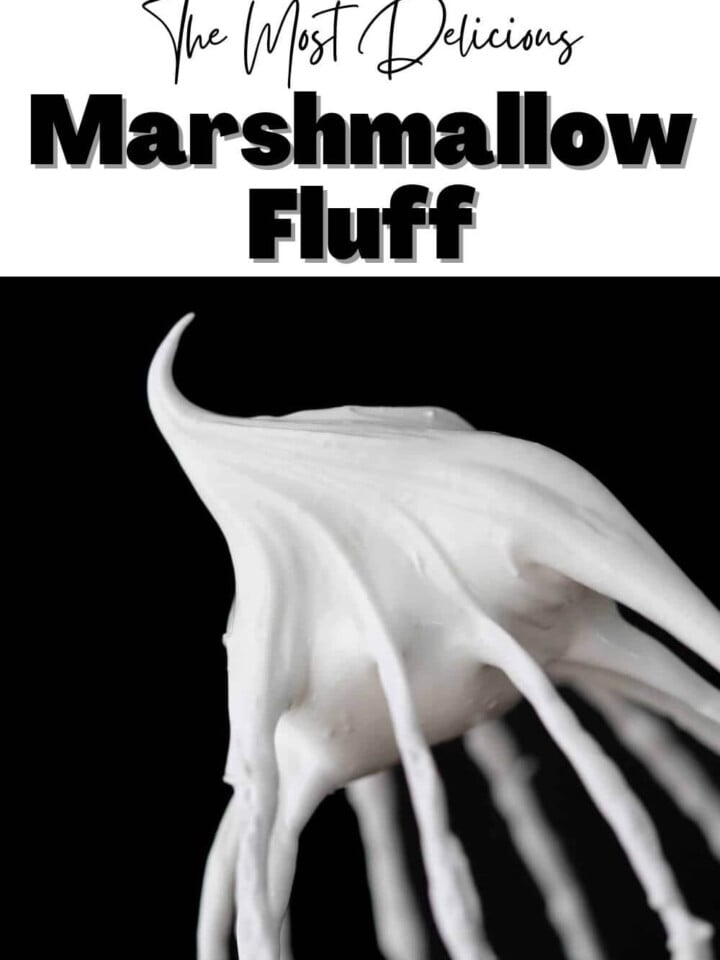
This easy homemade Marshmallow Fluff Recipe is light and airy with a satiny finish. It only requires 5 ingredients and takes under 17 minutes to make! It makes a stable fluff, which is perfect as a topping or filling for cakes, cupcakes, brownies, blondies and more!
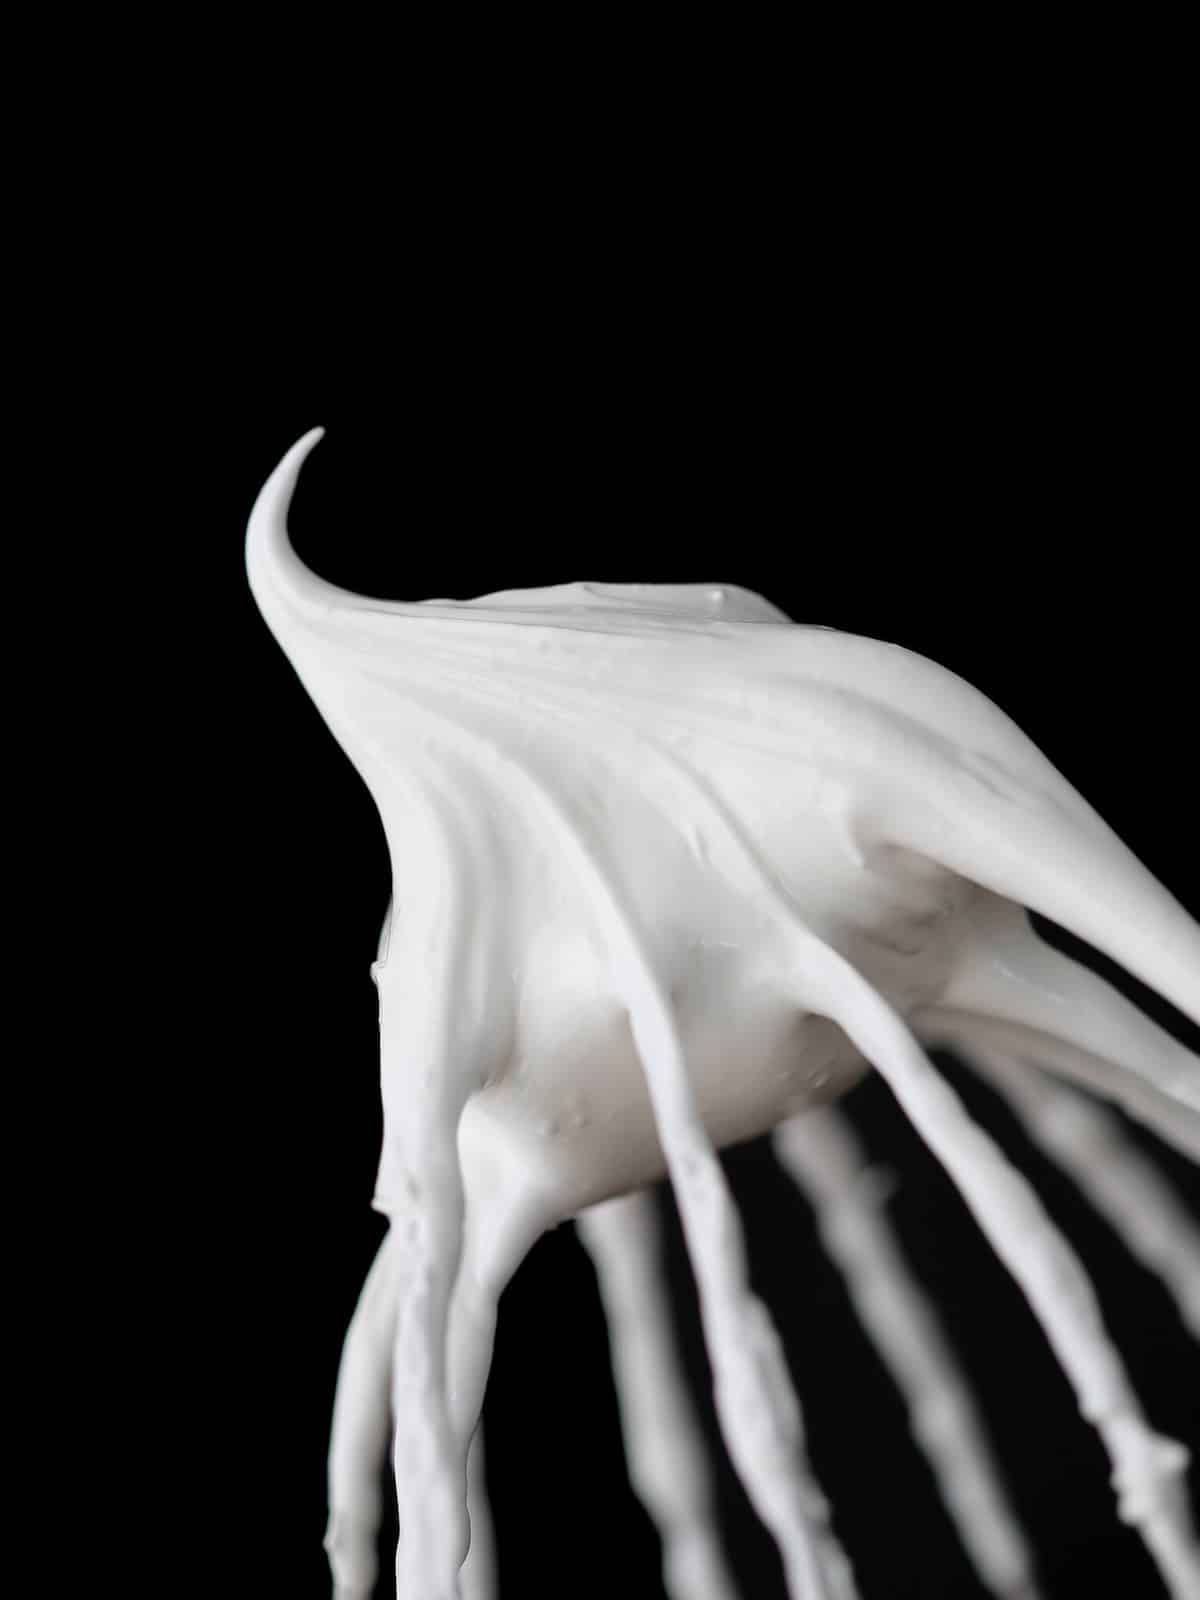
Marshmallow fluff is easier to make than you think and well worth whipping up a batch! Store-bought fluff is too loose to pipe or hold its shape as a frosting and it uses a fake vanilla flavor. In just 15 minutes, you can make your own! Swirl into cookies, brownies, or cake, or mound on top of instant pot chocolate cheesecake, lemon bars, fudgy brownies or any of our cupcake recipes!
The only difference between my marshmallow frosting recipe and this fluff, is that this is uses an Italian meringue while the frosting is a Swiss meringue. They are both light, airy and shiny but this fluff is a bit more stable! If deciding between the two for a frosting, I would use the marshmallow frosting because the meringue is just a bit lighter in texture and worth the instability.
Table of Contents
- What is marshmallow fluff?
- Why You Will Love this Homemade Marshmallow Fluff
- Professional Tips for Making Marshmallow Fluff
- What is Marshmallow Fluff?
- Ingredients Needed
- How to Make Homemade Marshmallow Fluff
- Chef Lindsey’s Recipe Tip
- How to store Homemade Fluff?
- How to use Marshmallow Fluff?
- Frequently Asked Questions
- Marshmallow Fluff Recipe
What is marshmallow fluff?
Marshmallow fluff tastes like soft, pillowy vanilla marshmallows before they set! In fact, this marshmallow fluff is just an Italian meringue not unlike my Italian meringue buttercream or these homemade marshmallows! The only difference is that this fluff doesn’t contain any butter, corn syrup or gelatin! Store-bought fluff typically does have corn syrup for stability, but that isn’t needed here.
Why You Will Love this Homemade Marshmallow Fluff
- Light, airy texture and shiny finish. This fluff is as light as air and tastes like the inside of a toasted marshmallow!
- Stiff enough to pipe or spread. Unlike store-bought fluff, homemade can be whipped to a stiff peak. Use it as a more stable version of my marshmallow frosting recipe. You can also use homemade fluff whipped to soft peaks for the same consistency as store-bought.
- Versatile recipe. There are endless uses for this fluff recipe. Whipped to stiff peaks it can be used as a frosting either piped or spread, but it can also be used to swirl into baked goods or ice cream.
- Easier than you think. Don’t fear the Italian meringue! Just a little timing and attention is all it takes. You’ve got this, I promise! Plus you have a pastry chef to walk you through it.
- Incredibly stable and lasts a month without separating! The Italian meringue makes this fluff incredibly stable when stored in the refrigerator or freezer. Unlike my marshmallow frosting, which will begin to separate in 3 days refrigerated.
Professional Tips for Making Marshmallow Fluff
- Timing is everything. Just like my Italian meringue buttercream, this is a balancing act between the heating sugar syrup and the whipping meringue. Don’t be afraid to turn down the heat of the stove to give your meringue more time, or, conversely, turn down the mixer speed to hold the meringue while waiting for your syrup.
- Turn off the stove just a smidge before soft balls stage. I like to remove my sugar syrup at 238°F because that gives me enough time to slowly (and safely) move my syrup to the mixer, turn the mixer up, and pour in a slow, steady stream. The sugar syrup will continue heating due to “carry-over cooking” so this gives me a buffer to move safely. Sugar burns are serious.
- Use freshly separated egg whites. You can use pasteurized egg whites from the carton, but the resulting meringue will be less stable and the texture will not be as silky or shiny. There is also a higher probability that, even if you do everything right, when you pour that sugar syrup in the whipping whites that they will break. I learned this the hard way in really large batches. Think 3 pounds of egg whites wasted every test.
What is Marshmallow Fluff?
Marshmallow fluff or marshmallow crème is just an Italian meringue made by heating sugar and water to the soft ball stage (238-240°F) and pouring that sugar syrup into beaten egg whites at stiff peak. The resulting meringue is less sweet than marshmallow frosting and more stable! Use it as
Ingredients Needed
- Egg Whites: As I’ve mentioned, freshly separated egg whites will produce a silkier, shinier, more stable marshmallow frosting. You can use pasteurized whites from a carton but the resulting meringue will be less stable, weep sooner, and the texture will be less satiny.
- Sugar
- Water
- Cream of Tartar: Cream of tartar is just extra, cheap insurance for the meringue. You can omit it, if you don’t have it on hand.
- Kosher Salt: Kosher salt is critical in this recipe for 2 reasons: it heightens the flavor and dampens the sweetness, and it stabilizes the meringue.
- Vanilla Extract: Add the vanilla extract after the meringue is at stiff peaks to preserve the flavor and allow the meringue to reach its full volume potential.
- See the recipe card for full information on ingredients and quantities.
How to Make Homemade Marshmallow Fluff
Use these instructions to make homemade marshmallow fluff without corn syrup! Further details and measurements can be found in the recipe card below.
Step 1: In a small sauce pot, stir together sugar and water. Bring to a boil over high heat, brushing down the sides of the pot with a clean pastry brush dipped in water. You can also use a paper towel that has been folded several times. Clip a candy thermometer to the side of the pot. Make sure it is immersed in the syrup or it will not get an accurate read.
Step 2: Meanwhile, in the bowl of a stand mixer fitted with the whisk attachment, beat the egg whites and cream of tartar until stiff peaks. I recommend not starting the egg whites until the syrup has a reached a boil.
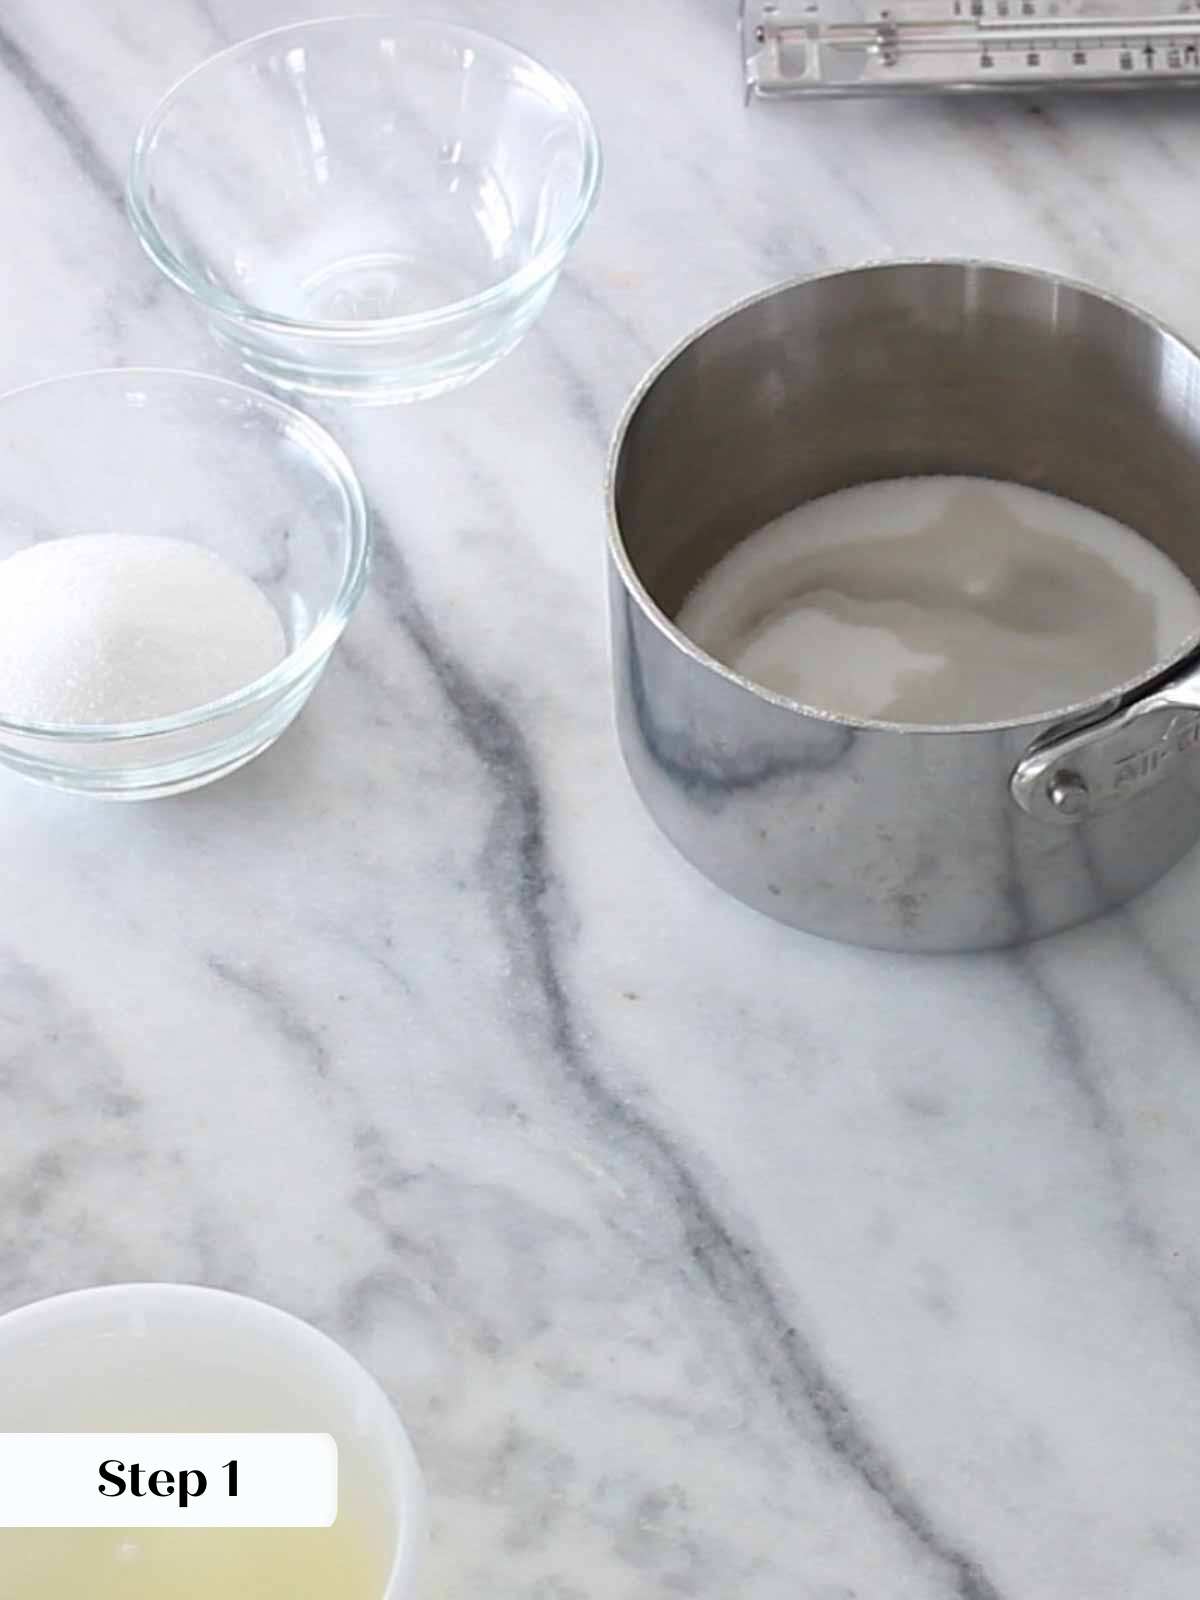
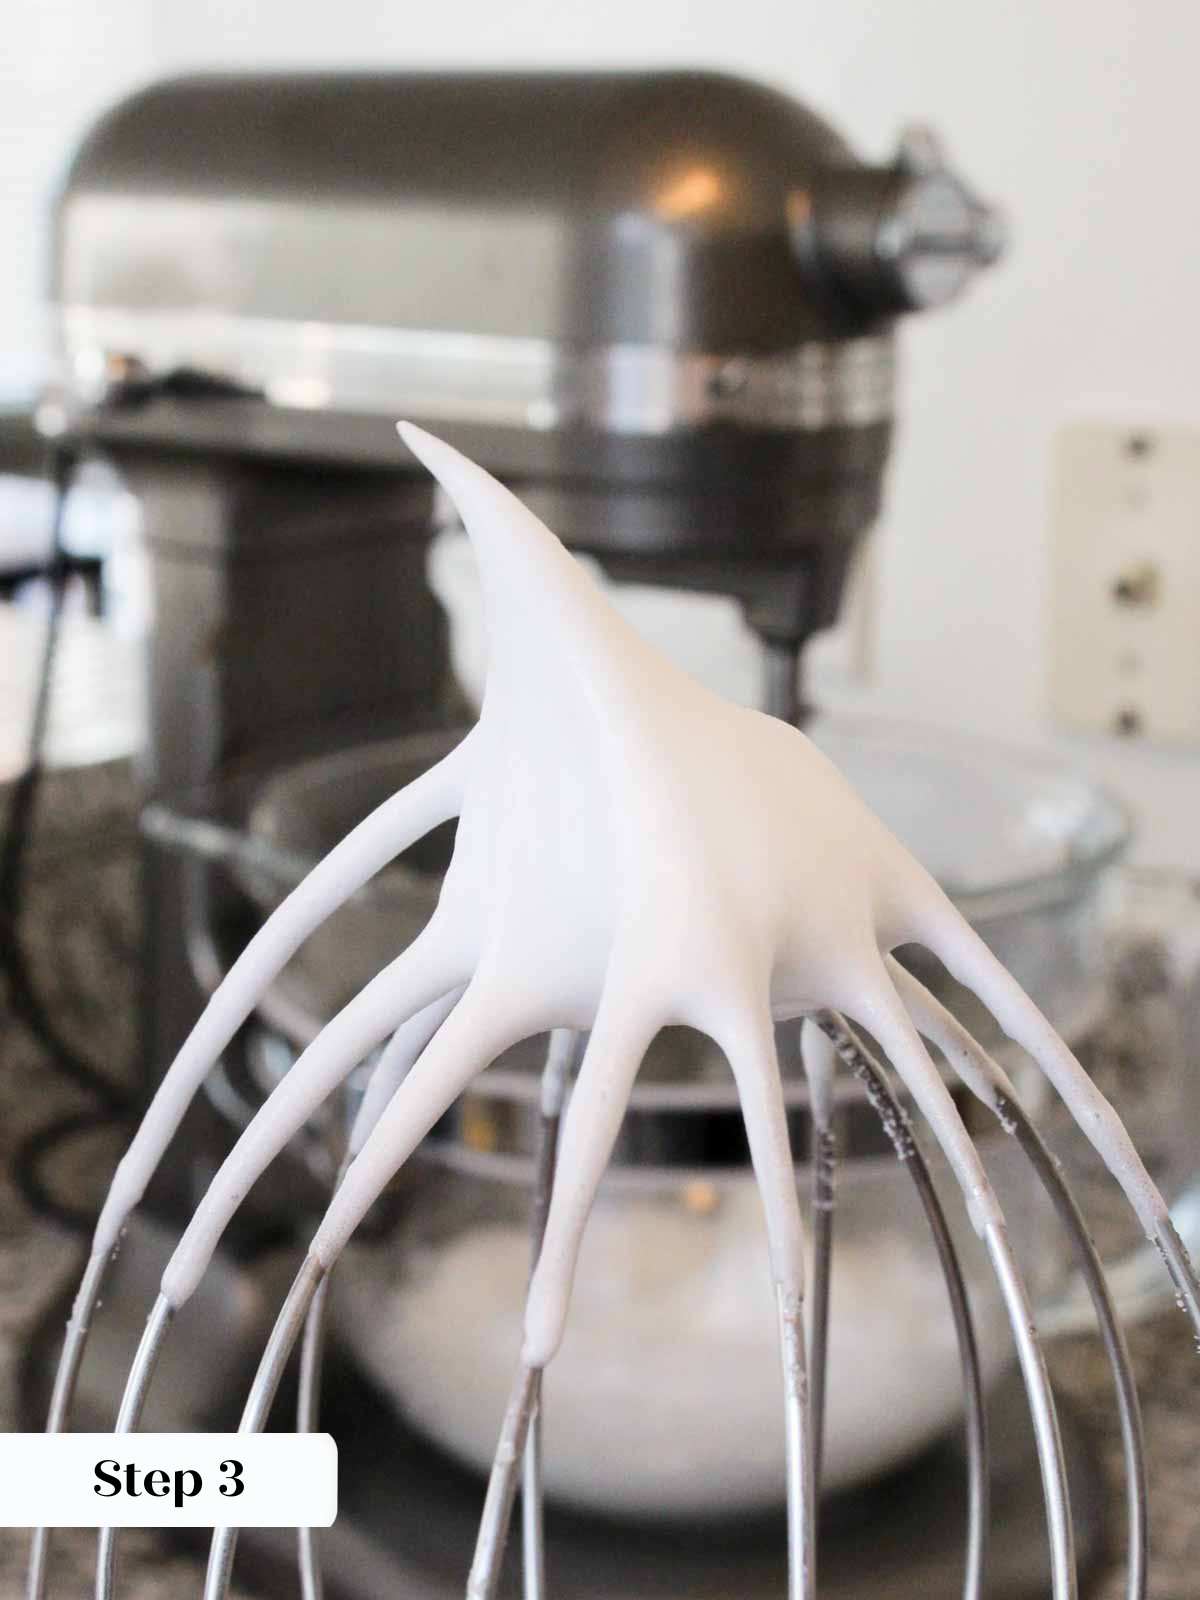
The most important thing to remember when making fluff is that you are in control! You control the speed of the mixer and the temperature of the stove under the sugar syrup. Adjust the temperature or speed as needed to allow the other component to catch up.
Step 3: Try to time the whites arriving at stiff peaks to the sugar syrup reaching soft ball stage (238-240°F). You can always turn the mixer down if the syrup needs a minute to catch up.
You can also test the syrup using the traditional soft ball sugar method where you drop a bit of the syrup into a bowl of ice water and when the sugar forms a soft, pliable ball, it is perfect!
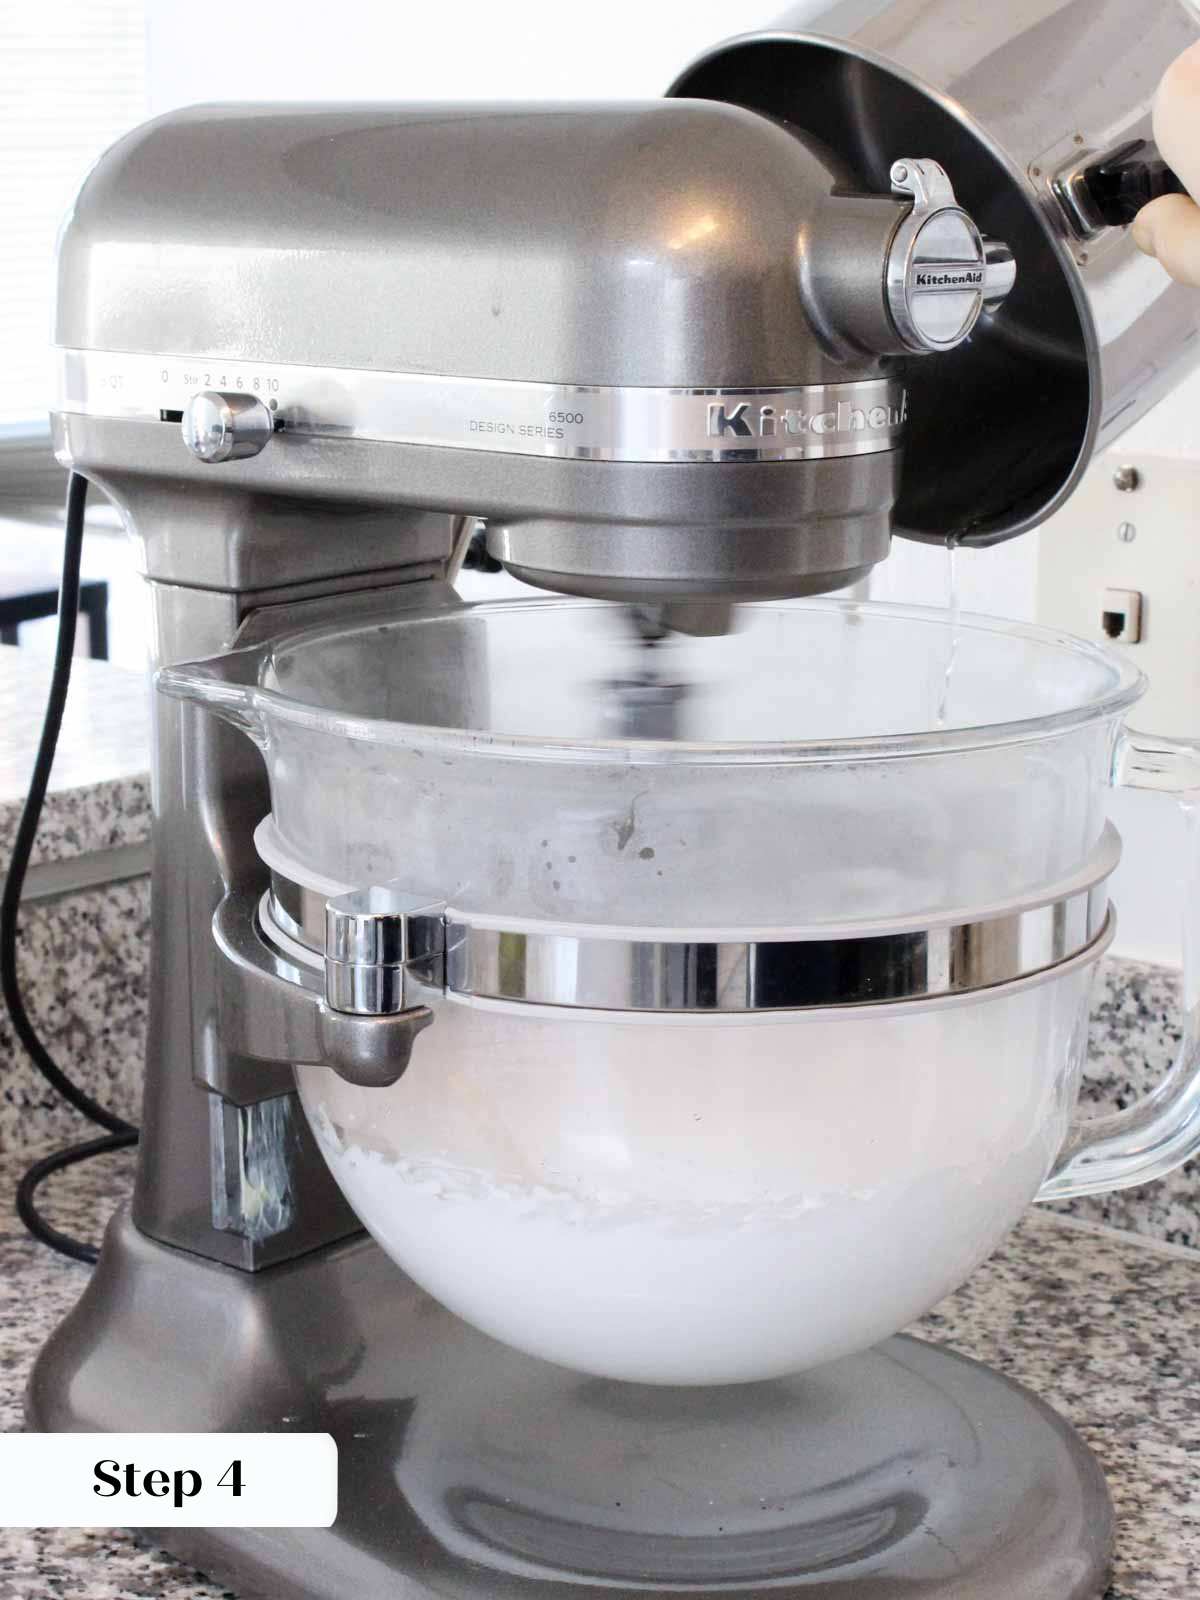
Step 4: When the sugar syrup reaches soft ball, turn off the heat and carefully move the pot to the mixer. With the mixer on high, slowly pour the syrup into the whipping whites, trying pour in one line down the side of the bowl and avoiding hitting the whisk at all costs! No hot, sugar syrup flying at your face, please!
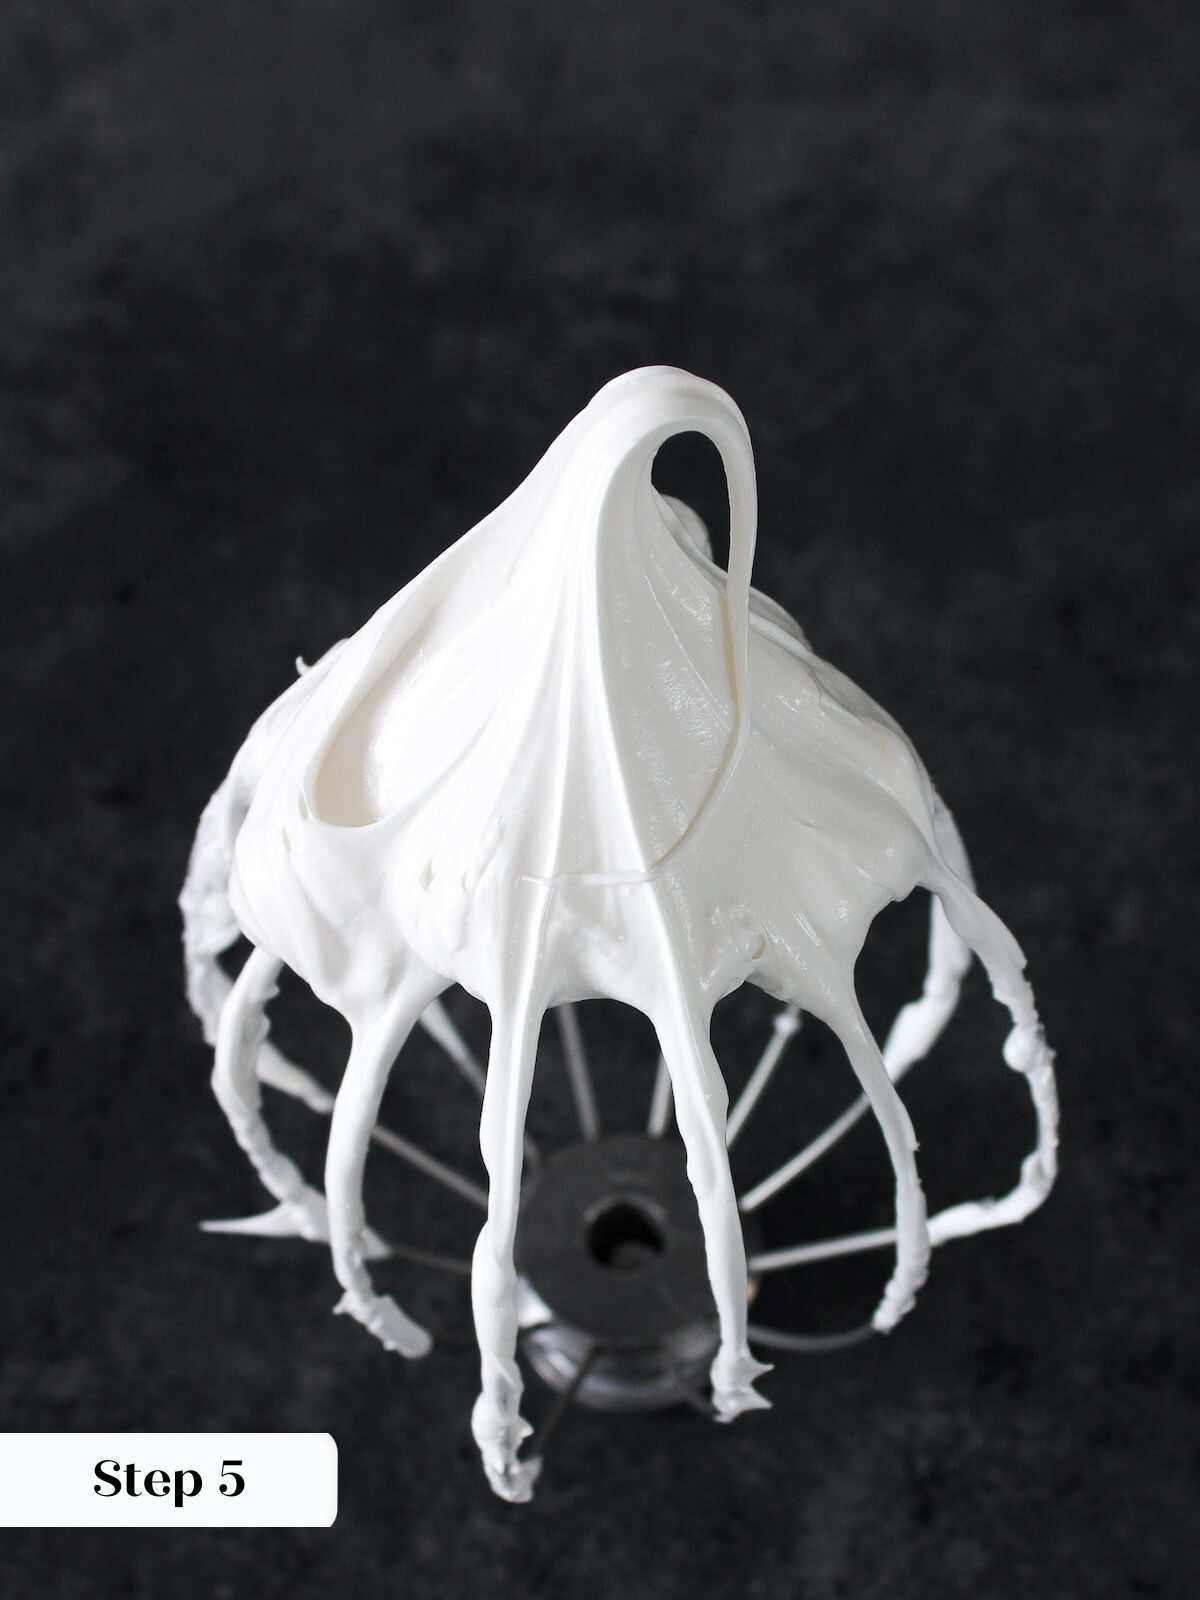
Step 5: Continue to beat until the meringue is stiff, shiny and cooled, about 7 minutes!
Chef Lindsey’s Recipe Tip
In old cookbooks this frosting is called “Seven Minute Frosting,” because it takes about seven minutes to cook the sugar syrup and then beat the meringue with a hand mixer. You can still make this recipe based on time but it is risky when you start making larger or smaller batches. I prefer to use a thermometer as you would when making Italian Meringue Buttercream.
How to store Homemade Fluff?
- I would not recommend storing at room temperature for longer than 2 hours prior to serving. A cake or pie topped with fluff will have the cleanest slices if sliced straight from the refrigerator.
- Store refrigerated for up to a month before it begins to weep (separate). Toasted meringue will keep longer without weeping because it creates a protective barrier around the meringue and shields it from air exposure. I will say that whatever you have frosted with your fluff will not taste as delicious after a month in the fridge, so just be aware!
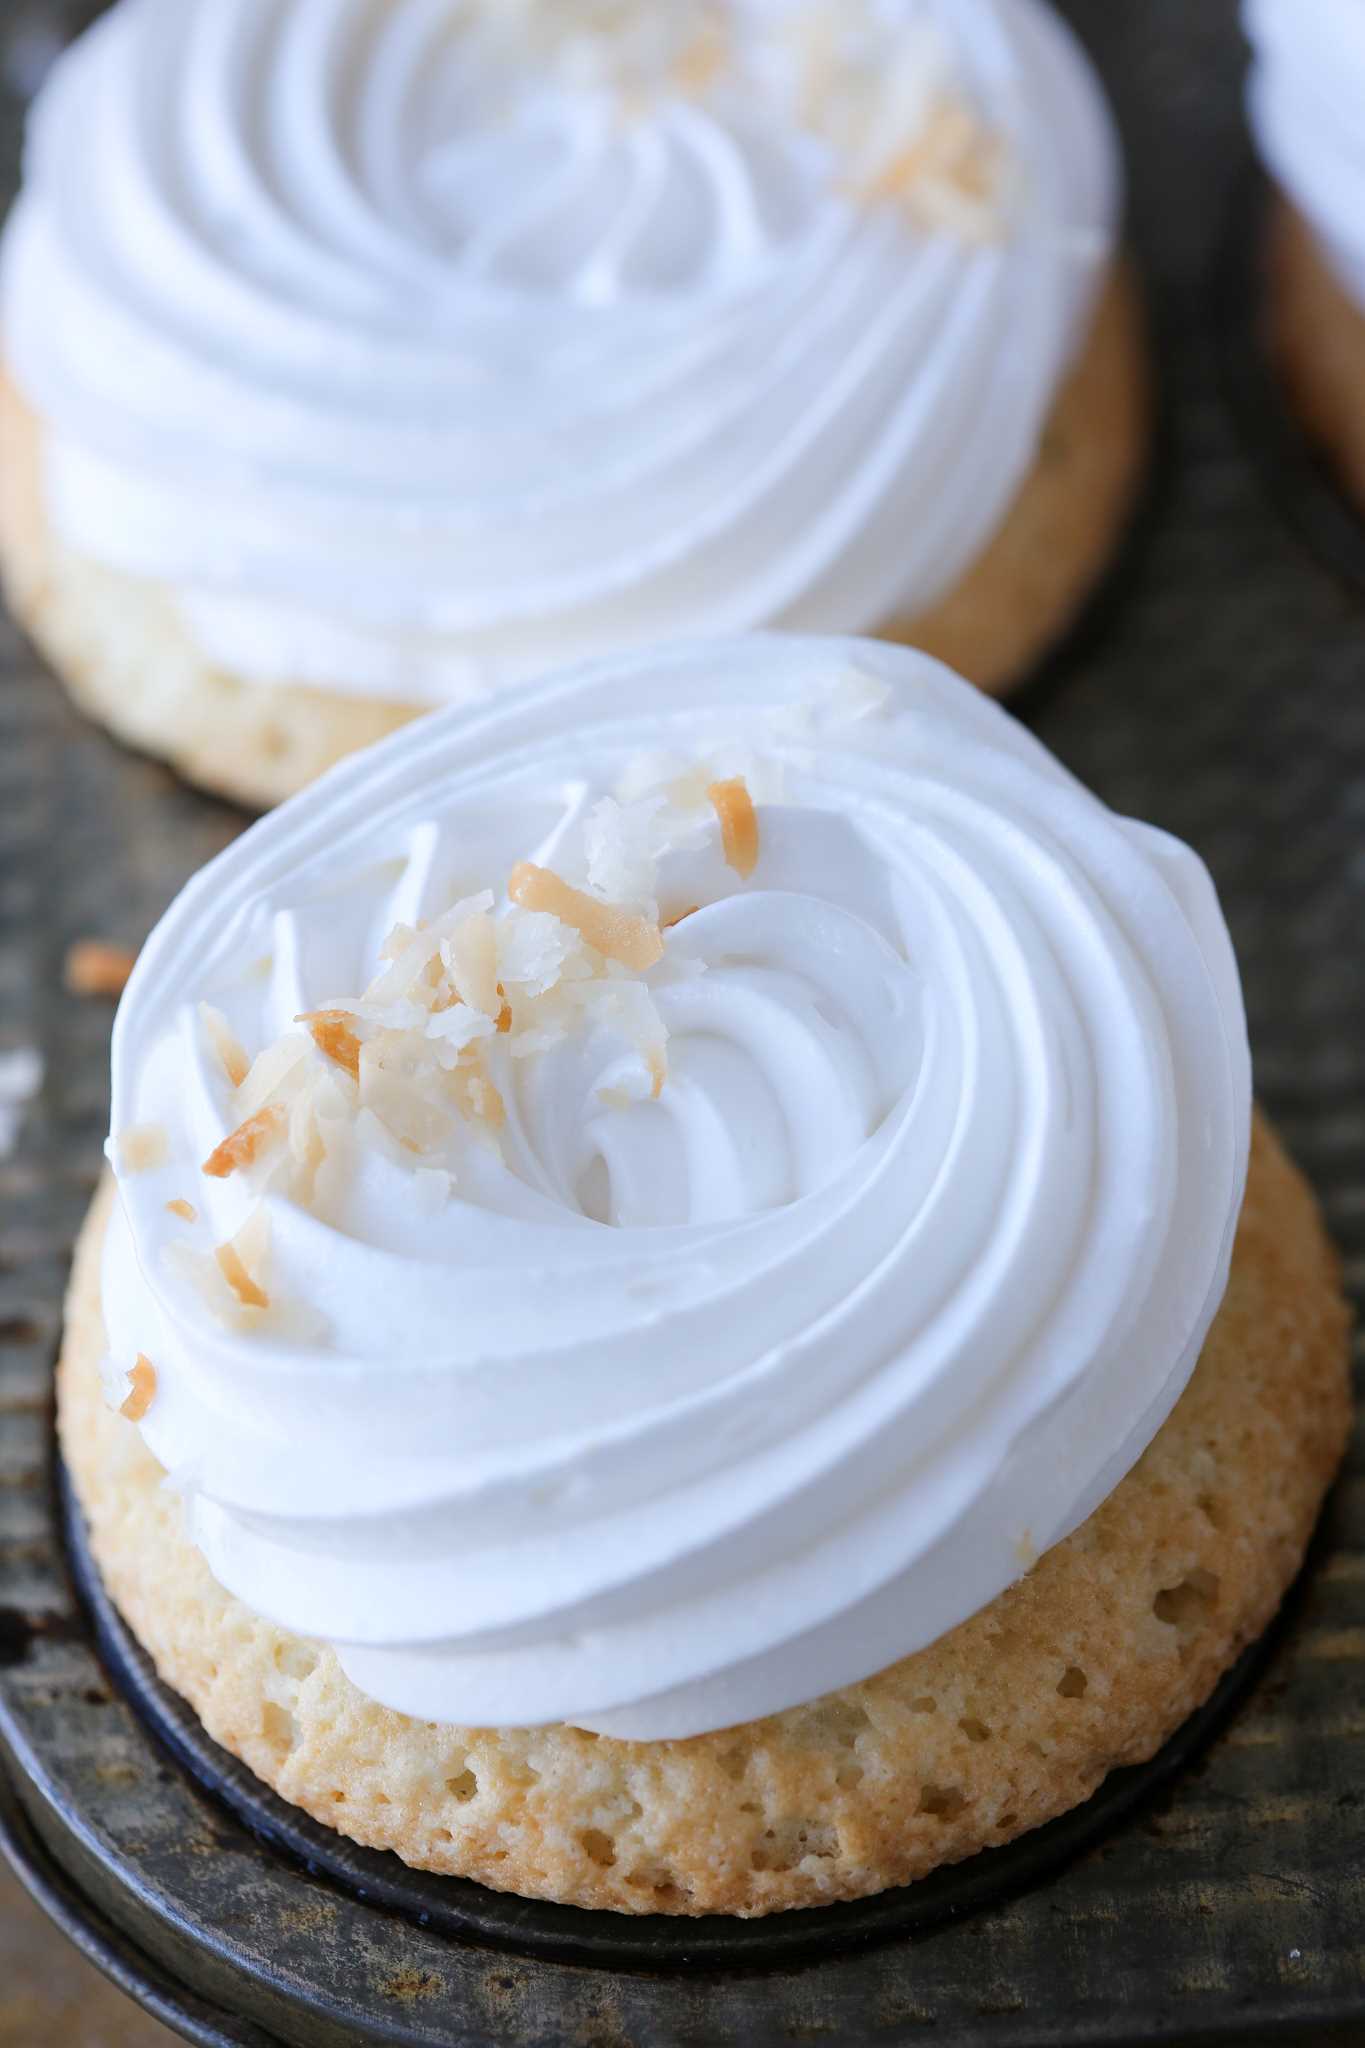
- Fluff can be stored frozen either toasted or un-toasted for up to 2 months. Honestly I stored this coconut cupcake frosted with fluff in my freezer in an airtight container for 2 months without any sign of weeping and then I stopped checking, because, let’s be honest, the cupcake was no longer its best self!
How to use Marshmallow Fluff?
- Use as you would any frosting. Here is a trade secret: you can use homemade fluff like you would marshmallow frosting! Pipe it on cupcakes, frost an entire chocolate mayonnaise cake, or mound it on cheesecake like this lemon meringue cheesecake, s’mores cheesecake or chocolate chip cheesecake.
- Use it in something unexpected. Mound it on top of a pie like this s’mores pie or on a key lime pie; top a carrot cake roll; use it as a filling for cupcakes like these chocolate cupcakes; or as a filling for these s’mores whoopie pies; or even in a trifle. Spoon or pipe it onto chocolate pudding crumbled with no bake graham cracker crust!
- Make a fluffernutter sandwich. IFYKYK. Peanut butter and fluff are a phenomenal combination. Or maybe fluffernutter cookie cups or in this fluffernutter dip!
- Make a dip! Use this recipe in this marshmallow cream cheese fruit dip, s’mores dip, or butterfinger dip!
- Top hot chocolate for a life-changing alternative to marshmallows! Try it on this French hot chocolate or on cocoa made with this homemade hot chocolate mix!
Make it savory. Why should dessert have all the fun? Use this fluff to top a sweet potato casserole or maple mashed sweet potatoes!
Frequently Asked Questions
Toast marshmallow fluff using the broiler setting on your oven! Remove any racks that are in the top half of the oven and preheat the broiler to high (this is particularly effective with a gas broiler, but electric works too). Hold the baked goods with the fluff in your hand and move it around to toast it as desired. Obviously, keep your hands at a safe distance. Once toasted, remove from the oven and turn it off.
Store bought fluff is too loose to pipe but this homemade marshmallow fluff can be whipped to stiff peaks and is perfect for piping. You can use a star tip and it will hold a beautiful shape! Toasting the piped frosting adds a gorgeous texture and visual dimension.
You can make this recipe using pasteurized egg whites from the carton, but the end results are not the same. They resulting meringue will be less stable and the texture will not be as silky. There is a higher probability that, even if you do everything right, when you pour that sugar syrup in the whipping whites that they will break.
If you would like additional insurance against crystallization, you may add up to 2 Tablespoons light corn syrup to this recipe as written. Add it to the sugar and water mixture preferably after it comes to a boil.
If you tried this recipe and loved it please leave a 🌟 star rating and let me know how it goes in the comments below. I love hearing from you; your comments make my day!
Marshmallow Fluff
Ingredients
- 1 cup granulated sugar
- ½ cup water
- 3 egg whites
- ⅛ teaspoon cream of tartar
- ⅛ teaspoon kosher salt
- 1 teaspoon vanilla extract
Instructions
- In a small sauce pot, stir together sugar and water. Bring to a boil over high heat, brushing down the sides of the pot with a clean pastry brush dipped in water. (You can also use a paper towel that has been folded several times.)
- Meanwhile, in the bowl of a stand mixer fitted with the whisk attachment, beat the egg whites, cream of tartar, and kosher salt until stiff peaks. Try to time the whites arriving at stiff peaks to the sugar syrup reaching soft ball stage (238-240°F). You can always turn the mixer down if the syrup needs a minute to catch up.
- You can also test the syrup using the traditional soft ball sugar method where you drop a bit into a bowl of ice water and when the sugar forms a soft, pliable ball, it is perfect!
- With the mixer on high, slowly pour the syrup into the whipping whites, trying pour in one line down the side of the bowl and avoiding hitting the whisk at all costs! No hot, sugar syrup flying at your face, please!
- Continue to beat until the meringue is stiff, shiny and cooled, about 7 minutes!



Hi there! I’m so glad I found your site! Between your two marshmallow frostings which would you use to pipe flowers on cupcakes? I’m thinking of making a cupcake floral bouquet for a ladies get together.
Hi Rochelle! If deciding between the two for a frosting, I would use the marshmallow frosting because the meringue is just a bit lighter in texture and worth the instability. That being said, if you’re planning on piping delicate, intricate flowers and need a super firm hold, you might want to go with a buttercream instead. Let me know what you decide—I’d love to hear how your floral cupcake bouquet turns out!
This is a great recipe! Is there a way to make the fluff stiffer?
Hi Vinnie! I’m glad you enjoyed it! You could make my marshmallow frosting recipe next, which is a stiffer version.
Hi, You mentioned Kosher salt above the recipe as a “Ingredients Needed”, however, its not listed in the recipe under Ingredients or in the Instructions. How much and when do you incorporate the salt?
Hi Anna! I would add a pinch or up to 1/8 teaspoon of kosher salt when you add the cream of tartar. Thanks for commenting, I’ve updated the recipe to avoid any confusion! Can’t wait to hear what you’re frosting 🙂
Hi! It looks amazing. Can I pipe it on a cupcake and torch it?
Hi Arianna! You’re speakin’ my language! You could definitely do that, just be sure you’re only hitting the frosting so you don’t char your cupcake edges!