This post may contain affiliate links. Please read our disclosure policy.
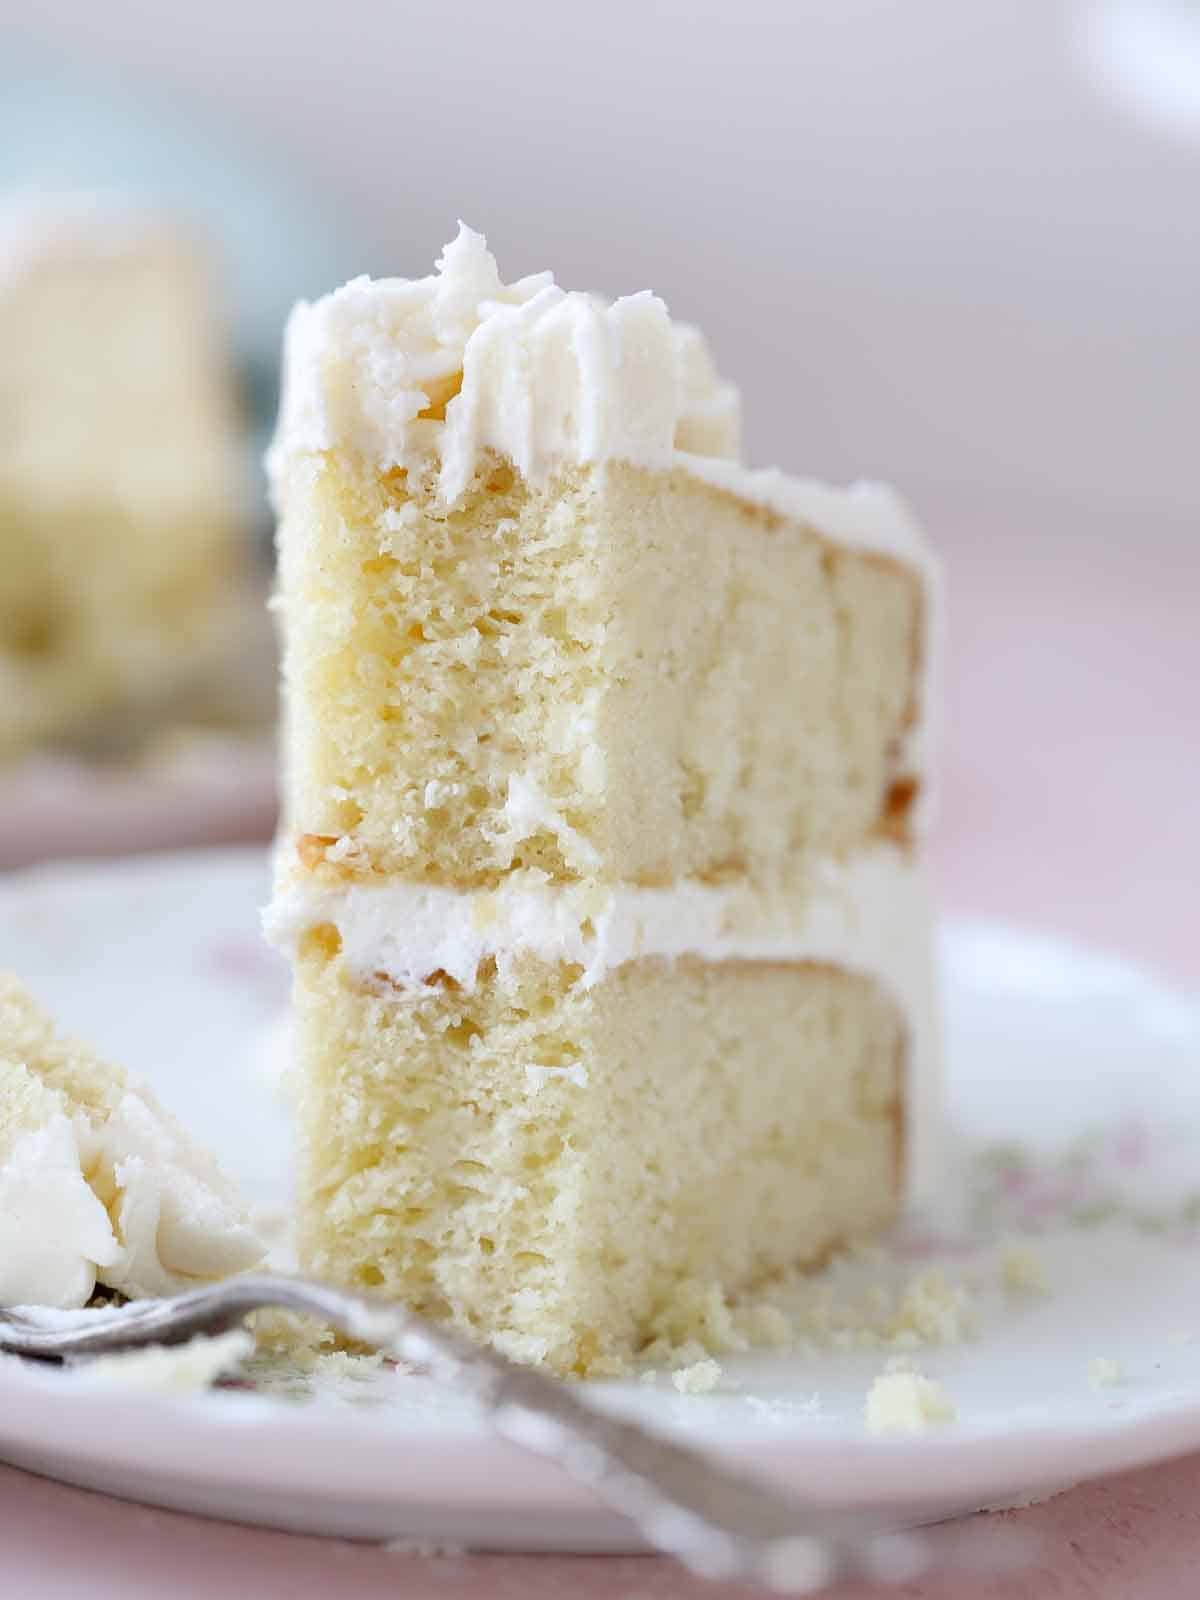
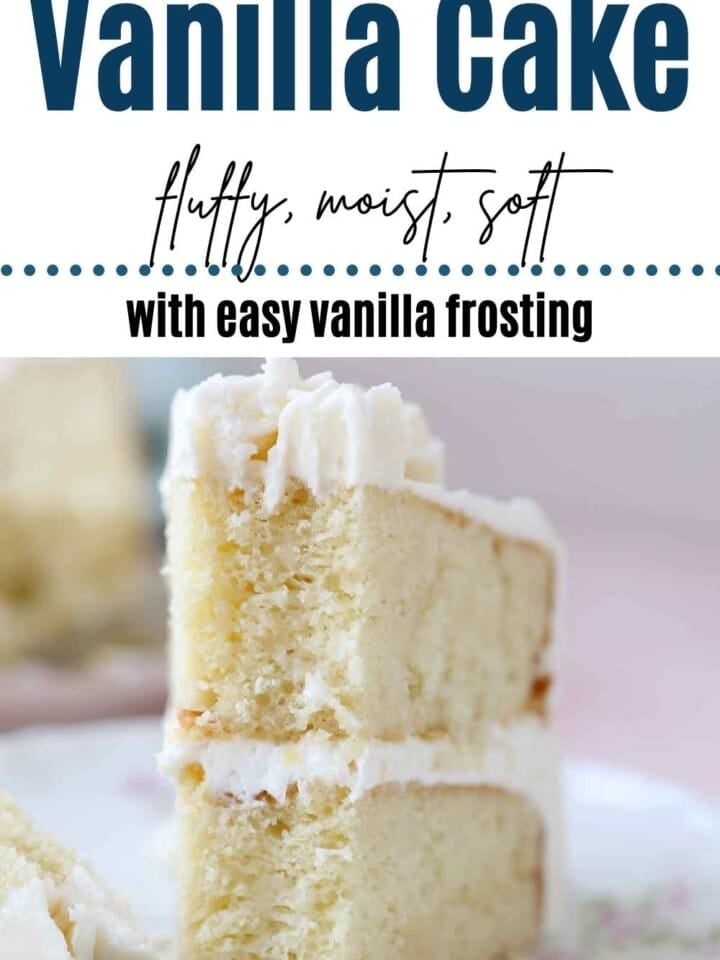
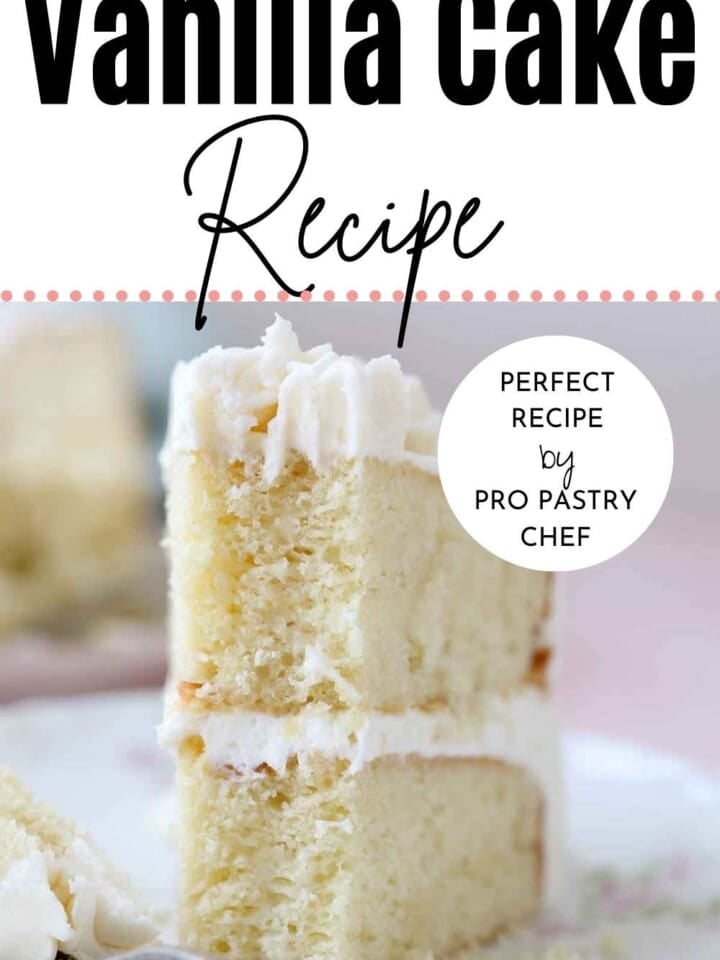
This moist vanilla cake recipe by a pastry chef is made with sour cream for delicate, tender layer cake with silky vanilla frosting! This easy recipe stays moist for days and has a rich, vanilla flavor.
A Quick Look At The Recipe
This is a brief summary of the recipe. Jump to the recipe to get the full details.
Jump to RecipePrep Time
45 minutes
Cook Time
20 minutes
Total Time
2 hours
Servings
12 Servings
Difficulty
Easy
Calories *
827 kcal per serving
Technique
Make cake, cool, make buttercream, layer and frost cake.
Flavor Profile
Moist vanilla cake with an easy silky vanilla buttercream.
* Based on nutrition panel
Delicious!!! Grateful to have found this recipe. I never baked before but decided to make my son’s birthday party cake. Have been practicing this recipe and people are loving it! Thank you and Blessings to you!!!⭐⭐⭐⭐⭐
Gabriella
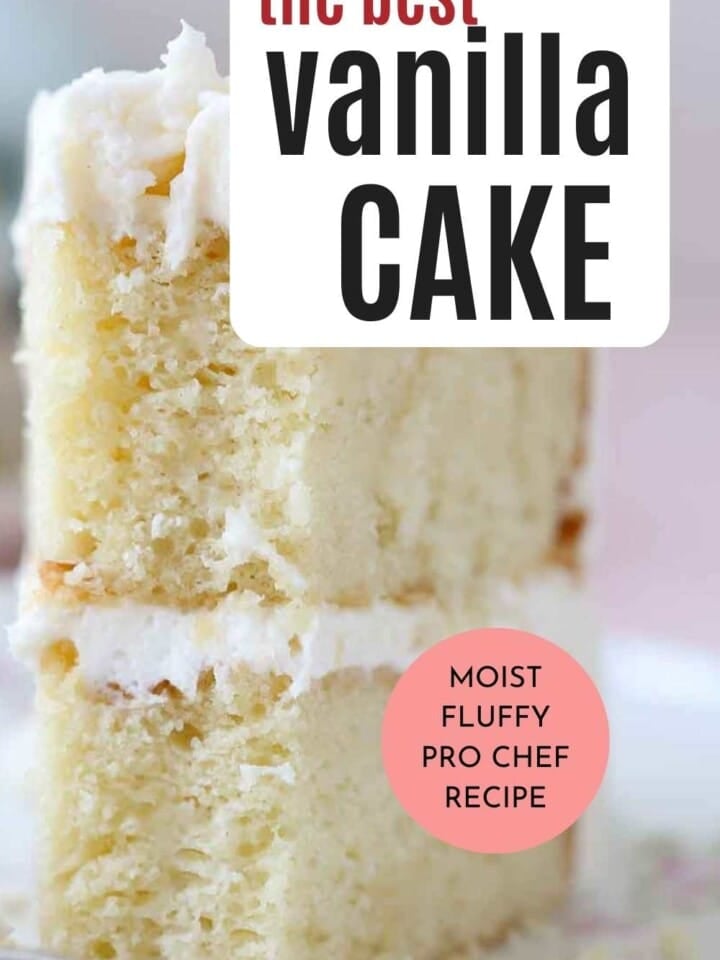
If you know me IRL in my professional capacity, then you know that I never stop trying to perfect recipes. This moist vanilla cake recipe has been “under development” for 10 years. I actually first posted it as a sheet cake for this American flag cake and also as the base for my funfetti cake recipe! It has a light, fluffy texture and a moist crumb.
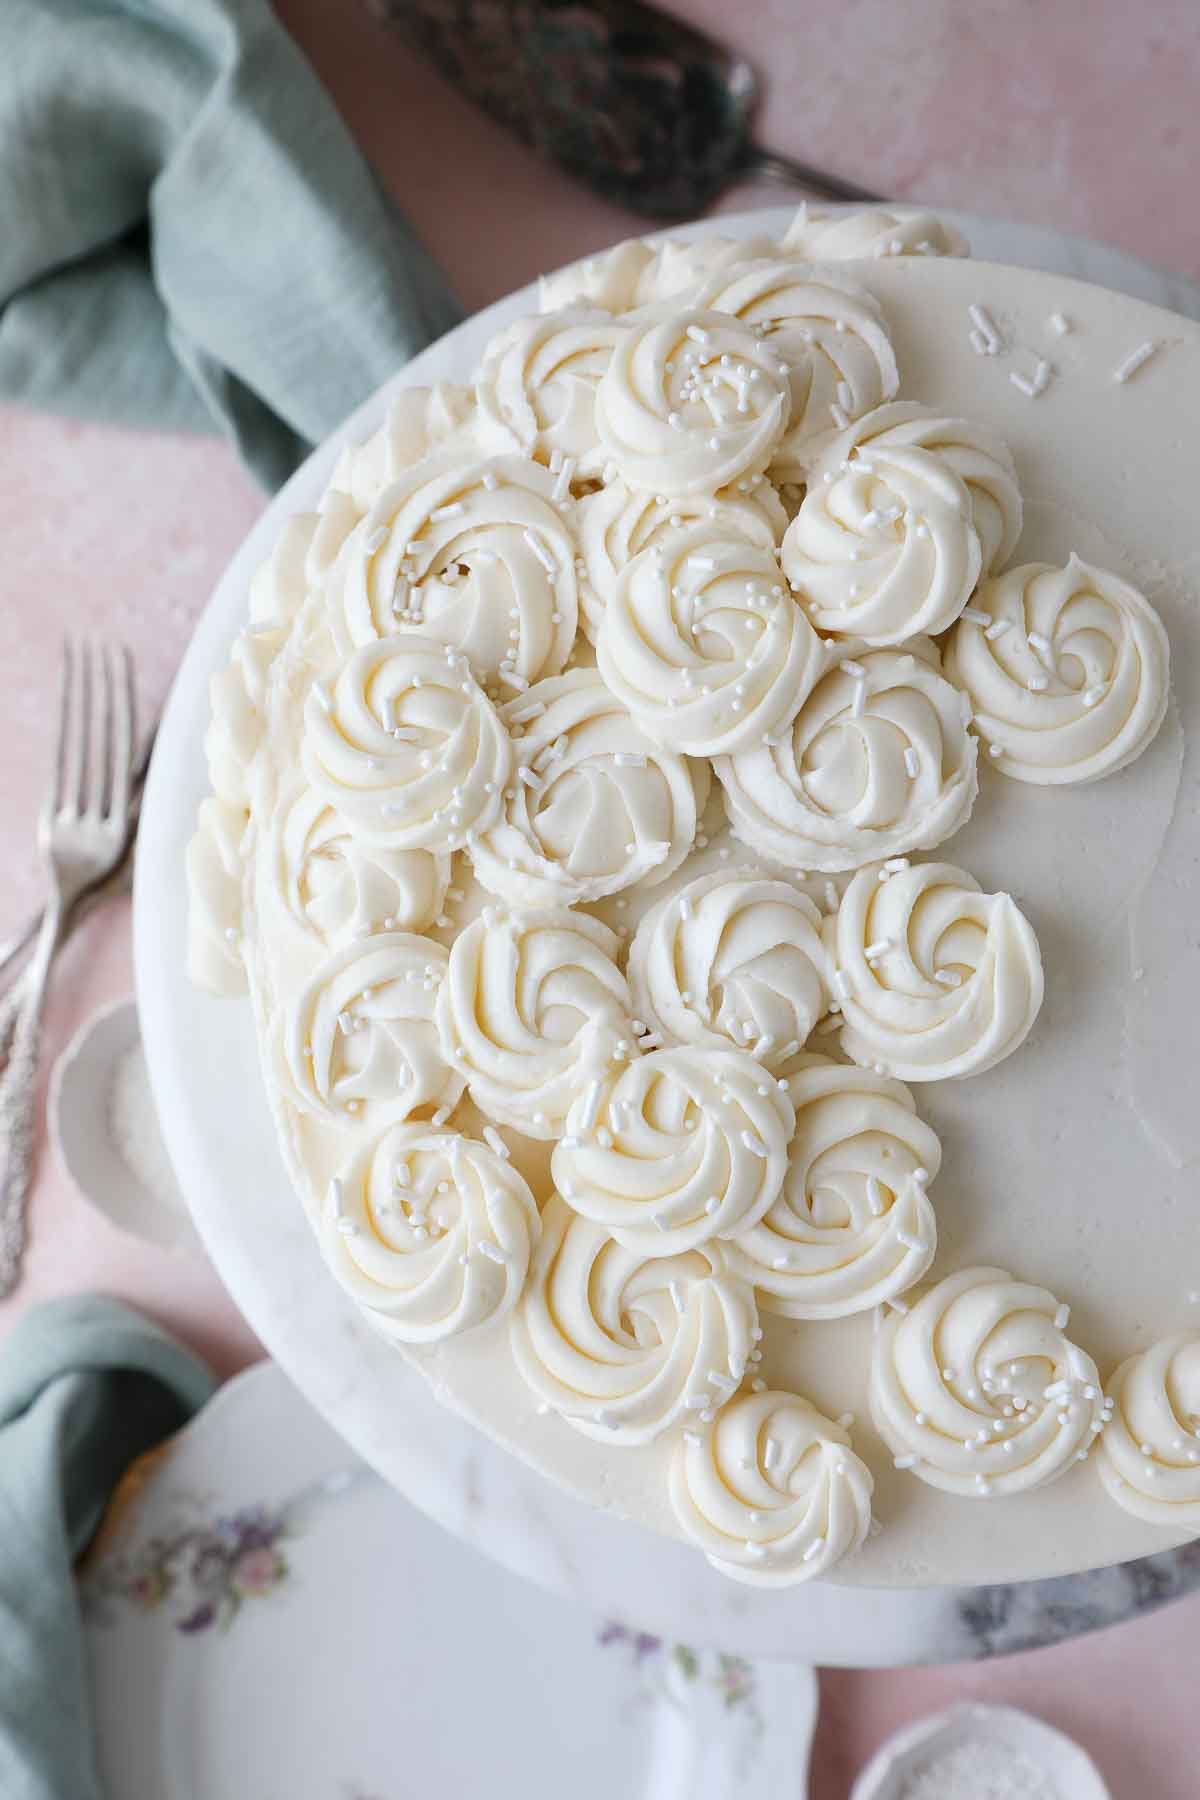
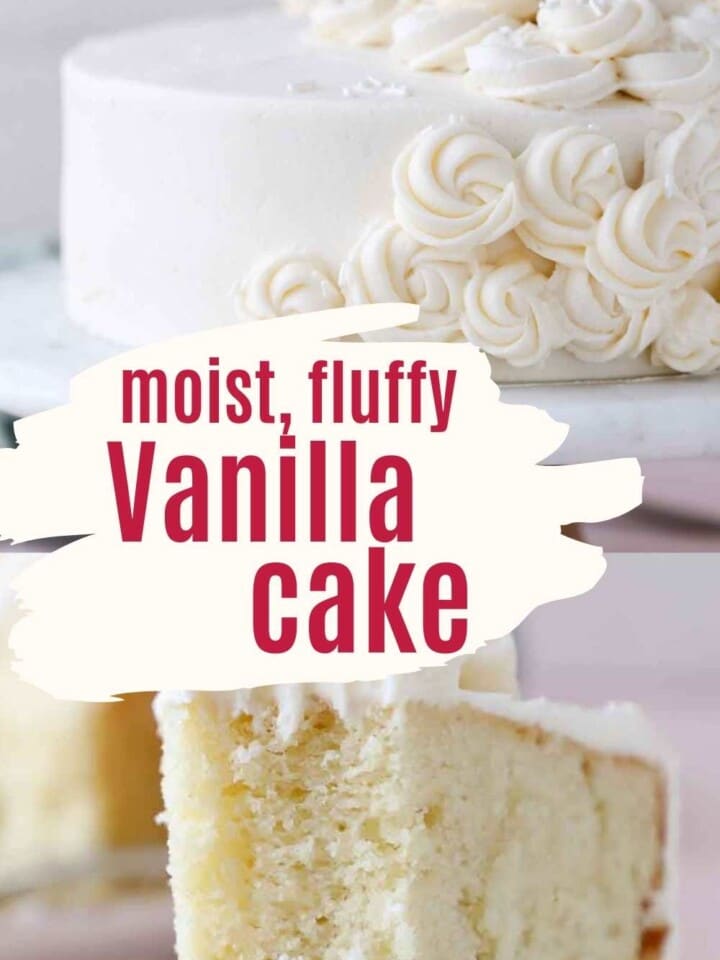
This post gives her the spotlight she deserves! I’ve made a classic vanilla layer cake with my vanilla American buttercream frosting recipe. Delicate swirls and sprinkles just to let you know she’s special! Just as special as some of my other cake recipes like this moist yellow cake, one bowl chocolate cake, and lemon olive oil cake.
Table of Contents
Why This is the Best Vanilla Cake Recipe
- A professional recipe adjusted to a home kitchen. I took my perfect recipe and adjusted it to make it easy for a home cook. It uses easy measurements and pantry staples.
- Moist, flavorful cake with a straightforward mixing method. Whether you bake this recipe in a 9×13 inch pan, 9-inch round cake pans, or as vanilla cupcakes, it will be light, moist and flavorful! I use the creaming method and still produce a light, moist cake.
- A versatile cake recipe. Not only can you bake it in a variety of pans but you can use any buttercream recipe to change up the flavor! Try this rich chocolate buttercream frosting recipe, Italian meringue buttercream or a caramel Swiss meringue buttercream! Layer in some berry jam, easy strawberry jam or salted caramel sauce!
Professional Tips for Making Perfect Vanilla Cake
- Room temperature ingredients make the best cake. Let’s repeat it again for the kids in the back who were scrolling Insta…use room temperature ingredients! They make an emulsified batter that will bake up to a moist, tender cake.
- Use cool yet pliable butter for the best texture. A typical room will be around 68 degrees Fahrenheit, which is perfect for butter, but if your butter gets too soft or your kitchen is warm, then you’ll want to decrease the creaming time for the butter and sugar. It is easy to over cream soft butter. This will make a drier cake!
- Use a simple syrup soak for extra moisture. Bring ½ cup sugar and ½ cup water to a boil then cool to room temperature. Brush this on the top of each cake layer before assembling to add extra moisture. You can also add lemon juice, orange juice or your favorite alcohol to change up the flavor!
Ingredients & Substitutions
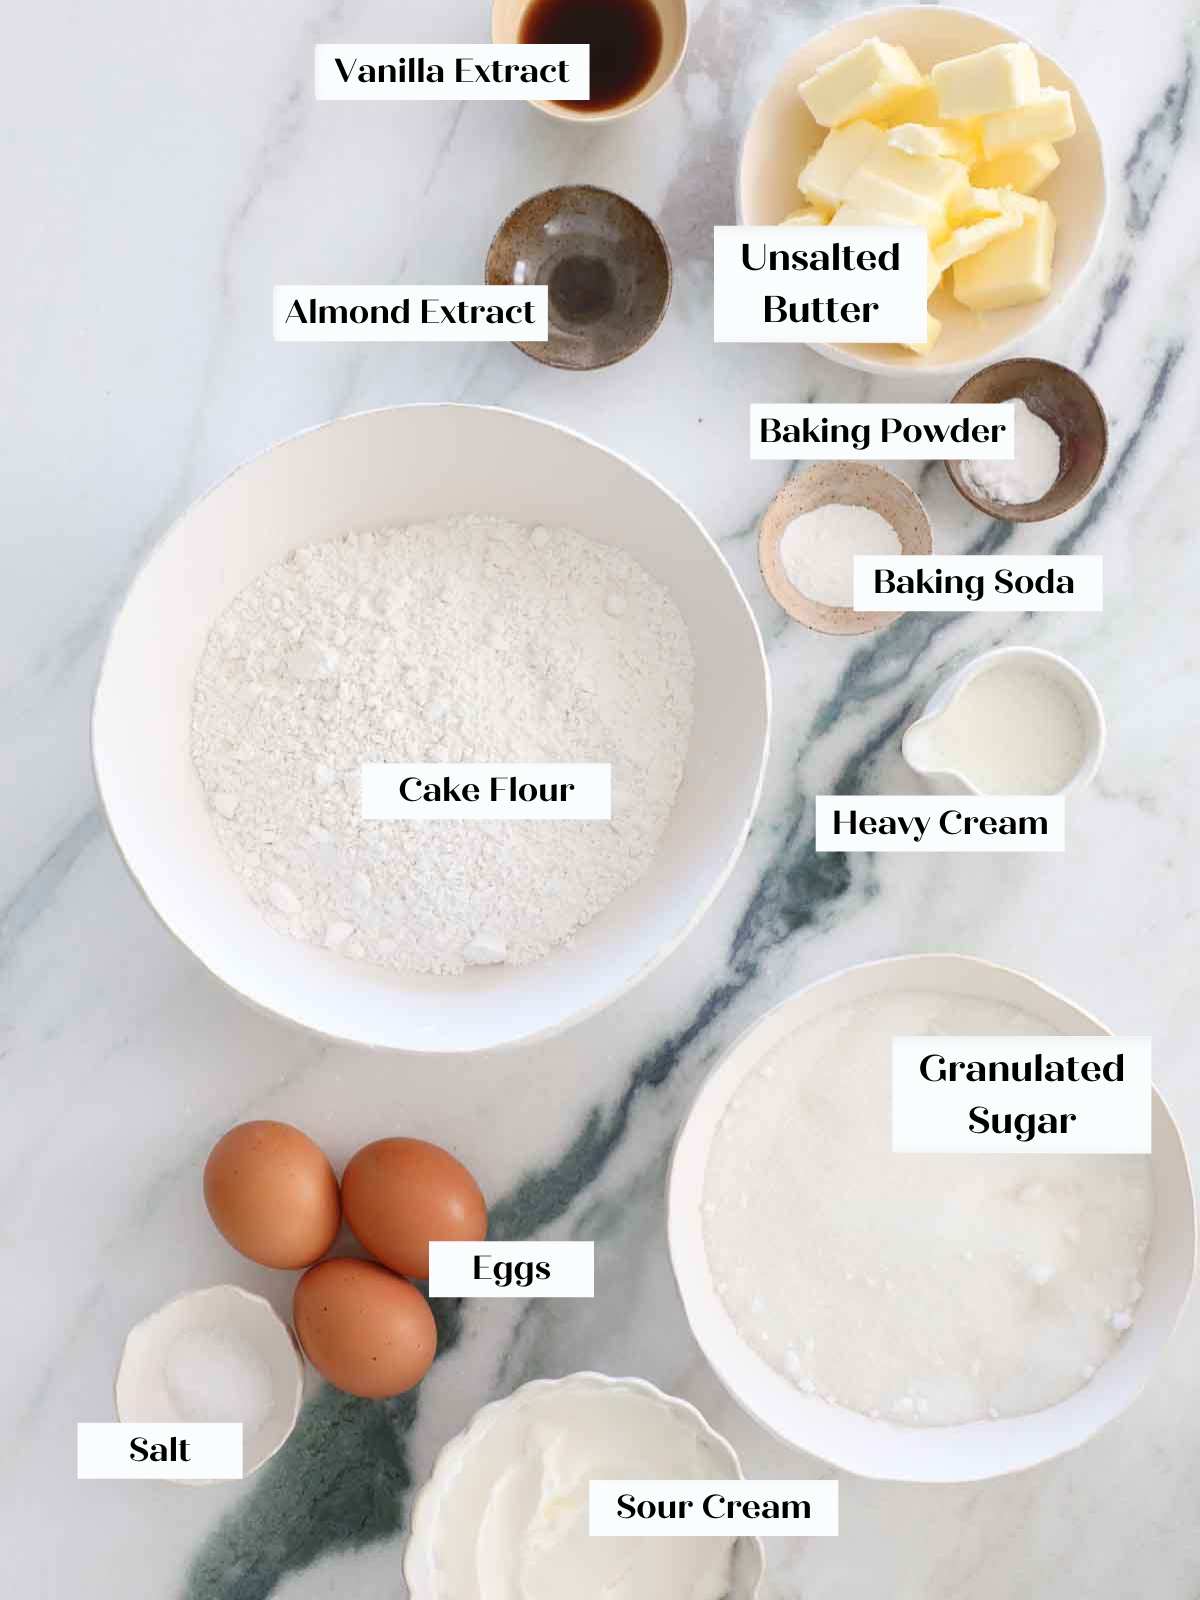
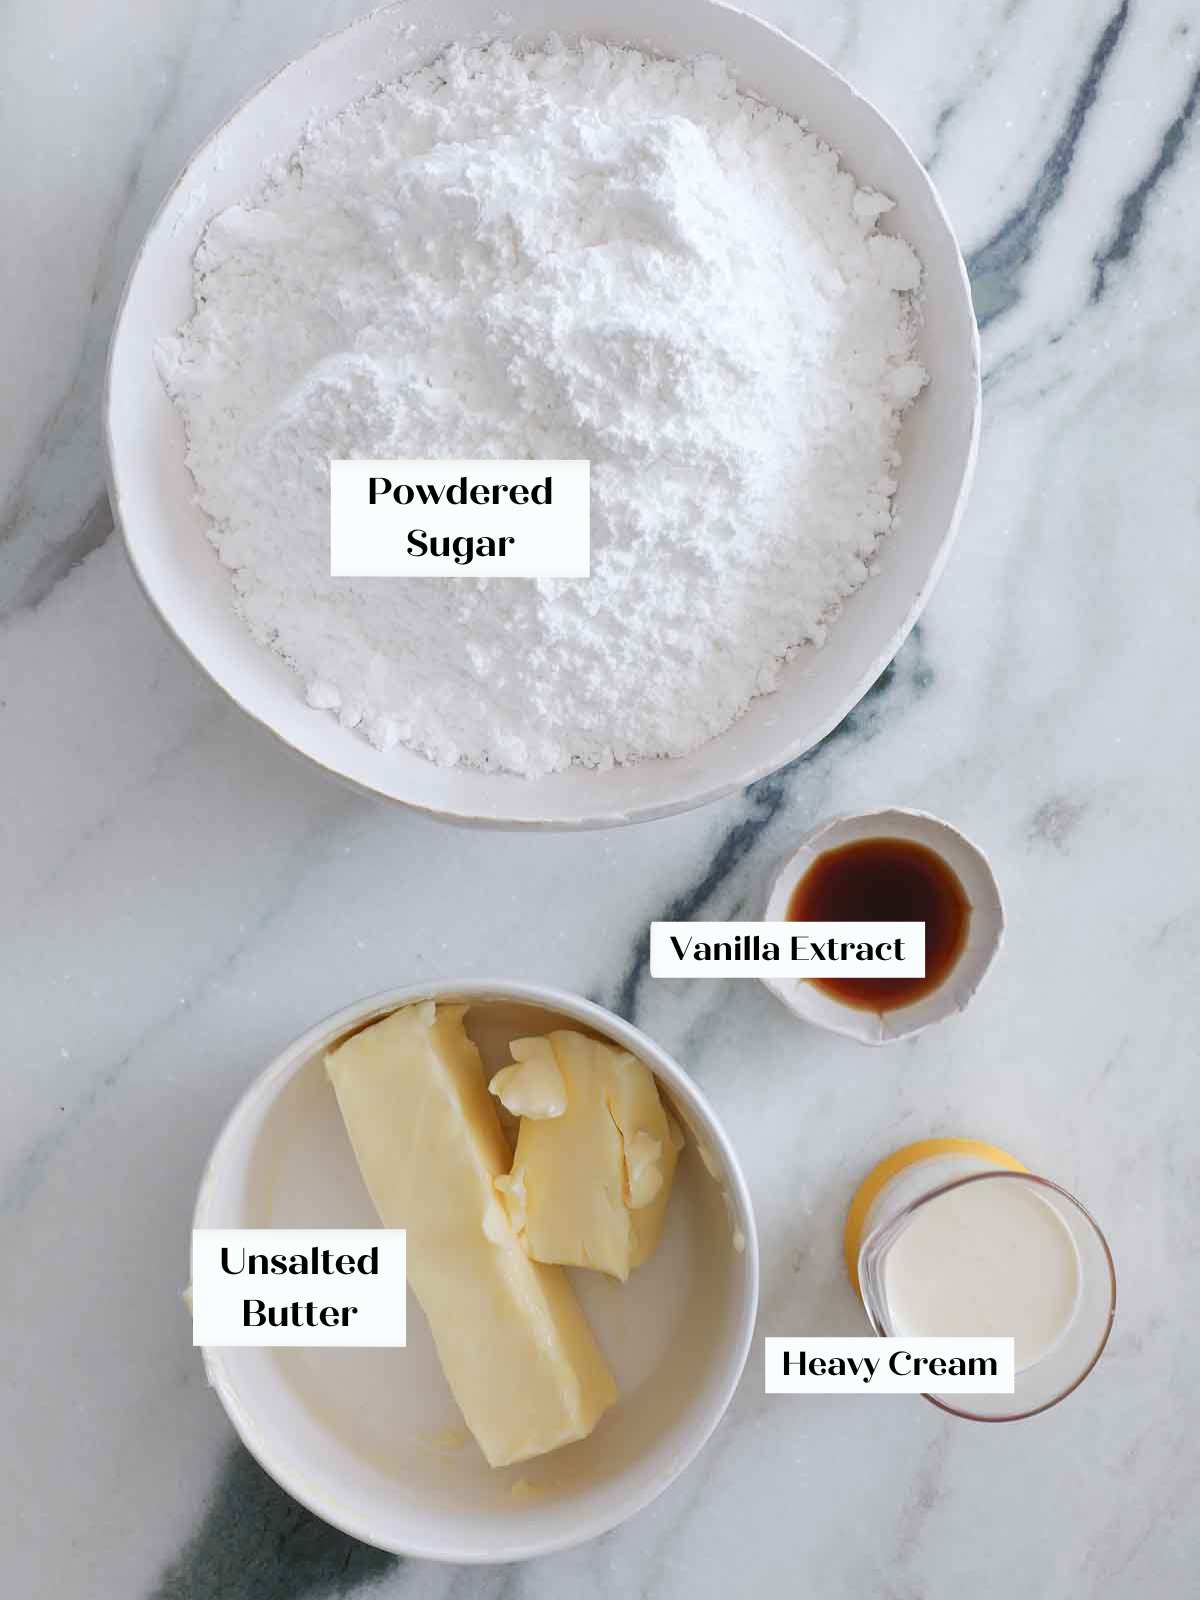
- Unsalted Butter: Cool but pliable butter will incorporate well in the batter and allow you the time to add volume to the cake by trapping air between the molecules of sugar.
- Granulated Sugar
- Large Eggs: I use whole eggs for this recipe because they add moisture and fat as well as aid in the leavening. Since it is a butter based cake, I don’t need to lighten it with whipped egg whites like I do in my white cake recipe.
- Vanilla Extract: This is the main flavor so choose a vanilla extract that you enjoy. I love Nielson Massey’s vanilla extract.
- Almond Extract: A hint of almond extract takes this great from “great” to “WOW!” You can omit if you do not like it.
- Sour Cream: I use full fat sour cream for the softest, moistest cake! You can also use Greek yogurt. If you don’t have sour cream, I recommend you follow the recipe for my vanilla cupcakes, which are incredibly moist but only use whole milk!
- Whole Milk: The fat in whole milk adds flavor and contributes to the moist, tender texture.
- Cake Flour: Cake flour is essential in this vanilla cake recipe. You can use all-purpose flour but the texture will be less tender and fluffy.
- Baking Powder & Baking Soda: I use a combination of baking powder and baking soda to get the initial intense volume from the soda in combination with the even, slow rise of the double acting baking powder.
- Kosher Salt: Do be sure you use kosher salt or reduce the salt in the recipe by half. Kosher salt has larger granules and is less salty than sea salt or table salt by the teaspoon.
See the recipe card for full information on ingredients and quantities.
Flavor Variation Ideas
There are infinite possibilities for changing up this vanilla cake recipe! Mix and match between flavor additions to the cake, fillings and frostings!
- Change the flavor of the cake: You can use a different extract like lemon or orange extract, add lemon zest to the sugar for a subtle lemon flavor, or add sprinkles like I did with this Funfetti cake!
- Use a flavored simple syrup: Add lemon juice, orange juice or hard liquor like Bourbon, Chambord, Frangelico, or Grand Marnier to simple syrup for an easy flavor change!
- Add a filling between the layers: Use a thin layer of jam like easy strawberry jam, mixed berry jam or raspberry jam before adding the buttercream between the layers. To use more filling or a looser filling like lemon curd, pipe a ring of buttercream around the edge of the cake before adding the filling. This “dam” keeps the weight of the cake from pressing the filling out. Try using ganache, salted caramel sauce, or even marshmallow fluff!
- Change the frosting flavor: Radically change the flavor of the cake by choosing a different frosting like cream cheese buttercream, lemon buttercream, ermine frosting or rich chocolate buttercream frosting. When I make this cake, which is often because it is my husband’s favorite, I make Italian meringue buttercream or Swiss meringue buttercream flavored with vanilla extract and vanilla beans. You can also flavor them with lemon curd, caramel sauce, melted chocolate or easy strawberry sauce.
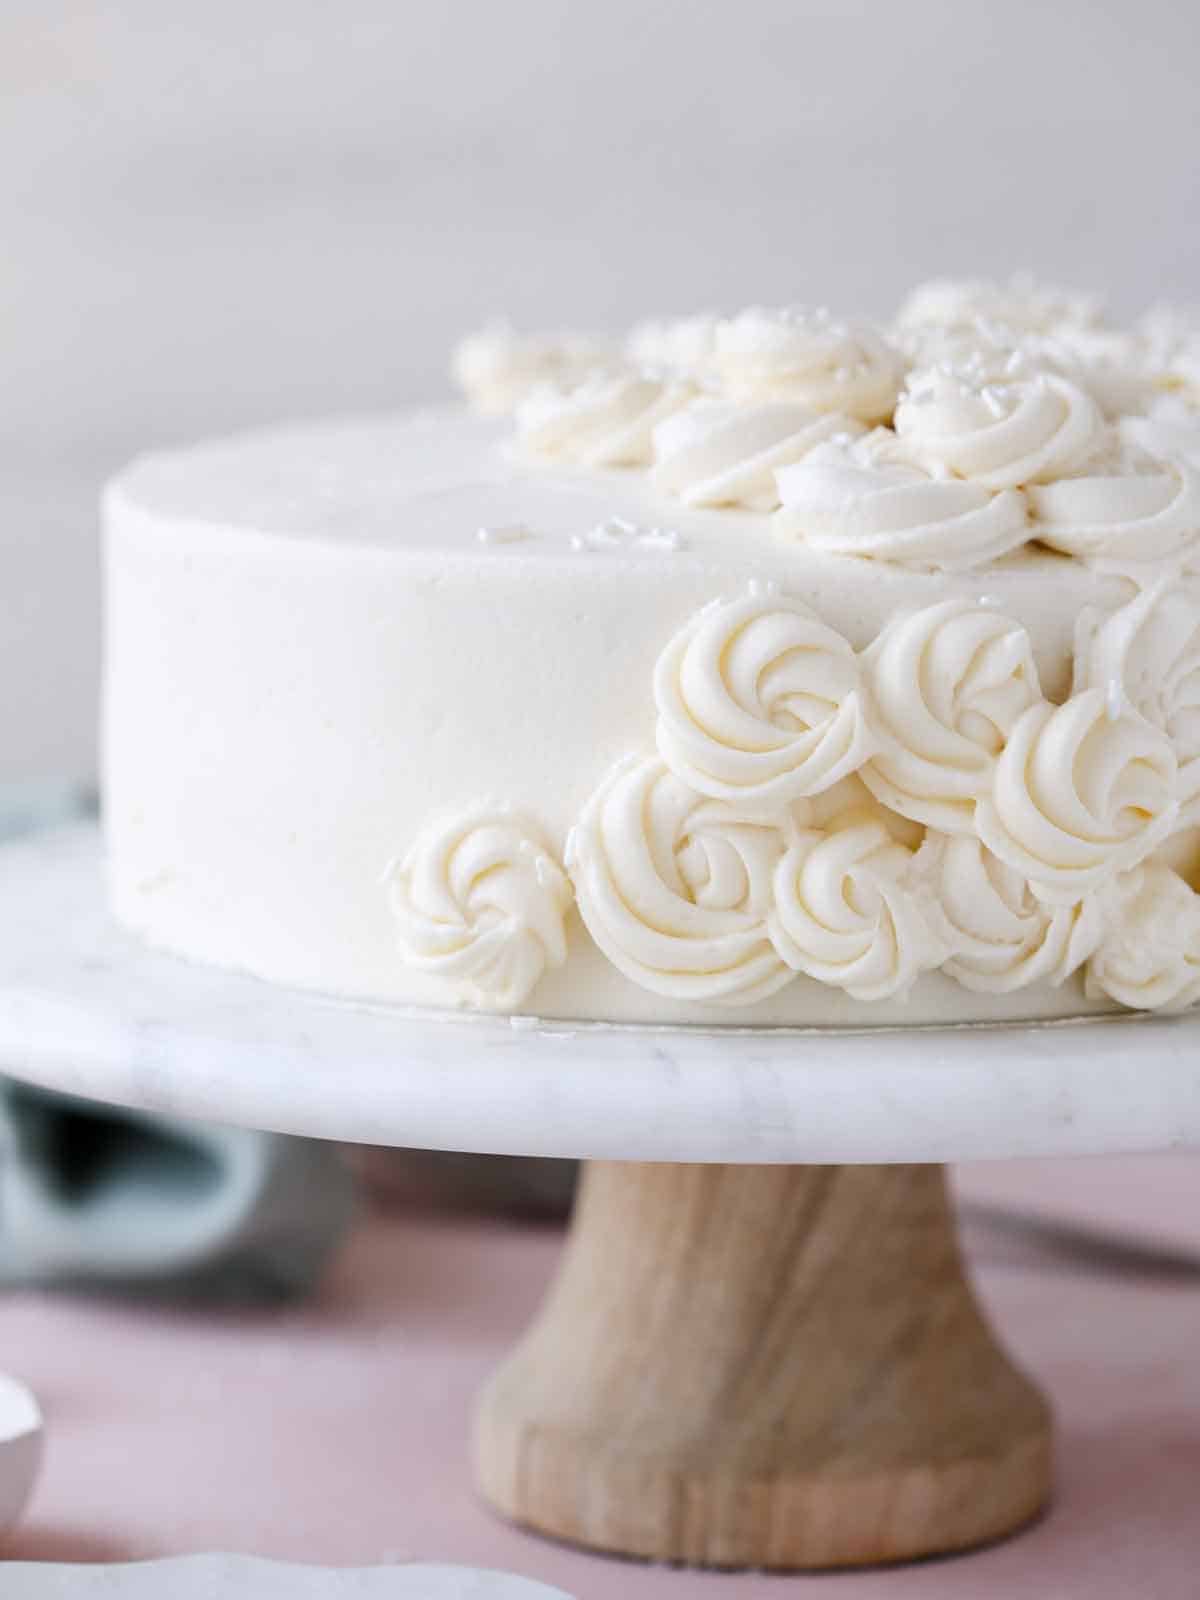
How to Make Moist Vanilla Cake with Vanilla Buttercream Frosting
Use these instructions to make the perfect vanilla cake every time! Further details and measurements can be found in the recipe card below.
Make the cake:
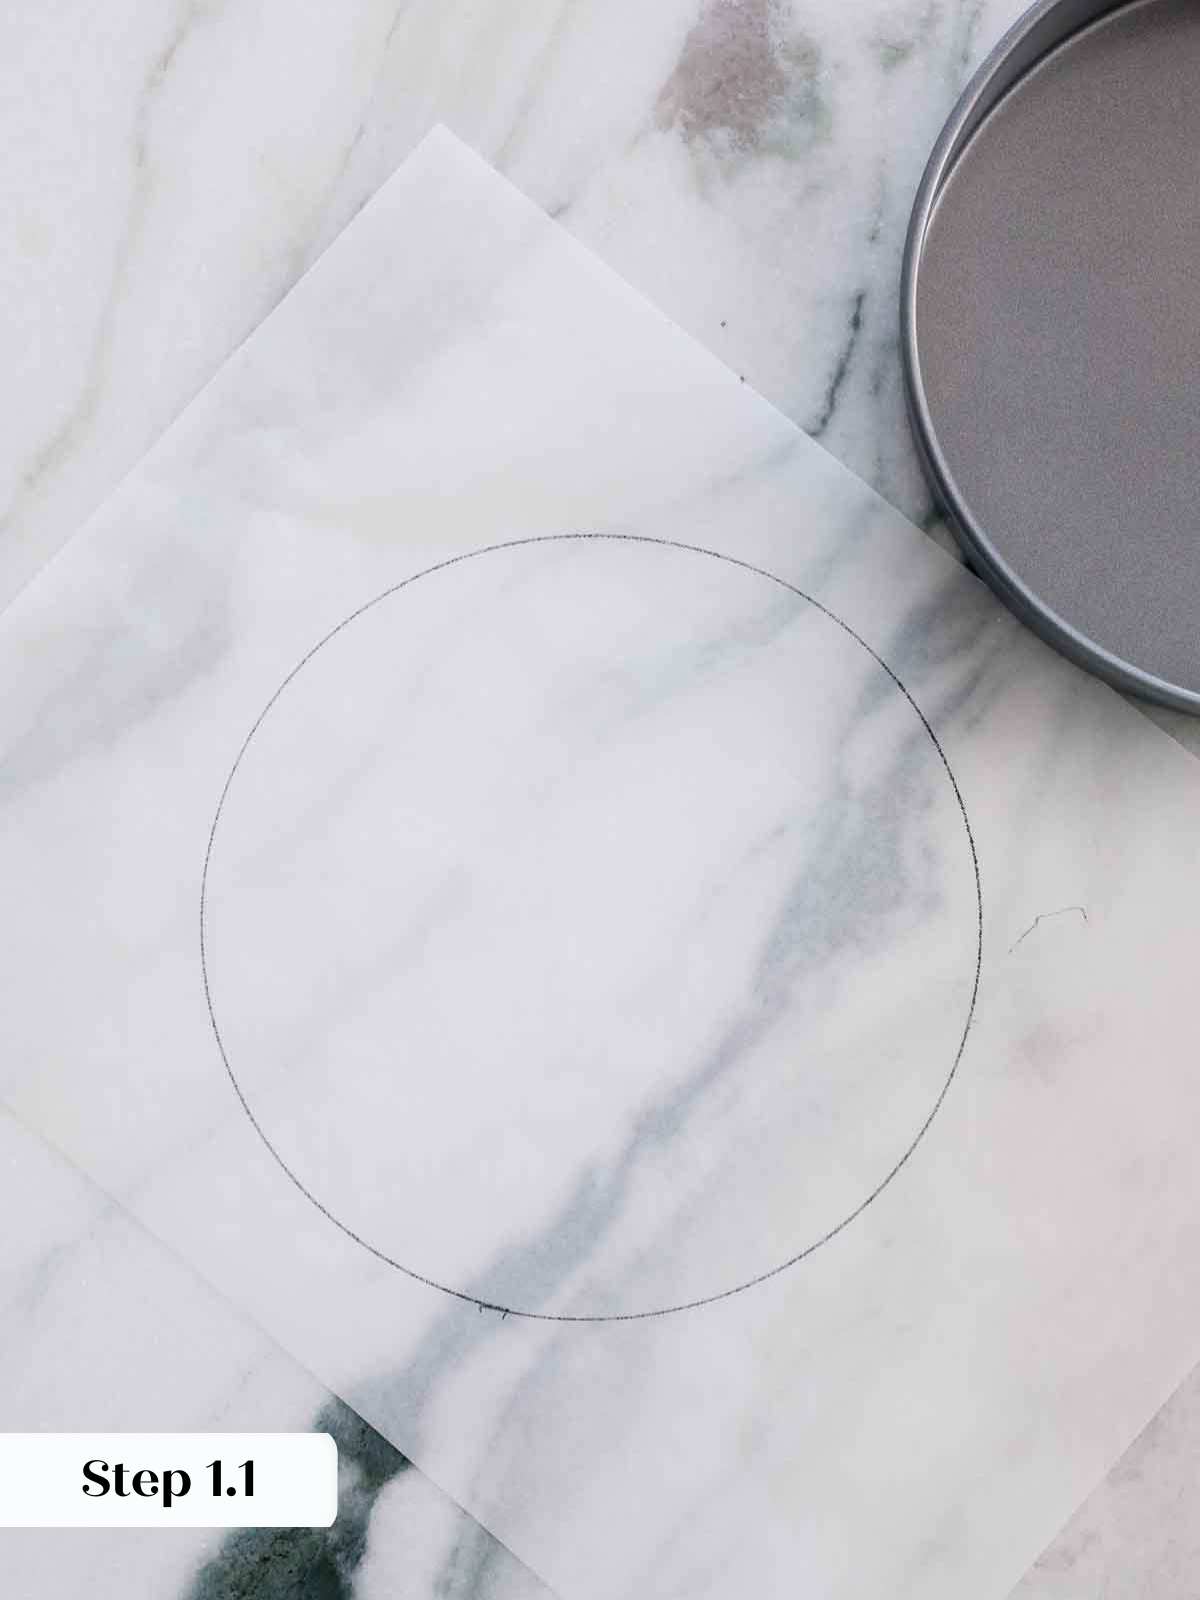
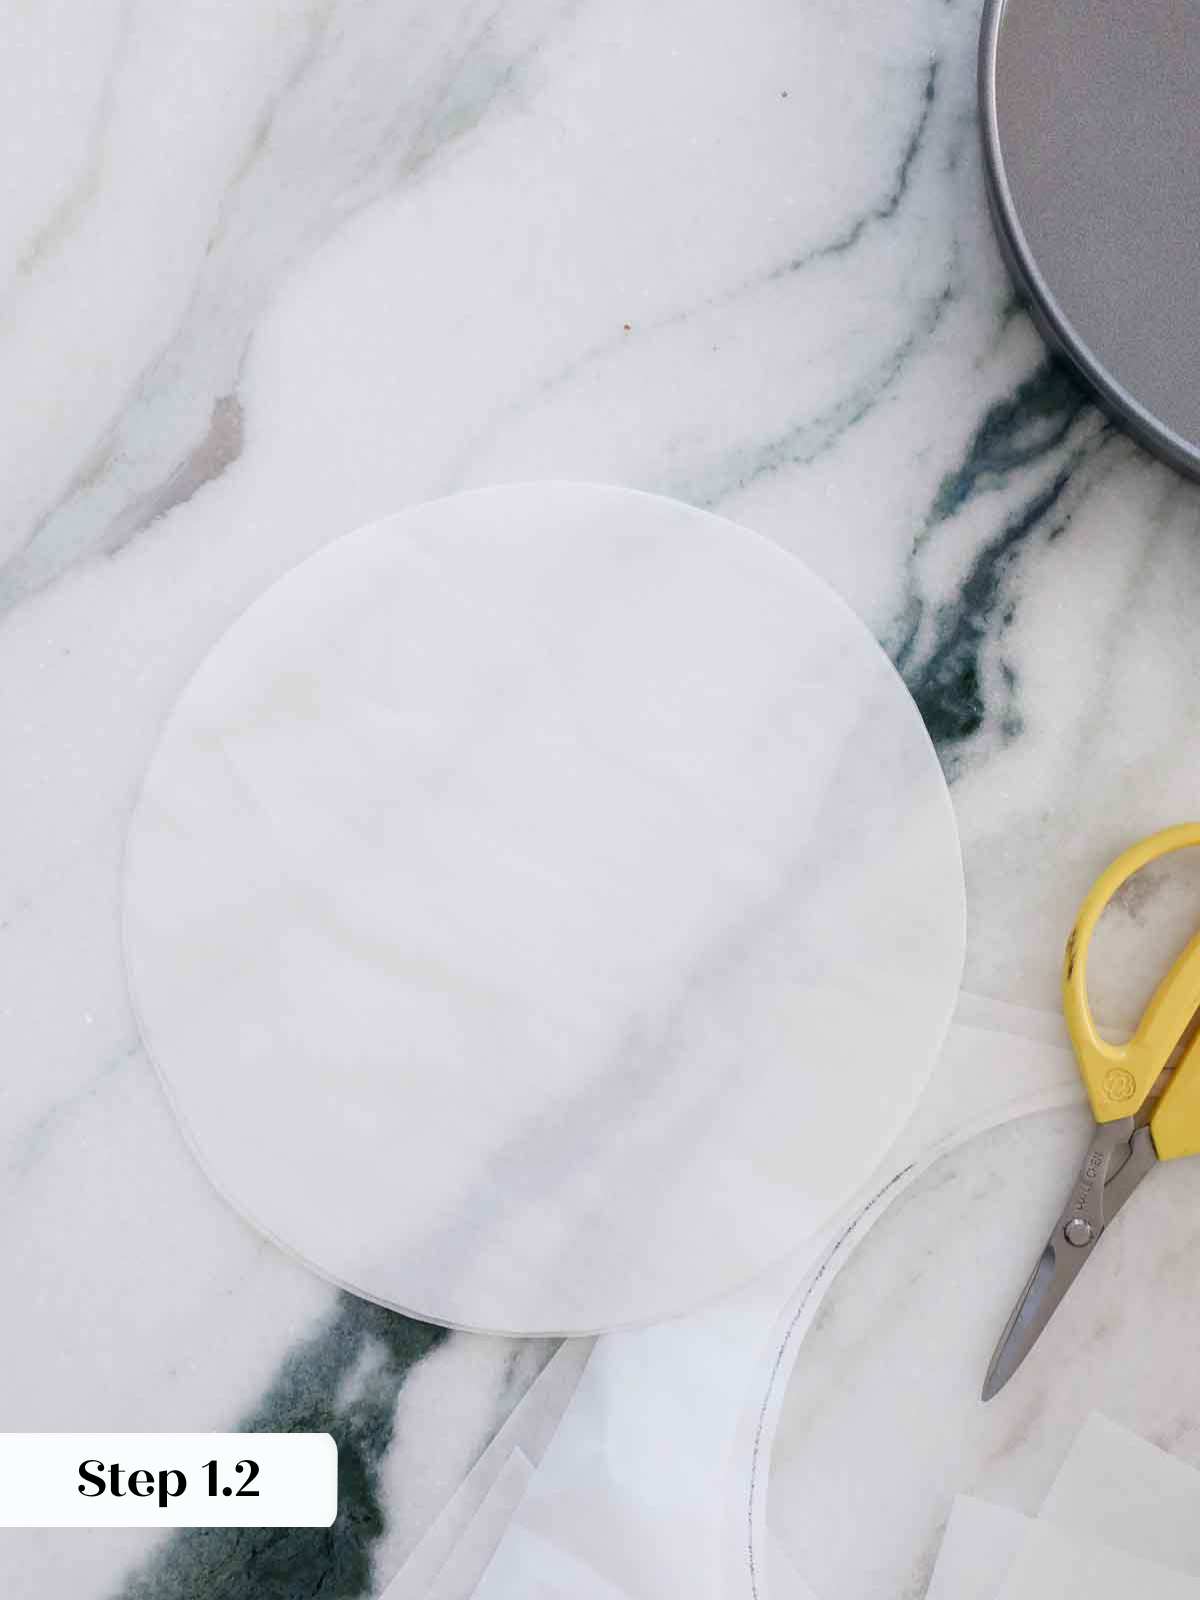
Step 1: Preheat oven to 350°F (either convection or regular). Spray with non-stick cooking spray and line a round 9-inch cake pan with a parchment paper circle. I trace an outline of my cake pan on the parchment paper and then cut out a circle inside my sharpie marks.
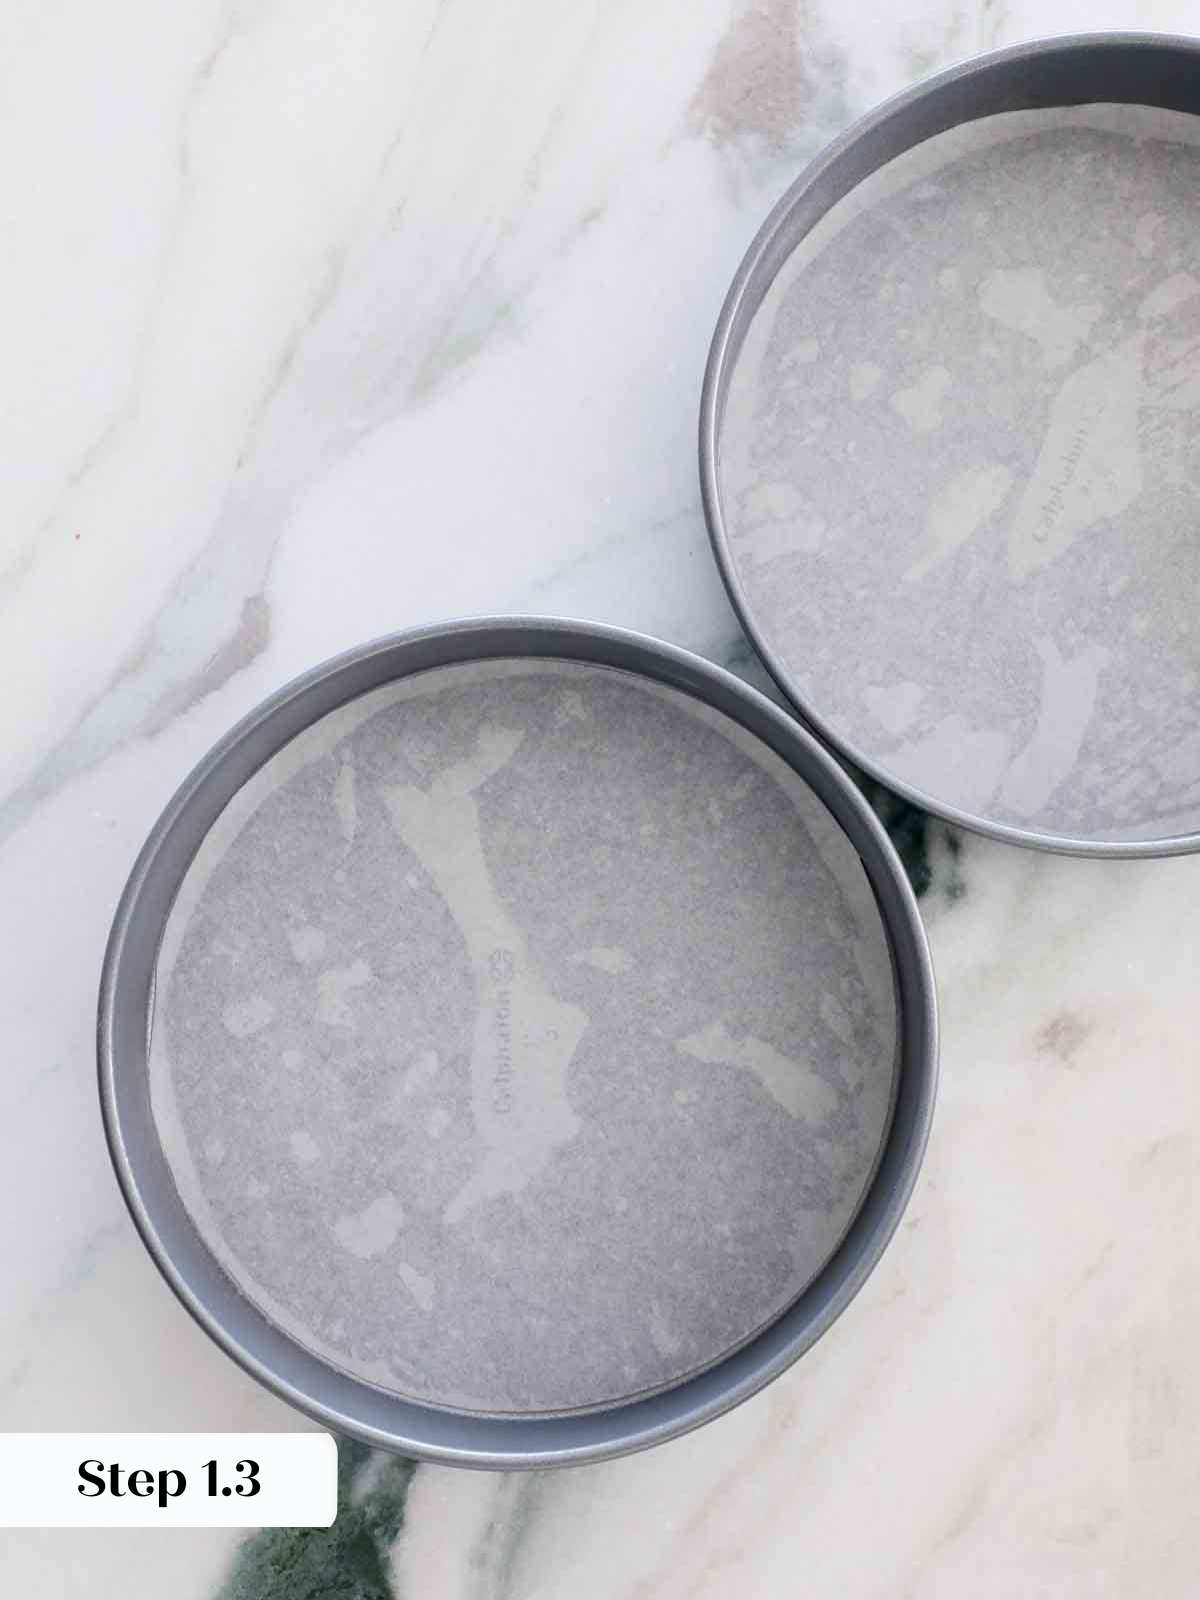
All ingredients should be at room temperature.
Step 2: Sift the cake flour, baking powder, baking soda, and salt. In another bowl whisk together the sour cream and milk. Set aside.
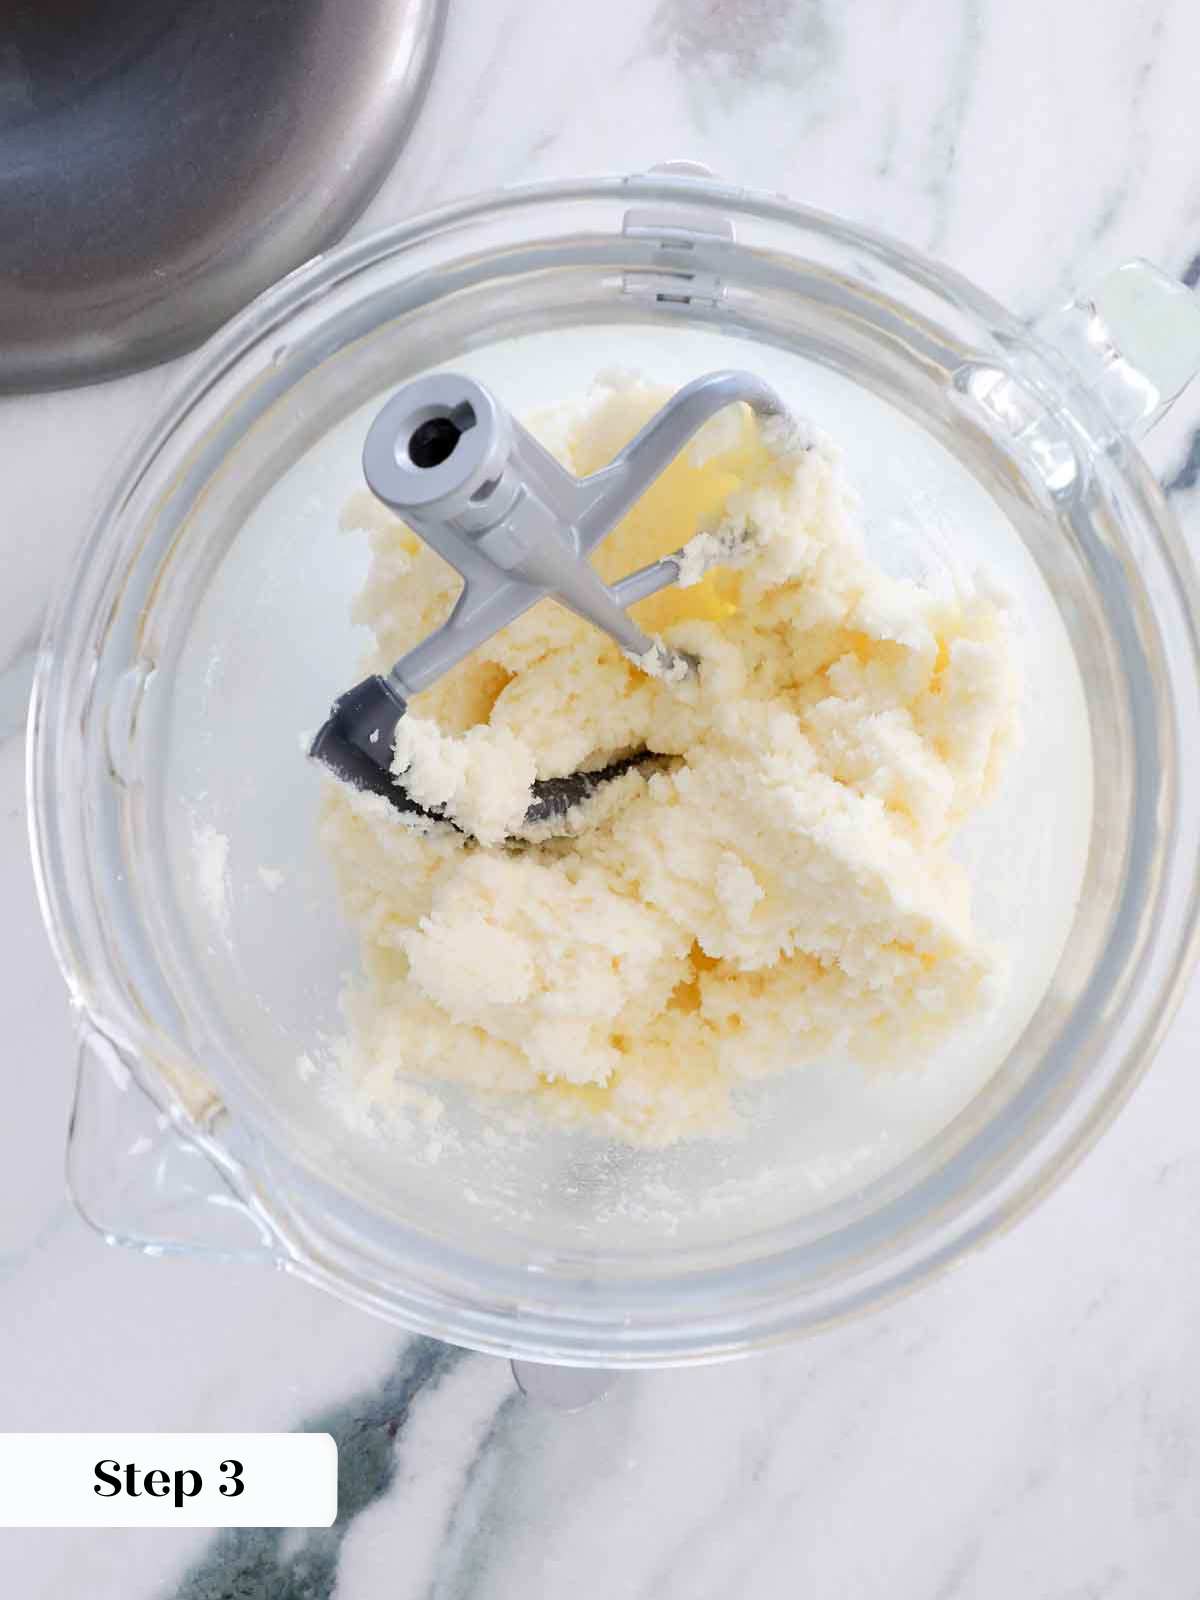
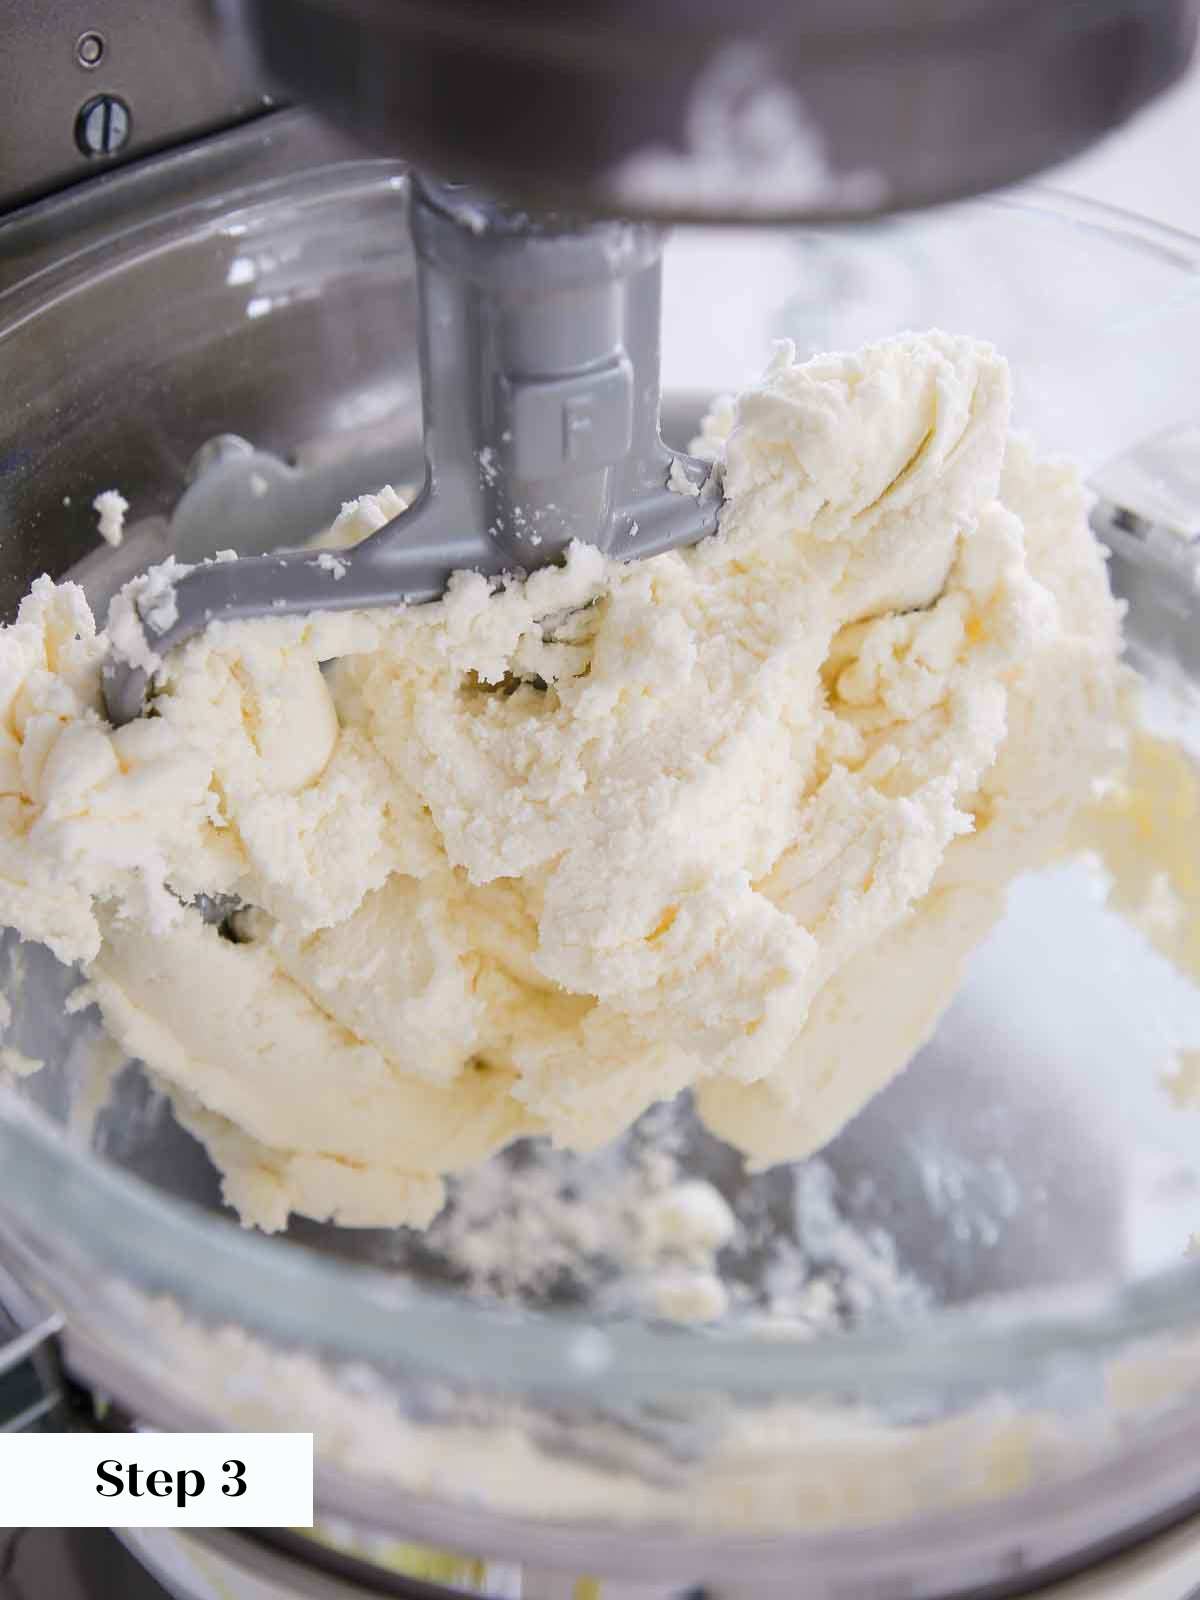
Step 3: In the bowl of a stand mixer fitted with the paddle attachment (or with a hand mixer) cream butter and sugar until light and fluffy.
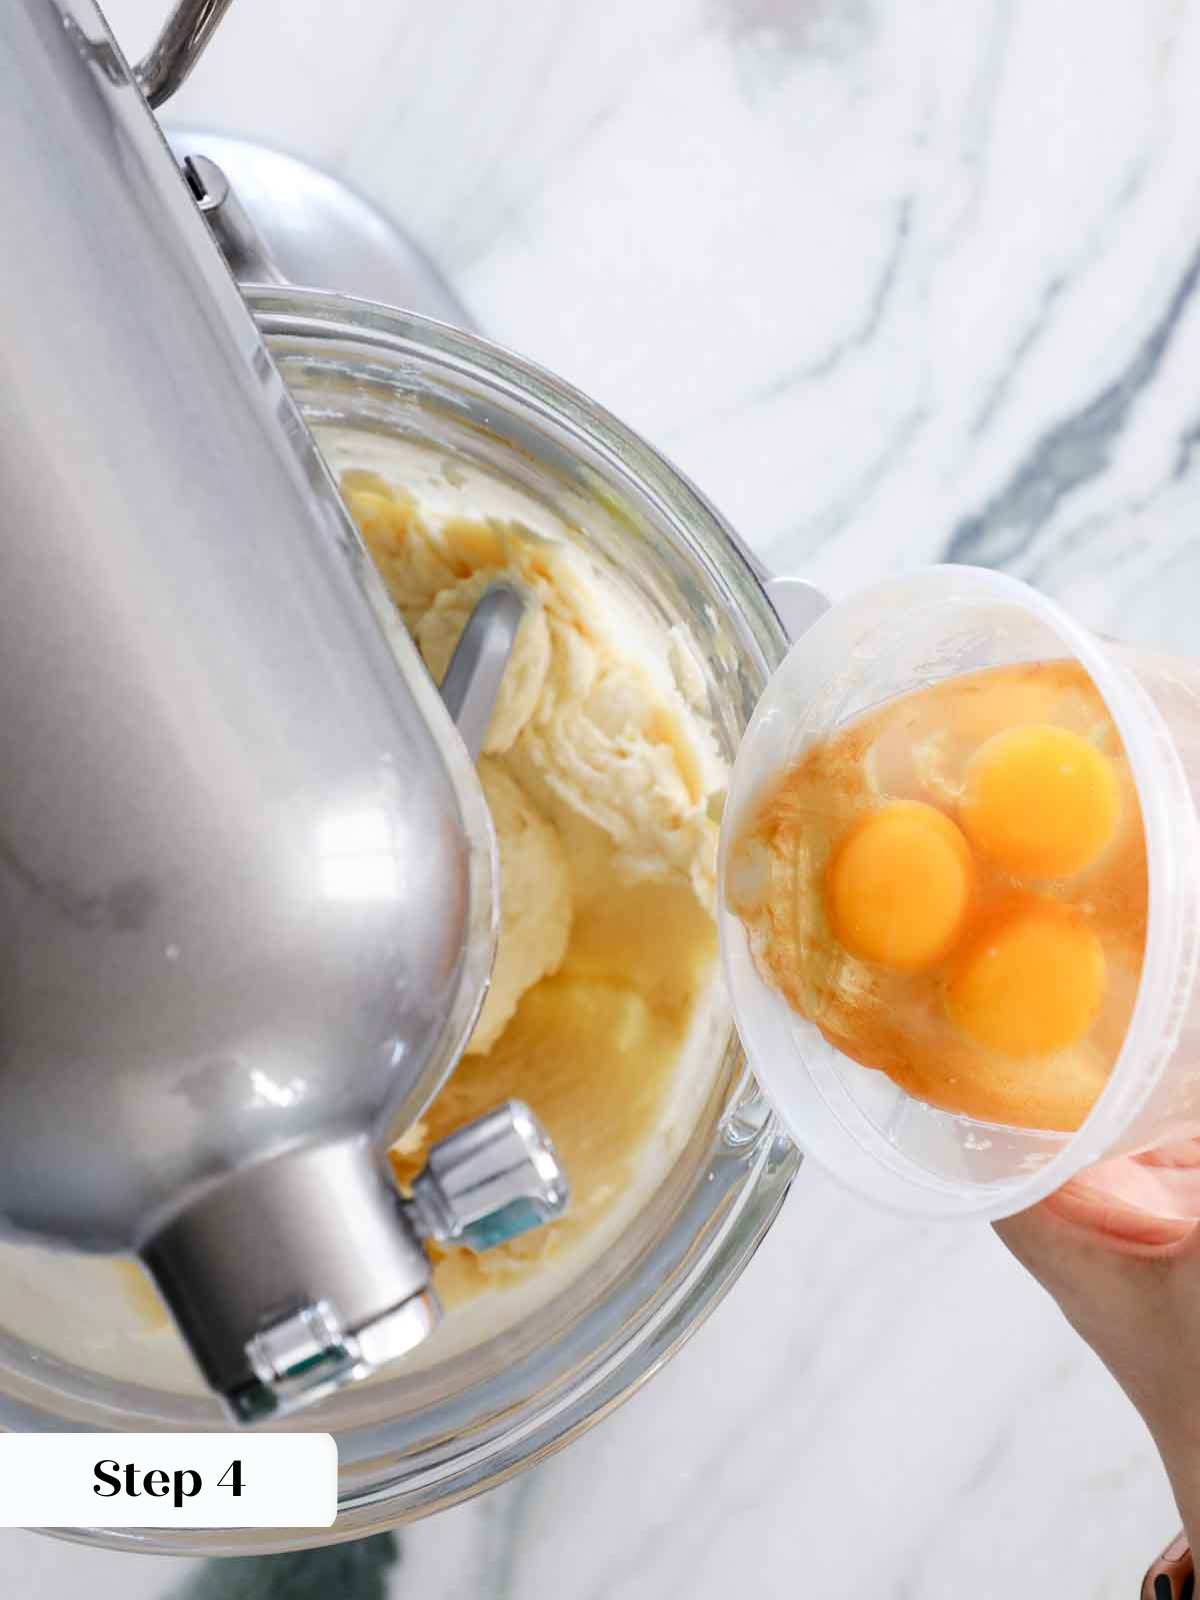
Step 4: Add the eggs one at a time, beating well after each addition. Add the extracts with the last egg.
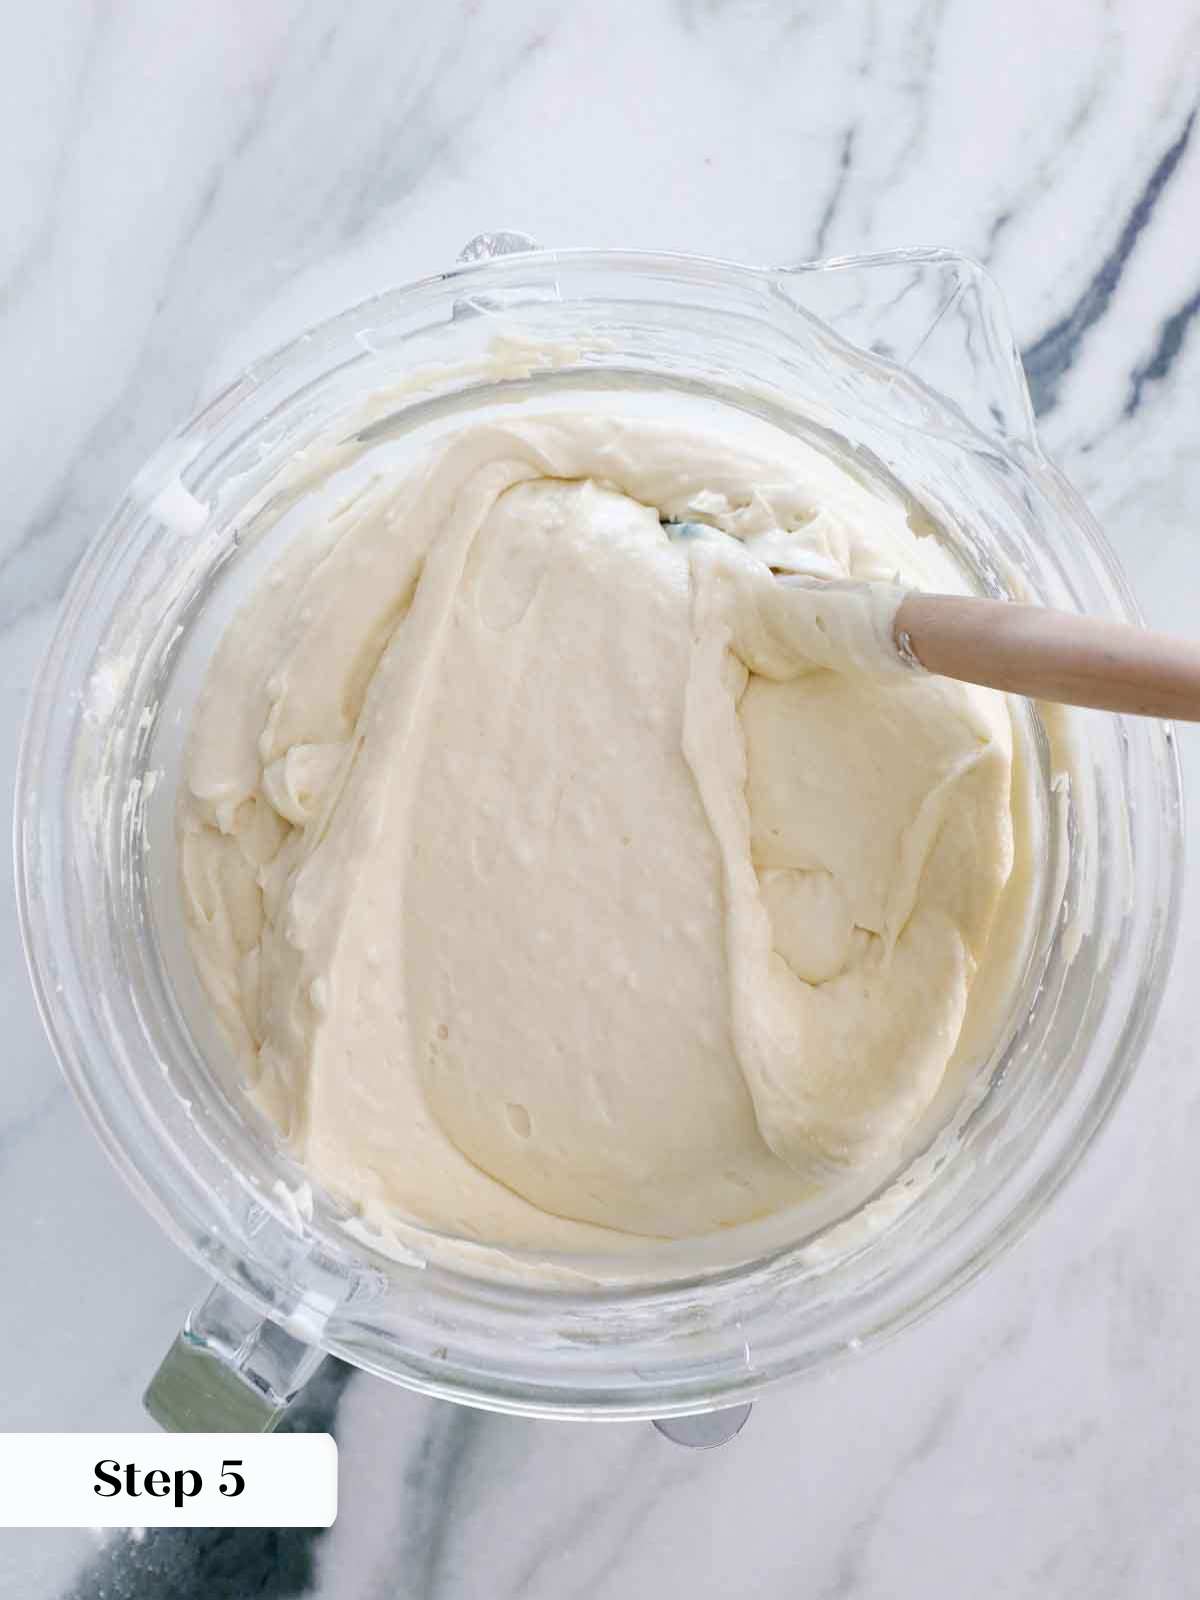
Step 5: Alternately add milk and dry ingredients, beginning and ending with dry. I often finish folding by hand.
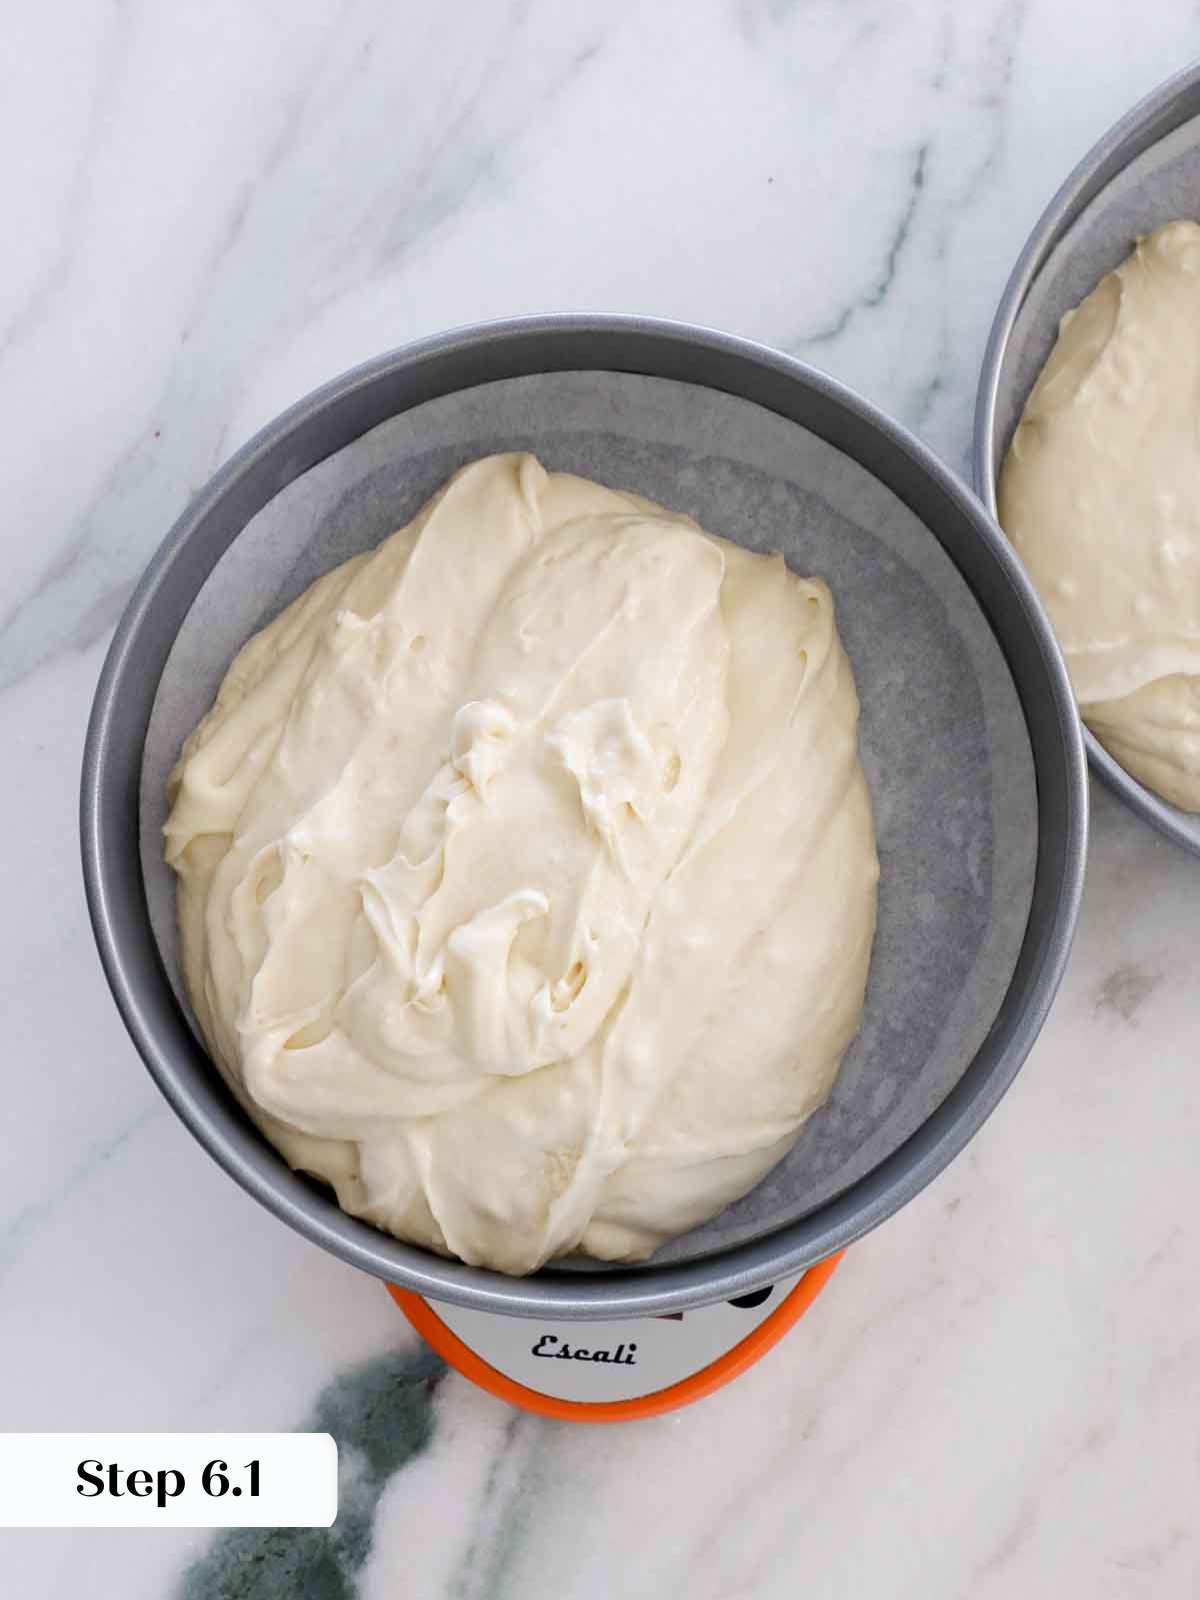
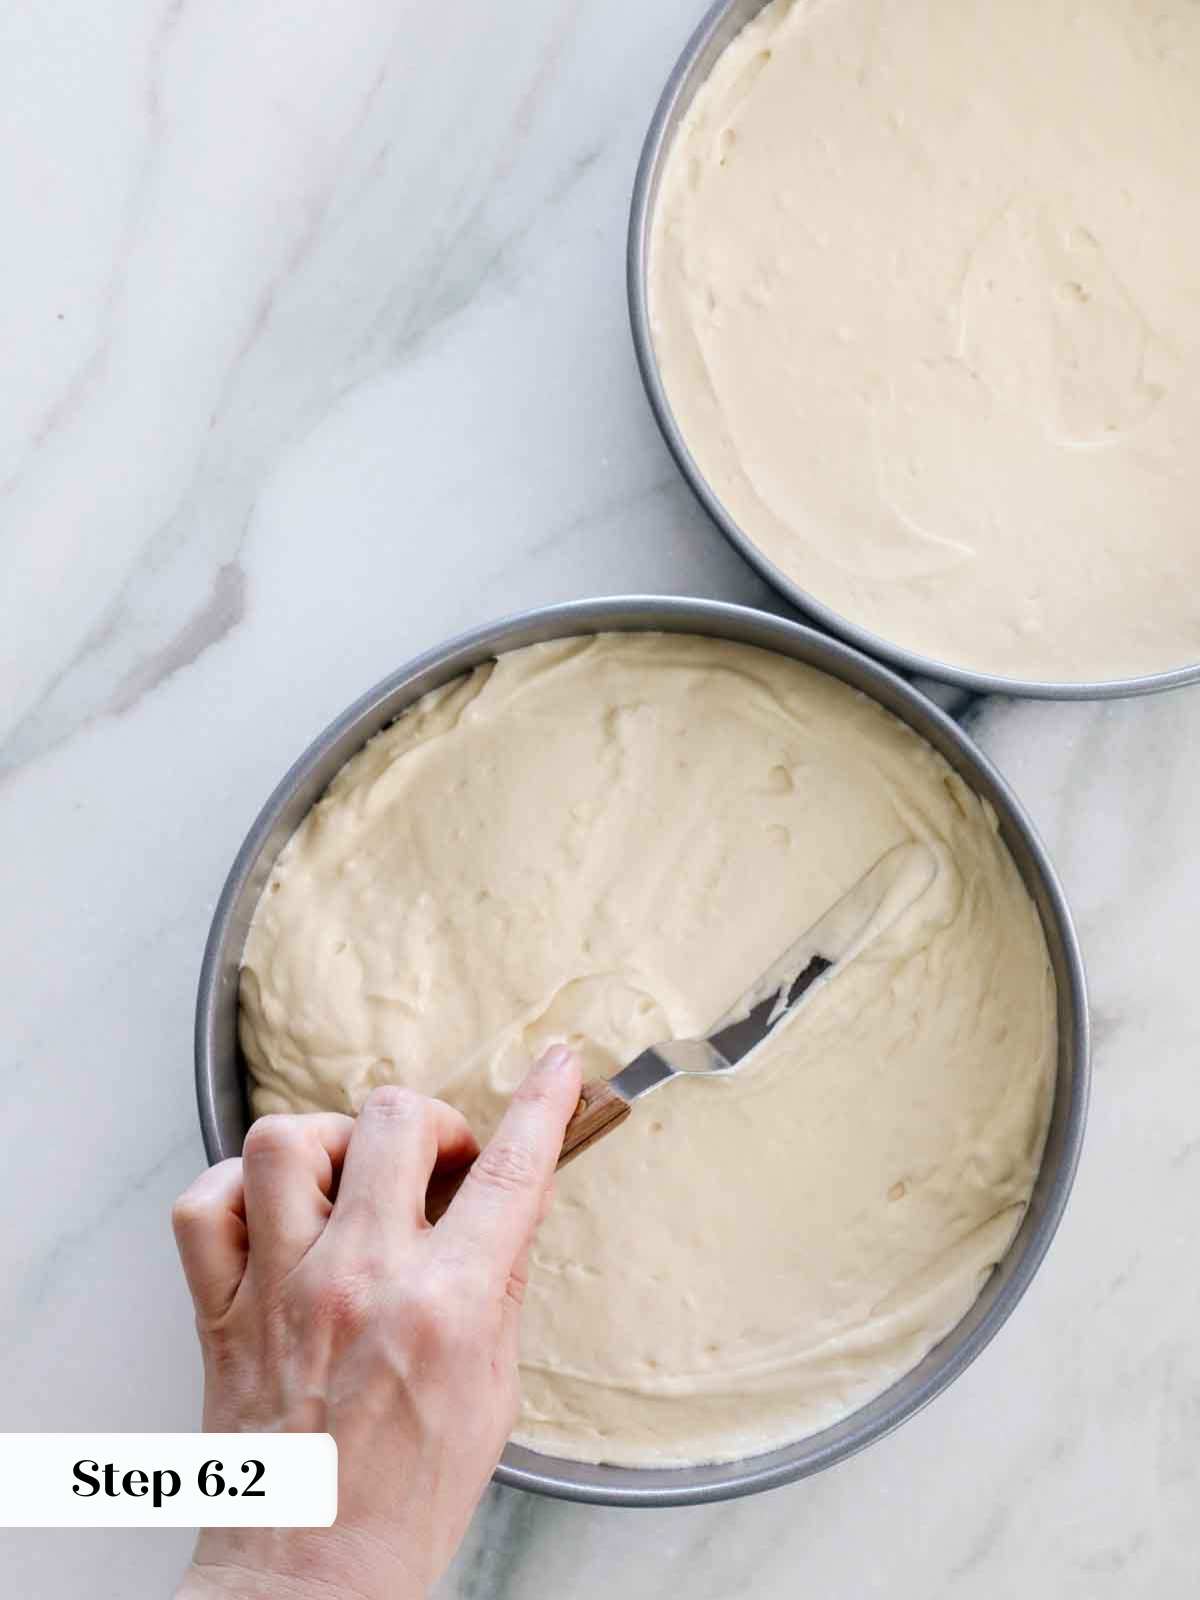
Step 6: Pour batter into prepared pans. You can use a kitchen scale to put exactly the same amount in both pans. For 2 cakes, it will be 670g each. Spread out with an offset spatula.
Step 7: Bake immediately in preheated oven until a cake tester or toothpick comes out with a few clinging crumbs, approximately 20-25 minutes. Be careful not to over bake or it will dry out.
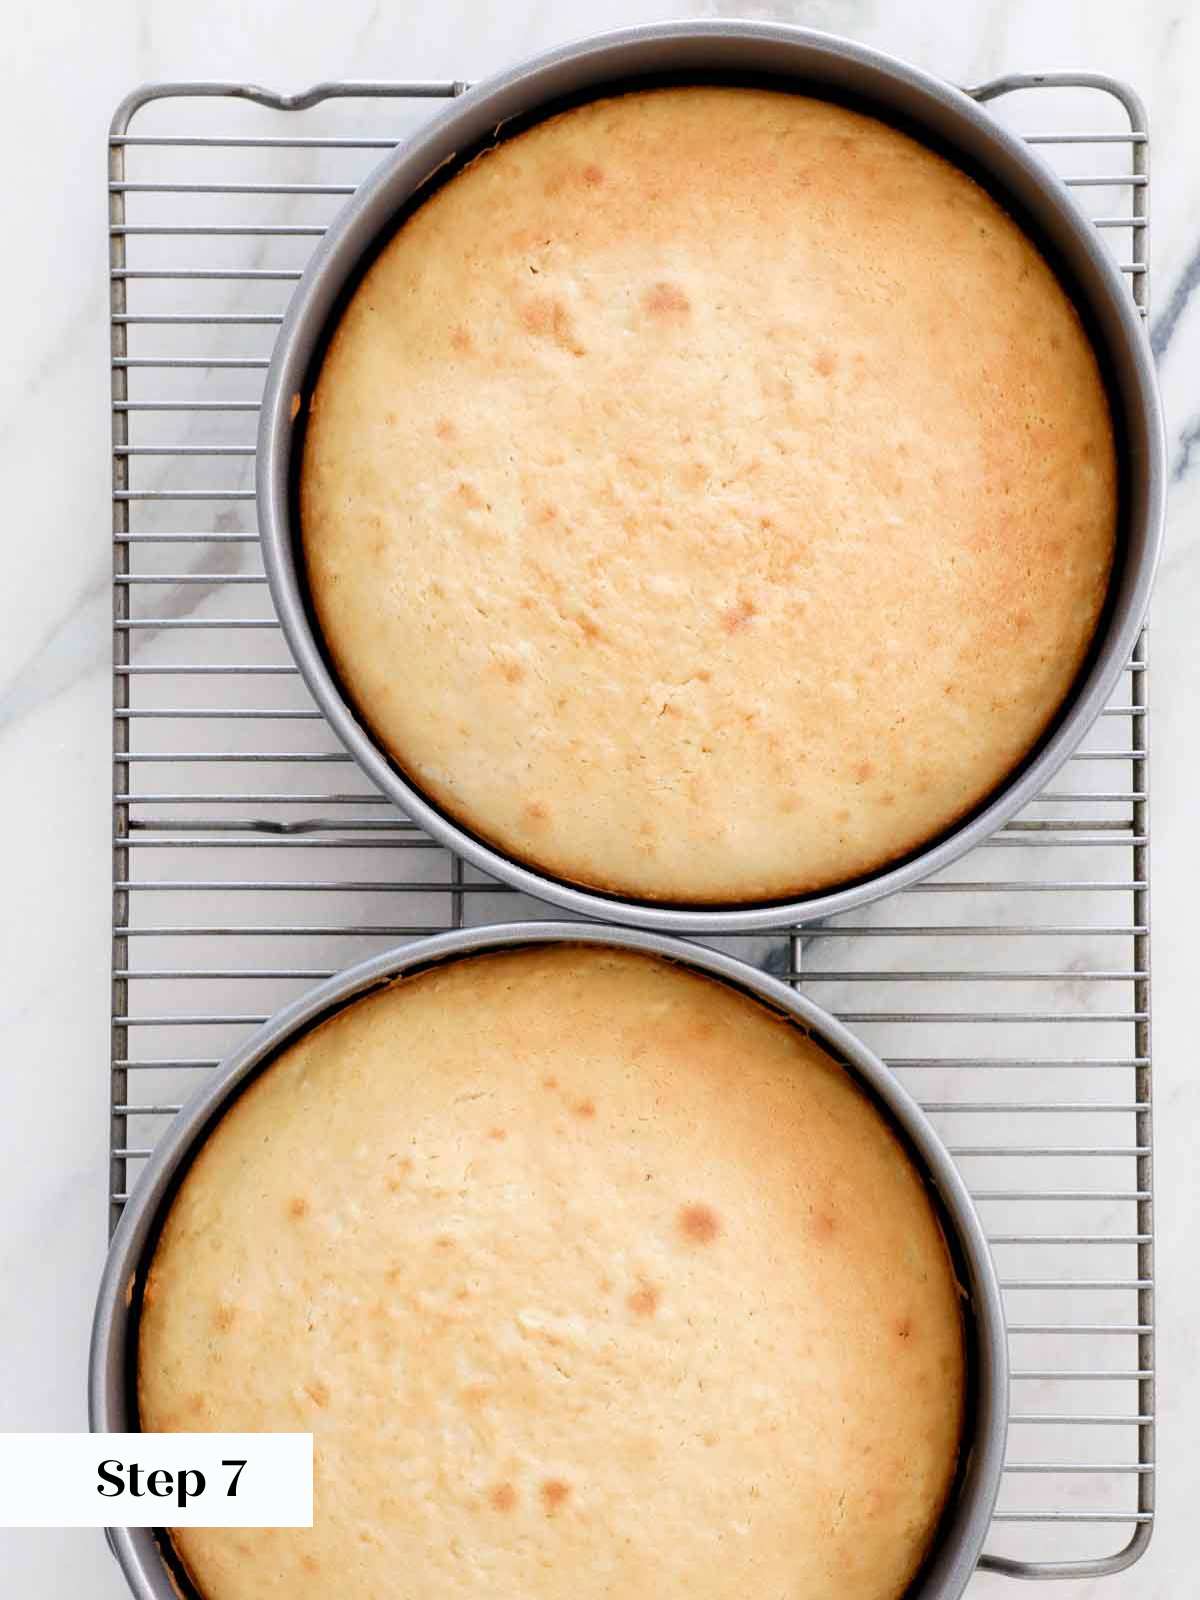
Step 8: Allow the cake to cool 10 minutes in the pan then turn out onto a wire rack. Remove the parchment from the bottom of the cake and allow to cool completely.
To make the buttercream:
Step 1: In the bowl of a stand mixer fitted with the paddle attachment beat the butter until smooth and lightened slightly on medium-high speed.
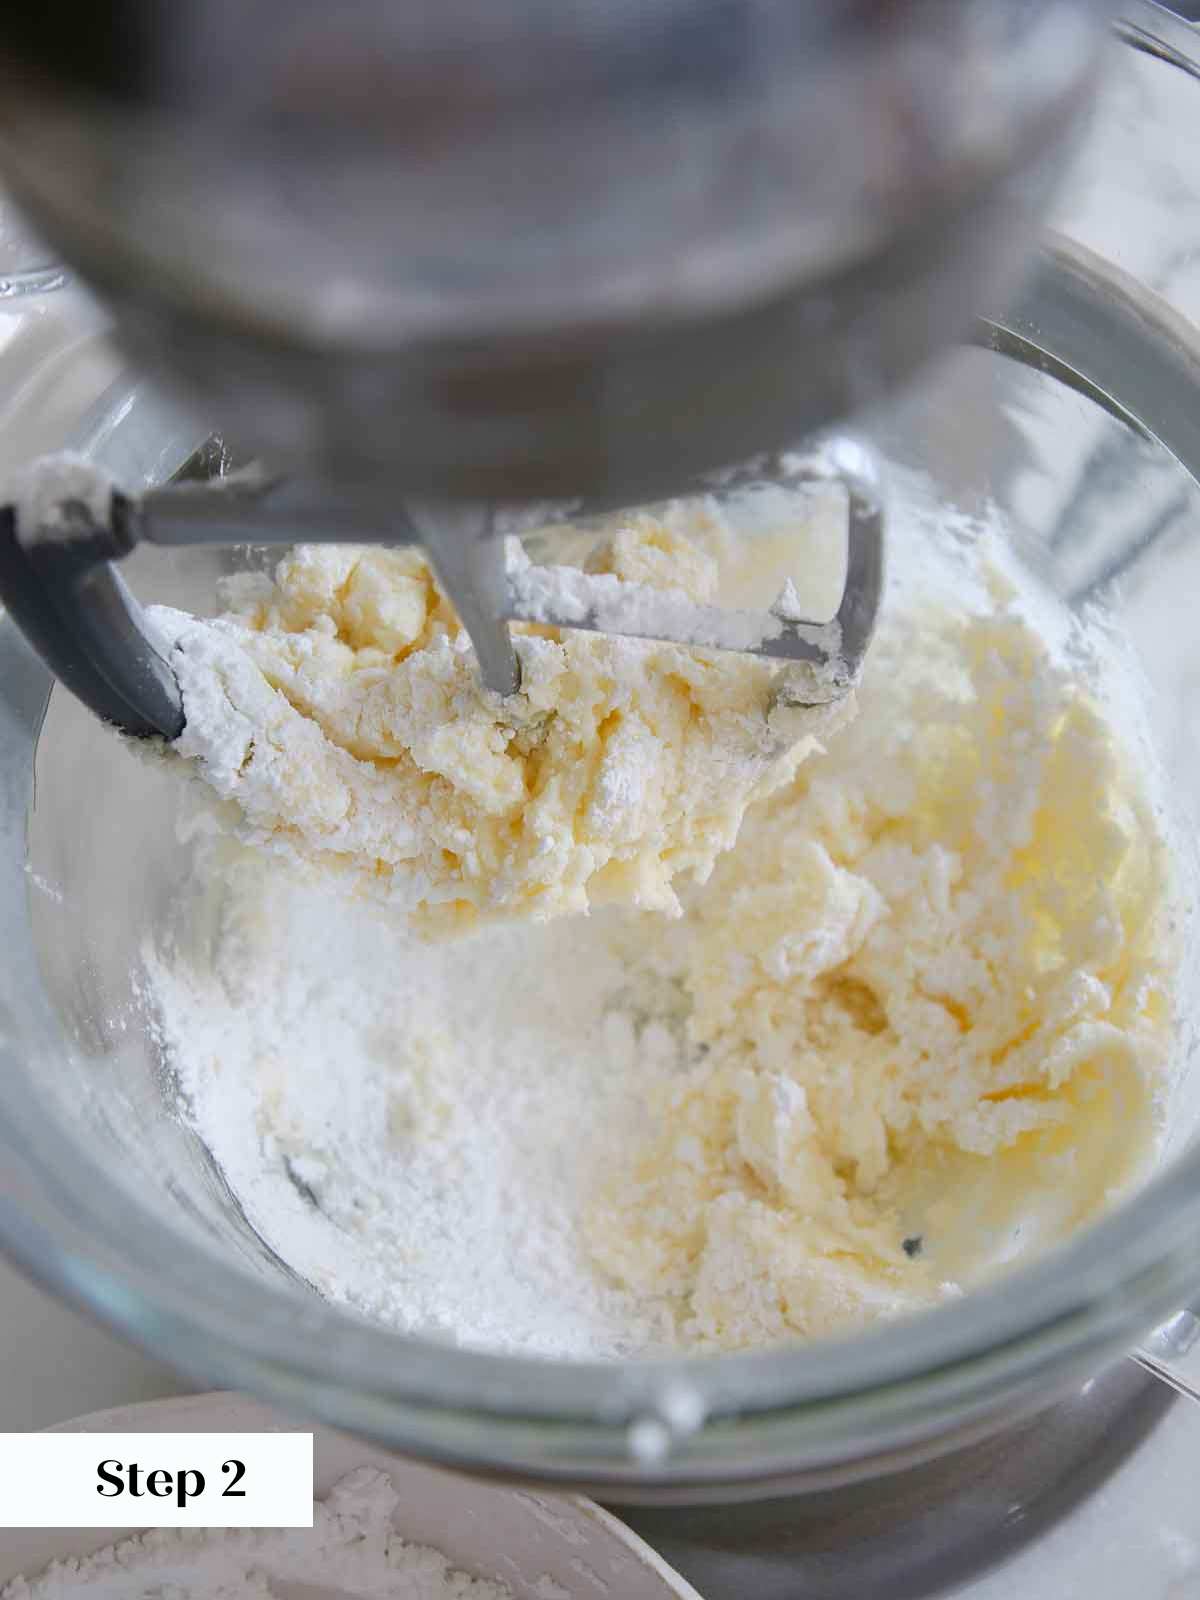
Step 2: Reduce the mixer speed to low and add the powdered sugar ½ cup at a time, allowing it to mix in completely before adding the next batch.
Step 3: Once all the sugar has been incorporated add the vanilla and vanilla bean seeds (optional) and mix on medium speed until light and smooth.
Step 4: Switch to the whisk attachment and add cream while mixing on medium-low speed. Then increase the speed to high and whisk until light and fluffy and white.
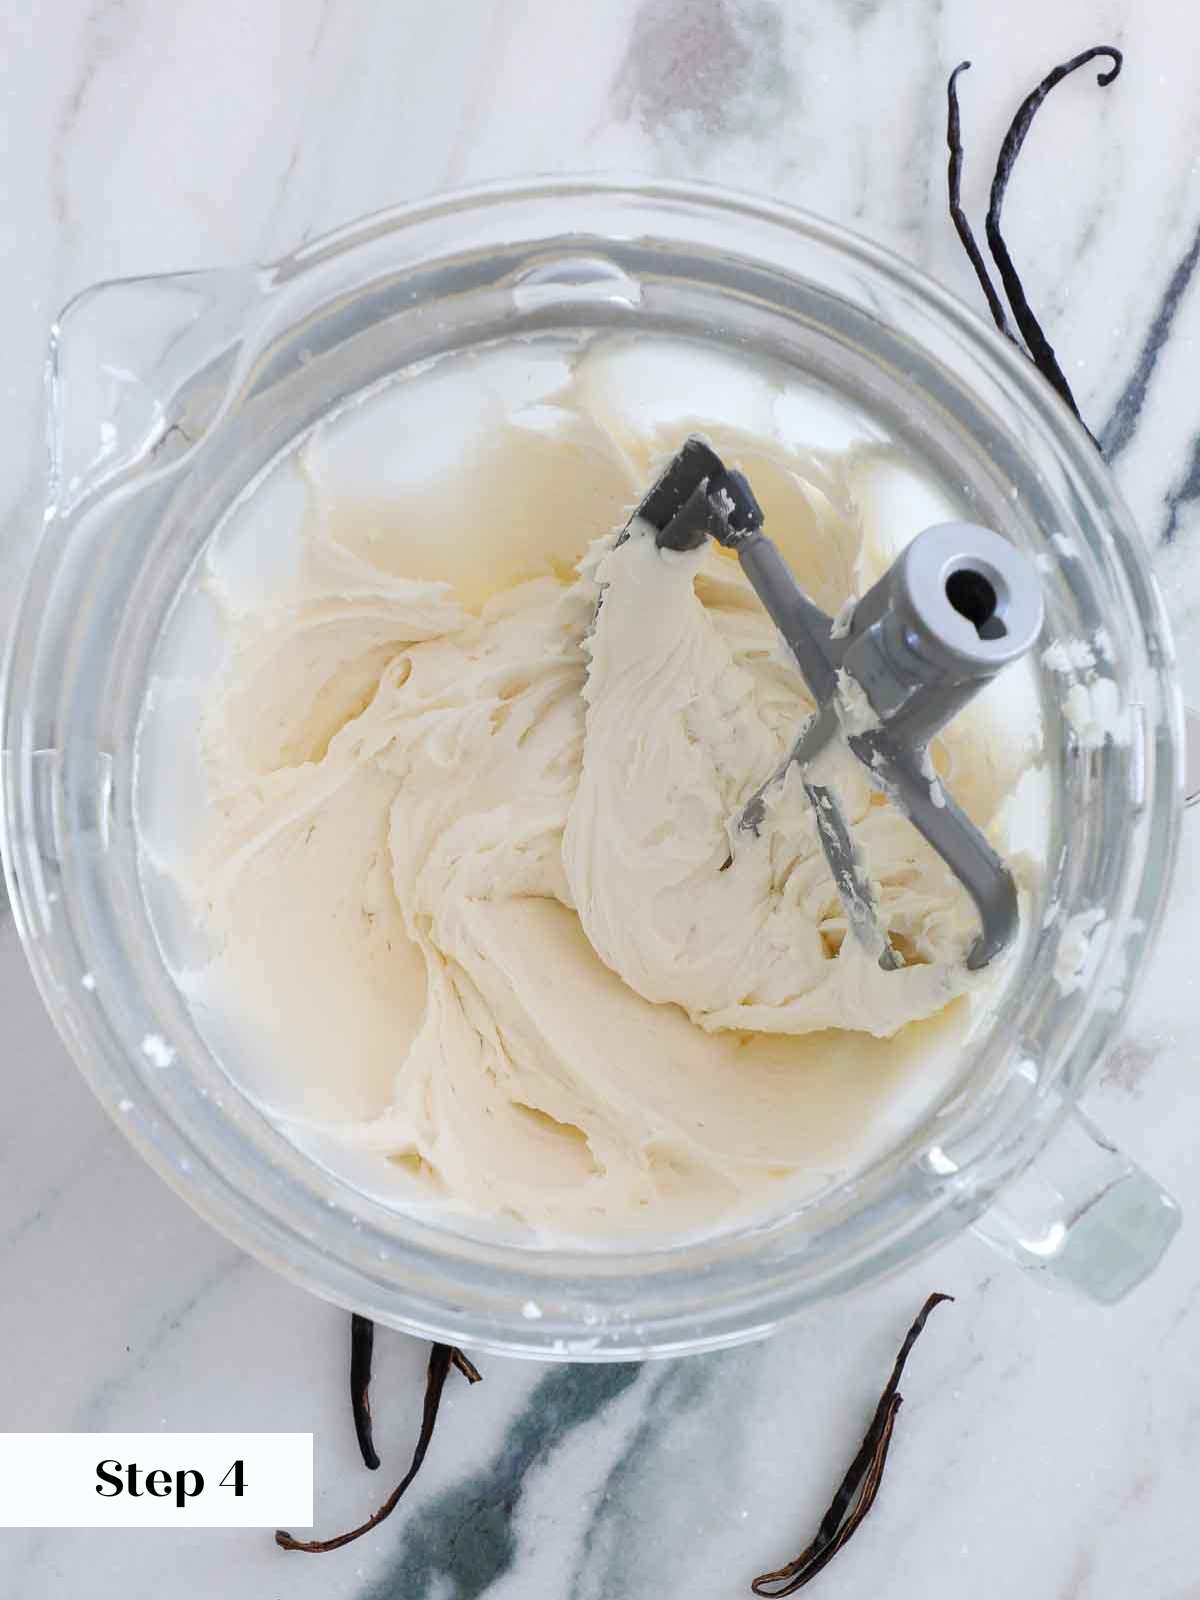
To remove the bubbles, switch back to the paddle and mix on low speed for 2-3 minutes. This will make the buttercream more dense and it will not frost as many cupcakes or cover as much cake but it will give a smoother finish to a frosted cake.
How to Decorate this Vanilla Cake
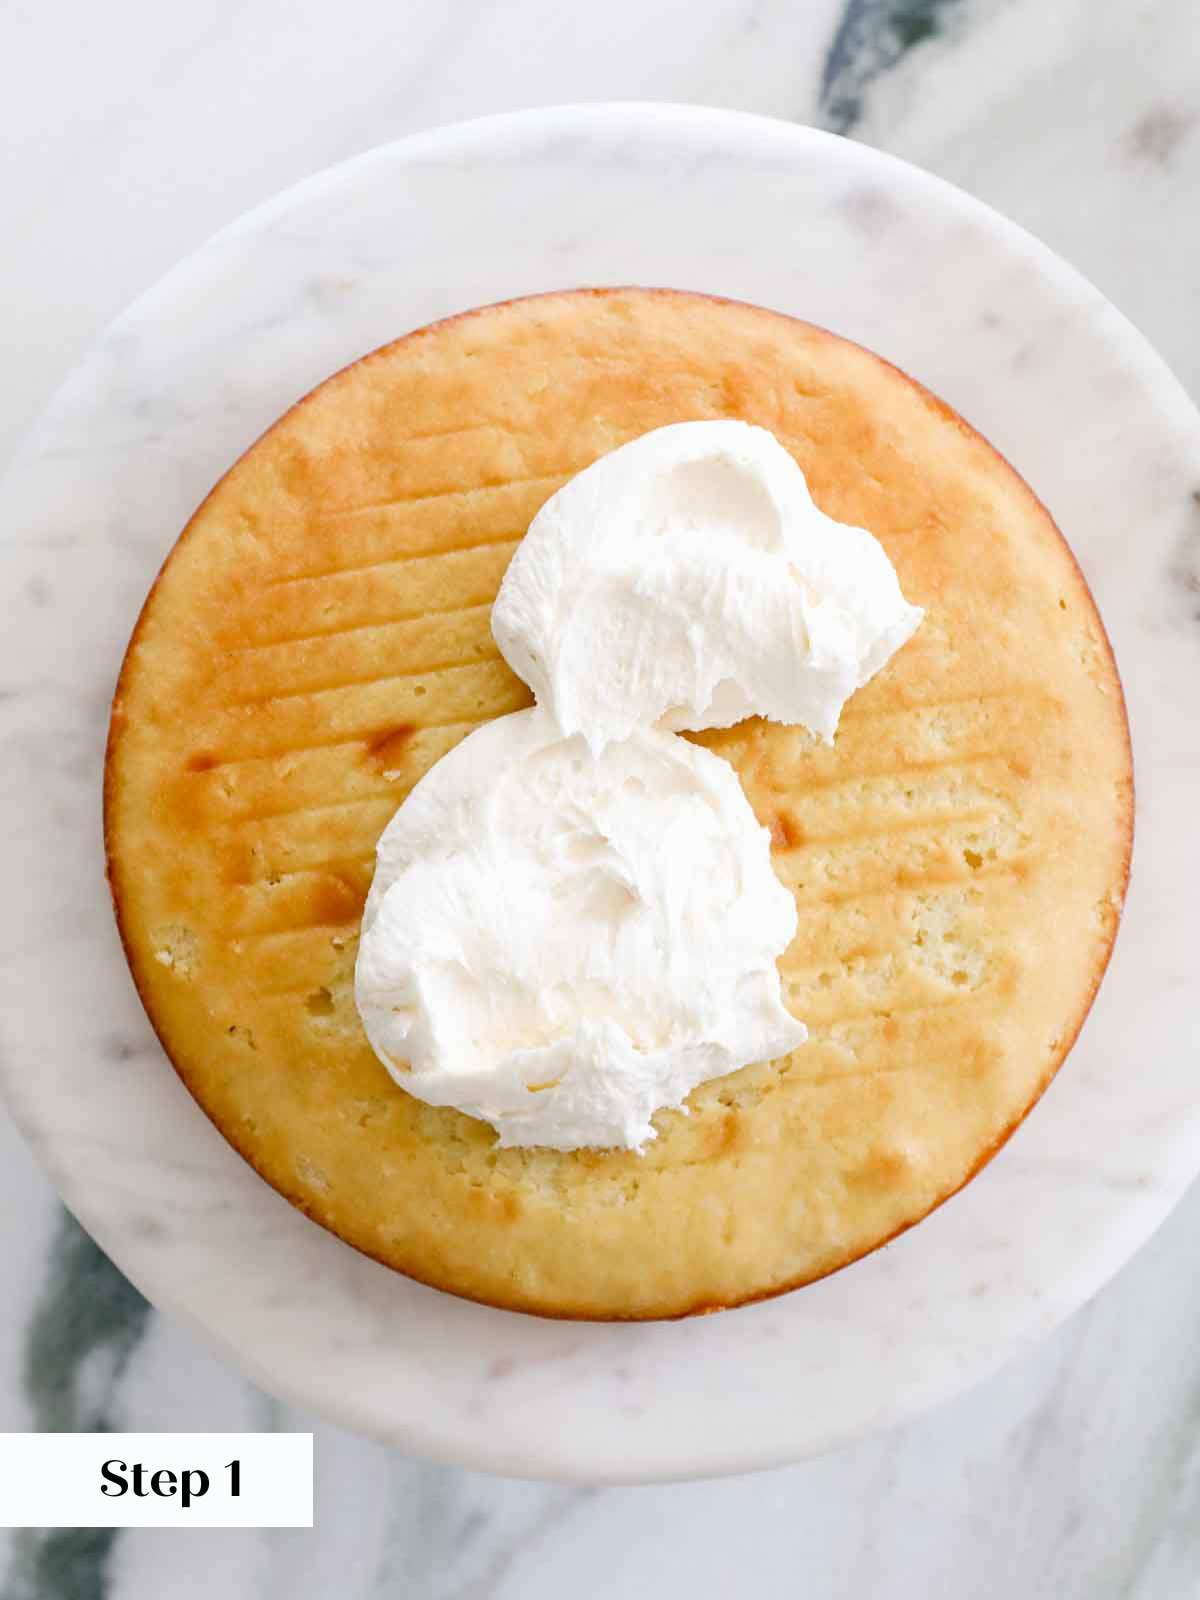
Step 1: Place the first layer on a cake plate or cake stand or cake board set on a turntable. Place about 1 cup frosting on the top of the layer and spread smooth.
You can “glue” the board to the turntable and the cake with just a dab of frosting.
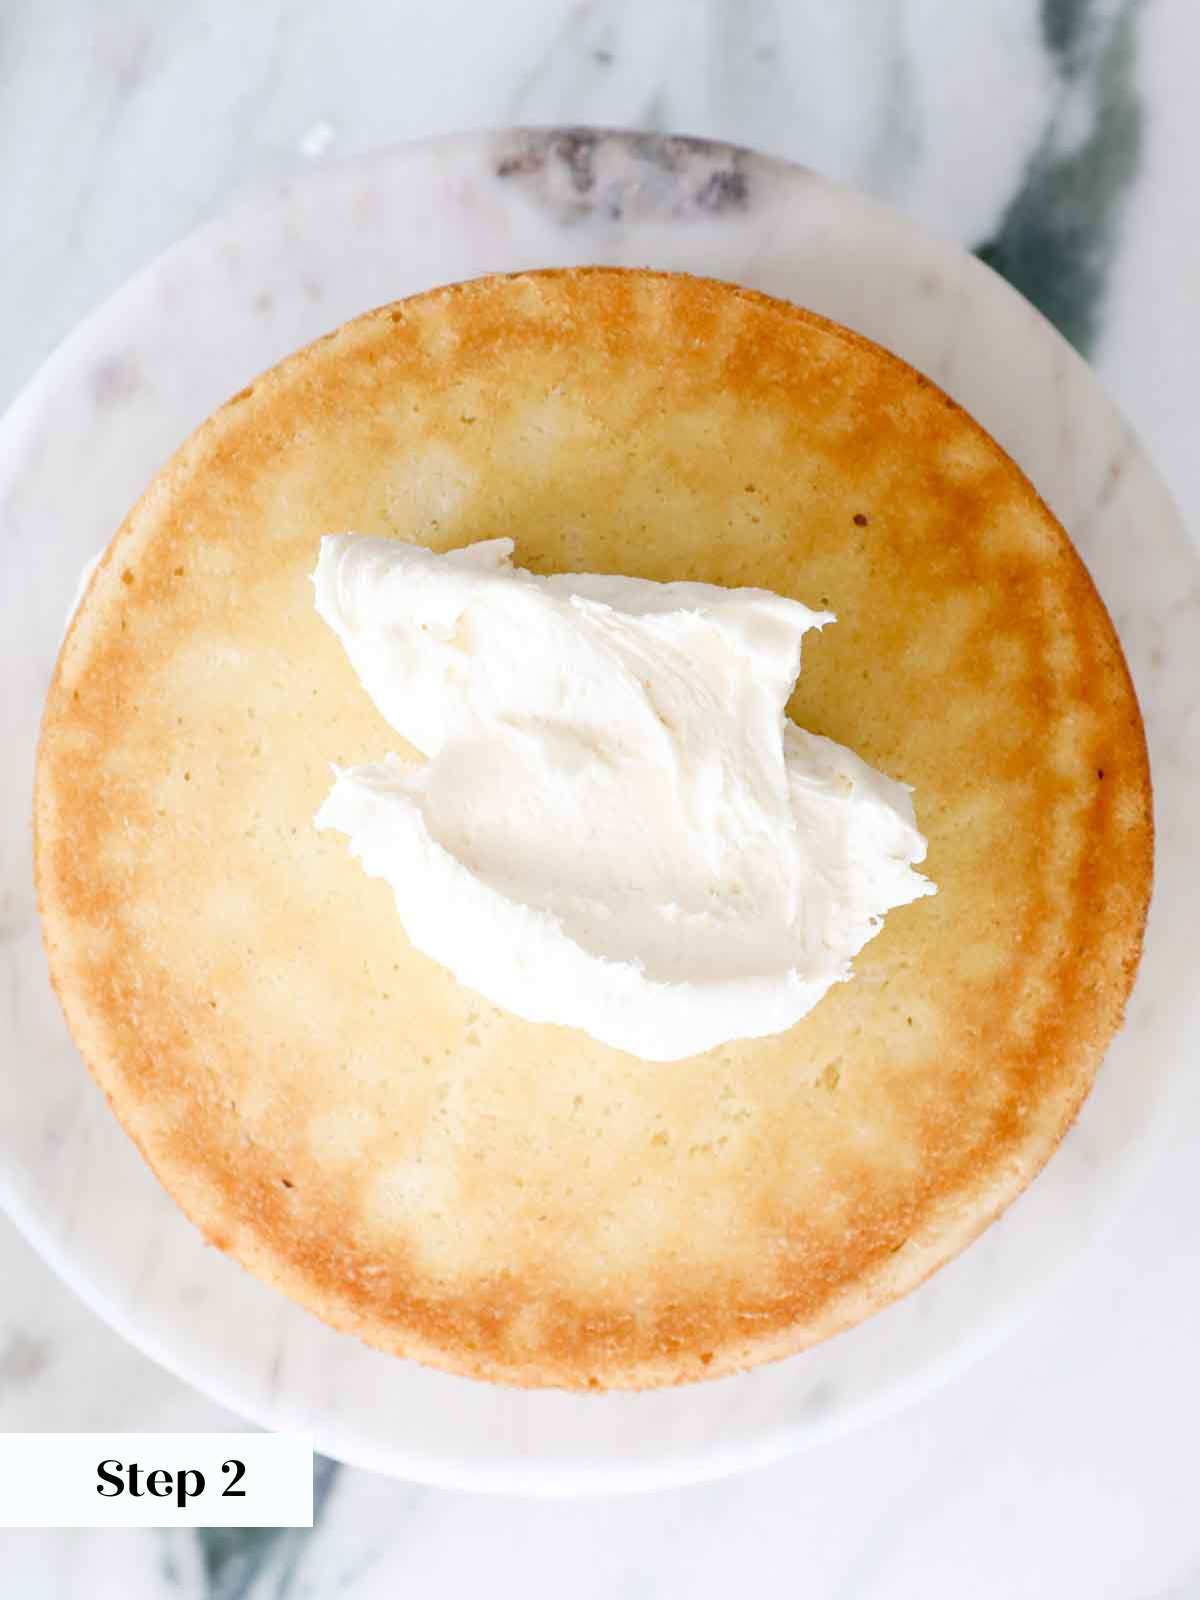
Step 2: Set the second layer on top. I like to stack it upside down so that the bottom of the cake layer becomes the top of the cake. This gives you a perfectly flat top without having to level the cake. In everyday life that is wasteful unless you are going to make vanilla cake pops.
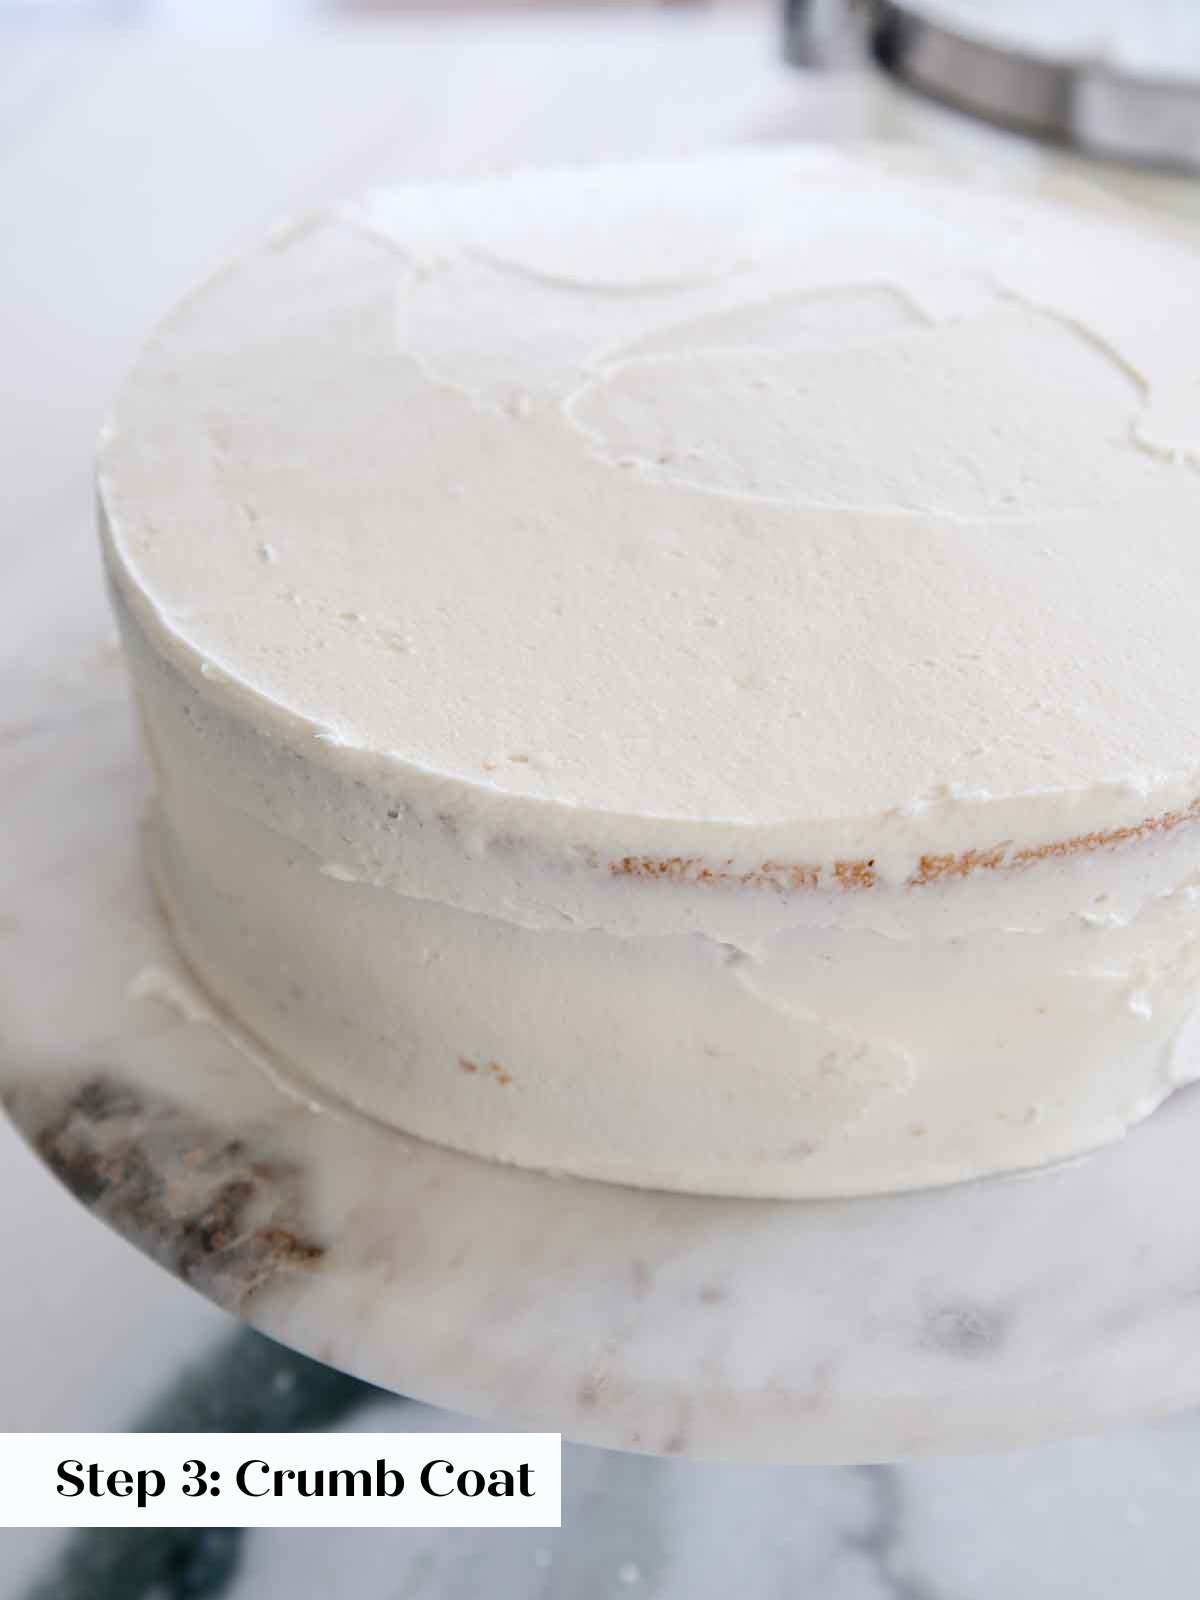
Step 3: Place another 1 cup on top and spread smooth. Spread a thin layer of buttercream around the edges, pressing it into any gaps between layers. Smooth out. This is a crumb coat, so don’t stress too much. Chill the cake 30 minutes.
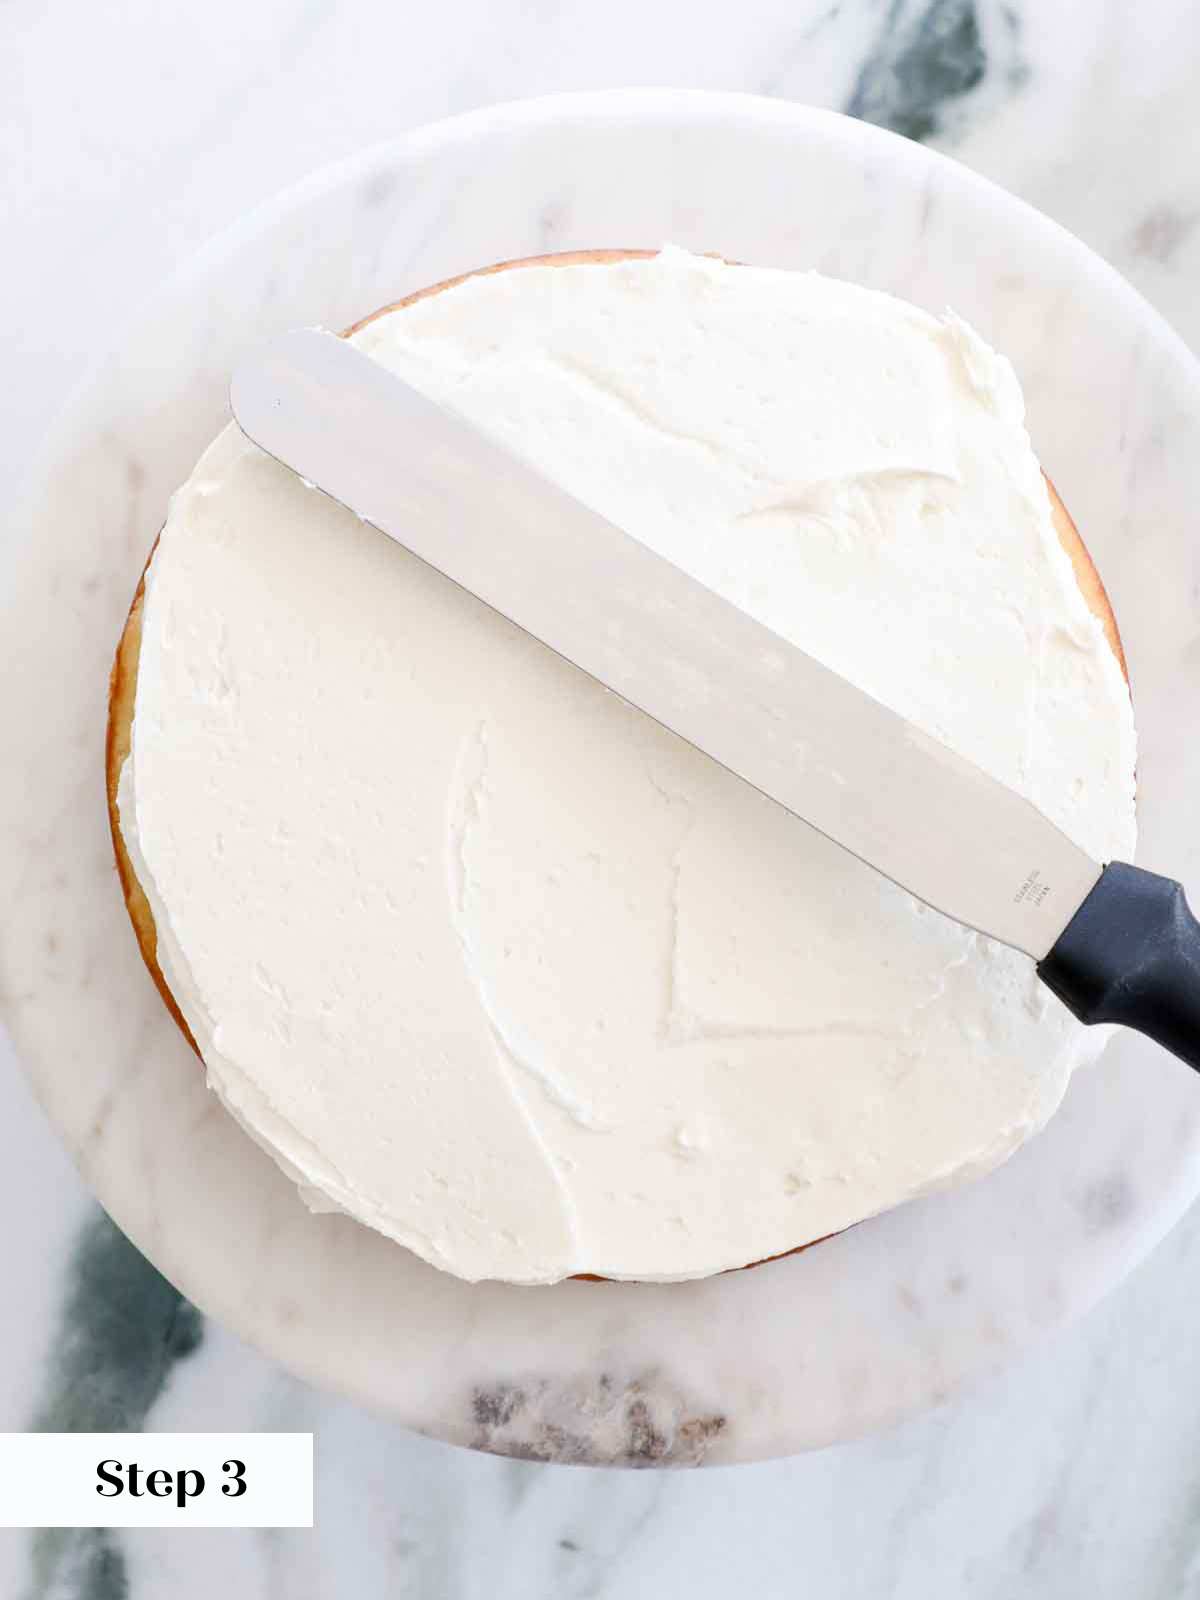
If you are adding a filling, you should chill after adding the second layer before crumb coating to set the dam and lock in the filling.
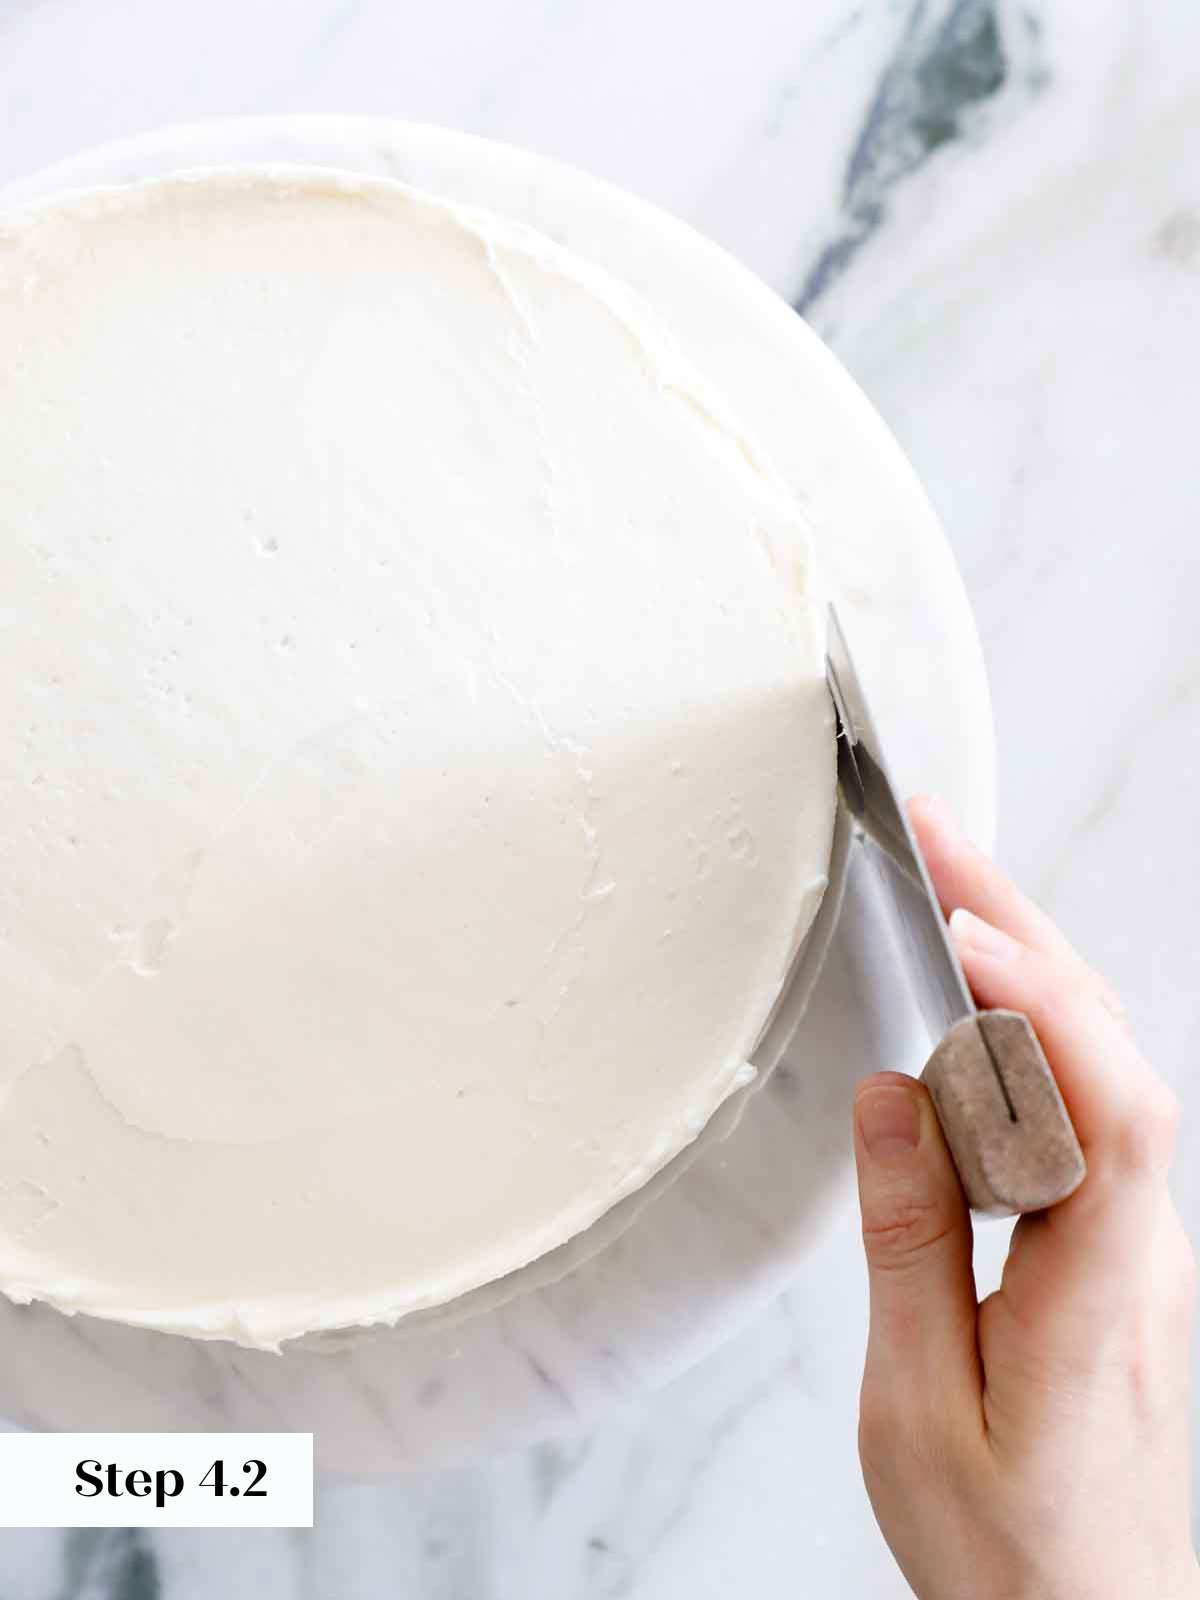
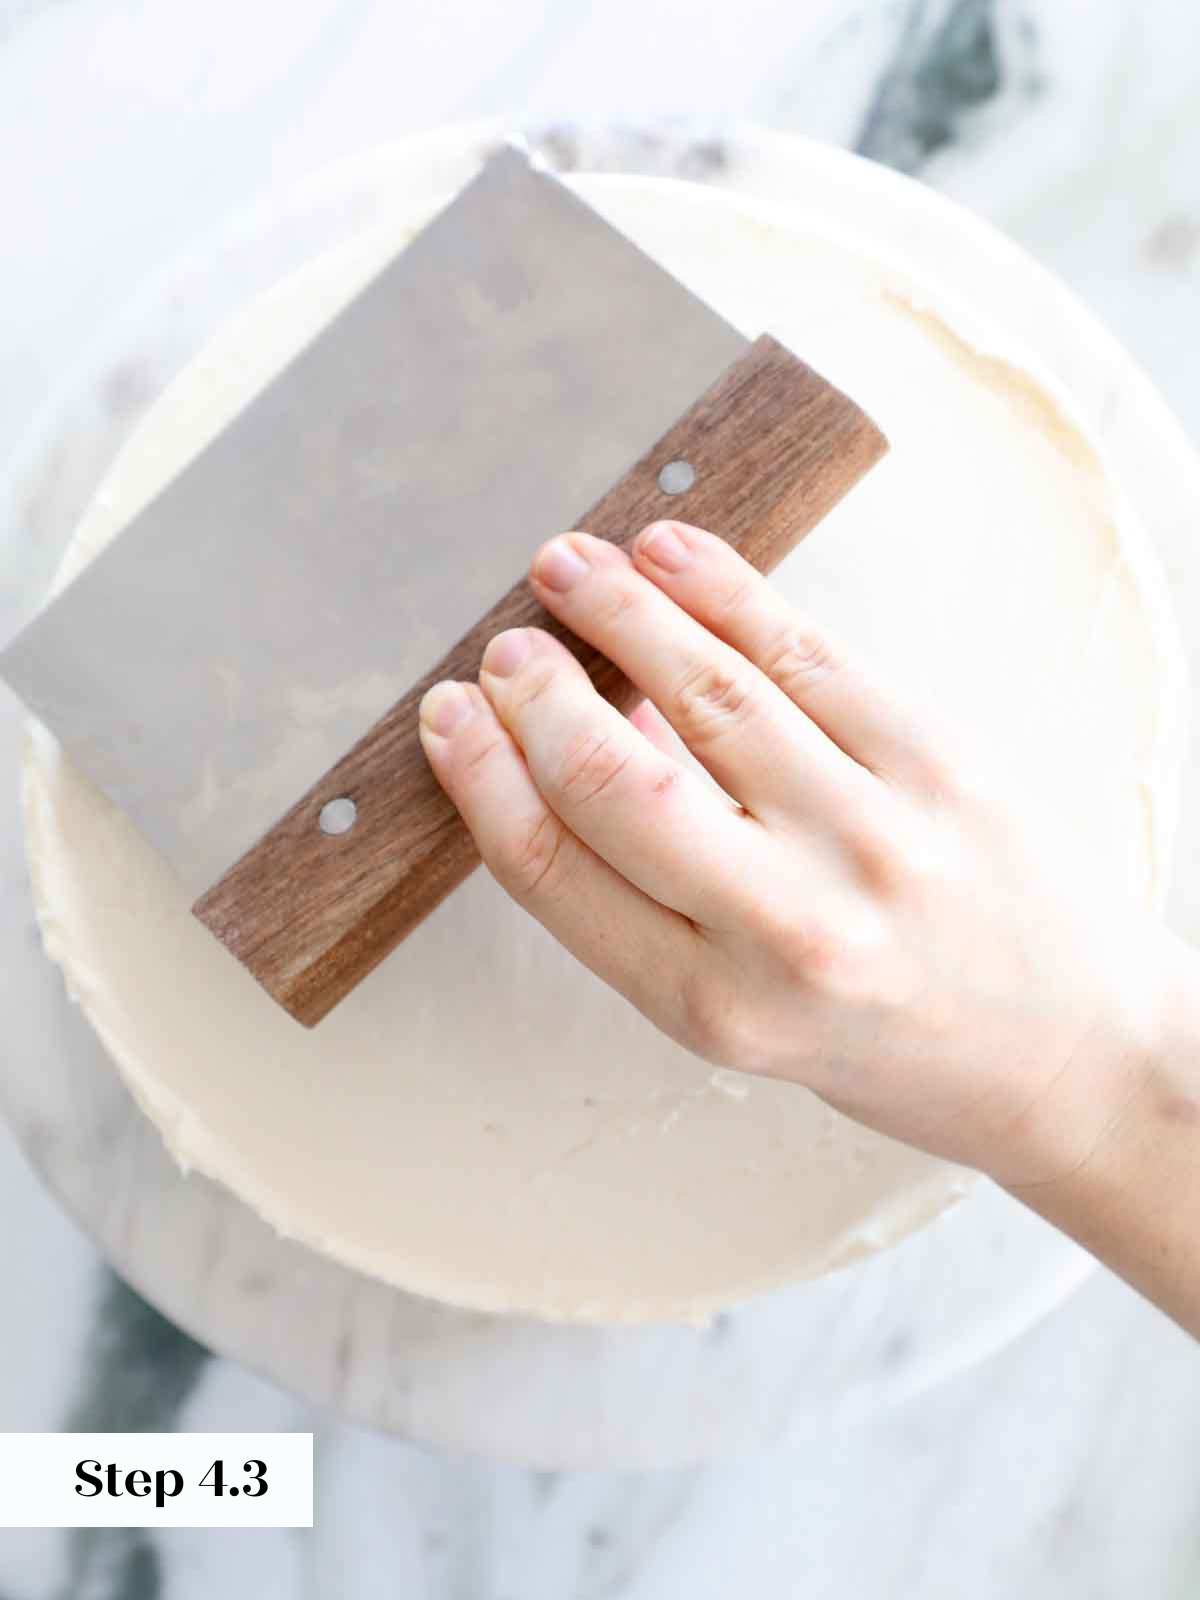
Step 4: Spread the remaining buttercream on top and smooth it out towards to edges, allowing it to fall over the sides Smooth it over the sides. Either make decorative swirls or use a bench scraper to make smooth sides and a large offset spatula to smooth out the top.
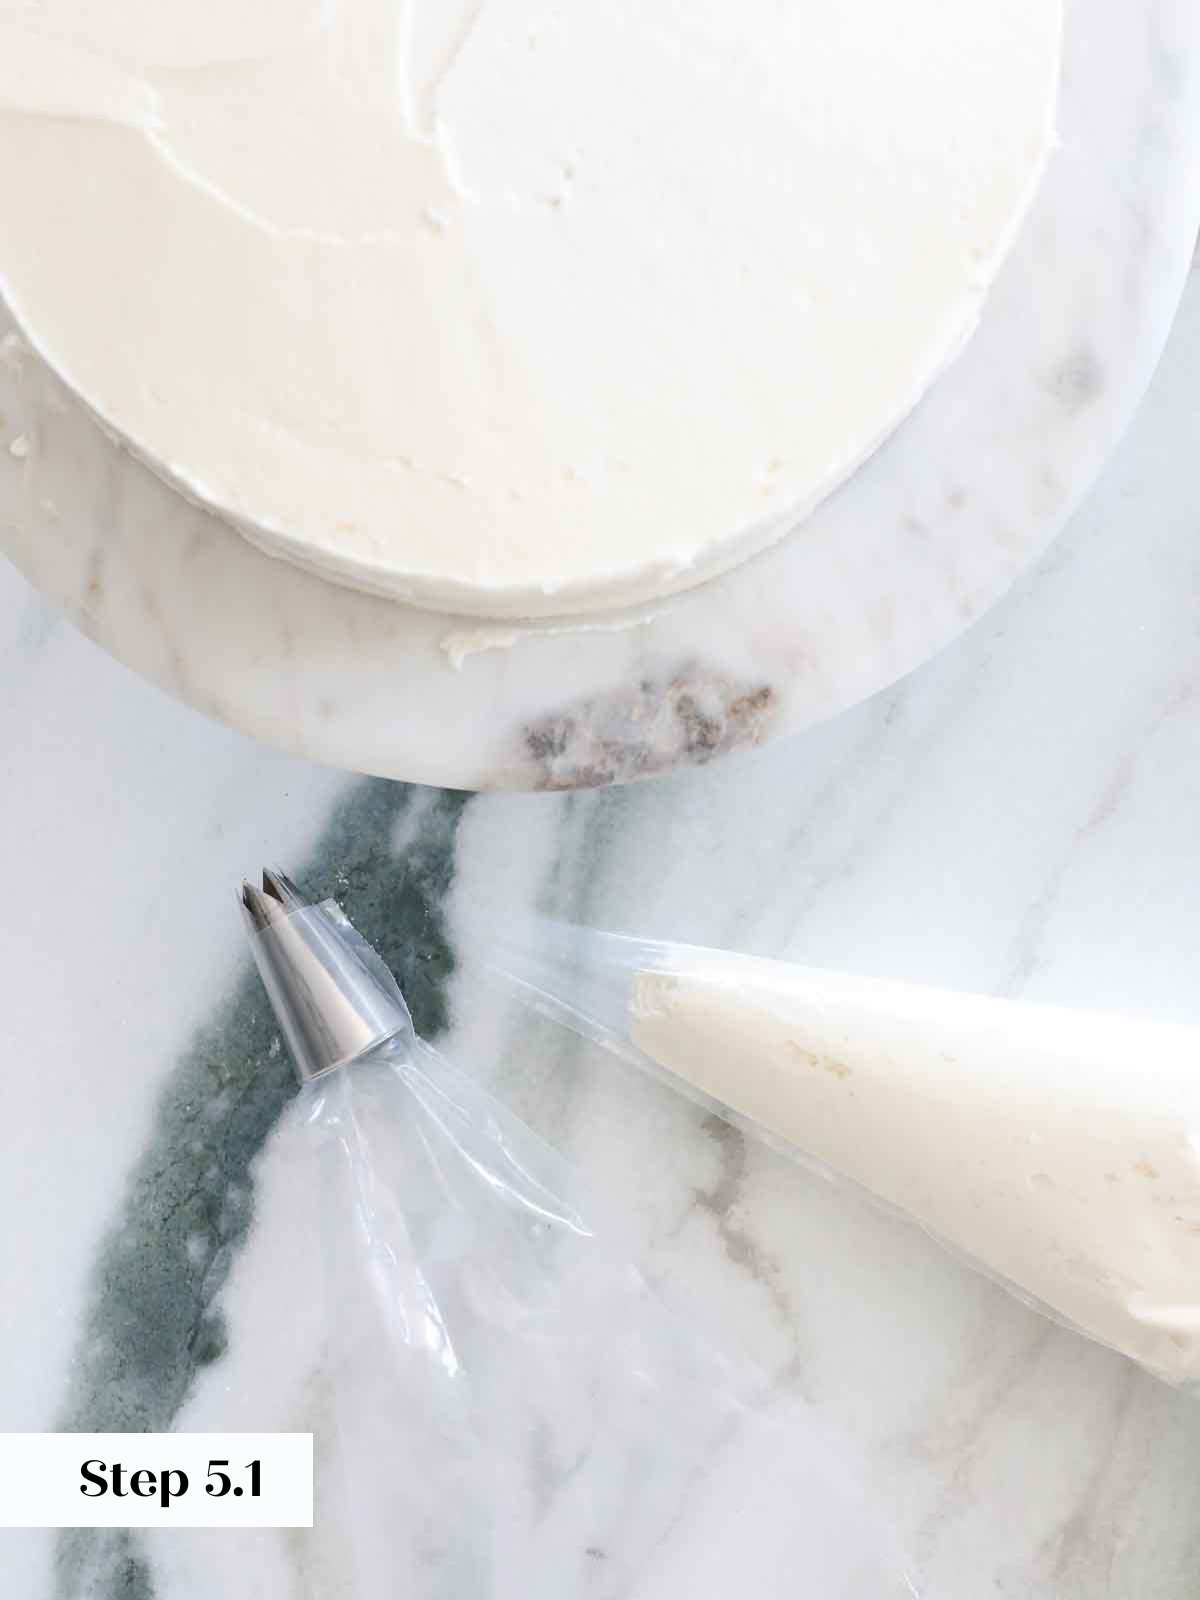
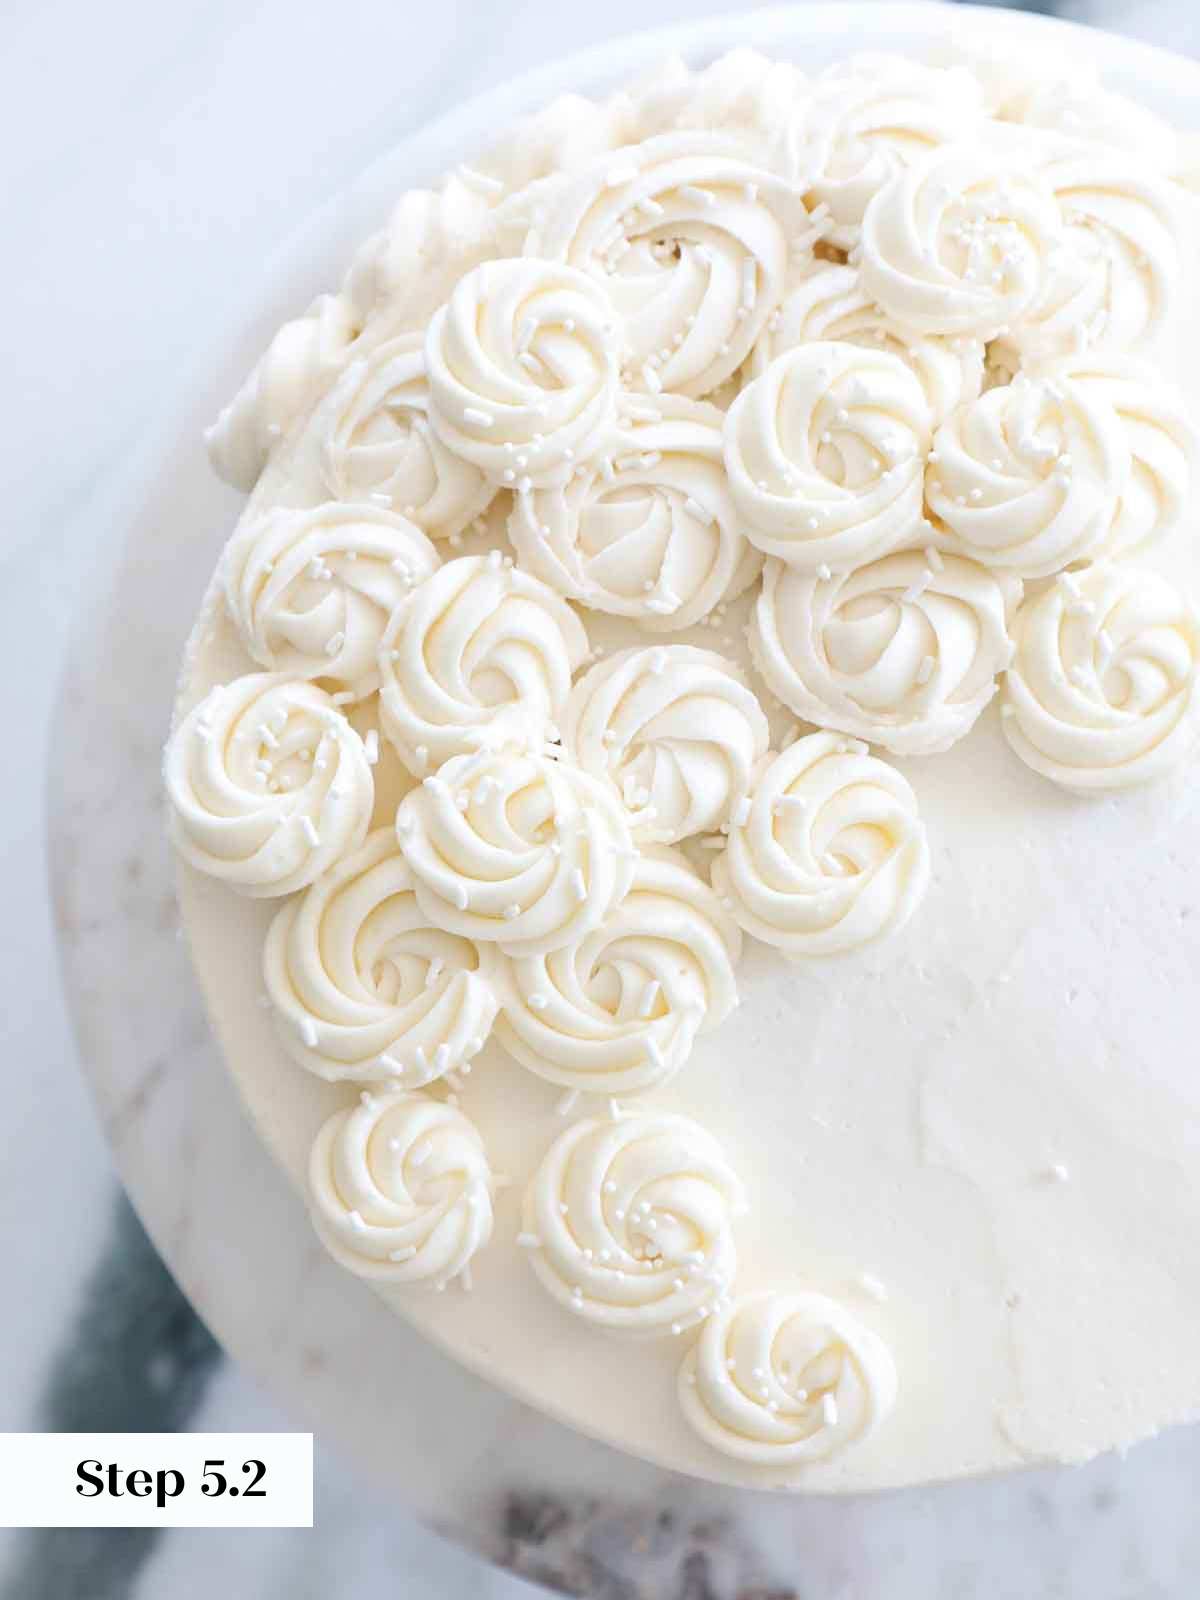
Step 5: I used a closed star tip (Ateco 845) to pipe the rosettes. Then I sprinkled and placed sprinkles and neutral jimmies on top!
Frequently Asked Questions
It is best to assemble the cake within the same day it is baked to keep it moist. Wrap cake in plastic wrap or store in an airtight cake container and store in the refrigerator for up to 5 days. It will be best within 3 days. Adding a simple syrup soak will extend that to 5 days. You could also wrap the chilled cake in plastic wrap and freeze for up to a year. I did this for my son’s first birthday cake!
To prepare it further in advance, I recommend freezing the cake layer separately from the buttercream then assembling the day before.
When I make cakes ahead of time, I like to make each component separately and then assemble the day I’m serving. Bake and cool the cake layers then wrap well and freeze them. Make the American buttercream recipe up to a week in advance and store in an airtight container in the fridge or freezer. Refresh in the mixer before assembling.
Both oil and butter will make a delicious, moist cake if prepared correctly. Oil will make a more dense cake than one make purely by creaming butter and sugar together. This recipe uses creamed butter and sugar for a soft, fluffy texture and the sour cream helps keep it moist.
Whenever you are changing the amount of cake batter you are making, I recommend using the metric measurements and a kitchen scale. This is more accurate. To make 3 layers in a 9 inch pan, make 1.5x this recipe. You can also make double and make thicker layers. The bake times will need to be adjusted.
Serve it like my husband with a gigantic scoop of vanilla bean ice cream or add a drizzle of hot fudge, salted caramel sauce, easy strawberry jam loosened with lemon juice, or this easy blueberry sauce. It is also excellent with lemon curd! I love vanilla cake with chocolate ice cream or, if I have it, this salted caramel chocolate ice cream.

If you tried this recipe and loved it please leave a 🌟 star rating and let me know how it goes in the comments below. I love hearing from you; your comments make my day!

Moist Vanilla Cake
Ingredients
For the cake:
- ¾ cup unsalted butter soft and pliable
- 1 ½ cup granulated sugar
- 3 large eggs
- 1 tablespoon vanilla extract
- ½ teaspoons almond extract
- 1 cup Sour Cream
- ½ cup whole Milk
- 2 ½ cups Cake Flour *see note
- 1 teaspoons Baking Powder
- ½ teaspoons Baking Soda
- 1 ½ teaspoons kosher salt
For the vanilla buttercream:
- 1 ½ cups unsalted butter softened
- 6 ¼ cups powdered sugar
- 2 teaspoons vanilla extract
- 1/3 cup heavy cream cold
Instructions
For the Cake:
- Preheat oven to 350°F (either convection or regular)
- All ingredients should be at room temperature. Sift the cake flour, baking powder, baking soda, and salt. In another bowl whisk together the sour cream and milk. Set aside.
- Spray baking dish and set aside.
- In the bowl of a stand mixer fitted with the paddle attachment (or with a hand mixer) cream butter and sugar until light and fluffy. Add the eggs one at a time, beating well after each addition. Add the extracts with the last egg.
- Alternately add milk and dry ingredients, beginning and ending with dry.
- Pour batter into prepared pan. Bake immediately. Bake in preheated oven until a cake tester or toothpick comes out with a few clinging crumbs, approximately 20-25 minutes. Be careful not to over bake or it will dry out.
- Allow the cake to cool 10 minutes in the pan then turn out onto a wire rack. Remove the parchment from the bottom of the cake and allow to cool completely.
To make the buttercream:
- In the bowl of a stand mixer fitted with the paddle attachment beat the butter until smooth and lightened slightly on medium-high speed.
- Reduce the mixer speed to low and add the powdered sugar ½ cup at a time, allowing it to mix in completely before adding the next batch.
- Once all the sugar has been incorporated add the vanilla and vanilla bean seeds (optional) and mix on medium speed until light and smooth.
- Switch to the whisk attachment and add cream while mixing on medium-low speed. Then increase the speed to high and whisk until light and fluffy and white.
- TIP To remove the bubbles, switch back to the paddle and mix on low speed for 2-3 minutes. This will make the buttercream more dense and it will not frost as many cupcakes or cover as much cake but it will give a smoother finish to a frosted cake.
Assemble the cake:
- Place the first layer on a cake plate or cake stand or cake board set on a turntable. You can “glue” the board to the turntable and the cake with just a dab of frosting.
- Place about 1 cup frosting on the top of the layer and spread smooth.
- Set the second layer on top. I like to stack it upside down so that the bottom of the cake layer becomes the top of the cake. This gives you a perfectly flat top without having to level the cake. In everyday life that is wasteful unless you are going to make vanilla cake pops.
- Place another 1 cup on top and spread smooth. Spread a thin layer of buttercream around the edges, pressing it into any gaps between layers. Smooth out. This is a crumb coat, so don’t stress too much. Chill the cake 30 minutes. If you are adding a filling, you should chill after adding the second layer before crumb coating to set the dam and lock in the filling.
- Spread the remaining buttercream on top and smooth it out towards to edges, allowing it to fall over the sides Smooth it over the sides. Either make decorative swirls or use a bench scraper to make smooth sides and a large offset spatula to smooth out the top.
- I used a closed star tip (Ateco 845) to pipe the rosettes.
Video
Notes
Presentation – If you want to pipe swirls on the cake then you will want to make a 1.5 -2x recipe of the American buttercream. It takes more than you think!
Variations – Change up the flavor with extract, a flavored simple syrup, or by changing the filling and buttercream flavor!
Storage – It is best to assemble the cake within the same day it is baked to keep it moist. Wrap cake in plastic wrap or store in an airtight cake container and store in the refrigerator for up to 5 days. It will be best within 3 days. Adding a simple syrup soak will extend that to 5 days. You could also wrap the chilled cake in plastic wrap and freeze for up to a year.
Nutrition
Before You Go
I hope you enjoyed this professional chef developed recipe. Check out our other delicious, classic cake recipes, cupcake recipes, or dive deeper into the best vanilla recipes with this copycat Sprinkles vanilla cupcake recipe, vanilla bean ice cream, or crème anglaise!
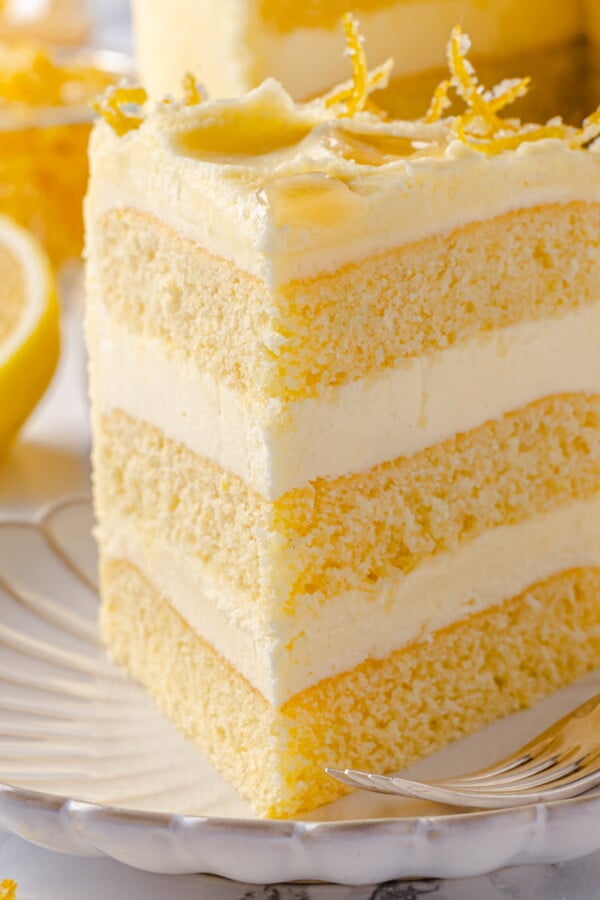



Lindsey, this recipe is EXACTLY what I was looking for – one of the best homemade vanilla cakes I’ve ever had and it was pretty simple to make as well. I will never bother to try another recipe and can’t wait to make it again even though I still have some in the fridge 🙂 Thank you!
Hi CR! This makes me so happy! I truly did spend 10 years perfecting this one, I’m thrilled it delivered exactly what you were looking for. Enjoy that slice in the fridge…I won’t judge if it disappears quickly!