This post may contain affiliate links. Please read our disclosure policy.
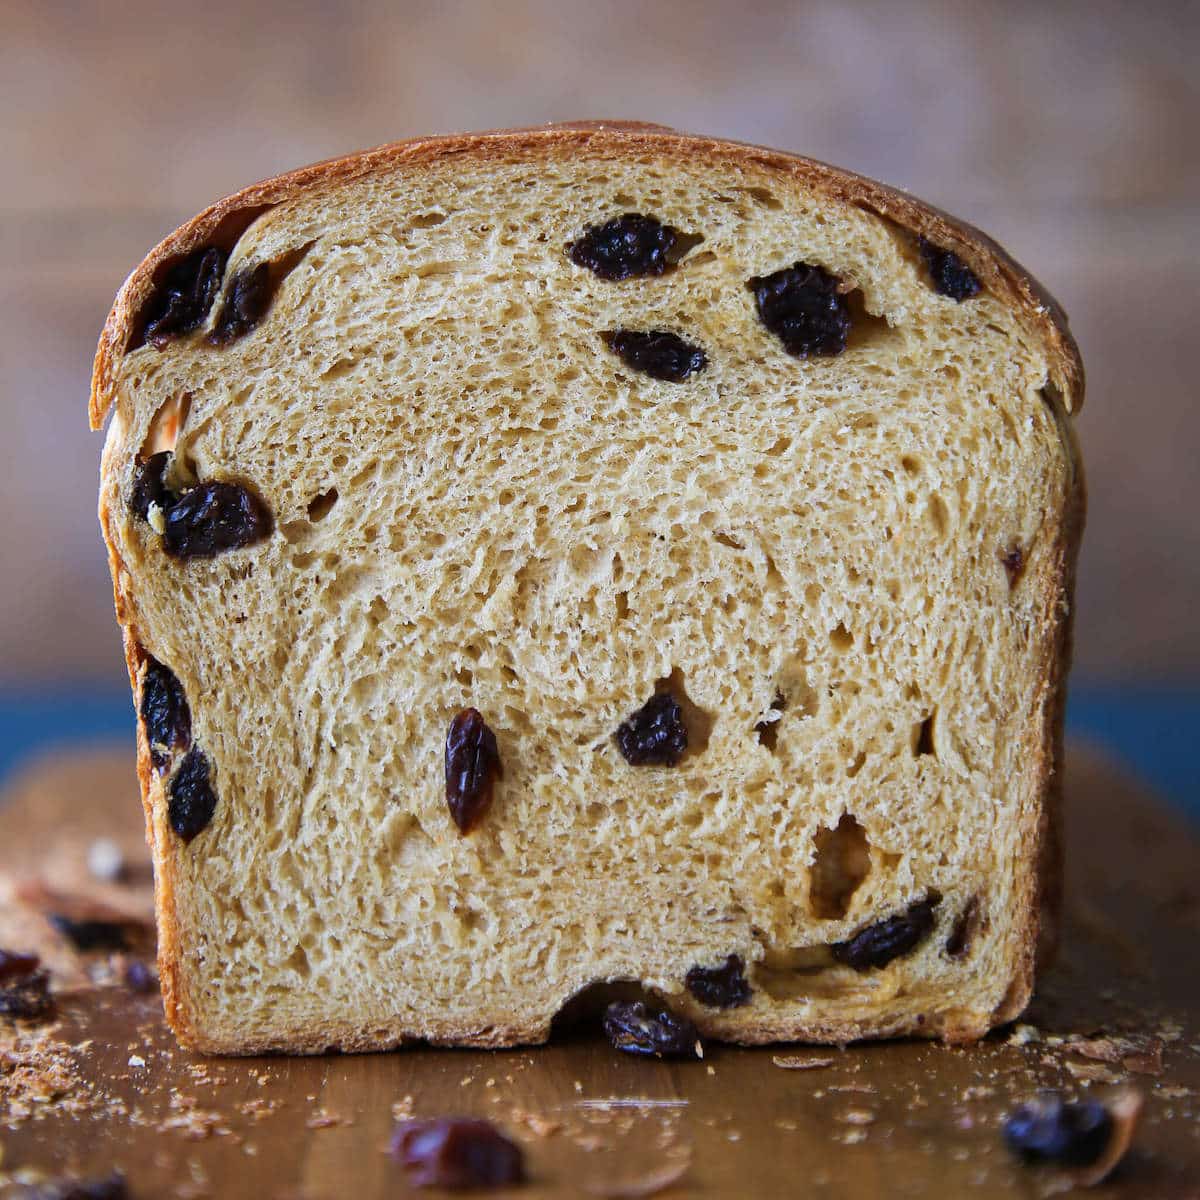
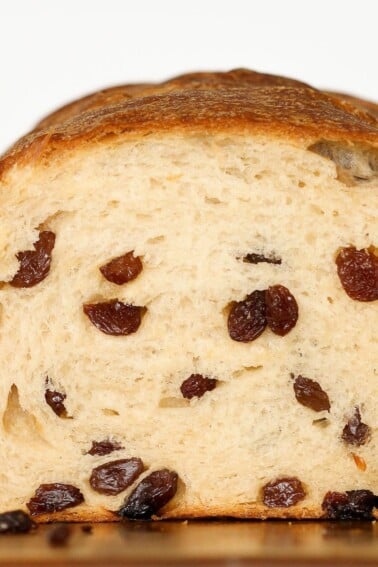
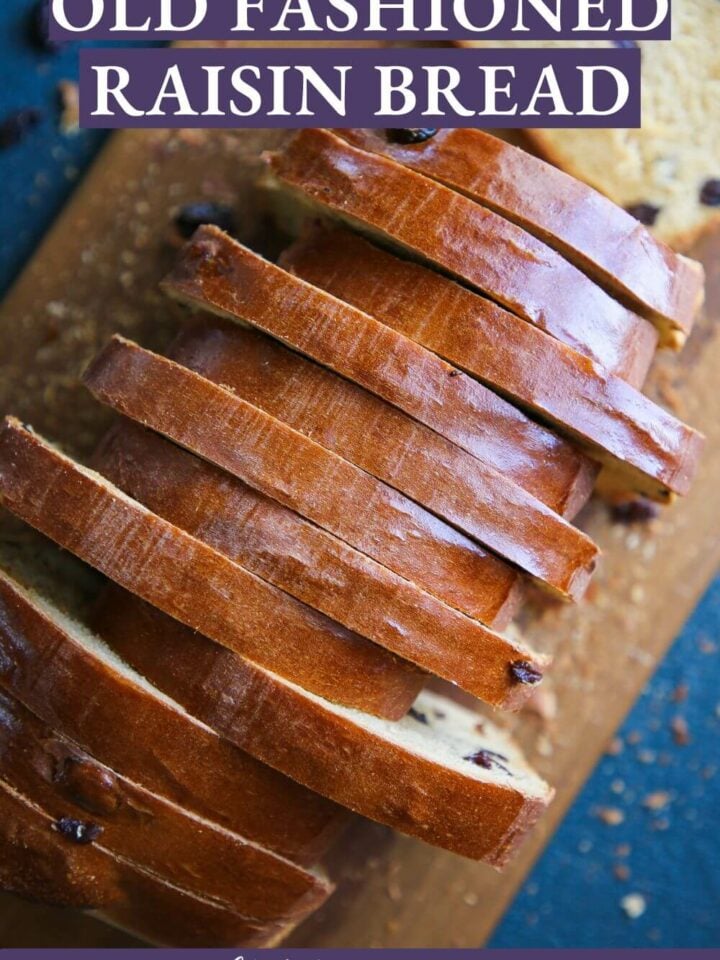
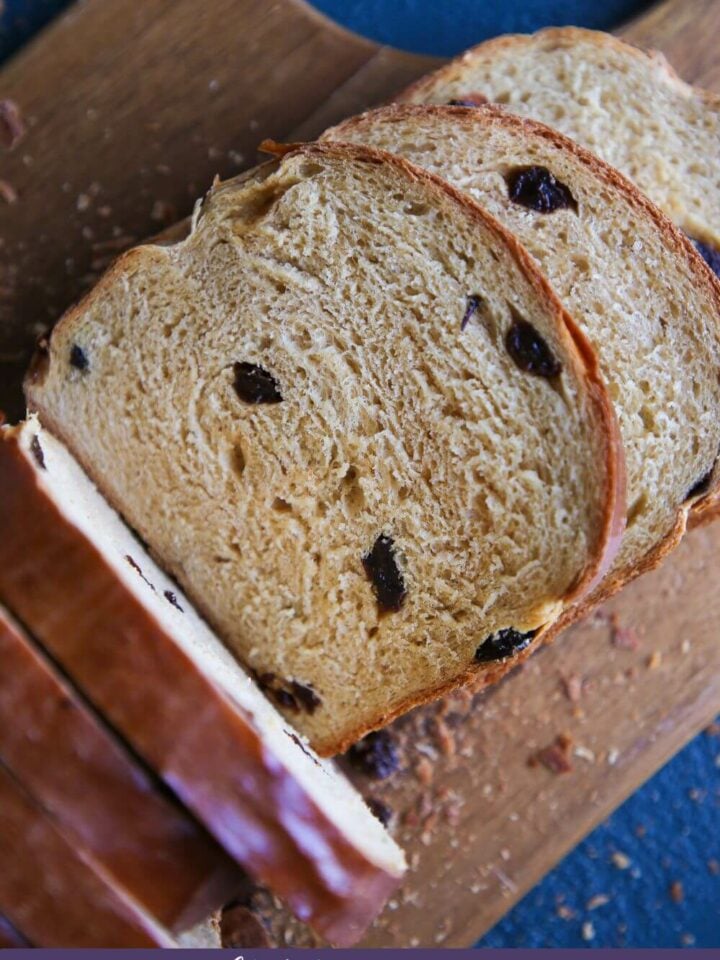
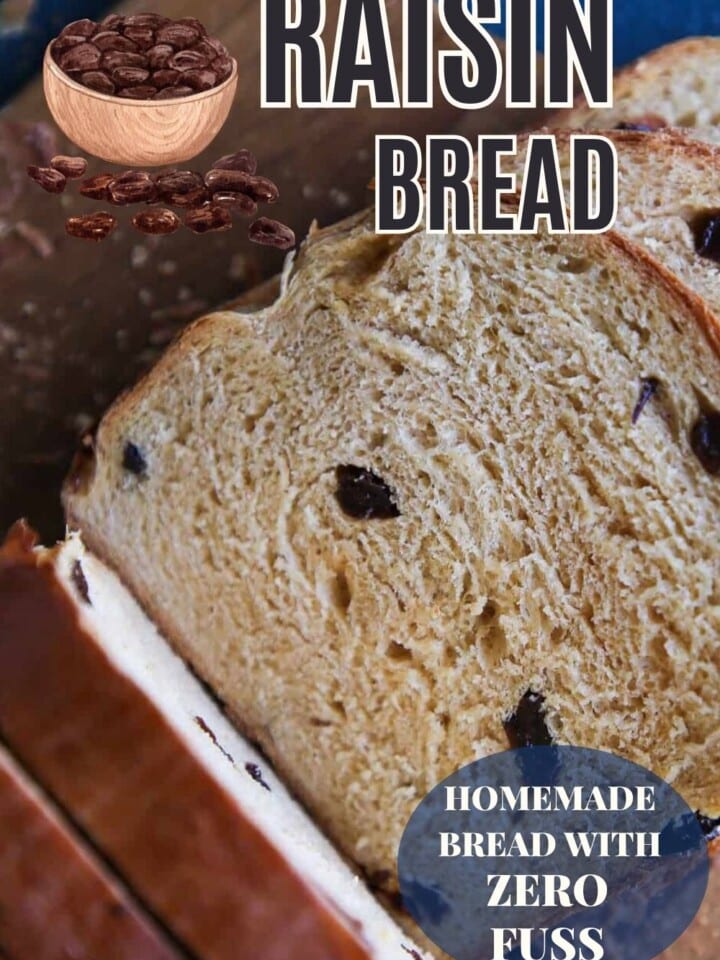
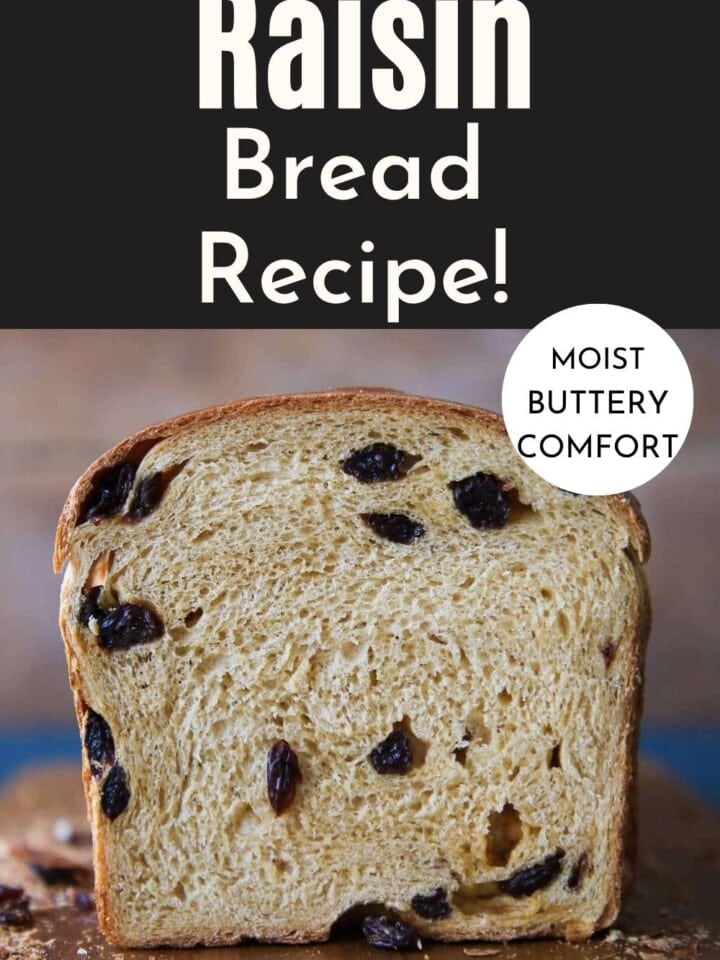
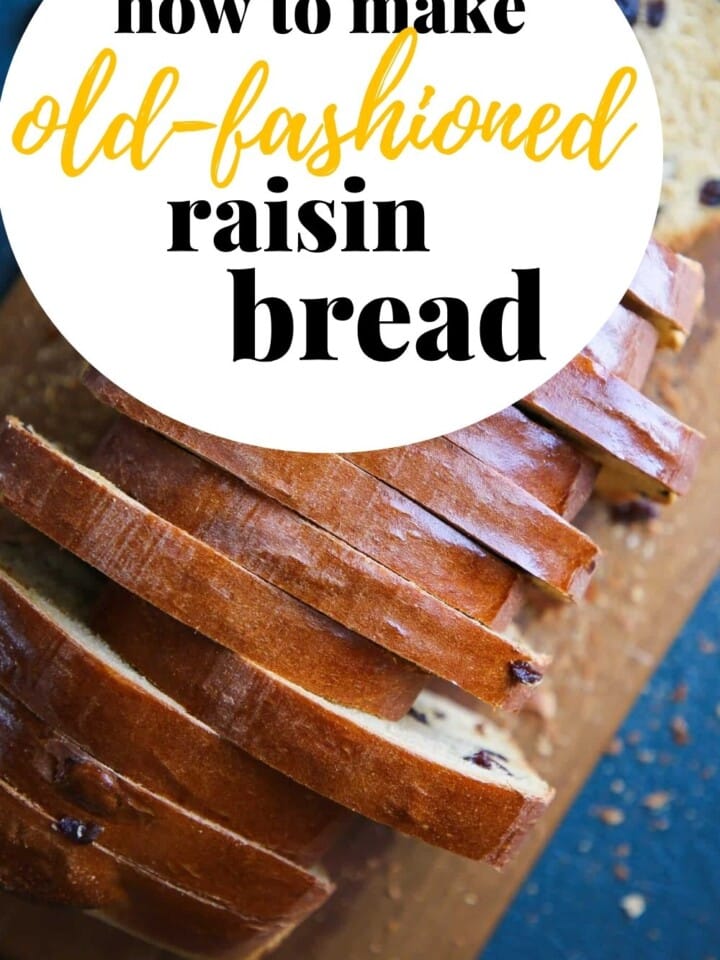
This raisin bread recipe is soft, chewy, and moist with just a hint of molasses flavor. Enjoy this bread by the slice, as cinnamon sugar toast or as delicious French toast!


A Quick Look At The Recipe
This is a brief summary of the recipe. Jump to the recipe to get the full details.
Jump to RecipePrep Time
45 minutes
Cook Time
30 minutes
Proof Time
1 hour 30 minutes
Total Time
2 hours 45 minutes
Servings
24 slices
Difficulty
Moderate (easy steps!)
Calories *
163 kcal per serving
Technique
Mix dough, proof, shape, and bake until golden and fully risen.
Flavor Profile
Soft, mildly sweet bread with molasses depth and juicy raisins throughout.
* Based on nutrition panel
Why You Will Love This
- Soft, tender, and moist bread. Melting the shortening and molasses in the milk before mixing makes this raisin bread exceptionally soft and moist.
- Richly flavored. The molasses and raisins come together to create a warm, flavored bread that is perfectly sweet and smells amazing! Not to mention, it will stay moist for 3 days at room temperature!
- An old fashioned bread recipe, different from the rest. This isn’t your typical raisin bread recipe; it has a unique mixing method, is sweetened with molasses and kept soft and tender thanks to the shortening.
- This easy recipe yields 2 loaves! Save one for gifting or freeze it for later snacking!
Table of Contents
Many of my favorite breads with raisins are for the holidays, like stollen and panettone, but this raisin bread recipe can be enjoyed year round! The day I found this recipe in the American Woman’s Cookbook (where I also found my 100% whole wheat bread), the ingredients and method intrigued me and I had to make it!
It was every bit as moist, chewy, and flavorful as I hoped it would be! Plus the shortening and molasses make this bread an absolute dream to mix and shape!
Ingredients & Substitutions
- Whole Milk: Whole milk adds flavor and fat. It has a lower water content, and the extra fat helps keep the raisin bread tender and moist. You can use other milk substitutes if that’s what you have on hand. Buttermilk is even a possibility! It’s what I use in my whole wheat rolls.
- Shortening: Shortening, such as Crisco, adds fat and will also inhibit gluten development, which makes the bread tender. You can substitute butter or coconut oil.
- Molasses: I use unsulphured molasses. It has a lighter, milder flavor. This adds all the warm, winter notes without the bite of blackstrap molasses. The molasses is also food for the yeast, helping to kickstart the proofing process.
- Dry Active Yeast: Dry active yeast requires an added step of hydration, but it is fast and controllable. If you don’t have dry active yeast, you can substitute double the weight of fresh yeast or half the weight of instant yeast. If using either fresh or instant yeast, you can add it straight to the dough.
- All-purpose Flour:
- Kosher Salt: Kosher salt is less salty than table salt, and a teaspoon weighs less than other, finer ground varieties. It adds flavor but also contributes to the dough structure and is factored into the hydration needed for the dough.
- Raisins: I use dark raisins but you could also use golden raisins or a mix of both! You can also use up to 3 cups of raisins like I do in my sourdough raisin bread recipe! Be sure to head over to my sourdough starter recipe first. But when it comes to raisins, my policy is: the more the merrier.
See the recipe card for full information on ingredients and quantities.
Variations
- Add a swirl! For a delicious cinnamon raisin bread recipe add a cinnamon swirl! After the bench rest, roll the loaf out into an 8×12-inch rectangle and brush it with a bit of milk or water. Then sprinkle cinnamon sugar all over the dough, leaving a small section clear, just as you would when making sourdough cinnamon rolls. Then roll the dough tightly lengthwise, pinch the seal closed, and place it in the prepared loaf pan, seam-side down. Continue with the final proof.
- Change the mix-in. You can make this bread with dried currants like in these sourdough hot cross buns, cherries like cherry sourdough bread, freeze-dried strawberries, or blueberries. Try adding some toasted pecans, walnuts, or maybe even chocolate chips.
- Switch up the sweetener. Exchange the molasses for some local honey! I have even made this bread with dark brown sugar, or light brown sugar, and it was truly divine!
- Spice it up! Add a little bit of spice. You can make it with my apple pie spice or my pumpkin spice recipe!
Professional Tips
- Let the milk cool! If your milk is too hot when you add the yeast, it will die. Yeast’s happy place is between 90°F and 110°F. That is where you will get the best fermentation and growth.
- Don’t rush the proofing. The bulk proof (or first proofing) is essential for developing the flavor and structure of the dough. Underproofed dough can taste bland and yeasty. Plus, you can end up with dense bread that seems doughy even when fully baked.
- Grab your kitchen scale! Making bread is a science. The flour needs to be appropriately hydrated for proper gluten development. The easiest and most consistent way to make bread is to grab your scale and weigh everything!
How to Make This Raisin Bread Recipe
Use these instructions to make this scrumptious raisin bread! Further details and measurements can be found in the recipe card below.
Mix the dough:
Step 1: Combine the shortening, molasses, and milk and heat until all the shortening has melted, stirring occasionally. Let this mixture cool until it is lukewarm (100°F – 110°F).
Step 2: Whisk the active dry yeast into the mixture and let it sit, undisturbed, for 10-15 minutes, or until the yeast has bubbled and looks frothy.
If, after 15 minutes, you don’t see any bubbles, the yeast is likely dead, either because it was old, stored improperly, or because the milk was too hot. Best to know now instead of later when you’re waiting for your bread to rise.
Step 3: In the bowl of a stand mixer fitted with the paddle attachment, combine wet ingredients with salt and flour. Mix on low until incorporated.
Step 4: Switch to the dough hook attachment and mix on medium until a smooth dough has formed and it passes the windowpane test. It took about 10-12 minutes in my stand mixer.
Window Pane Test: You can take a portion of the dough and gently stretch it so thin that you can see through it. Grab the dough on either side and gently stretch a little, turn 90 degrees, and repeat. Continue working around the square until the dough is thin enough to work with. If it tears before you can get a smooth “window pane”, then it’s not done and needs more time to mix. Sometimes, trying to pull a window pane from a piece of dough that is too small or pulling too aggressively will also cause it to tear. If in doubt, grab a new and larger piece (no larger than a golf ball) and try again.
Step 5: Once the desired amount of gluten development has occurred, add the raisins and mix on low. Make sure to give the raisins enough time to work all the way throughout the dough.
Bulk proof:
Step 6: Oil a large bowl with cooking spray or vegetable oil. Place the dough in the greased bowl. Cover with a damp towel or plastic wrap.
Step 7: Allow to proof in a warm spot until doubled, which took me an hour.
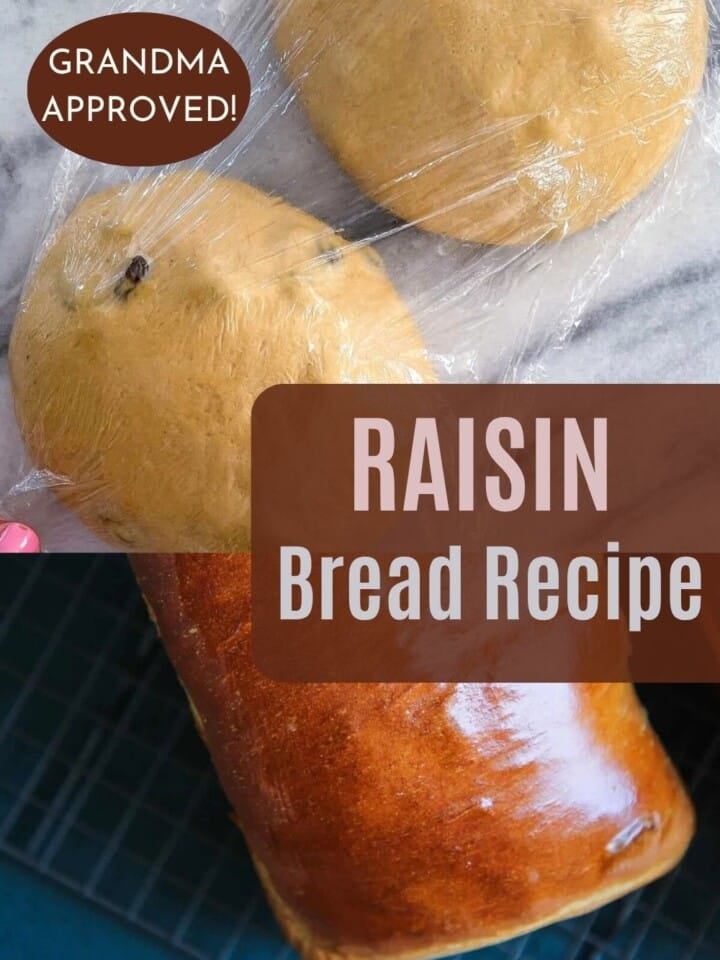
Step 8: Turn dough out onto a countertop and divide into two equal portions (730g).
This bread is moist enough that you won’t need to flour the surface of the work station. It will make it harder to shape the bread. If it’s sticky, you can spray nonstick cooking spray to prevent the bread from sticking, like I do with my potato rolls.
Shape the bread:
Step 9: Preheat the oven to 350°F and spray two 9×5-inch loaf pans with cooking spray or butter.
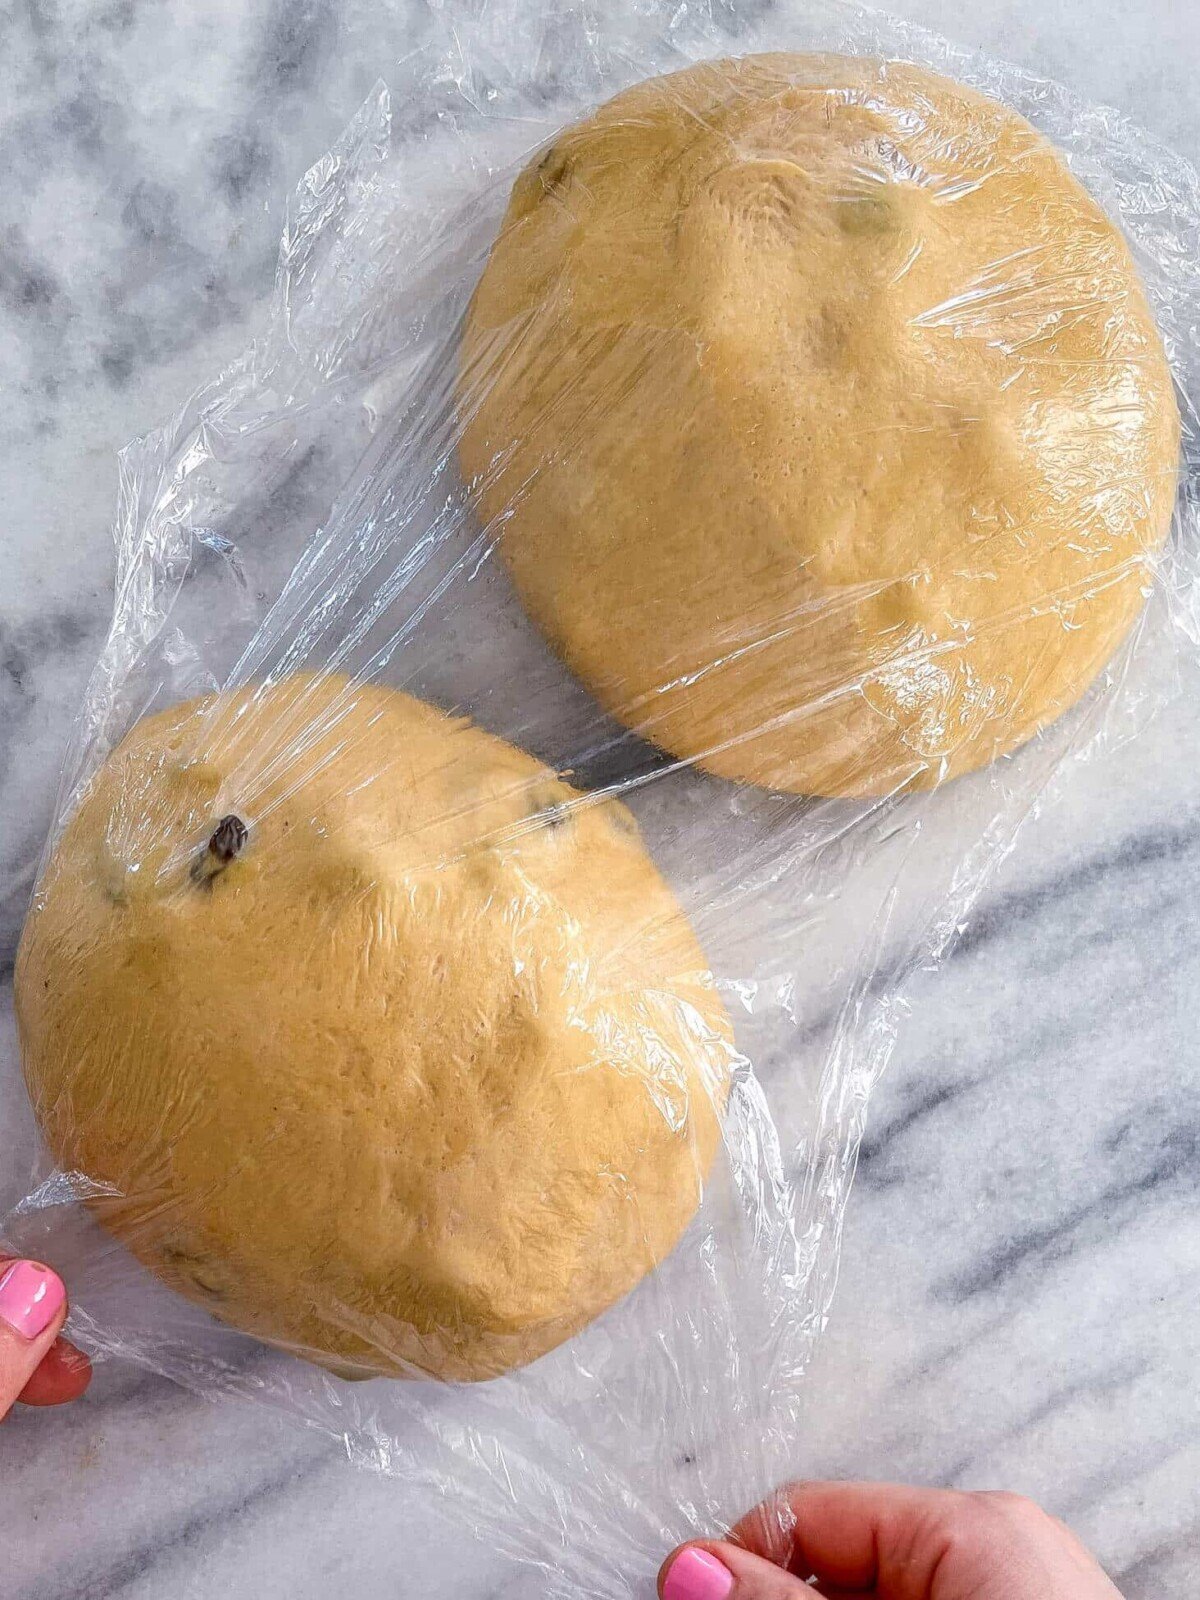
Step 10: Preshape the dough into a boule (round). Fold each of the four sides towards the center, then flip over (seam side down). Gently pull it towards yourself using two hands, allowing the dough to stretch over the top and pull underneath. Turn a quarter turn and repeat until you have a round dough ball with a smooth, tight surface. Cover with plastic wrap. Bench rest (allow to sit undisturbed) 10 minutes.
Step 11: Final shape into a log and place in a greased baking dish. Flip the dough over so the seam is facing up. Grab two corners, pick it up, and allow gravity to pull the dough down, stretching it into a rectangle. Place on the bench (seam still face up). Fold the top third towards the center, pressing down. Rotate 180 degrees, then repeat with the other side. Folding the top third down towards the center. Using the heel of your right hand and the thumb on your left, grab the top part of the dough starting on the right side and fold it over your thumb. Seal it down by pressing the heel of your right hand on the seam you just created. Repeat until you have gone the full length of the loaf.
Keep in mind the length of your loaf pan. You do not want the dough to be longer or shorter than the pan. Place your pan on the bench in front of you for easy reference. Repeat the thumb folding process if the dough log is not tight or is not long enough.
Step 12: Place seam-side down in the prepared loaf pans. Cover with plastic wrap.
Final Proof and Bake:
Step 13: Proof in a warm, humid place until they have doubled in size and feel light and airy to touch.
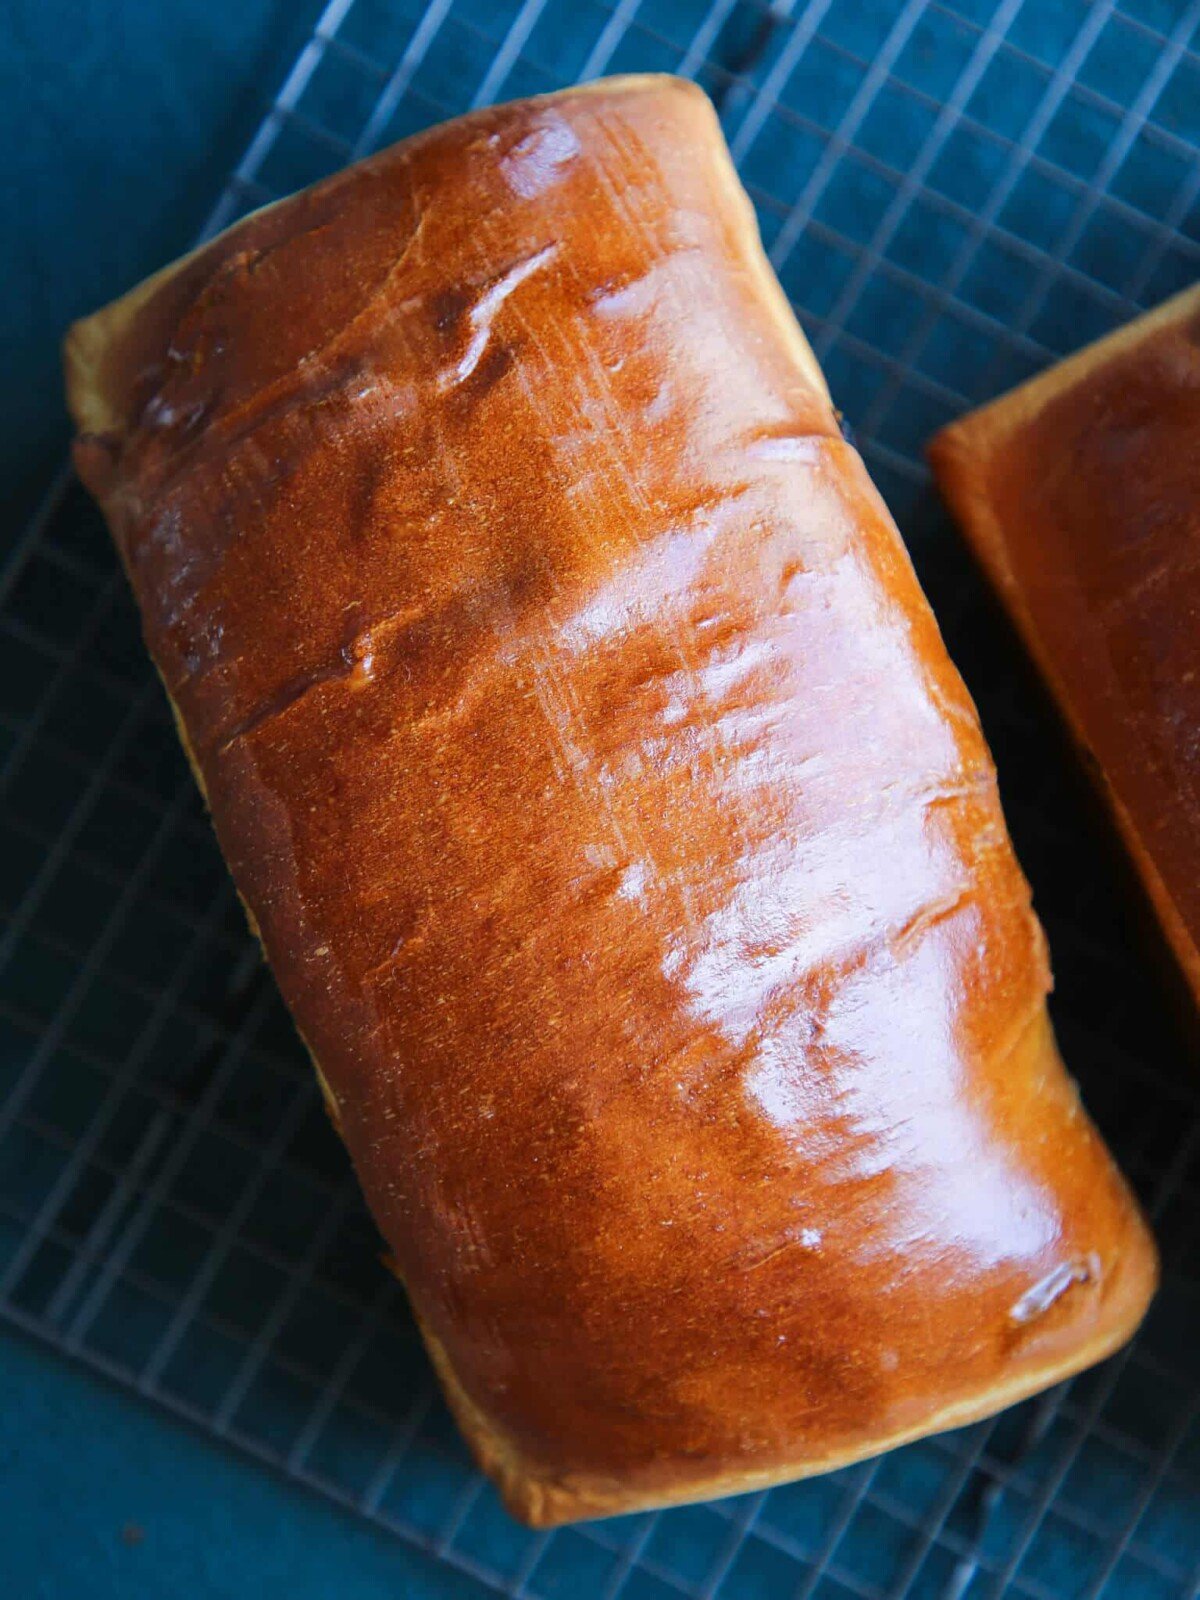
If you want shiny tops like mine, brush them with a beaten egg. Just a light coating will do the trick.
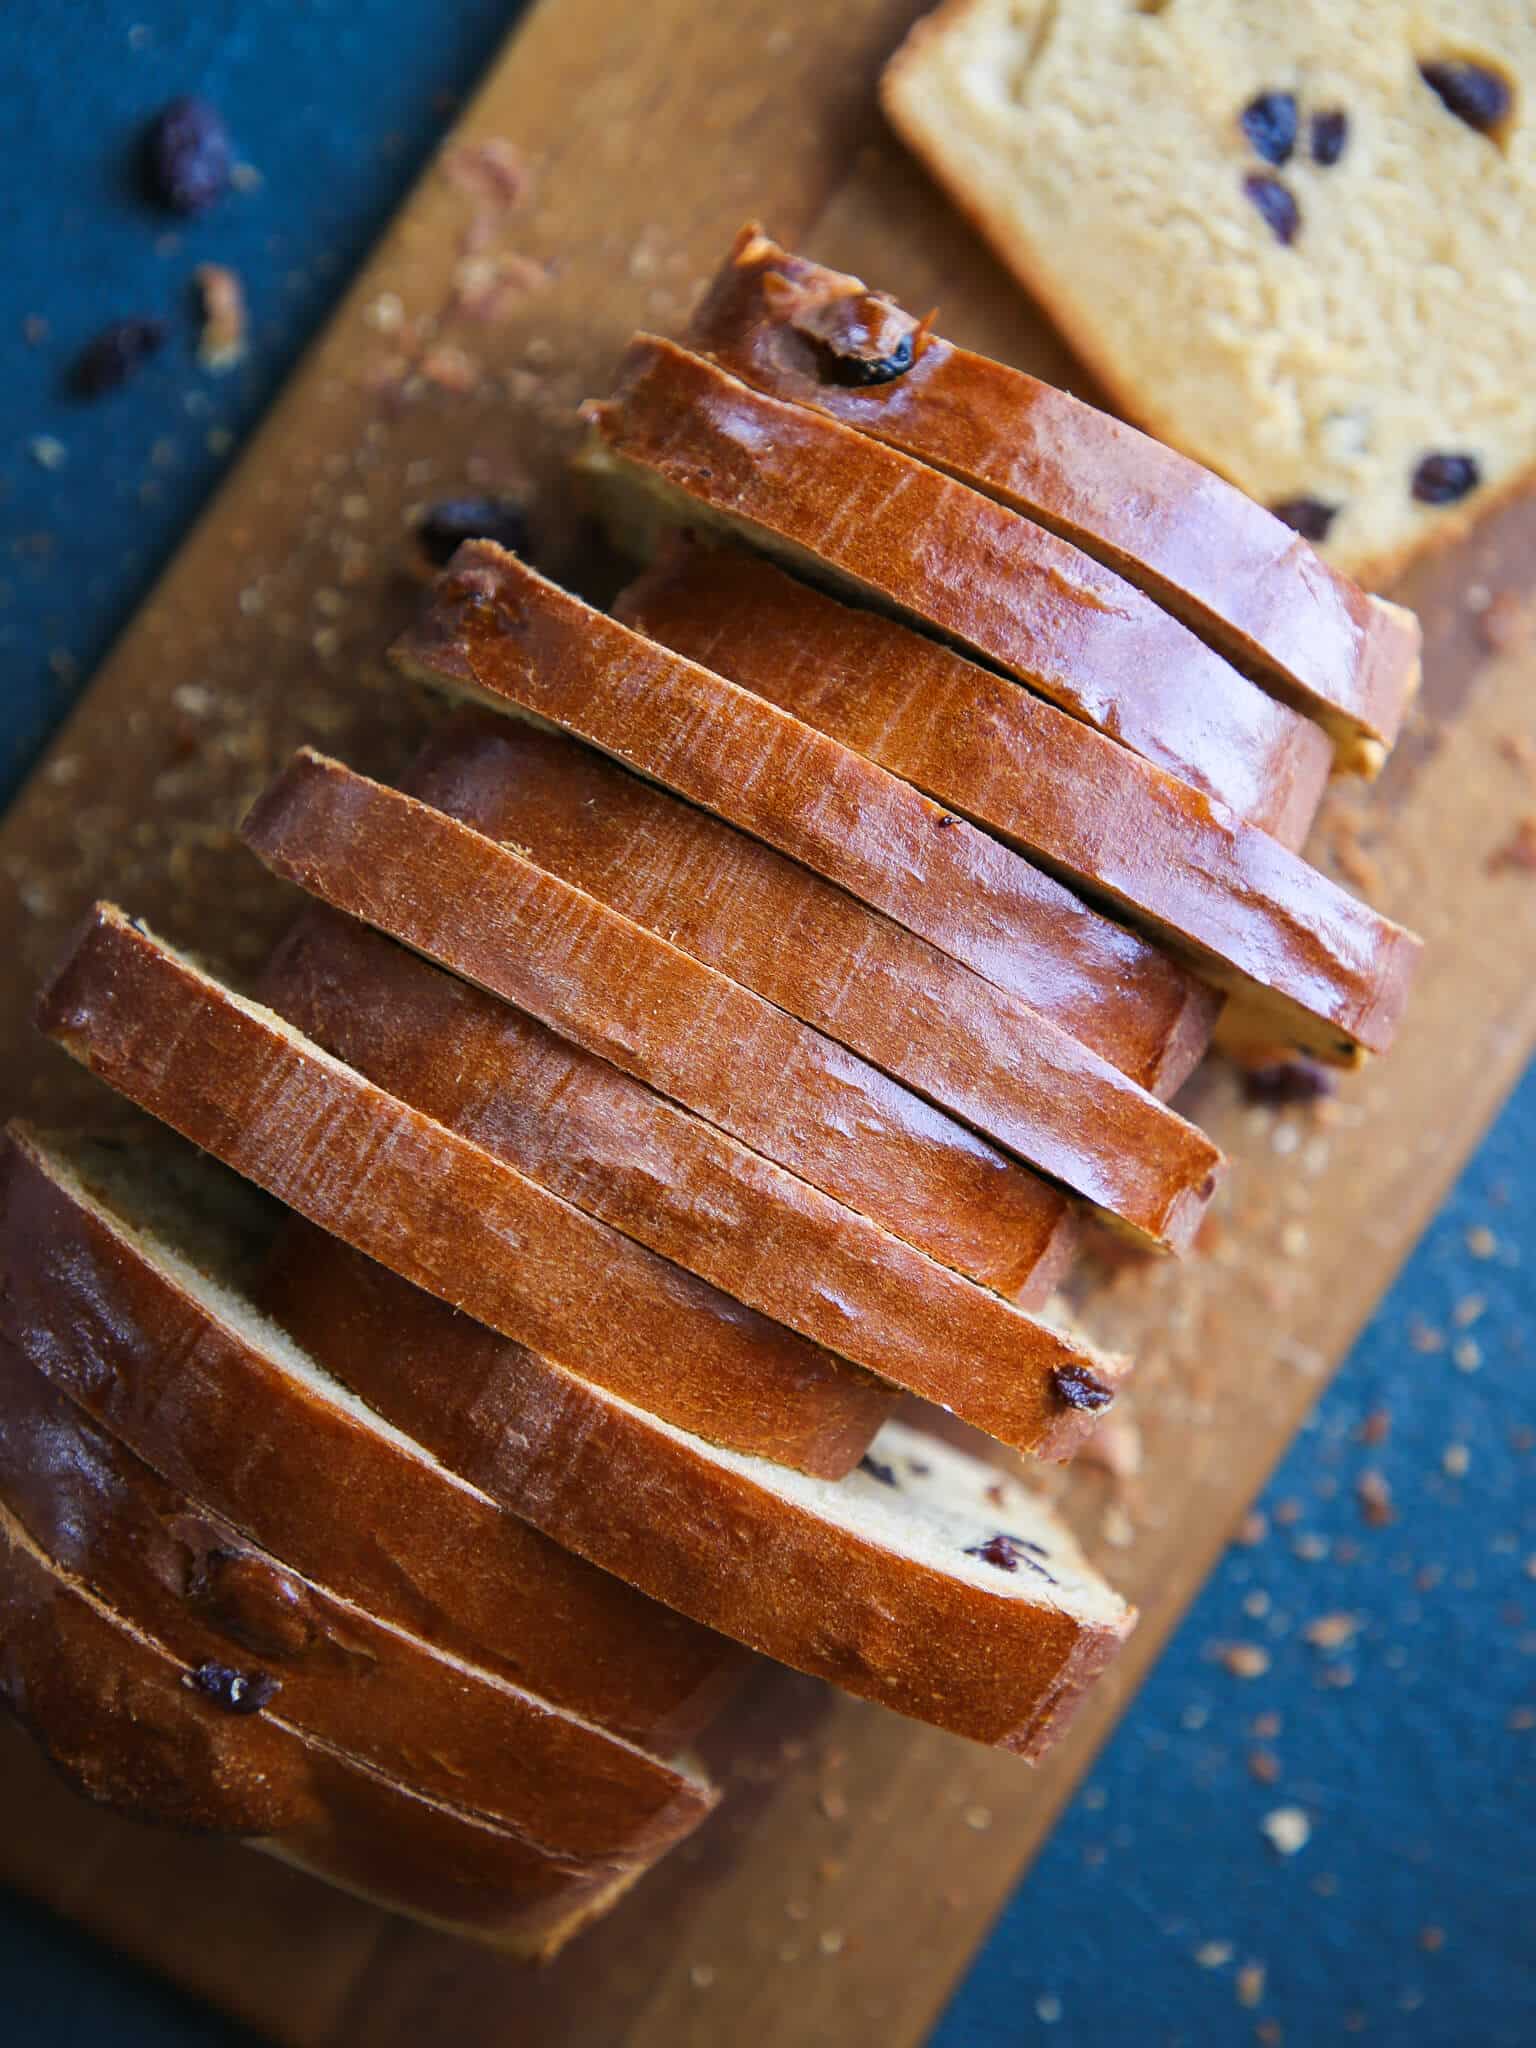
Step 14: Bake in the preheated oven until a thermometer reads 186°F. You can also insert a toothpick into the center; the loaves are done when it comes out clean. Turn out onto a cooling rack and cool completely before slicing.
Chef Lindsey’s Recipe Tip
Remove the bread from the pan immediately. If you leave the bread in the pan to cool, the bottom of the bread will become soggy from steaming. And we don’t want any soggy bottoms!
Recipe FAQs
The molasses, milk, and shortening will keep raisin bread soft at room temperature for up to 3 days before it begins to dry out. Store well-wrapped or in an air-tight container at room temperature for up to 5 days or freeze immediately after cooling for up to 2 months. The refrigerator will dry out the bread faster. I find it easier to pre-slice before wrapping and freezing. That way, I can take out as many or as few slices as I want!
No, you don’t need to soak raisins before putting them in this bread unless they are exceptionally dry. If you want to add some extra flavor, you can soak them in brandy or rum like I do in this rum raisin banana bread, but drain them and pat dry before adding to the dough.
I’m always a fan of raisin bread toasted with butter and topped with cinnamon sugar! You can also serve it with homemade maple butter or cream cheese and jam.
This bread is perfect for cinnamon raisin French toast, easy bread pudding, or pumpkin bread pudding. Make sweet bread crumbs or croutons by tossing crumbs or cubes in melted butter, sugar and spices. Toast in an oven until golden brown and crunchy. Serve with salted caramel sauce over vanilla bean ice cream!
Recommended Raisin Bread Recipes
Easy Quick Bread Recipes
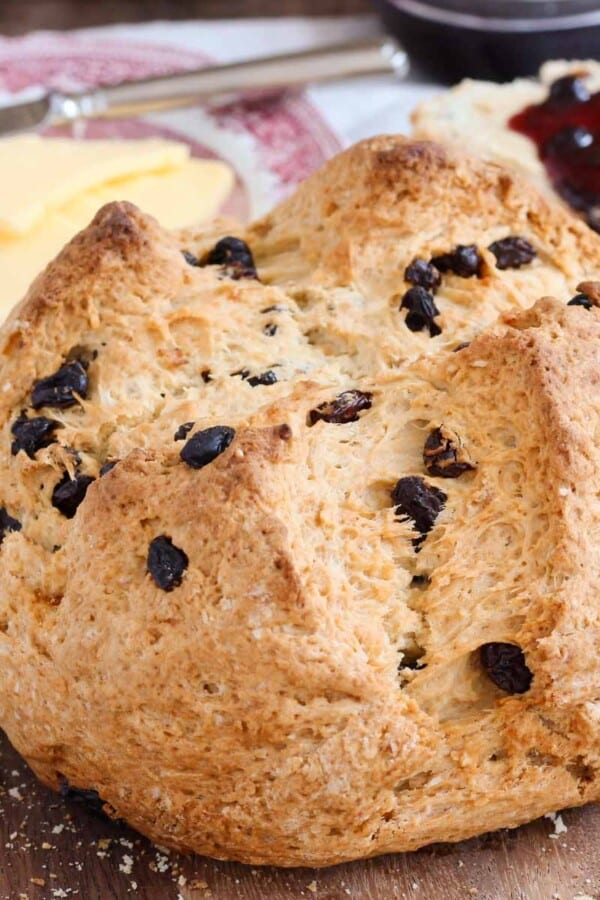
Traditional Irish Soda Bread with Raisins
Sourdough Bread Recipes
Sourdough Raisin Bread
Yeasted Bread Recipes
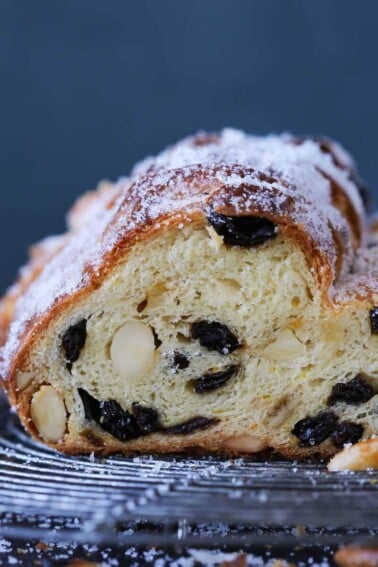
The Best Stollen Recipe
Easy Quick Bread Recipes
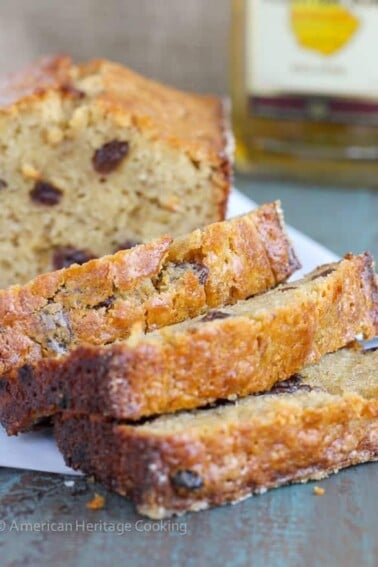
Brown Butter Rum Raisin Banana Bread
If you tried this recipe and loved it please leave a 🌟 star rating and let me know how it goes in the comments below. I love hearing from you; your comments make my day!

Raisin Bread
Ingredients
- 2 cups whole milk warmed to 115°F
- 2 tbsp shortening
- ¼ cup molasses
- 2 ¼ teaspoon dry active yeast
- 6 cups all-purpose flour
- 1 ½ teaspoon kosher salt
- ¾ cup raisins
Instructions
Mix the dough:
- Combine the shortening, molasses, and milk and heat until all the shortening has melted, stirring occasionally. Let this mixture cool until it is lukewarm (100°F – 110°F).
- Whisk the active dry yeast into the mixture and let it sit, undisturbed, for 10-15 minutes, or until the yeast has bubbled and looks frothy.
- In the bowl of a stand mixer fitted with the paddle attachment, combine wet ingredients with salt and flour. Mix on low until incorporated.
- Switch to the dough hook attachment and mix on medium until a smooth dough has formed and it passes the windowpane test. It took about 10-12 minutes in my stand mixer.
- Once the desired amount of gluten development has occurred, add the raisins and mix on low. Make sure to give the raisins enough time to work all the way throughout the dough.
Bulk proof:
- Oil a large bowl with cooking spray or vegetable oil. Place the dough in the greased bowl. Cover with a damp towel or plastic wrap.
- Allow to proof in a warm spot until doubled, which took me an hour.
- Turn dough out onto a countertop and divide into two equal portions (730g).
Shape the bread:
- Preheat the oven to 350°F and spray two 9×5-inch loaf pans with cooking spray or butter.
- Preshape the dough into a boule (round). Fold each of the four sides towards the center, then flip over (seam side down). Gently pull it towards yourself using two hands, allowing the dough to stretch over the top and pull underneath. Turn a quarter turn and repeat until you have a round dough ball with a smooth, tight surface. Cover with plastic wrap. Bench rest (allow to sit undisturbed) 10 minutes.
- Final shape into a log and place in a greased baking dish. Flip the dough over so the seam is facing up. Grab two corners, pick it up, and allow gravity to pull the dough down, stretching it into a rectangle. Place on the bench (seam still face up). Fold the top third towards the center, pressing down. Rotate 180 degrees, then repeat with the other side. Folding the top third down towards the center. Using the heel of your right hand and the thumb on your left, grab the top part of the dough starting on the right side and fold it over your thumb. Seal it down by pressing the heel of your right hand on the seam you just created. Repeat until you have gone the full length of the loaf.
- Place seam-side down in the prepared loaf pans. Cover with plastic wrap.
Final Proof and Bake:
- Proof in a warm, humid place until they have doubled in size and feel light and airy to touch.
- Bake in the preheated oven until a thermometer reads 186°F. You can also insert a toothpick into the center; the loaves are done when it comes out clean. Turn out onto a cooling rack and cool completely before slicing.
Notes
Nutrition
Before You Go
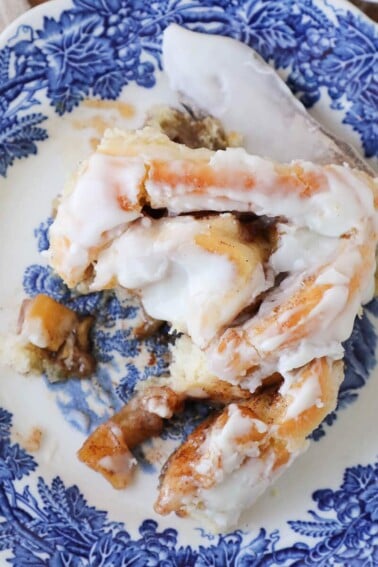
I hope you enjoyed this easy and delicious old fashioned bread recipe! Be sure to try our other yeasted bread recipes like whole wheat sandwich bread or this cinnamon roll recipe with cream cheese icing!


I was so happy to find a raisin bread recipe that delivers a soft, chewy texture. The molasses and raisins made for a truly delicious loaf! I baked it on Saturday morning, and it didn’t last till Monday! Thank you for the wonderful recipe.
Another question – what raisins? Lexia? sultana? other?
About the old fashioned raisin bread – what do you mean by a package of yeast? Teaspoon or ??. I buy bulk yeast so an actual measurement would be helpful.
1 envelope or packet of Active Dry Yeast, Instant Yeast, Rapid Rise Yeast, Fast Rising Yeast or Bread Machine Yeast weighs 1/4 ounce or 7 grams which equals 2 1/4 teaspoons (11 mL).
Also, you might like this raisin bread.
Happy Baking!
Excellent recipe! Best one yet!
Thanks Kimberly!