This post may contain affiliate links. Please read our disclosure policy.
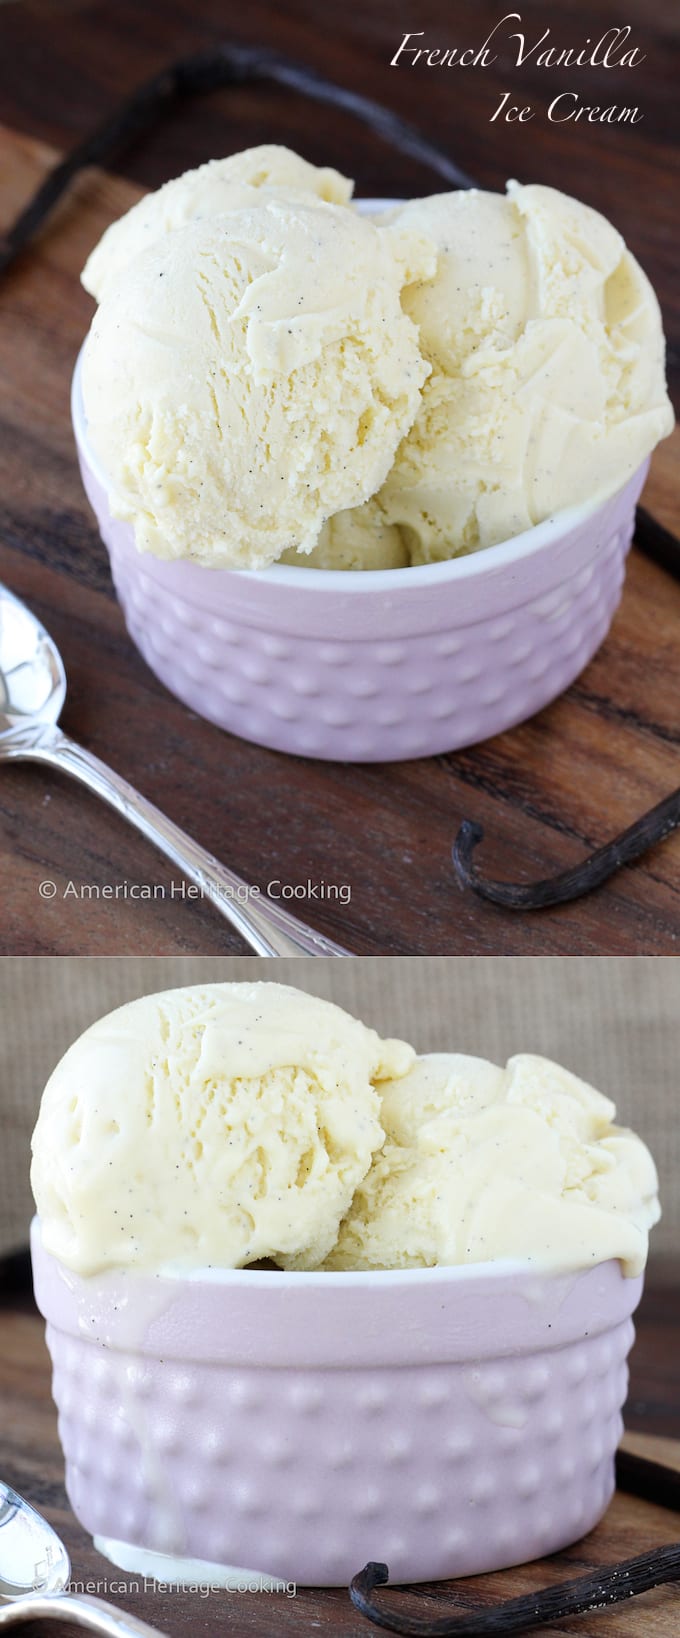
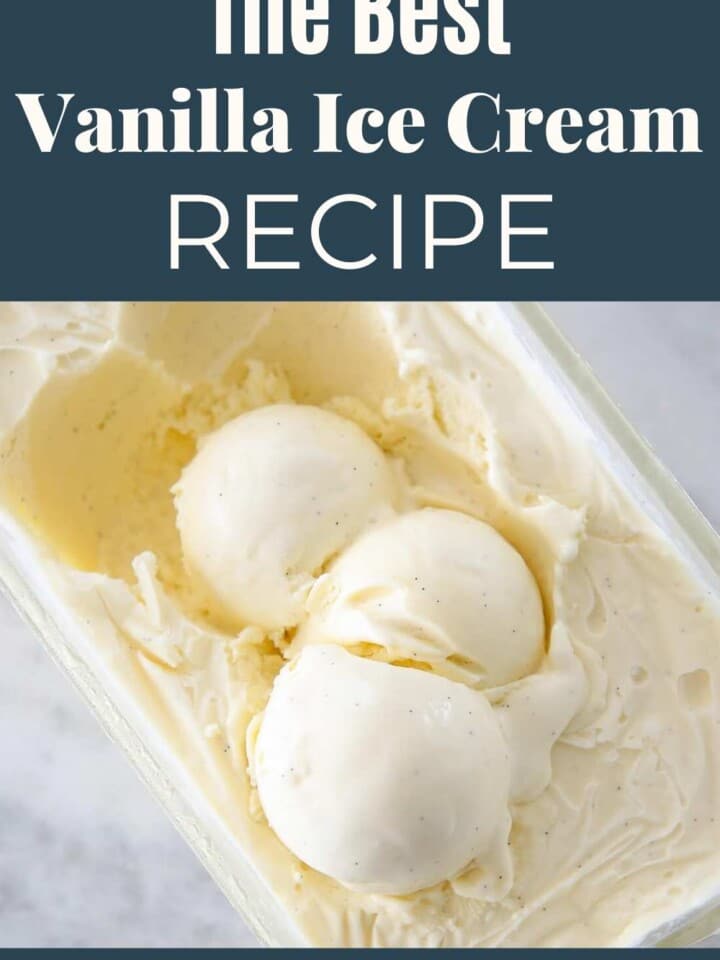
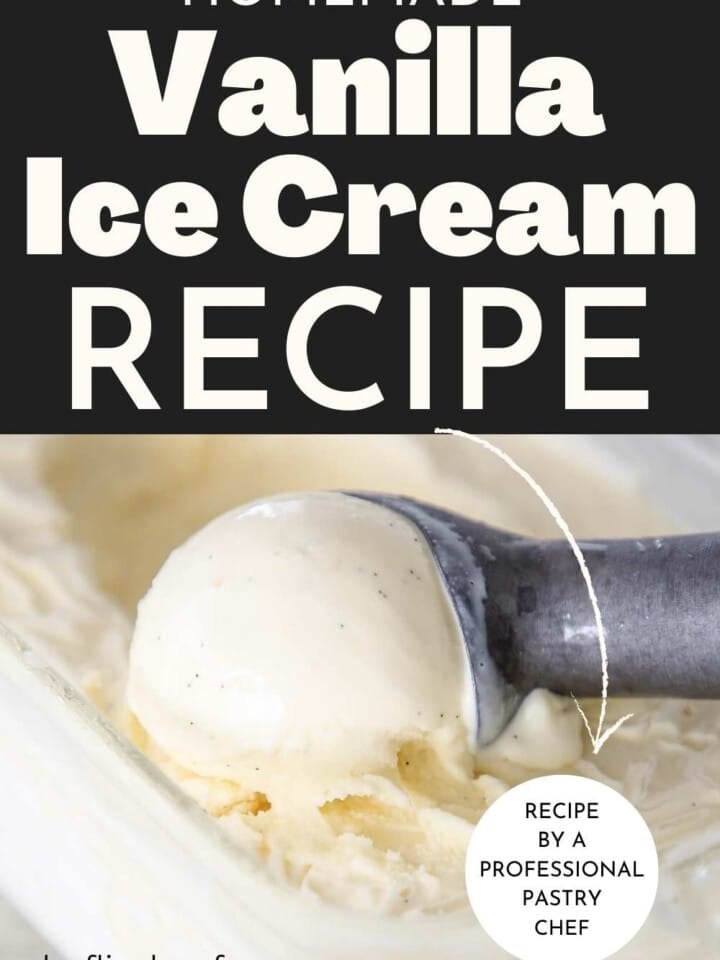
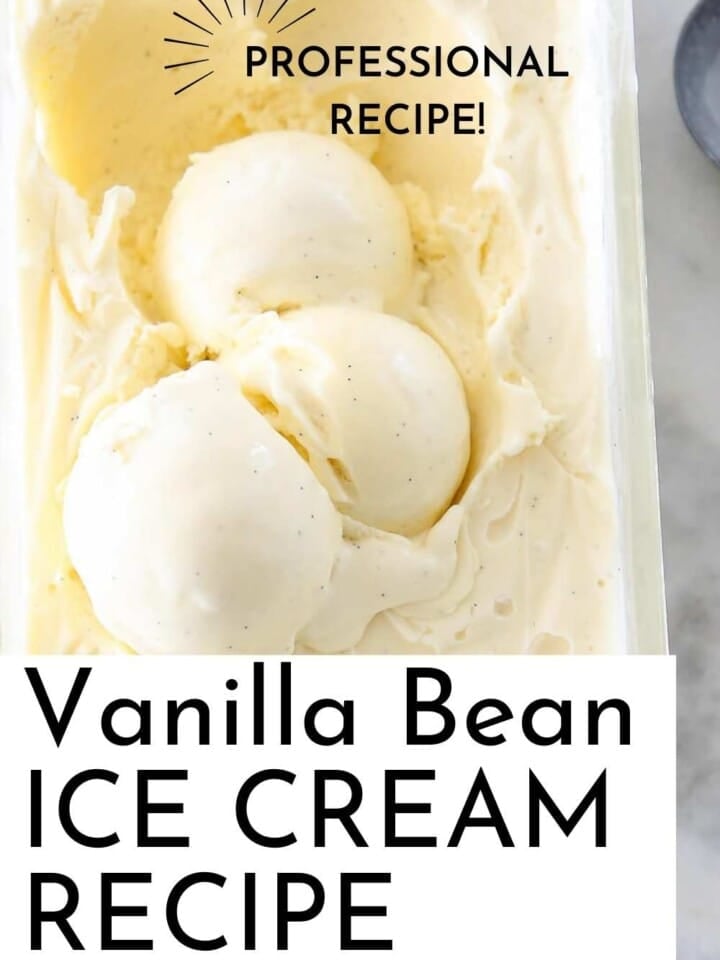
A professional pastry chef’s recipe for vanilla bean ice cream. Rich, creamy and perfectly flavored with real vanilla bean! A simple recipe with only 6 ingredients.
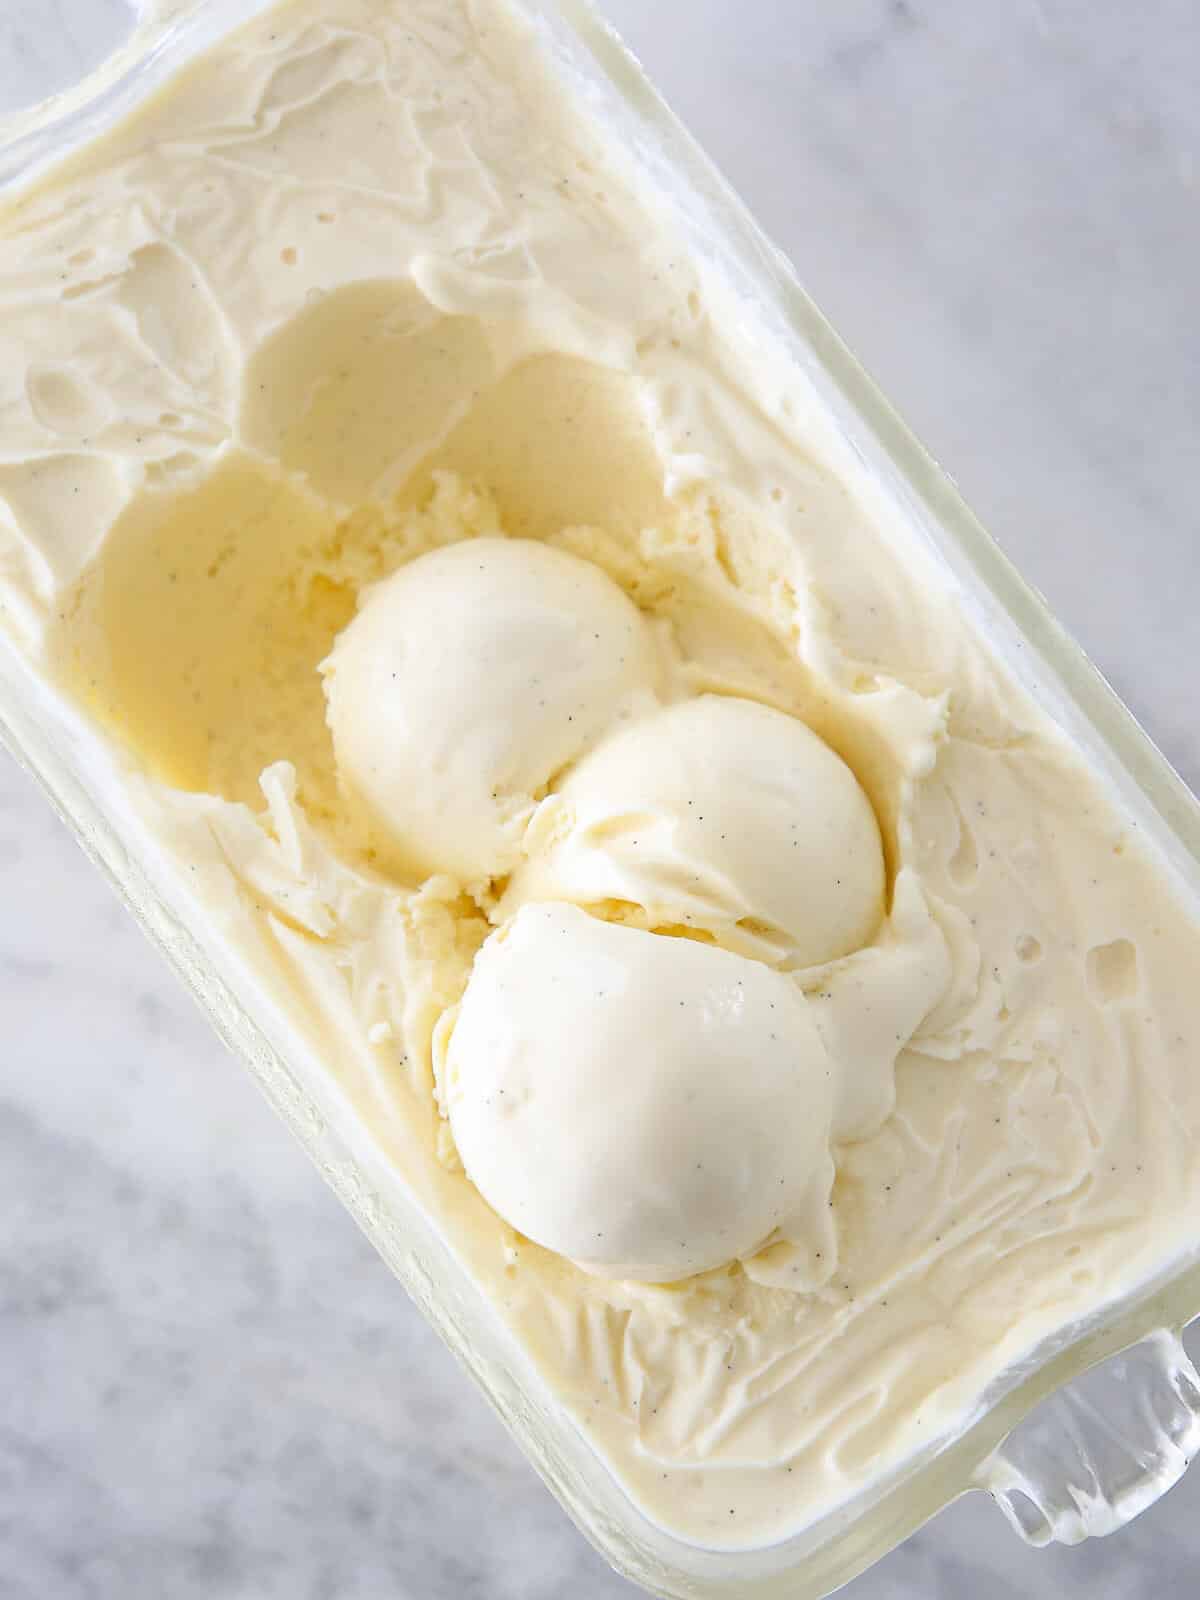
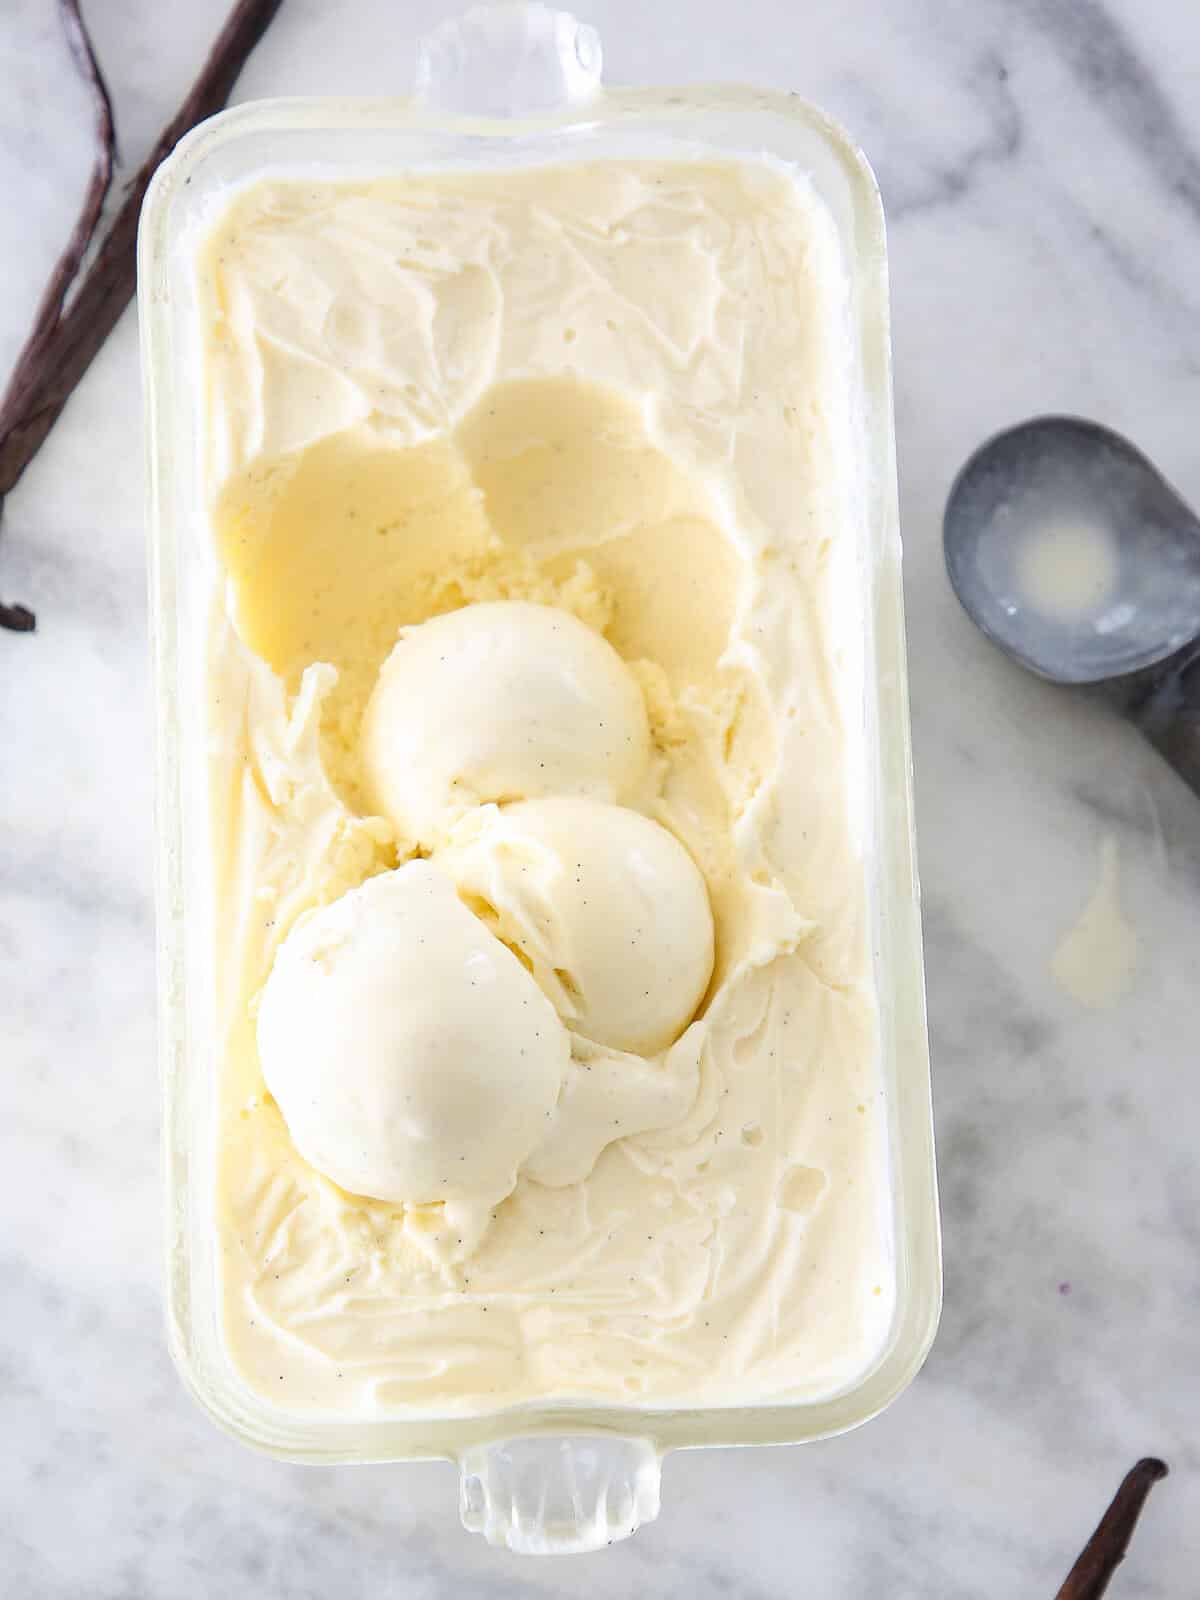
This vanilla bean ice cream recipe has a rich, custard base infused with real vanilla bean for a complex vanilla flavor. While you can make ice cream without eggs, it will not be as creamy and rich. I always use an egg yolk based custard.
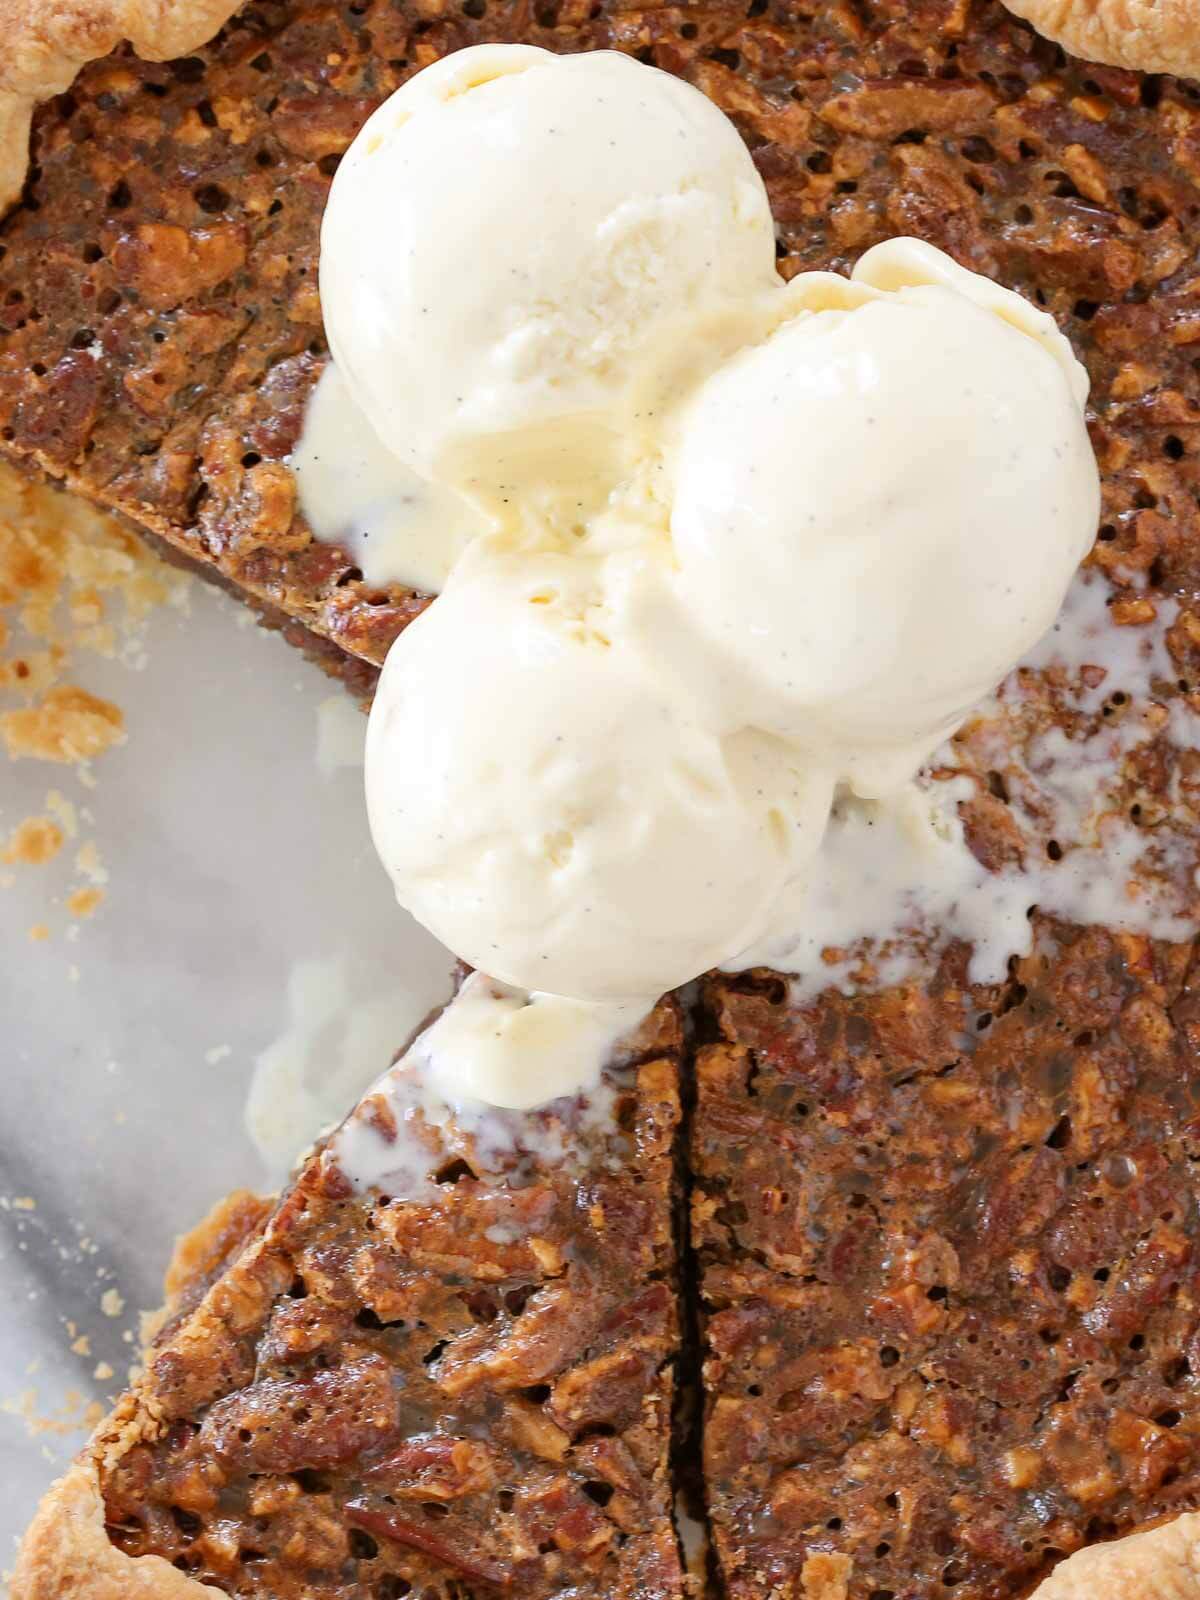
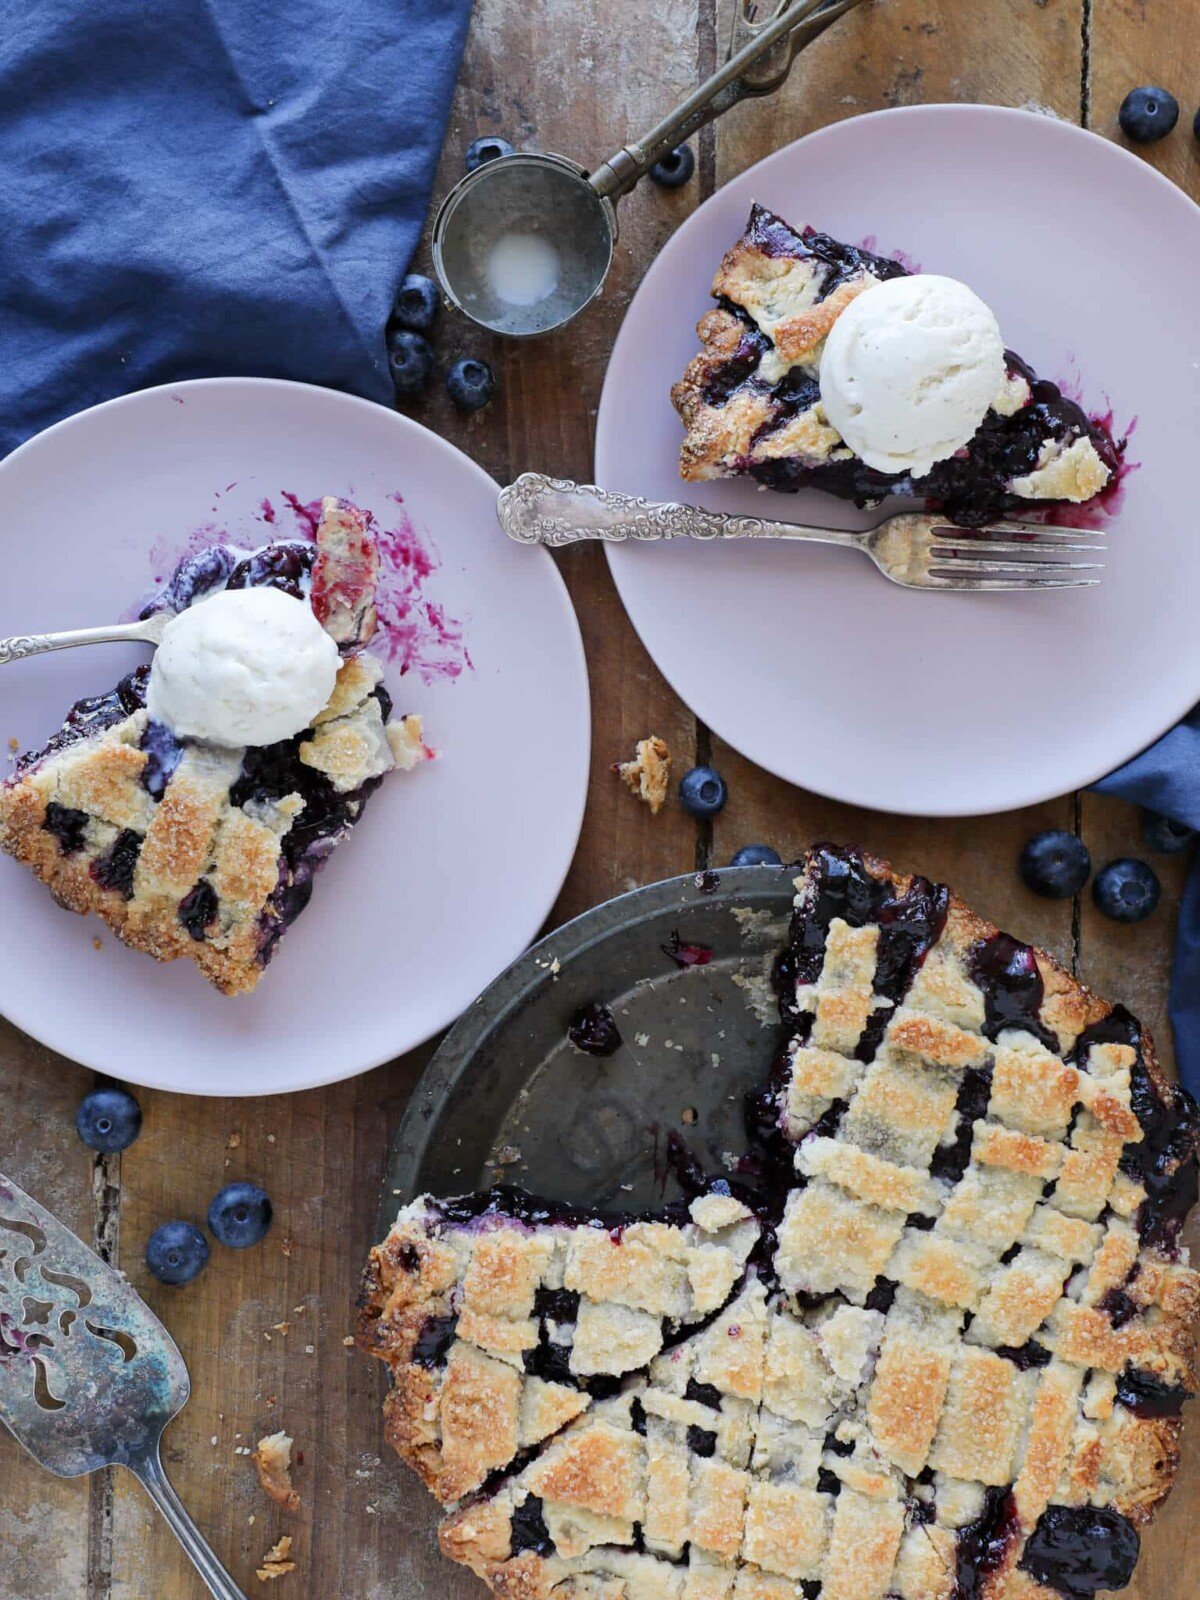
You will need an ice cream maker or the stand mixer attachment for this recipe, but the extra step is worth it! Serve it on top of bread pudding, flourless chocolate cake, mixed berry pie, or really any of our delicious pie recipes or professional cake recipes!
Table of Contents
- Why This is the Best Vanilla Bean Ice Cream
- Professional Tips for Making Vanilla Ice Cream
- Ingredients Needed
- Variations & Substitutions
- How to keep ice cream creamy not icy
- How to Make Vanilla Ice Cream
- Chef Lindsey’s Recipe Tip
- What to serve with vanilla ice cream?
- Frequently Asked Questions
- Vanilla Bean Ice Cream Recipe
- Before You Go
Why This is the Best Vanilla Bean Ice Cream
- Extra creamy and rich. I spent years refining this recipe in the restaurants to make the thickest, silkiest, richest custard-based ice cream. I added extra fat via egg yolks rather than cream to make it thick and creamy without the unpleasant coating of the mouth that comes from too much cream.
- Real vanilla bean. All of the vanilla flavor is from infusing the custard with a real vanilla bean. This lends a complex and refined flavor to the ice cream. You can use just the spent vanilla bean pods from homemade marshmallows!
- It uses simple ingredients and is easier than it seems! You probably have everything save the bean on hand! If you’ve made crème anglaise, then you can absolutely make homemade ice cream!
Professional Tips for Making Vanilla Ice Cream
- Use a real Madagascar vanilla bean. There is a subtlety to ice cream made by infusing real vanilla beans: it has a depth of flavor and complexity lacking in ice cream using extract or vanilla bean paste.
- Completely chill the base. Churning a cold ice cream base will help prevent ice crystals from forming during churning. This will make a thicker, creamier ice cream.
- Split the sugar between the cream and egg yolks. Adding some of the sugar to the cream mixture keeps the milk from scorching and adding the rest to the egg yolks protects them from scrambling during tempering.
- Take care not to over-churn. Over churned ice cream freezes too hard, and when taken way too far, the cream will actually separate and will leave a fatty coating in your mouth after each bite.
Ingredients Needed
- Heavy Cream: Heavy cream adds fat to the custard, which will make it taste creamy and rich.
- Milk: I use whole milk for all custards including ice cream, because they stand up to heating better and also have a richer taste.
- Granulated Sugar: I use granulated sugar for sweetness as well as protection against the milk scorching and the eggs scrambling during the tempering process.
- Kosher Salt: Kosher salt enhances the flavors without adding more sugar.
- Vanilla Bean: You can use just the spent vanilla bean pods from another recipe that just uses the seeds like banana pudding!
- Egg yolks: I use egg yolks in ice cream because all the thickening power and fat are in the yolks. You need both for a great ice cream! Save the whites for marshmallows with egg white or a pavlova cake!
See the recipe card for full information on ingredients and quantities.
Variations & Substitutions
- Use vanilla extract or vanilla bean paste: You can use 2 teaspoons vanilla bean paste or 1 tablespoon of vanilla extract instead of the vanilla bean.
- Half and half: Since there is a equal proportion of cream to milk, you can substitute half and half for the full measurement of milk and cream in the recipe.
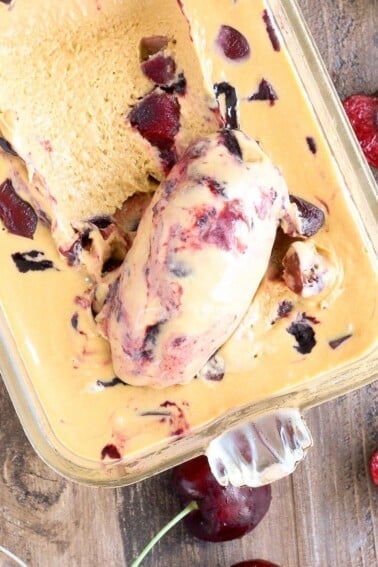
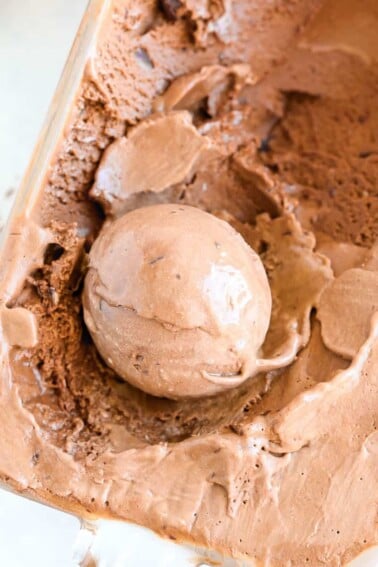
- Get creative with mix-ins: This ice cream is a fabulous base for anything you can imagine! Try adding a swirl of salted caramel sauce, chocolate sauce, quick strawberry jam, or cherry preserves. Mix in baked streusel topping, apple pie filling or both! If you want chocolate, try the best chocolate ice cream instead.
How to keep ice cream creamy not icy
- Add more egg yolks rather than cream. The more fat, the thicker and richer the resulting ice cream will be. Adding more fat from cream will create an unpleasant mouthfeel after churning, while adding egg yolks will make the base thicker and creamier after churning. Too many egg yolks will make the ice cream taste eggy. I’ve already done all that testing for you, so you can just make my recipe as directed.
- Completely chill the ice cream base. You will get the thickest base and creamiest ice cream if you cool it overnight in the refrigerator.
- Add a stabilizer. All commercially produced ice cream and many ice creams made in top restaurants employ ice cream stabilizers to create and maintain the best texture. Stabilizers help make the ice cream silkier, keep it from getting icy in the freezer, and delay the melting process. At home you can add an ice cream stabilizer or you can add xanthan gum. I have instructions for adding either in the recipe card below.
How to Make Vanilla Ice Cream
Use these instructions to make the perfect vanilla bean ice cream every time! Further details and measurements can be found in the recipe card below.
Make the custard ice cream base:
Step 1: Pre-freeze your ice cream machine canister along with the container you are going to put the ice cream in. It should hold a quart. A standard loaf pan works great.
Step 2: In a large pot combine milk, cream, salt, half of the sugar, and vanilla beans and pods. Heat the cream mixture on medium-high heat just until it comes to a boil.
One of the benefits of making a larger batch is the cream mixture taking longer to boil. You can emulate this at home by starting the ice cream on a lower heat and then increasing it.
Step 3: Meanwhile, in a large bowl whisk the egg yolks with all the remaining sugar until lightened to a pale yellow. Once the cream mixture begins steaming, I add the sugar to the yolks and them whisk them together.
I don’t like to let the sugar sit with the eggs too long or it will denature the proteins and you’ll get those hard little pieces of yolk that look like scrambled eggs.
Step 4: Once the cream comes to a boil, slowly pour it into the eggs while whisking constantly. Return to the pot and cook until the base reaches 85°C or 180°F, stirring constantly with a spatula.
Step 5: Pour through a strainer into a bowl and set bowl in an ice bath (lots of ice with a little bit of water in a bigger bowl). The ice bath is optional but it will stop the cooking process and give you the best ice cream. Cover the surface with plastic wrap and poke a few holes.
You will get the thickest base and creamiest ice cream if you cool it overnight in the refrigerator but technically you can spin it as soon as it is cold to the touch.
Step 6: Pour into your ice cream machine per the manufacturer’s specifications. You always want to add the base with the machine already running to avoid it freezing on the sides.
Step 7: Continue churning until the volume increase by about 1/3 and the ice cream pulls away from the sizes and holds its shape when scooped out. In my Cuisinart this takes a solid 25 minutes.
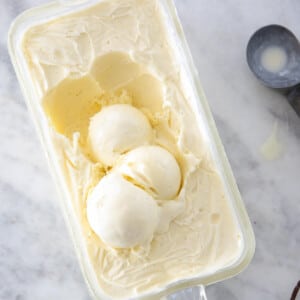
Step 8: Pour into pre-frozen container such as a loaf pan, place plastic wrap directly on the surface to avoid ice crystals from forming or the ice cream absorbing any flavors from the freezer. Freeze at least 4 hours, but preferably overnight.
Chef Lindsey’s Recipe Tip
Letting the ice cream sit at room temperature for 5 minutes before scooping and serving will make it easier! Dipping your ice cream scoop or spoon in hot water first also helps get that perfect scoop!
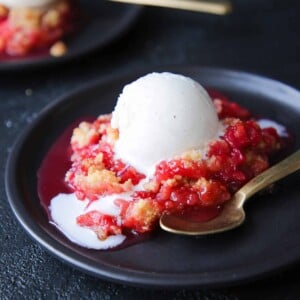
What to serve with vanilla ice cream?
There is very little that doesn’t pair beautifully with a scoop of homemade ice cream, but here is a little inspiration for you!
- Make it the main dessert. Let ice cream be the dessert and top it simply with hot fudge sauce, salted caramel sauce or easy apple compote. Add a little crunch with this easy streusel topping, pizzelle cookies, lace cookies or crumbled chocolate chip shortbread cookies.
- Serve a scoop with cake. Whether you are serving a funfetti sheet cake or a classic yellow cake, no birthday party is complete without ice cream! You can see all our cake recipes for more ideas.
- Let it melt down the sides of a slice of pie. There is nothing quite so striking as a scoop of ice cream melting down a slice of pie! Try it with blueberry pie, easy apple pie or cherry pie.
- Any fruit, spiced or chocolate dessert. The cream and vanilla combination augment other flavors like molasses and spice such as in this gingerbread cake, or the fruit in this raspberry rhubarb crumble. It enhances chocolate desserts like this one bowl chocolate cake.
Frequently Asked Questions
Store homemade ice cream in the freezer in a sealed container or with a piece of plastic wrap on the surface for up to 2 months. The plastic wrap keeps ice crystals from forming and helps prevent the ice cream absorbing other flavors from the freezer.
Vanilla bean ice cream is a custard base ice cream made by infusing the milk and cream with split and scraped vanilla beans. Using the whole pod and seeds adds a richer more intense vanilla flavor to the ice cream.
Vanilla ice cream is typically flavored with just vanilla extract while vanilla bean ice cream is flavored with vanilla bean seeds. That could be in the form of the whole pod, just the seeds or vanilla bean paste.
Vanilla bean ice cream tastes better than ice cream flavored with just vanilla extract. It has a more complex flavor and visible seeds are in the ice cream. French vanilla can be made with only extract or with both vanilla seeds and extract.
Ice cream stabilizer must be heated to activate and it will clump if added to hot liquids, so I always whisk the stabilizer into the cream milk mixture before heating. If using xanthan gum, I would follow the same process. I would use 1 teaspoon stabilizer or ½ teaspoon xanthan gum per 3 cups of liquid. Ice cream stabilizers vary in composition and strength, so it might take some experimentation.
If you tried this recipe and loved it please leave a 🌟 star rating and let me know how it goes in the comments below. I love hearing from you; your comments make my day!
Vanilla Bean Ice Cream
Ingredients
- 1 ½ cups whole milk
- 1 ½ cups heavy cream
- ⅔ cup granulated sugar divided
- 1 vanilla bean split & scraped
- 1 teaspoon kosher salt
- 5 egg yolks
Instructions
- Make sure you have pre-frozen your ice cream maker’s mixing bowl and the container you plan to store it in.
Make ice cream custard base
- Place a fine mesh strainer over a medium bowl and place that medium bowl over a larger bowl filled with ice.
- In a heavy saucepot, combine milk, cream, ⅓ cup sugar and kosher salt.
- Using a paring knife, split the vanilla bean in half and scrap out all the seeds. You can also use previously scraped pods. Add the seeds and pod directly into the cream mixture.
- Heat the milk mixture over medium heat, stirring occasionally, to dissolve the sugar. Continue to heat just until the mixture comes to a rolling boil.
- In a large bowl, whisk the egg yolks with the remaining sugar until the mixture lightens to a pale yellow. When the cream mixture begins to steam, slowly pour about half of it into the yolks while whisking constantly to temper them. This gradual mixing prevents the eggs from curdling.
- Once the cream comes to a boil, slowly pour it into the eggs while whisking constantly. Pour back into the pot.
- Return the tempered mixture to the pot and cook over medium heat, stirring constantly with a silicone spatula. Continue until the custard thickens enough to coat the back of a spoon and reaches 85°C (180°F) on an instant-read thermometer. Do not let it boil.
- Pour through the sieve into the bowl nestled in ice. Allow to cool, stirring occasionally, for about 10 minutes. Wrap tightly in plastic wrap and cool at least 3 hours or overnight for the thickest, richest ice cream.
Churn the ice cream
- Pour into your ice cream machine per the manufacturer’s specifications. You always want to add the base with the machine already running to avoid it freezing on the sides.
- Continue churning until the volume increase by about 1/3 and the ice cream pulls away from the sizes and holds its shape when scooped out. In my Cuisinart this takes a solid 25 minutes.
- Place in 1 quart container and cover in plastic wrap, making sure that the plastic is touching the ice cream to prevent ice crystals from forming or absorbing any flavors from the freezer. Refrigerate at least 3 hours but preferably overnight.
Video
Notes
Nutrition
Before You Go
I hope you enjoyed this professional chef tested recipe. Check out our other delicious, chef-developed ice cream recipes!


1 teaspoon of salt is too salty. If you are going to make this I would honestly only do a 1/4 tsp!!
Thank you for the feedback! The recipe calls specifically for kosher salt, which is much less salty by volume than table salt. If table salt was used instead, 1 teaspoon would be about twice as salty as intended! If you’re using kosher salt and still find it too salty, reducing it is totally fine — but the type of salt makes a huge difference here. Hope that helps! ~ CLF team
Absolutely incredible. My husband’s jaw actually dropped when he tried it. It’s a lot saltier than I was expecting, which is quite pleasant but surprised me.
Hi Margaret! So glad it was a hit! I’m happy it was a pleasant surprise! The salt balances the sweetness and boosts the vanilla. If it tastes a bit strong to you, you can slightly reduce it next time, especially if using a finer salt than kosher. Thanks for making ice cream with us!
Soooo freaking delish!! Doubled the recipe for Thanksgiving and the whole family raved about!!
Hi Hannah! I’m so happy it earned rave reviews from the whole family, especially with a double batch. So pleased it delivered for your Thanksgiving table!
Hi, numbers 5 and 7 in this recipe don’t read right. The ice cream came out beautifully but the recipe is confusing especially had I not made ice cream before.
Hi Lisa! Thank you so much for catching that and for taking the time to share, I’m so glad your ice cream came out beautifully! You’re absolutely right that steps 5 and 7 could read more clearly. I’ve updated them to make the tempering and custard-thickening process easier to follow — in short, whisk the yolks with sugar, slowly temper with the hot cream, then cook the custard until it coats the back of a spoon at 180°F. I really appreciate you pointing that out!
I noticed your recipe calls for 1 teaspoon of salt. I am not sure if that’s accurate and wanted to check. I’d imagine a pinch or 1/8 a teaspoon of salt would be correct?
Hi Amanda! The 1 teaspoon of kosher salt is correct! Because kosher salt is less salty than table salt, it helps balance the sweetness without making the ice cream salty. If you’re using table salt, you can absolutely reduce it. Enjoy!
Does not taste good. Stick to a 2:1 (cream, milk) ratio.
Sorry to hear it wasn’t to your taste! The equal ratio of cream to milk in this recipe is actually an intentional professional choice — the post explains that adding extra fat through egg yolks rather than more cream makes a thick, rich, creamy ice cream without the heavy mouthfeel that too much cream can create. That said, taste is personal, and if you prefer a richer, cream-forward ice cream a higher cream ratio is a valid preference! If you can share more about what specifically didn’t taste right, I’d love to help troubleshoot — sometimes things like over-churning or salt quantity can also affect the final flavor. ~CLF team
How many quarts will this make — I have a 6 quart White Mountain Freezer.
Hi Margo! Yield for this recipe is 1 quart churned ice cream. Enjoy!
It’s very creamy but too salty for me! While I do like sweet and salty together, I am not a huge fan of salty ice cream. plan to adjust and use 1/4 or 1/2 teaspoon of kosher salt. I am making another batch for tonight with my adjustments.
Oh I’m sorry Laurie! Maybe you have a finer ground kosher salt. I am sure it will be great still with 1/4 or 1/2 teaspoon. ~Chef Lindsey